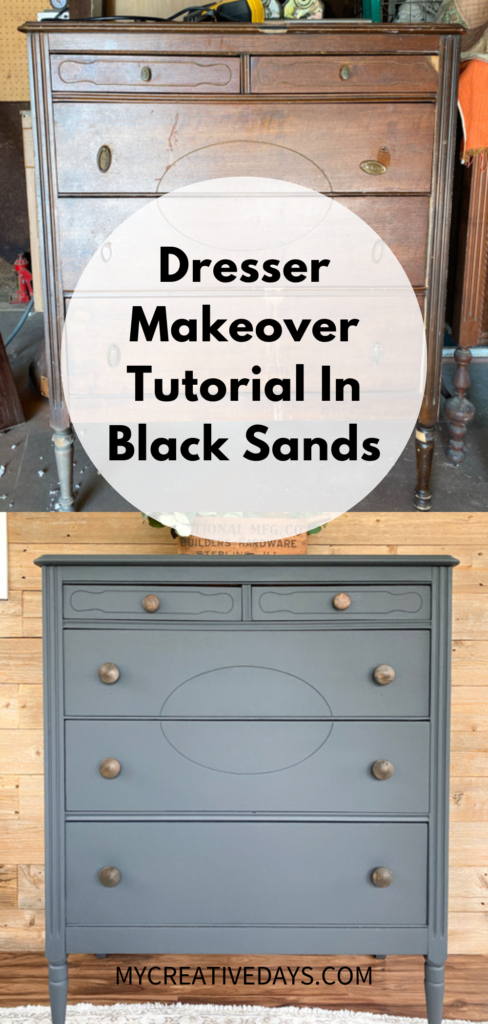
Discover the art of dresser transformation with this step-by-step dresser makeover tutorial in Black Sands paint.
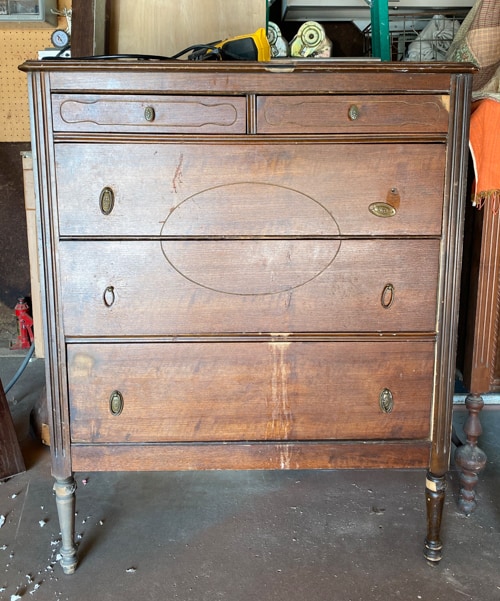
Welcome to our step-by-step dresser makeover tutorial that will take your old, tired dresser and turn it into a captivating statement piece using the elegant touch of Black Sands paint. Embrace the power of creativity as we guide you through this simple yet rewarding DIY project that will breathe new life into your furniture and elevate your home decor. Get ready to witness the magic unfold as we transform an ordinary dresser into a show-stopping masterpiece.
{Affiliate links are used in this post. Click on any of the underlined links to find the products I am talking about. You can read my disclosure HERE.}
Supplies Used In This Dresser Makeover Tutorial
All-In-One Paint (Black Sands)
Foam Roller and Paintbrush
Steps To This Dresser Makeover Tutorial
Step 1: Preparation
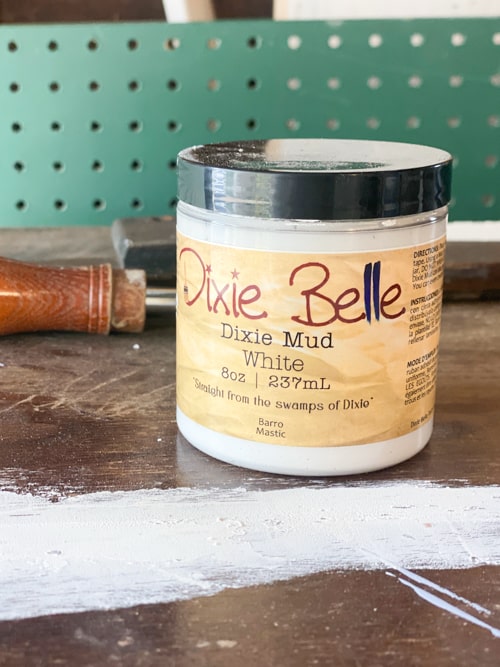
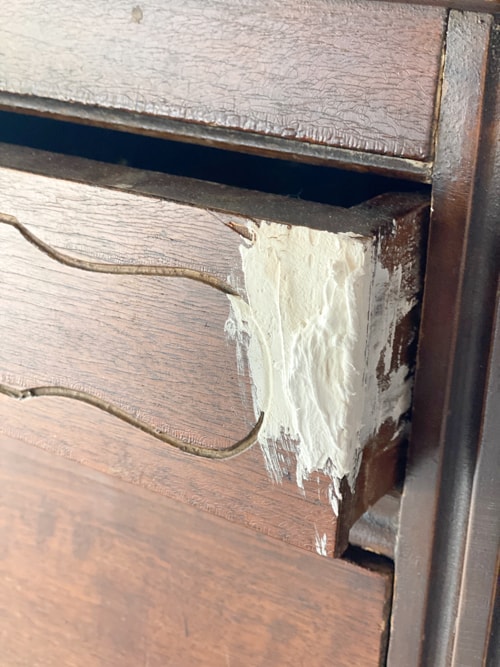
A makeover can’t start without prep work. Before diving into the makeover process, gather all the necessary materials and create a designated workspace. Ensure proper ventilation and protect surrounding areas with drop cloths or old newspapers to avoid any paint splatters. Also, remember to clean the dresser thoroughly. Remove any dust or dirt. This is the time I also patch areas that need it with my favorite filler MUD. To see a full post about how to prep furniture, head to my post HERE.

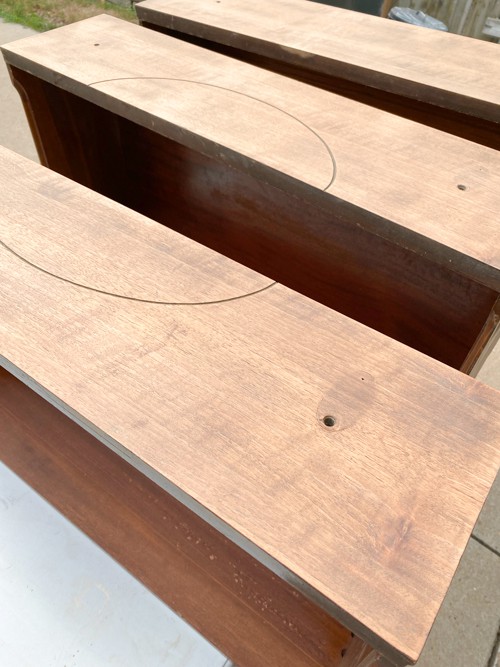
Step 2: Scuff-Sanding
The next step in this makeover and most makeovers I do is scuff-sanding. Scuff-sand to create a smooth surface for the paint to adhere to. To know the difference between scuff-sanding and regular sanding head to my post HERE. When the scuff-sanding is done, you must wipe the piece down with a damp cloth or tack cloth so that you remove any dust or debris left over from the sanding.
Step 3: Priming (Optional)
If you are using an all-in-one paint like the paint I used in this makeover, you don’t have to do a separate step with the primer because the paint will have the primer in it. That is why I love it. If you aren’t using paint like that and the dresser’s surface has imperfections or if it’s been previously stained, consider applying a primer. This step will ensure better paint adhesion and enhance the overall durability of your makeover.

Use an all-in-one paint to save time on your projects!
Step 4: The Painting Process
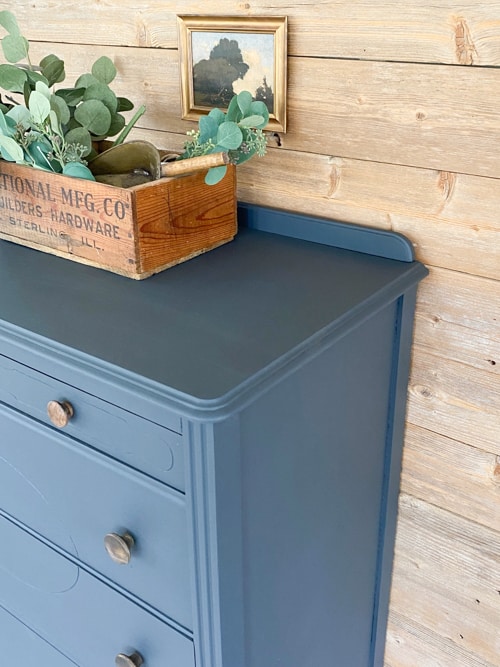
Selecting the right paint is crucial for achieving a flawless finish. I have used many paints and I am really loving the Silk paint from Dixie Belle. It is an all-in-one paint. I share all about it in my post HERE. The color I chose for this dresser is Black Sands. This bold and sophisticated color will instantly add depth and character to any piece, complementing various interior styles while making a striking statement. I share tips on how to paint furniture in my post HERE.
Depending on the paint and the original color of your dresser, two to three coats may be necessary. Allow the first coat to dry completely before applying additional coats.
Step 5: Seal and Protect (Optional)
Again, if you are using an all-in-one paint, the topcoat will be in it so you don’t have to do this separate step. That is why I love this all-in-one paint.
If you do need to apply a topcoat, after the paint has dried thoroughly and you’re satisfied with the finish, apply the topcoat. I share how to apply a topcoat to painted furniture in my post HERE.
Step 6: Hardware
Every piece will be different when it comes to hardware. I usually always use the original hardware when I find a piece that has them all intact. This piece did not. I decided on wood knobs and gel-stained them in the color “walnut”.
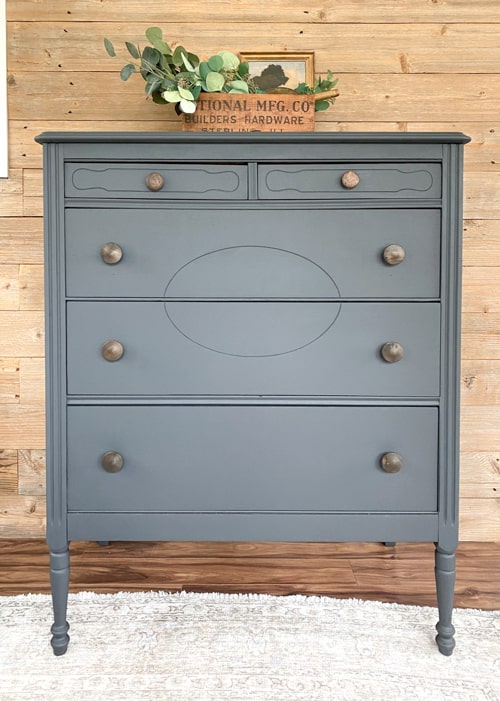
I love this dresser makeover in Black Sands! The all-in-one paint is a game-changer and really cuts your project time down by more than half. I hope this tutorial inspires you to make over that piece of furniture you have been thinking about or heading out to find a piece to flip. Once you try it, you will be hooked!
Do You Want To Make Money Flipping Furniture?
After twenty years of doing this, I am still picking up pieces when I can find them because I love the creative outlet, but I am now coaching other furniture flippers on how to make more money in their business. If you are someone who is looking to start and/or grow a furniture flipping business, I would love to help you. There are ways to make money in your business beyond painting a piece of furniture. Once I learned that, my business flourished. Don’t waste your time trying to figure it out on your own.
To help other flippers, I created The Furniture Flipping Academy! The academy includes everything you need to start, grow, and/or scale a furniture flipping business. It includes courses, resources, templates, social media planner and guide, a private community, and so much more. It will ensure that you are doing the steps that will lead to success and not wasting your time on things that won’t.
You can find all the information about the Furniture Flipping Academy HERE.
Let’s get your business started and/or moving in the right direction. The Furniture Flipping Academy is for any flipper, from beginner to experienced. If your business is stagnant, there is a reason for that. Let me help you grow it into a flipping career that is profitable and fits the lifestyle you want to live.
PIN THIS POST!
If you liked this Dresser Makeover Tutorial, you will also love these transformations:
Easy DIY Desk Makeover With Paint & Stain
Bleached Wood Dresser Makeover