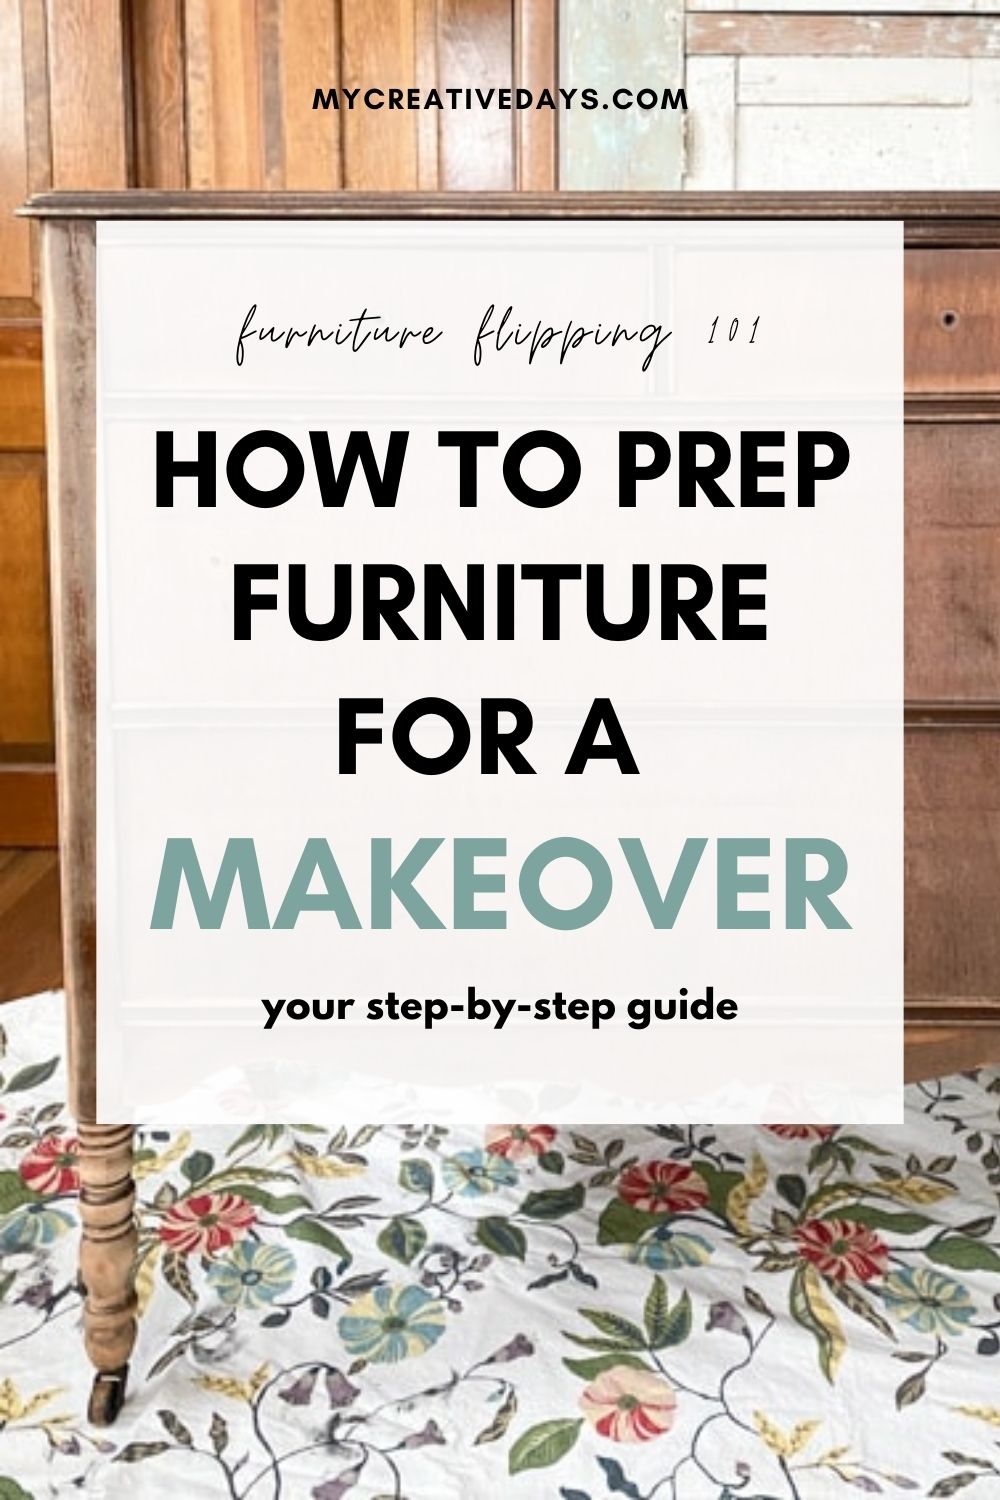
Learn how to prep furniture for a makeover with this step-by-step guide. From evaluating and cleaning to removing old finishes and applying paint or stain, follow these tips for a flawless and long-lasting transformation. Get ready to revitalize your furniture and create a beautiful, personalized space.
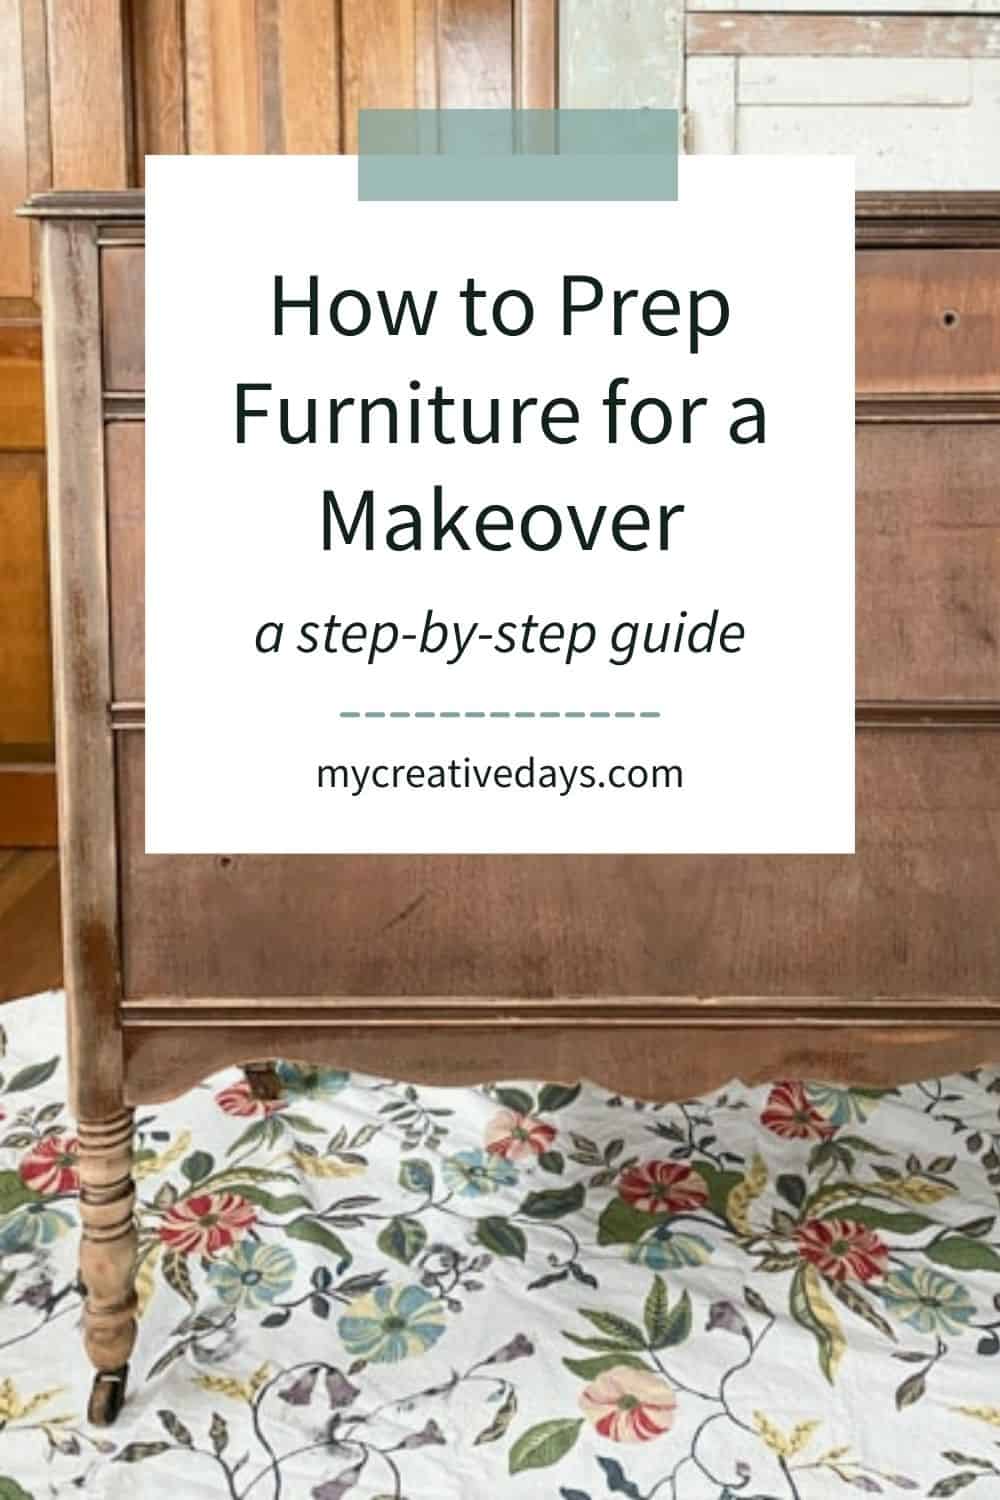
When it comes to giving your furniture a makeover, proper preparation is key to achieving a beautiful and long-lasting result. Prepping furniture before applying paint, stain, or other finishes not only enhances the final outcome but also ensures that your hard work lasts for years to come. In this blog post, I’ll guide you through the essential steps to prep furniture for a makeover that will leave your pieces looking refreshed and rejuvenated.
{Affiliate links are used in this post. Click on any of the underlined links to find the products I am talking about. You can read my disclosure HERE.}

-
Evaluate the Furniture:
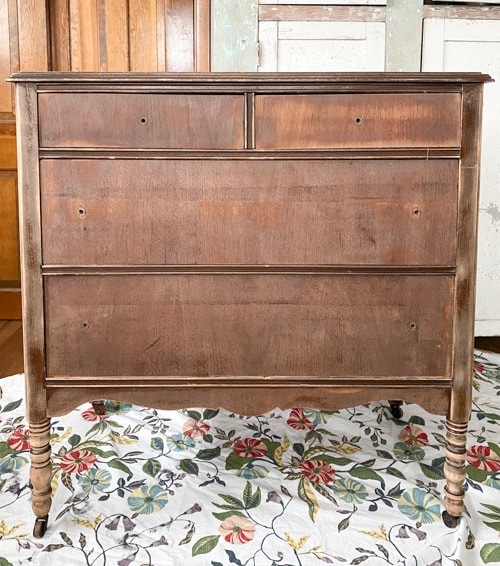
Before starting any makeover project, take a close look at the furniture piece you want to transform. Inspect it for any damages, loose joints, or other structural issues that need attention. Ensure that the furniture is worth the effort and can be salvaged before proceeding to the next steps.
2. Gather the Necessary Tools and Supplies:
To prep your furniture, you’ll need a few tools and supplies. Here’s a checklist of the essential items you should have on hand:
-
- Safety goggles, gloves, and a dust mask. I have found the best masks for DIYers. I share all about them in my post HERE.
- Sandpaper or a sanding block in various grits (coarse, medium, and fine). Learn about the difference between scuff-sanding and regular sanding in my post HERE.
- Tack cloth or lint-free cloths. I use a water-dampened rag as well.
- Wood filler and a putty knife (if applicable). Find my favorite wood filler HERE.
- Screwdriver or wrench (if disassembly is required).
- Primer suitable for your chosen finish.
- Paintbrushes or paint sprayer (depending on your preference). Find my favorite paintbrushes HERE. Find a great paint sprayer HERE.
- High-quality paint or stain in your desired color. I love the all-in-one paint HERE. It has the primer, paint, and topcoat in one can! It comes in many colors and saves so much time!
- Clear protective topcoat (varnish, polyurethane, etc.).
-
Clean the Furniture:
Thoroughly clean the furniture to remove dirt, grime, and any previous finishes. Use a mild detergent or a specialized furniture cleaner to gently scrub the surfaces, paying attention to corners and crevices. Rinse off the cleaning solution and allow the piece to dry completely before proceeding. I linked to my process for cleaning furniture at the bottom of this post.
4. Remove Old Finish:
If the furniture has an existing finish, you’ll need to remove it for better adhesion of the new paint or stain. The most common method is sanding. Start with coarse-grit sandpaper to strip away the old finish, then gradually switch to finer grits for a smooth surface. Alternatively, you can use a chemical paint stripper following the manufacturer’s instructions. Be sure to work in a well-ventilated area and wear protective gear.
5. Repair and Reinforce:
Inspect the furniture for any dents, scratches, or holes. Use wood filler to repair these imperfections. Apply the filler with a putty knife, scrape off any excess, and let it dry according to the manufacturer’s instructions. Once dry, sand the repaired areas to achieve a seamless surface.
6. Smooth the Surfaces:
After stripping and repairing, sand the entire surface of the furniture to create a smooth and even base. This step ensures better paint or stain adhesion and a professional-looking finish. Remember to clean away the sanding residue with a tack cloth before proceeding to the next step.
7. Apply Primer:
Applying a primer is crucial, especially when painting over bare wood or dark finishes. The primer helps the paint adhere better and improves the overall finish. Choose a primer suitable for your chosen finish (oil-based or water-based), and apply it evenly using a brush or sprayer. Follow the manufacturer’s instructions for drying times.
8. Paint or Stain:
Finally, it’s time to apply your chosen paint or stain. Select high-quality products that are specifically designed for furniture use. Use a brush or sprayer to apply thin, even coats, allowing adequate drying time between each coat. Follow the manufacturer’s instructions for the recommended number of coats.
9. Protect the Finish:
To ensure the longevity of your furniture makeover, apply a clear protective topcoat. This final step adds an extra layer of durability and guards against scratches, moisture, and UV damage. Choose a topcoat suitable for your chosen finish and apply it as directed.

By following these step-by-step instructions for how to prep furniture for a makeover, you’ll be well on your way to transforming your furniture into stunning, eye-catching pieces that will breathe new life into your space. Remember, thorough preparation is essential for achieving a flawless finish and ensuring your furniture makeover stands the test of time. Get ready to enjoy the satisfaction of creating beautiful furniture that reflects your personal style and creativity!
Do You Want To Make Money Flipping Furniture?
After twenty years of doing this, I am still picking up pieces when I can find them because I love the creative outlet, but I am now coaching other furniture flippers on how to make more money in their business. If you are someone who is looking to start and/or grow a furniture flipping business, I would love to help you. There are ways to make money in your business beyond painting a piece of furniture. Once I learned that, my business flourished. Don’t waste your time trying to figure it out on your own.
To help other flippers, I created The Furniture Flipping Academy! The academy includes everything you need to start, grow, and/or scale a furniture flipping business. It includes courses, resources, templates, social media planner and guide, a private community, and so much more. It will ensure that you are doing the steps that will lead to success and not wasting your time on things that won’t.
You can find all the information about the Furniture Flipping Academy HERE.
Let’s get your business started and/or moving in the right direction. The Furniture Flipping Academy is for any flipper, from beginner to experienced. If your business is stagnant, there is a reason for that. Let me help you grow it into a flipping career that is profitable and fits the lifestyle you want to live.
PIN THIS POST!
 If you found this How To Prep Furniture For A Makeover post helpful, you will also love these posts:
How To Clean A Piece Of Furniture Before Painting
Furniture Flipping Products You Shouldn’t Live Without
How To Make Furniture Flips Go Faster