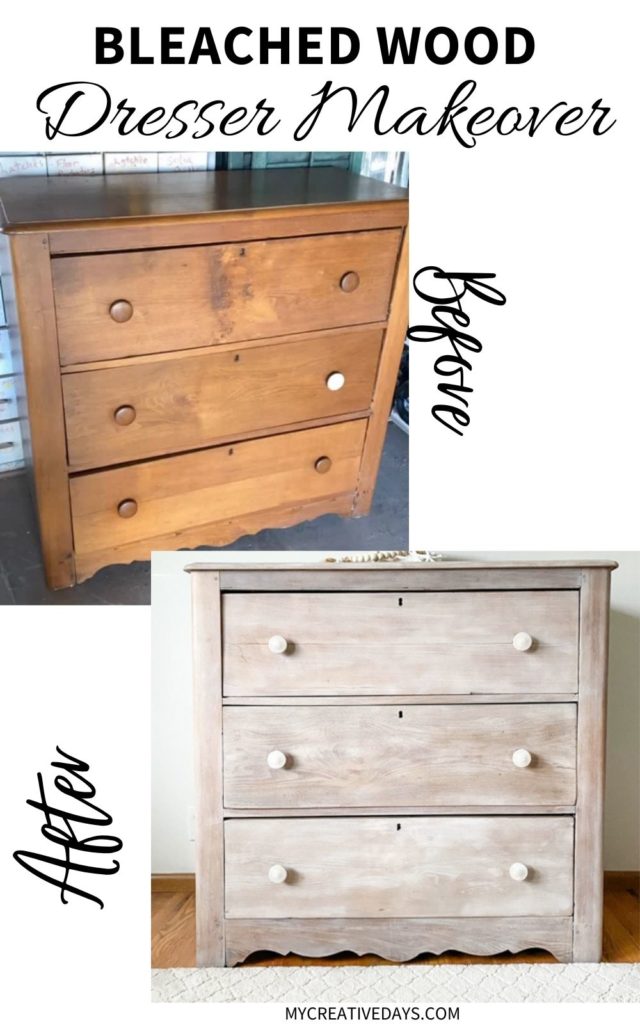
I have a project to share with you today that I am super excited about. This process worked so well and it turned out so pretty that I can’t wait to find the next piece to do this on. I think I found the formula that made this process easy and painless. Now, all pieces will be different, but I tried a couple of different things while doing this piece and definitely found the products and the techniques that worked the best for me. I am sharing all of it in this post about this bleached wood dresser makeover.
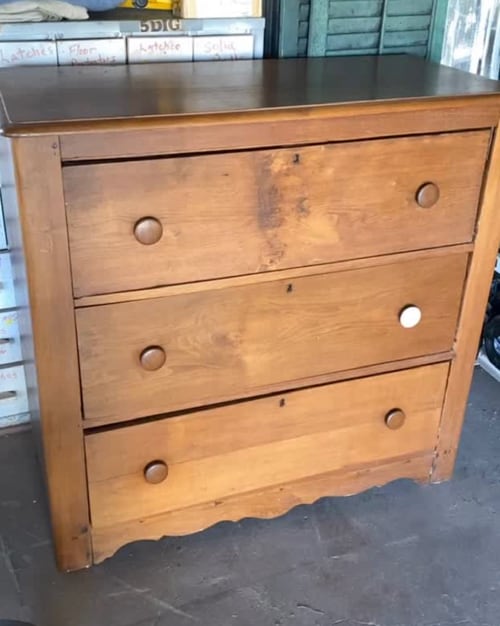
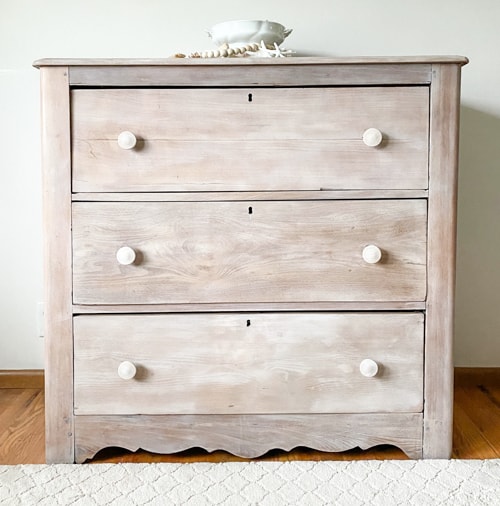
When I saw this dresser, I loved it so much about it. It is an old dresser with simple lines. The drawers are deep but the piece isn’t deep. I also didn’t mind the finish on the dresser, but there was a darker stain on one of the drawers that really stood out and not in a good way. I had to come up with a plan for the makeover.
{Affiliate links are used in this post. Click on any of the underlined links to find the products I am talking about. You can read my disclosure HERE.}
Supplies Used In This Makeover
Sander (use “mycreativedays10” to save on your order)
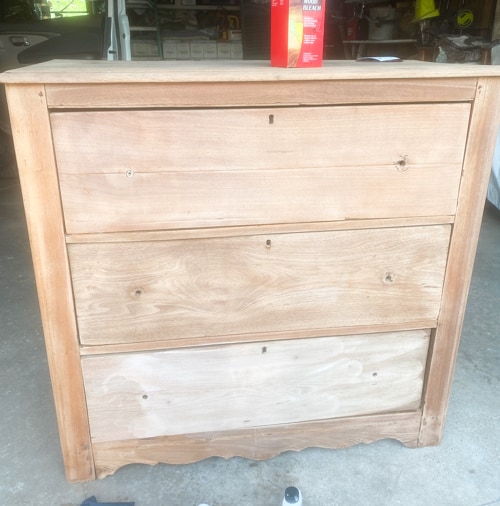
Since this dresser had simple lines, I started sanding it to see what would happen.
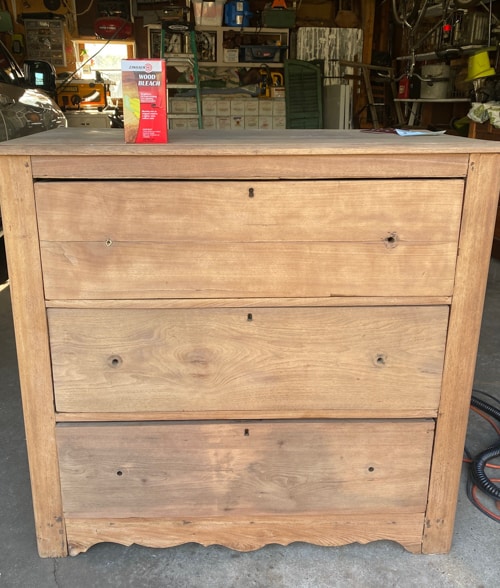
It was magical. The sanding took all the finish off the piece and brought it down to raw wood.
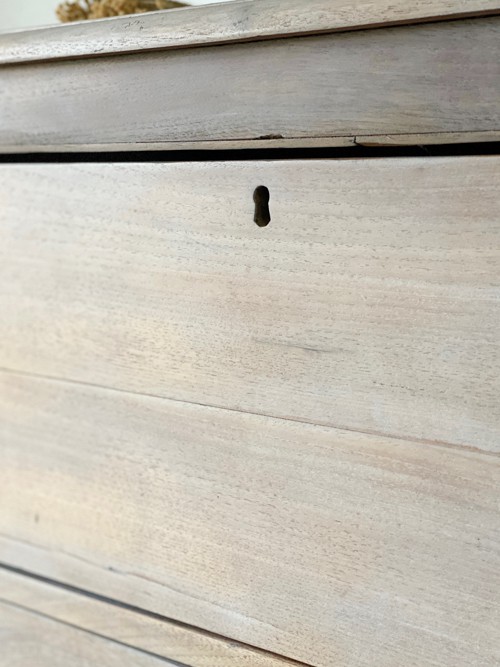
As you can see from the photos above, you could still see some staining on the drawer and some of the wood was darker in spots than others. I couldn’t stain it like this because all of those imperfections would stand out.
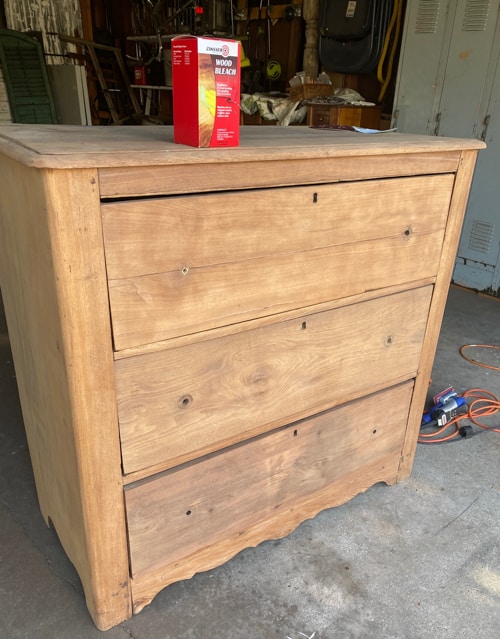
So, I decided to try and bleach the wood.
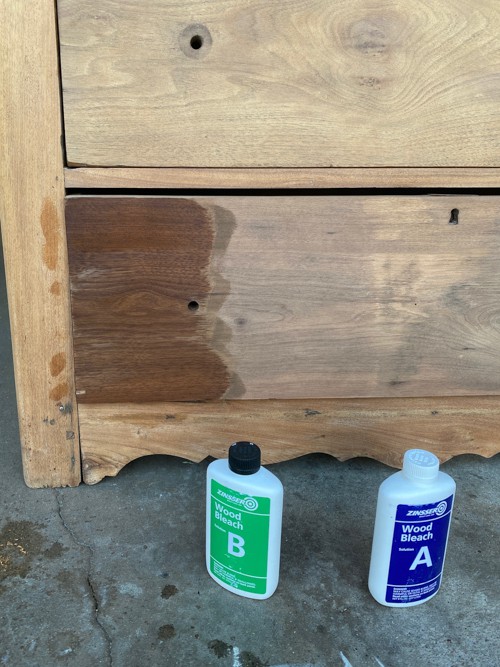
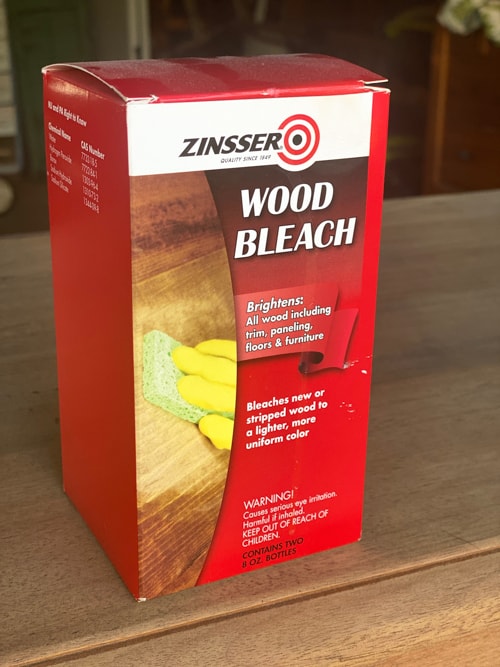
I chose this wood bleach kit. It was SO EASY to use, but I did learn some tips when using it.
Tips To Remember When Using The Bleach Kit
- It can dry fast in warm weather. You want Part A to still be wet when you add Part B so you may need to work fast depending on the climate you are in.
- I didn’t wait the 5 minutes it said to before adding Part B. I felt like it was drying way faster than that so I just added it right after I got Part A on.
- Do one section of your furniture piece at a time so you can see where you have been.
- It will probably take a couple of applications to get the desired look.
- These applicators were THE BEST for applying each part. I kept one side for Part A and the other side for Part B. (Use a Sharpie to mark your sides so you don’t get them confused). These applicators gave an even application. I tried using the blue sponge to apply this part but it didn’t go as well. You could see the circular sponge on the drawers. Those would sand out but I just liked the white applicators so much better. The blue sponge came in very handy for the final application.
- You will be sanding the piece down after you bleach it so keep that in mind when you see little spots you may have missed or spots that didn’t take the bleach well. It should all come out in the sanding process.
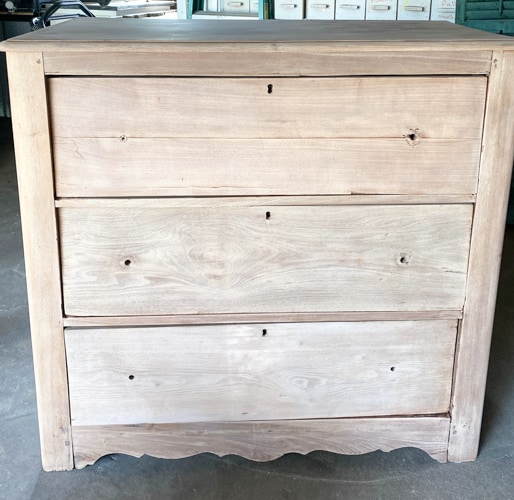
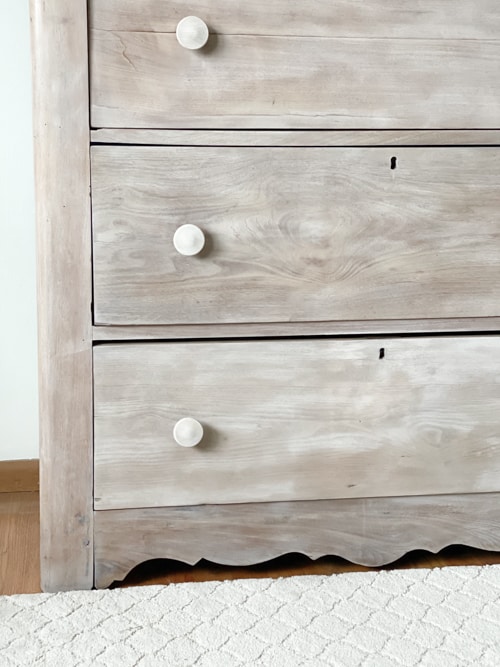
You can see the circles the blue sponge made on the bottom drawer in the photo above. The white applicators did not do that. This photo also shows you that you need a few applications to get the desired look. That will change with every project but I would think most pieces would need at least two applications.
After I got the desired look, I sanded the entire piece down smoothly with 120 and 280 sandpaper. I love this sander for projects like this!
When you have reached the desired look with the bleaching kit, make sure to sand the piece well.
Look at how well the bleach kit and the sanding worked!
The look was so good, that I wanted to run with it and seal it in this way.
I chose to do the entire piece in a liming wax.
I started using a paintbrush for waxes but found that this blue sponge worked easier and better in applying the wax.
The blue sponge wasn’t great for the bleach application but was amazing for the liming wax.
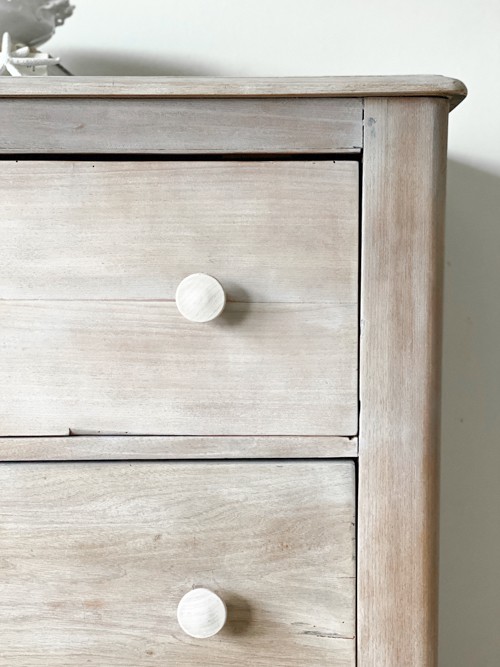
I decided on wood knobs for the dresser. I added the liming wax to them as well so they fit the bleached wood makeover.
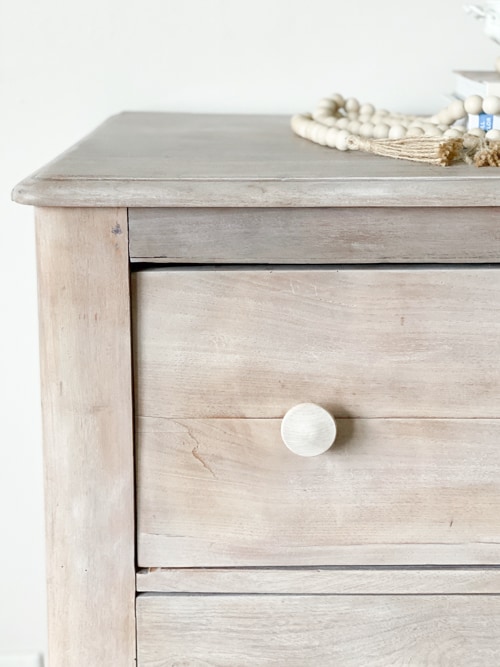
This 3 step bleaching technique is easy and gives the wood a beautiful look.
This technique and the outcome make me so happy. This was the perfect candidate to try the bleached wood look on. I am hoping I can find more projects that I can do this on. I think the outcome is a pretty and soft look and can go in so many spaces.
It looks coastal and beachy but it also has romantic farmhouse vibes. I could see it in a French cottage or a Scandinavian-style home.
A beautiful dresser that fits so many styles. That’s a win-win for me.
What do you think of this bleached wood dresser makeover? It is an easy 3-step process that gives you a beautiful outcome. Is this a technique you would try or have tried?
If you do, please share a photo on Instagram and tag me @mycreativedays so I can see your project and share it!
Do You Want To Make Money Flipping Furniture?
After twenty years of doing this, I am still picking up pieces when I can find them because I love the creative outlet, but I am now coaching other furniture flippers on how to make more money in their business. If you are someone who is looking to start and/or grow a furniture flipping business, I would love to help you. There are ways to make money in your business beyond painting a piece of furniture. Once I learned that, my business flourished. Don’t waste your time trying to figure it out on your own.
To help other flippers, I created The Furniture Flipping Academy! The academy includes everything you need to start, grow, and/or scale a furniture flipping business. It includes courses, resources, templates, social media planner and guide, a private community, and so much more. It will ensure that you are doing the steps that will lead to success and not wasting your time on things that won’t.
You can find all the information about the Furniture Flipping Academy HERE.
Let’s get your business started and/or moving in the right direction. The Furniture Flipping Academy is for any flipper, from beginner to experienced. If your business is stagnant, there is a reason for that. Let me help you grow it into a flipping career that is profitable and fits the lifestyle you want to live.
PIN THIS POST!