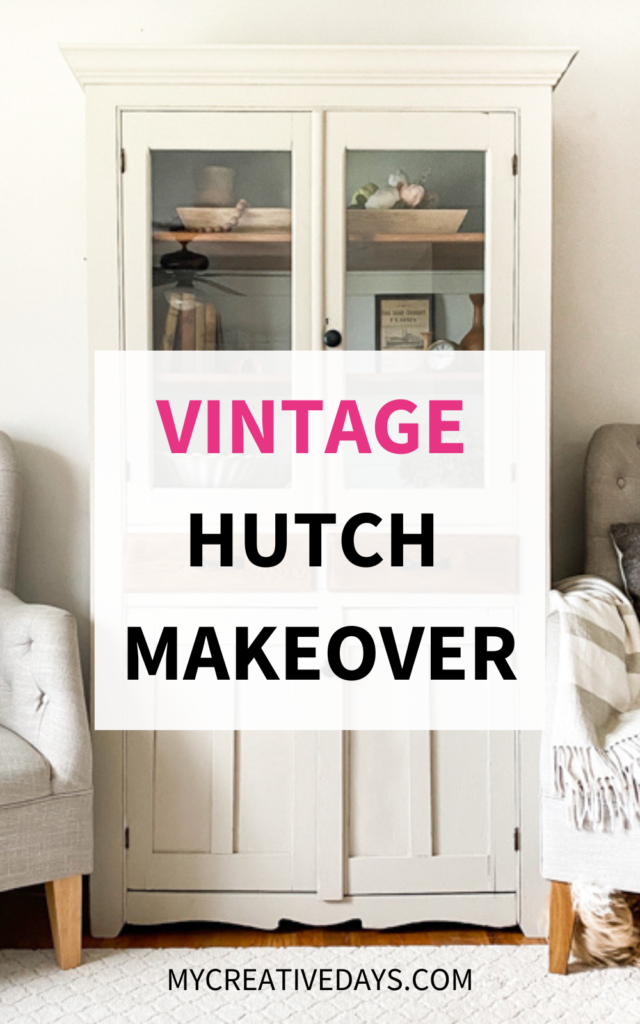
This vintage hutch makeover is a great example of how you can transform all kinds of pieces to make them beautiful and functional again.
Can I just say that anytime I come across a vintage/antique hutch, I am happy? There is just something about them.
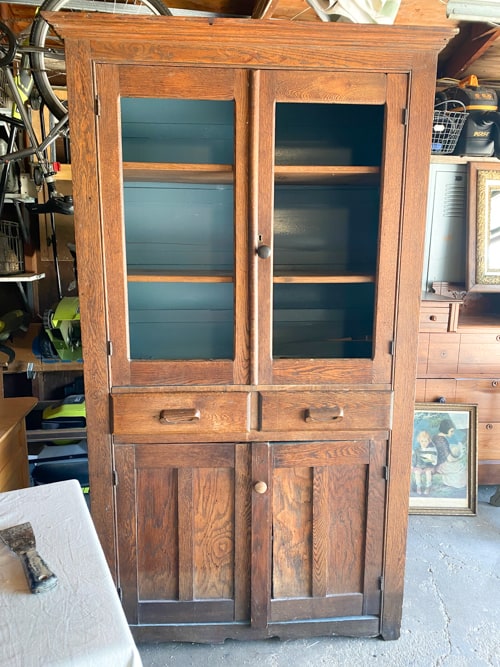
This one was a steal because it needed so much work, but I really wanted to tackle it and make it amazing again.
{Affiliate links are used in this post. Click on any of the underlined links to find the products I am talking about. You can read my disclosure HERE.}
Supplies Used In This Vintage Hutch Makeover
Trim Pieces (we had in the garage)
Scrap Wood (we had in the garage)
Hardware
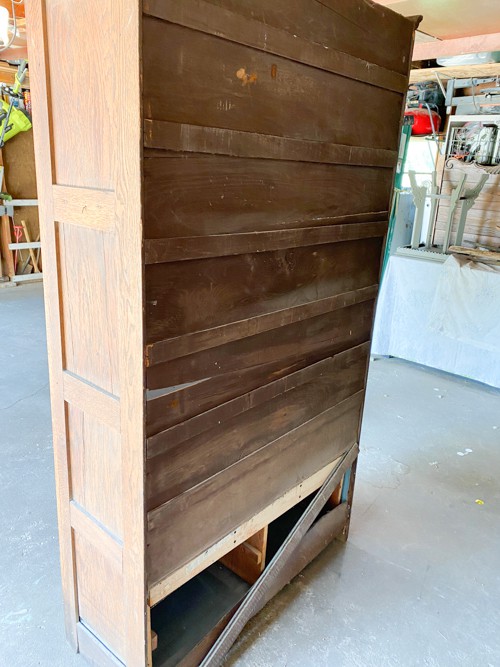
Let’s start by looking at the back. There were pieces of wood missing or falling apart.
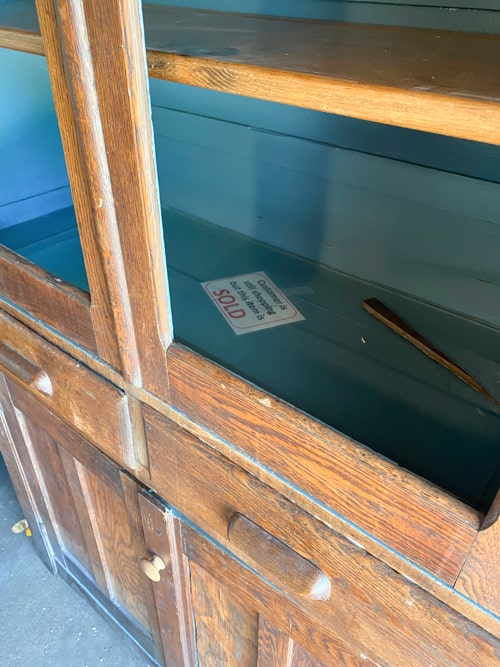
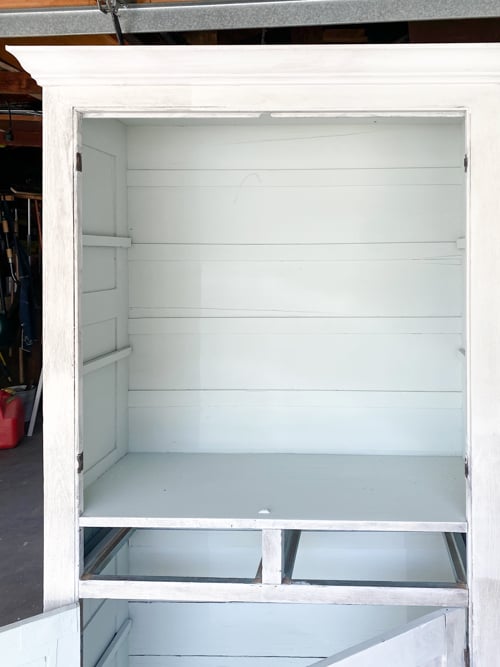
Someone painted the inside of the top, the bottom, and the drawers a hideous blue color.
I love blue but this is not a good shade at all.
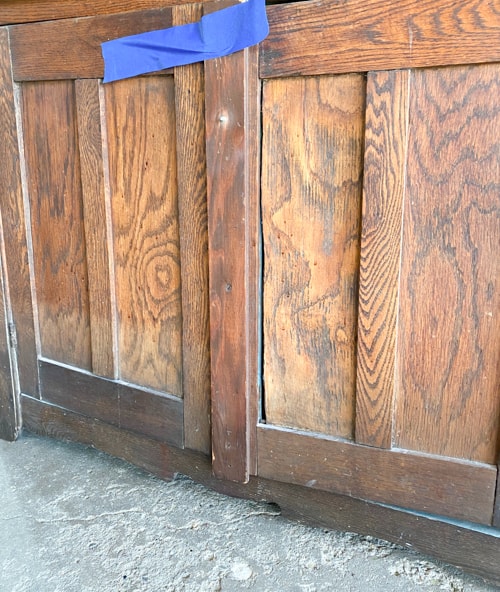
The doors had some cracked wood and they didn’t shut all the way.
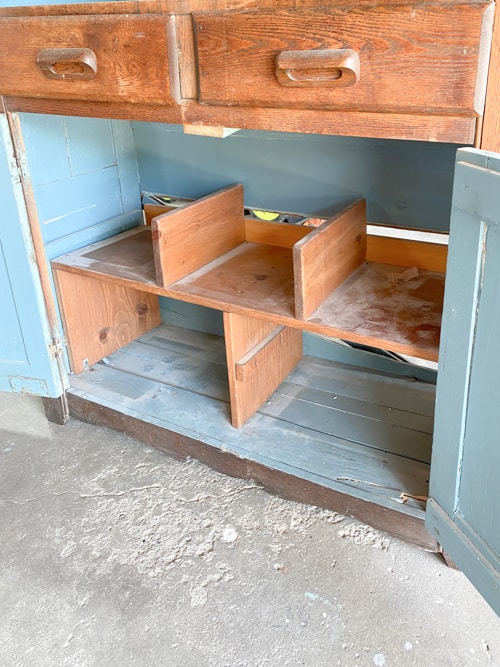
Someone added some organizational storage to the base of the hutch with particle board. That was the first thing to go.
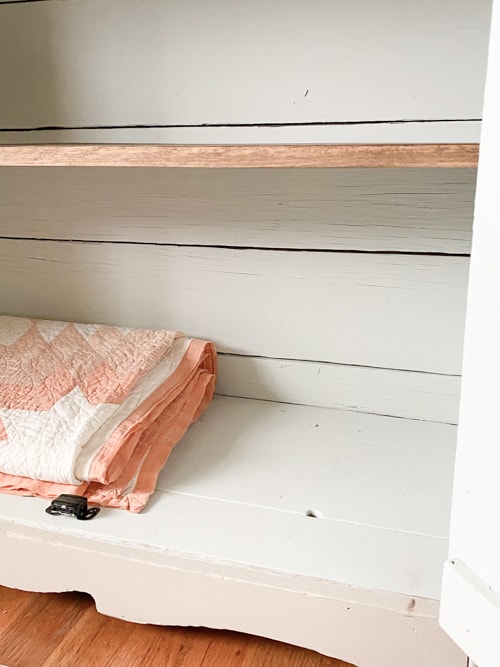
The boards on the bottom of the hutch itself had some rotten wood so that needed to be fixed as well.
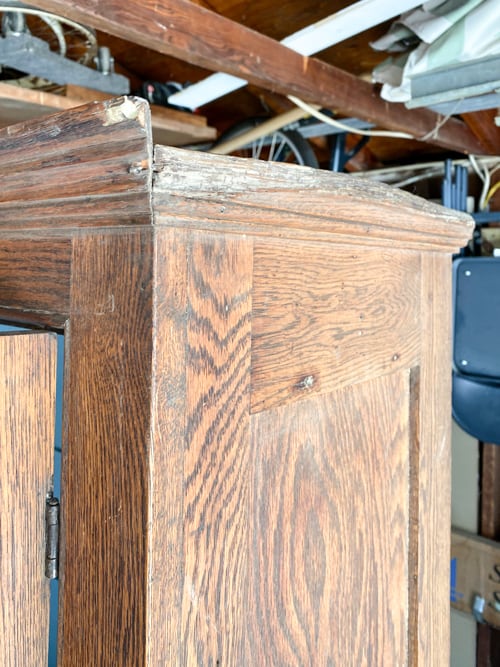
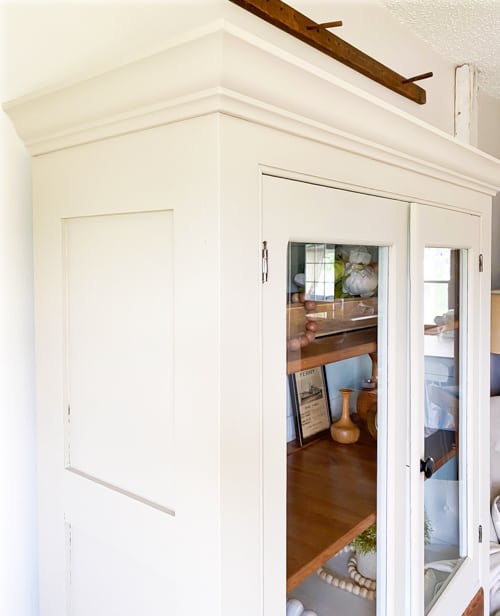
The right side of the piece had a big chunk of the trim missing on the top.
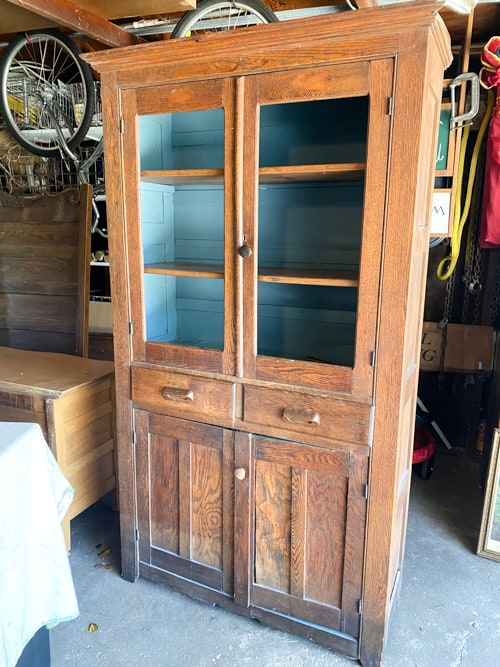
Here is a list of the things this vintage hutch still had going for it:
- It’s vintage.
- Had both drawers.
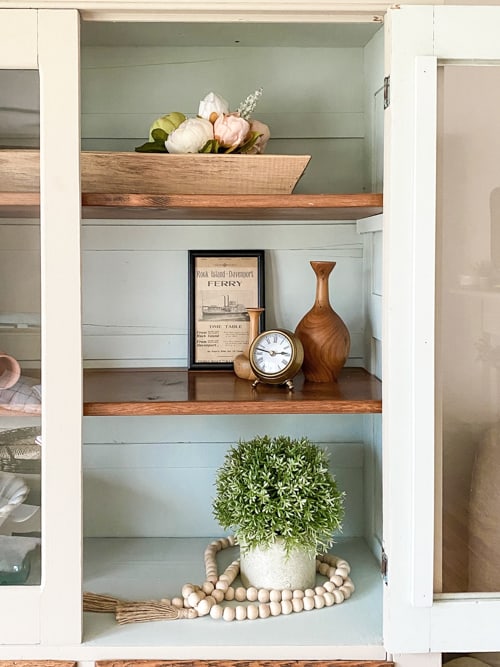
- Still had the glass to both of the doors.
- Still had enough intact to make the project possible.
- The price.
- It’s vintage. Did I already mention that?
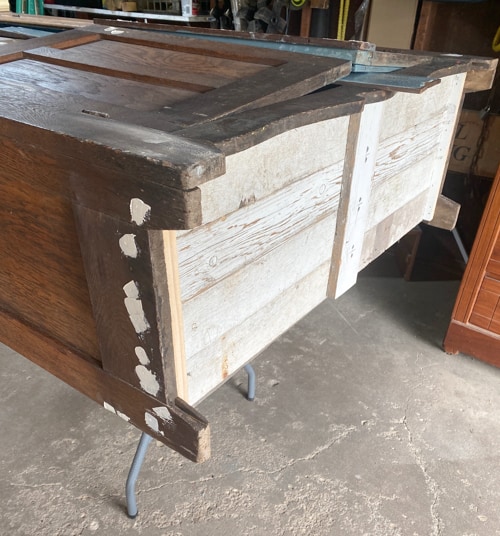
The first thing we had to do was lay the hutch on the table to get a good look at the damage and what we needed to do. We added new (old) boards that we had in our garage to the base.
PRO TIP: I love keeping scrap boards and wood from other projects in the garage. Since this hutch was vintage and made of old wood, I wanted to use older boards as much as possible when we were fixing it.

Once we had the bottom fixed and sturdy, it was time to fix the trim on the top. We removed all the old trim and used new trim in its place. Again, this was something we had in the garage. It was new but I found it at Restore. If we had some old trim, I would have used that on this vintage hutch makeover but since I was going to paint it all, this worked fine.
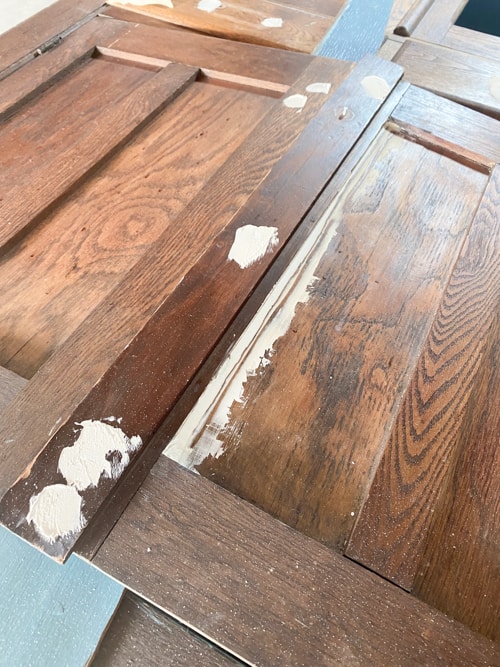
With the top and the bottom fixed and done, it was time to fill all the holes and cracks with MUD. I have shared this product many times. It is so easy to use on projects like this. I put it on and wait for it to dry. Then, I sand it all down so it is flush with the wood and it is ready for primer and paint.
A vintage hutch can add so much charm and character to a space.
After I gave the entire hutch a good cleaning and scuff-sanding , it was time for primer and paint. I had to start with the inside and cover that hideous shade of blue. I used a “new to me” color from Wise Owl called, “Sea Salt”. It is beautiful. It reminded me of the soft blue colors you find on the ceilings of southern front porches.
Once the inside was painted, it was time to give the outside a coat of BOSS primer. This primer blocks odors, and stains, and stops bleed-through. I love this stuff.
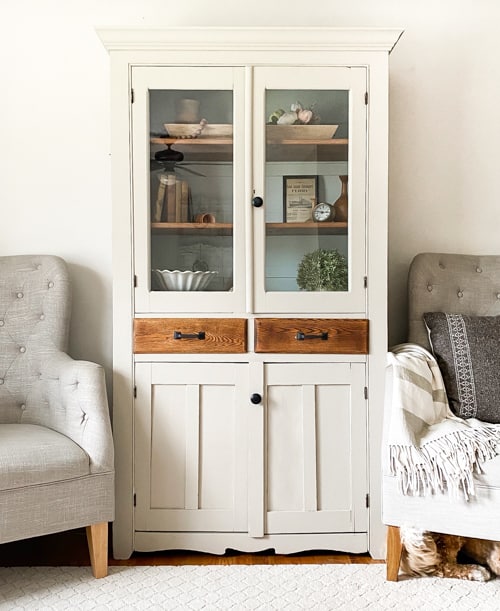
Once the primer dried, it was time to paint the outside!
I chose the color “Sand Bar”. It is one of my favorite paint colors.
Hutches are fun to make over because you can do all kinds of things for them. I don’t always paint the inside of hutches, but this was the perfect candidate because I wanted to cover up the blue shade someone else had painted it. You can see other hutch makeovers I did HERE, HERE, and HERE.
The hutch took two coats of paint to cover it.
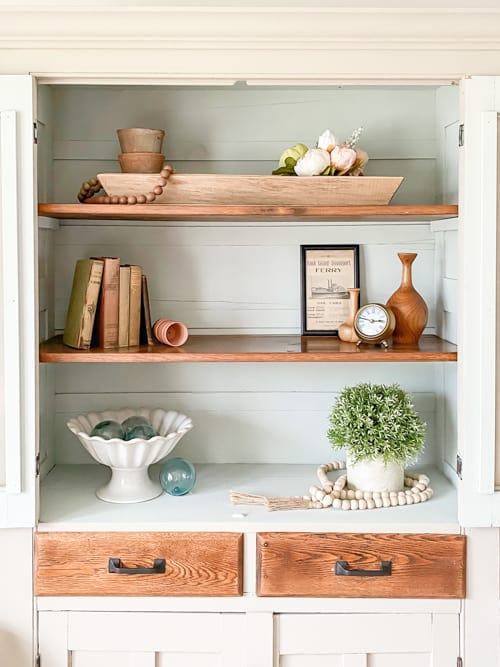
Look at how well the new trim looks on top! Like it was always like that!
I didn’t like the 70’s handles that were put on this hutch so I looked in our stash of hardware and chose some black hardware for the drawers and doors.
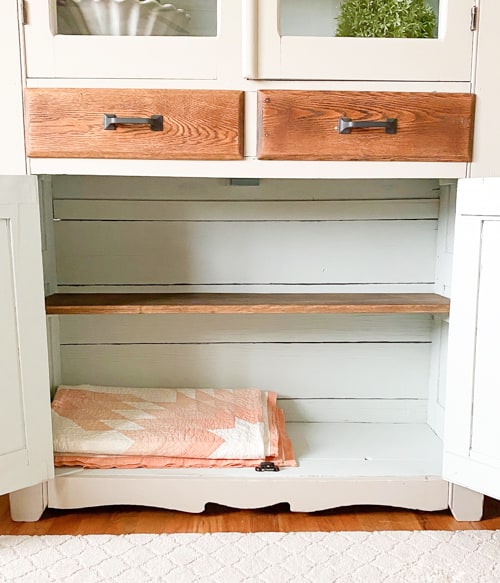
PRO TIP: Always keep hardware from projects. If you aren’t going to use the hardware that a piece came with, remove it and keep it. You will grow a nice stash of hardware to choose from over time so you aren’t ever having to pay retail for new hardware for your projects.

I am selling this piece. It has been made over to last for years and will be a great addition to any space it ends up in.

Would you have picked up this hutch in the condition we found it?
I hope this vintage hutch makeover inspires you to look at more pieces that may not be perfect but still have tons of potential.
Do You Want To Make Money Flipping Furniture?
After twenty years of doing this, I am still picking up pieces when I can find them because I love the creative outlet, but I am now coaching other furniture flippers on how to make more money in their business. If you are someone who is looking to start and/or grow a furniture flipping business, I would love to help you. There are ways to make money in your business beyond painting a piece of furniture. Once I learned that, my business flourished. Don’t waste your time trying to figure it out on your own.
To help other flippers, I created The Furniture Flipping Academy! The academy includes everything you need to start, grow, and/or scale a furniture flipping business. It includes courses, resources, templates, social media planner and guide, a private community, and so much more. It will ensure that you are doing the steps that will lead to success and not wasting your time on things that won’t.
You can find all the information about the Furniture Flipping Academy HERE.
Let’s get your business started and/or moving in the right direction. The Furniture Flipping Academy is for any flipper, from beginner to experienced. If your business is stagnant, there is a reason for that. Let me help you grow it into a flipping career that is profitable and fits the lifestyle you want to live.
PIN THIS POST!
What year was this hutch? In the condition you found it, what was its value?
I am not sure the year or the value.