This dresser was one of four I found at a thrift store on the same day. That never happens. I had hit the jackpot. You can see one of the other dressers I got that day and its makeover HERE. It had been a long time since I had found any furniture pieces with rescuing and then to find four at the same time…… I WAS SHOCKED! Excited, but shocked! This painted black dresser makeover is a step-by-step tutorial showing how to take an old piece and make it beautiful and functional again.
{Affiliate links are used in this post. Click on any of the underlined links to find the products I am talking about. You can read my disclosure HERE.
Supplies Used In This Painted Black Dresser Makeover
Sander (use code mycreativedays10 to save on your order)
Restor-A-Finish (I used the neutral color on the legs of this piece)
What I Used To Clean The Dresser
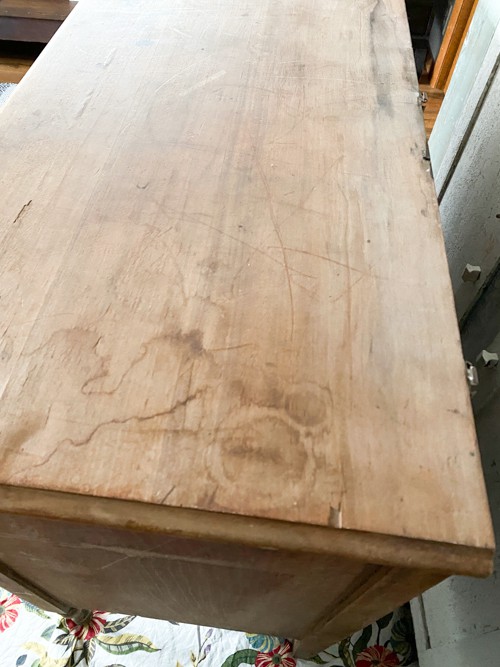
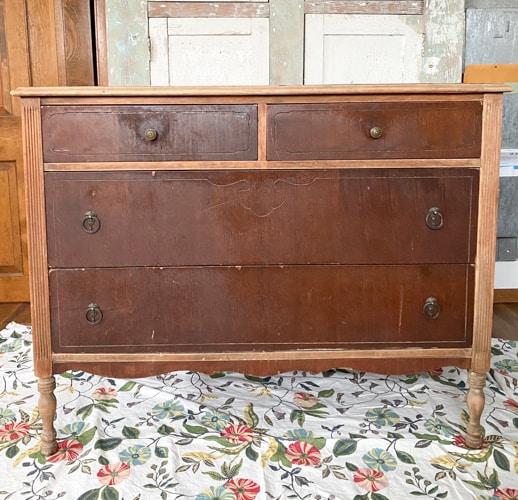
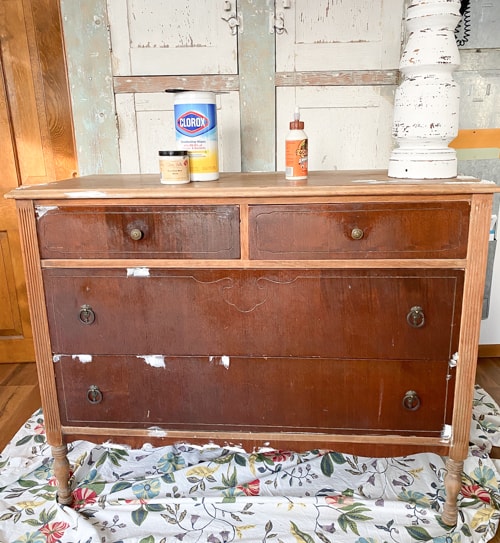
As you can see, this dresser had some issues, but nothing that couldn’t be fixed.
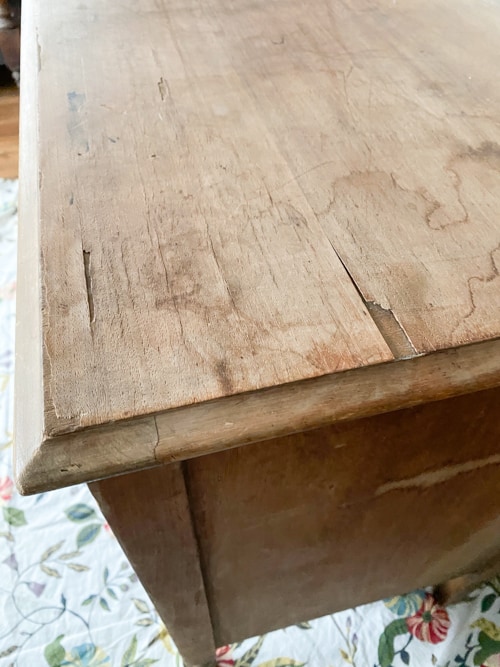
There was missing veneer on many areas of this dresser. This never scares me away. There are three ways I like to fix veneer like this depending on this piece. This dresser just needed some MUD. I love this stuff. It is so easy to use. It is forgiving and works like a charm every time.
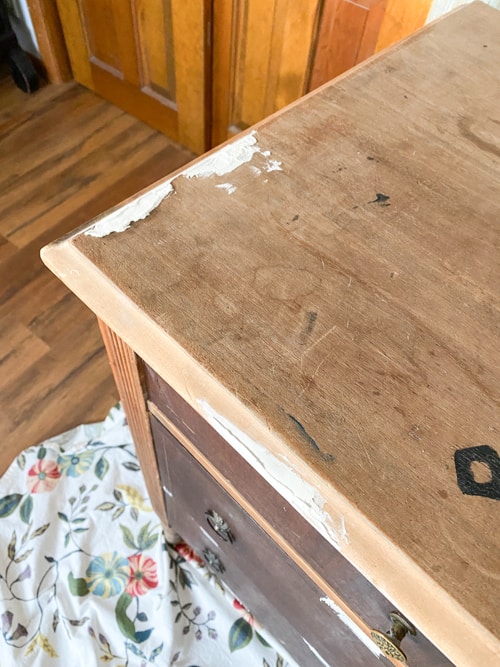

After I added the MUD where it needed to go, I let it completely dry.
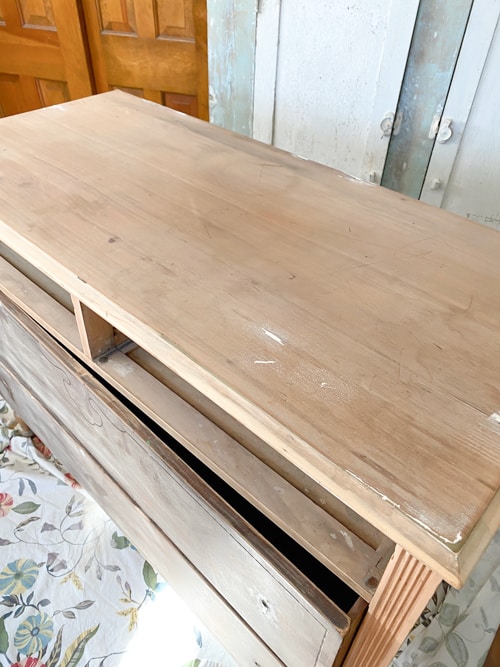
A scuff-sand will make a big difference in your furniture makeovers.
After the MUD dried, the dresser was ready for a scuff-sand. I use THIS SANDER for this part. This sander has made a huge difference in my flipping game. I love this thing. It is an investment but it will pay for itself in no time. I do have a coupon code for it that will save on your order. I put that code in the supply list above.
What Is A Scuff-Sand?
- A scuff-sand is an easy sanding process.
- Essentially, scuff-sanding is “scuffing” the surface of a piece so it grabs the paint better.
- You aren’t looking to get down to bare wood with scuff-sanding.
- A scuff-sanding will scuff the piece, but it will also make the piece smooth to paint on.
- If you used MUD in any area, a scuff-sand will make the MUD flush with the rest of the dresser to make it look flawless when painted.
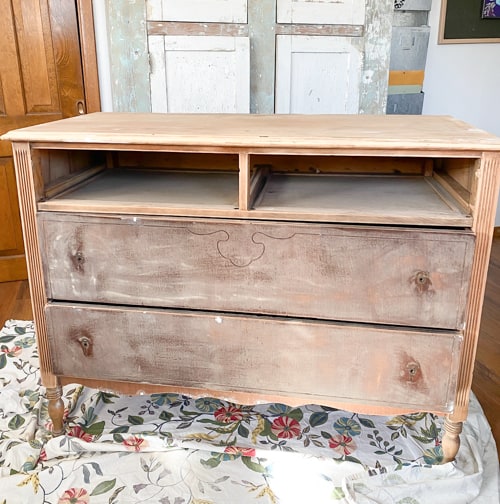
Once the scuff-sanding was done, I wiped the dresser with a damp cloth to pick up any dust left over from the sanding.
Once the dresser was dry from the damp cloth, it was time to paint.
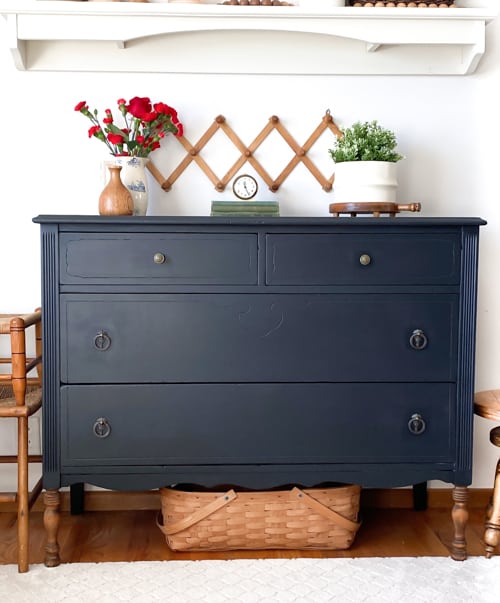
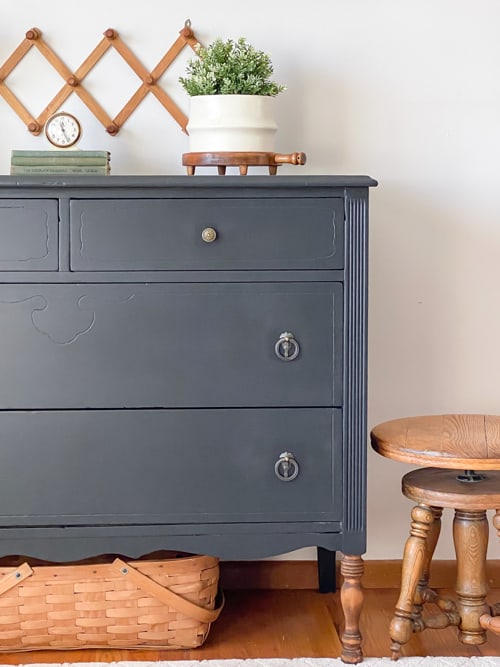
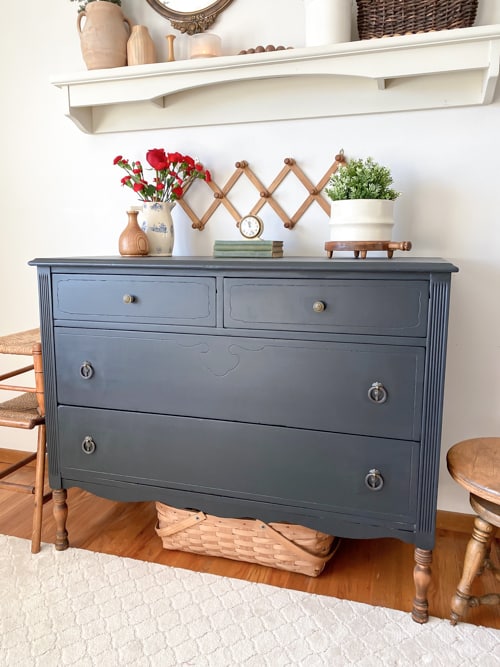
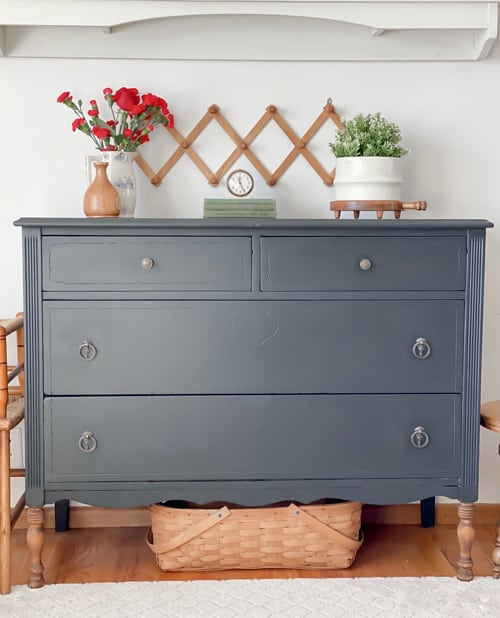
I decided on this black paint color for this piece. It is stunning. One of my favorite black paint colors.
I applied the paint with my favorite paintbrush.
I did not use a primer on this project. This paint doesn’t require primer and since I was painting this piece a dark color, I wasn’t worried about bleed-through. The scuff-sand took off a lot of the red/orange color as well.
It took a couple of coats of paint to get it covered.
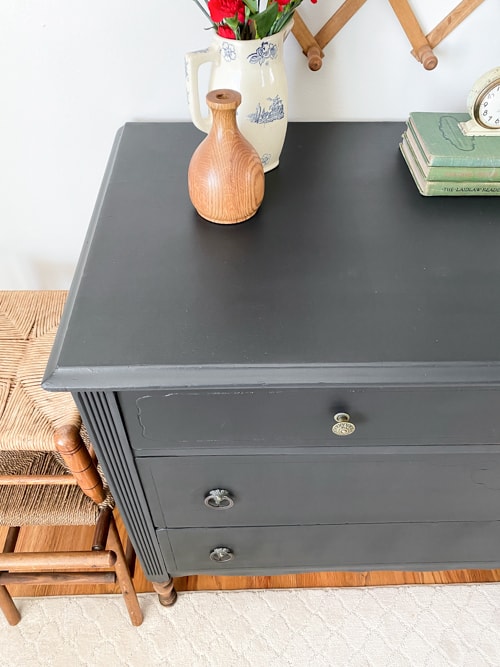
It is like hitting the jackpot when a piece has all the original hardware still on it.
I am always so happy when I find a piece that has the original hardware. This one had all the original knobs and pulls.
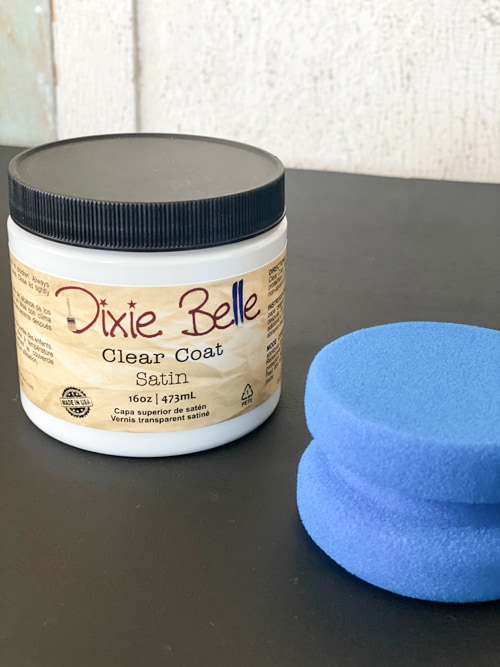
Once the paint was dry, I added two coats of THIS SATIN TOPCOAT.
This BLUE SPONGE applies topcoats so easily. It also ensures you don’t get any brush strokes like you may when applying a topcoat with a paintbrush.
I was able to sand the legs of this dresser and keep them a natural wood color. Restor-A-Finish in the neutral color made them new again. I applied it with THIS APPLICATOR PAD.
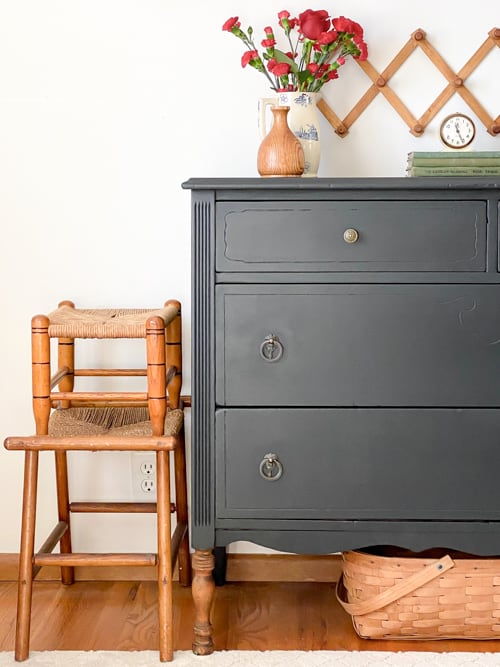
I love the look of paint and wood together. And, when I can keep beautiful dresser legs like this natural, I am all about it.
This piece is ready for its new home. Another amazing piece that still has a lot of life left to give.
Do You Want To Make Money Flipping Furniture?
After twenty years of doing this, I am still picking up pieces when I can find them because I love the creative outlet, but I am now coaching other furniture flippers on how to make more money in their business. If you are someone who is looking to start and/or grow a furniture flipping business, I would love to help you. There are ways to make money in your business beyond painting a piece of furniture. Once I learned that, my business flourished. Don’t waste your time trying to figure it out on your own.
To help other flippers, I created The Furniture Flipping Academy! The academy includes everything you need to start, grow, and/or scale a furniture flipping business. It includes courses, resources, templates, social media planner and guide, a private community, and so much more. It will ensure that you are doing the steps that will lead to success and not wasting your time on things that won’t.
You can find all the information about the Furniture Flipping Academy HERE.
Let’s get your business started and/or moving in the right direction. The Furniture Flipping Academy is for any flipper, from beginner to experienced. If your business is stagnant, there is a reason for that. Let me help you grow it into a flipping career that is profitable and fits the lifestyle you want to live.
PIN THIS POST!
If you liked this painted black dresser makeover, you will also like these makeovers:
DIY Tall Dresser Makeover With Painted Drawers
DIY Painted Drum Table Makeover