This traditional dresser makeover DIY is a great way to transform a $20 piece into a money maker or beautiful piece for your home.
I hit the furniture jackpot last month at the thrift store. I have to tell you the story because I need to document it. It never happens like this so it has to be shared when it does.
How I Found This Dresser
Matt and I were headed to our niece’s senior night at her school. Her school is about twenty minutes from where we live. We were running a little bit early so as one does, we had about twenty minutes to run inside a thrift store along the way. I walked over to where furniture usually is and there were four potentially great pieces there. I couldn’t believe it. After further inspection, only two of those pieces were worth getting. Matt went up to tell the staff we were getting them and I continued around the corner.
BAM! I was immediately hit with two more AMAZING furniture pieces. As one does when they find something amazing at a thrift store, my heart started racing. Then, nonchalantly, I looked around to make sure no one else was coming to grab them. Matt came around the corner and couldn’t believe I had found two more pieces.
This never happens. EVER! Not only were all of these pieces there on one day but they were priced to move. It was so much fun. Matt had to skip out on our nieces’ senior night because we had to take the pieces home that day. So, we got two in the car. Then, I dropped him off at home so he could take the van to get the other two and I could head to senior night.
This makeover is all about one of the four pieces I found that night.
{Affiliate links are used in this post. Click on any of the underlined links to find the products I am talking about. You can read my disclosure HERE.}
Supplies Used In This Traditional Dresser Makeover
Electric Sander (use the code “mycreativedays1o” to save on your order)
Handheld Sander (for detailed areas on the legs)
What I Used To Clean The Dresser
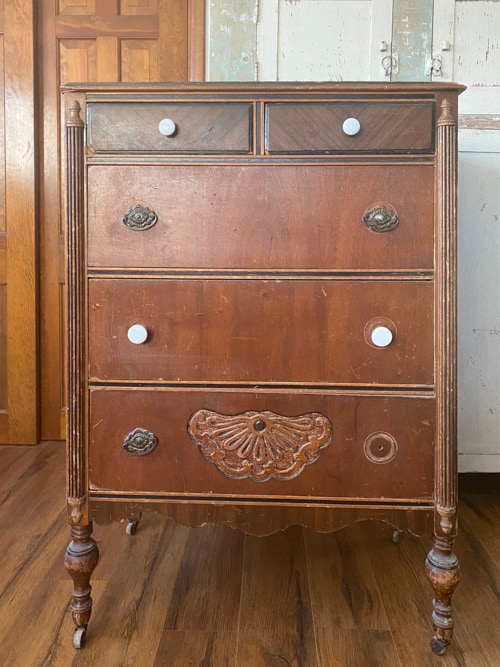
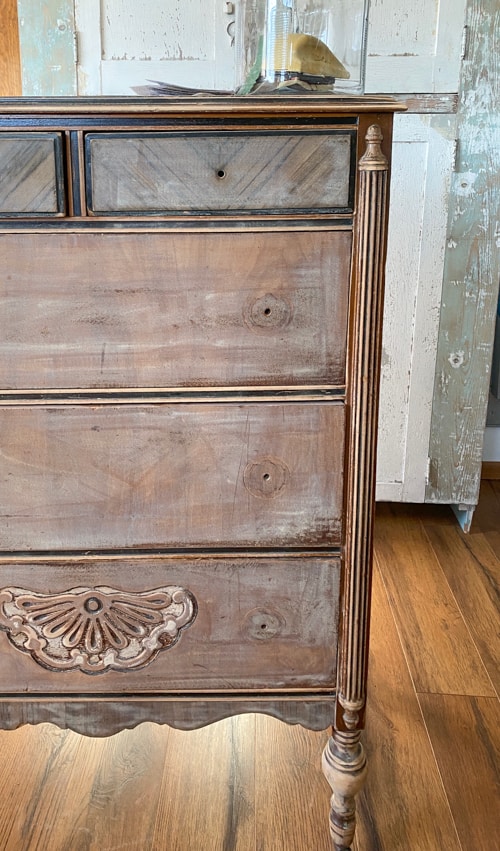
From a distance, I was most excited about this dresser.
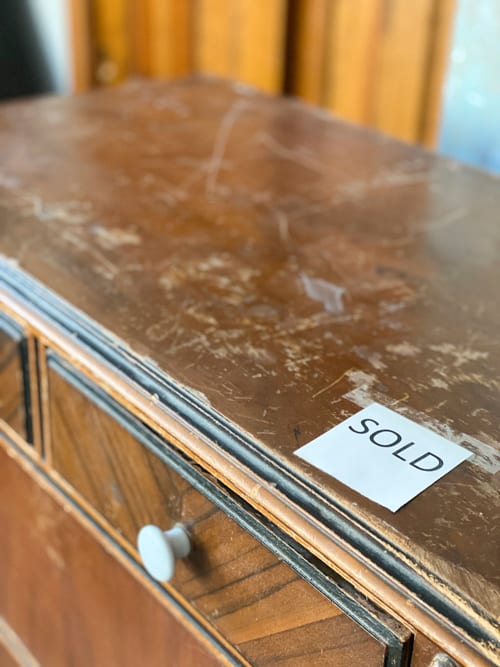
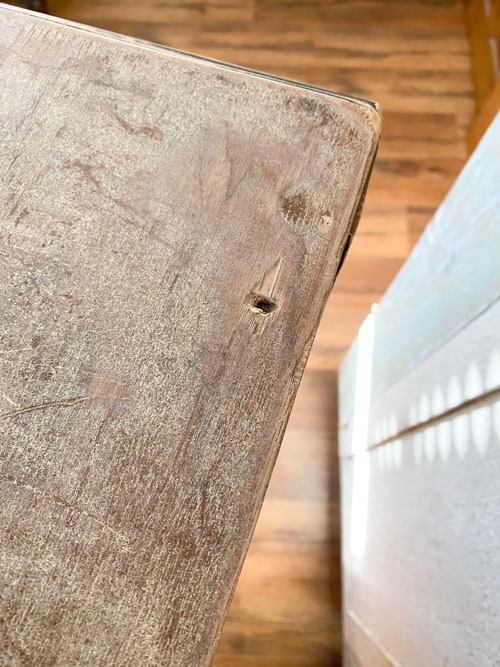
After closer inspection, I wasn’t as excited.
It was still fabulous, but it needed more work than I thought initially.

The first thing I did was give this piece a really good cleaning and vacuuming. I always get asked what I use to clean my pieces. I wrote an entire blog post about how to clean a piece of furniture before painting. Make sure to check that out.
The most important step in every furniture flip is the cleaning process!
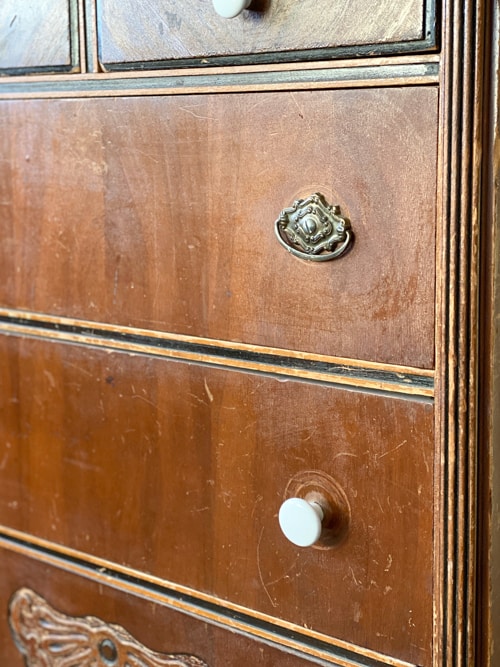
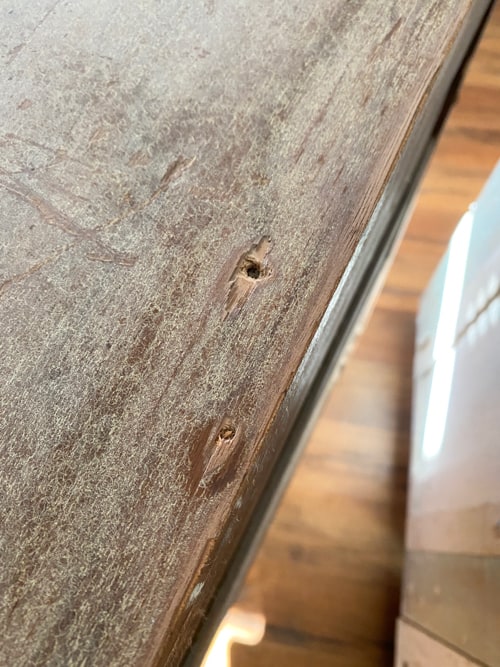
Once I removed the hardware and gave it a good cleaning, I started working on the next step.
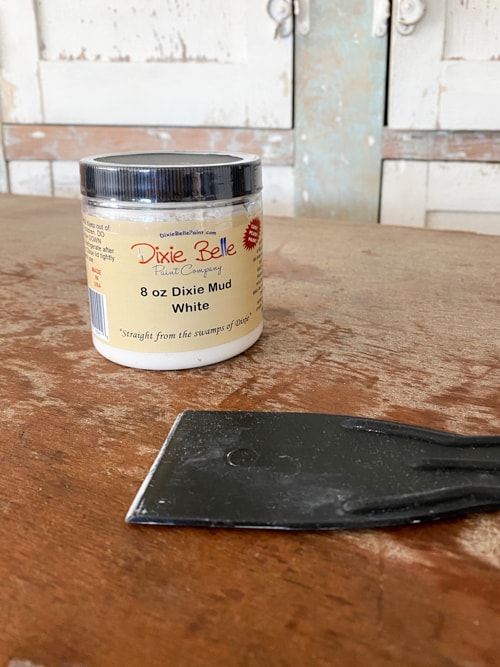
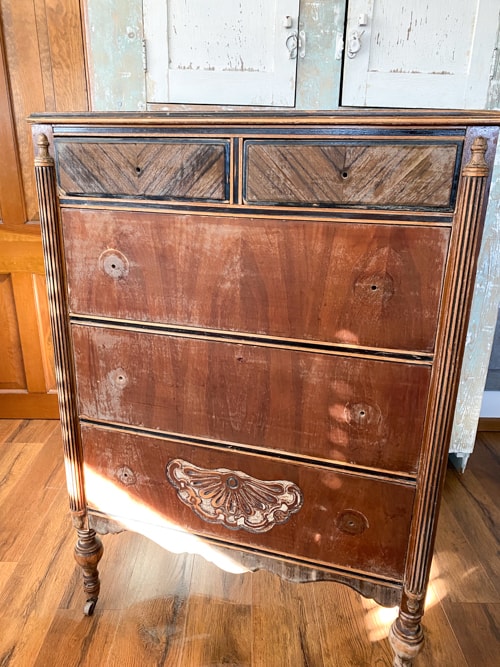
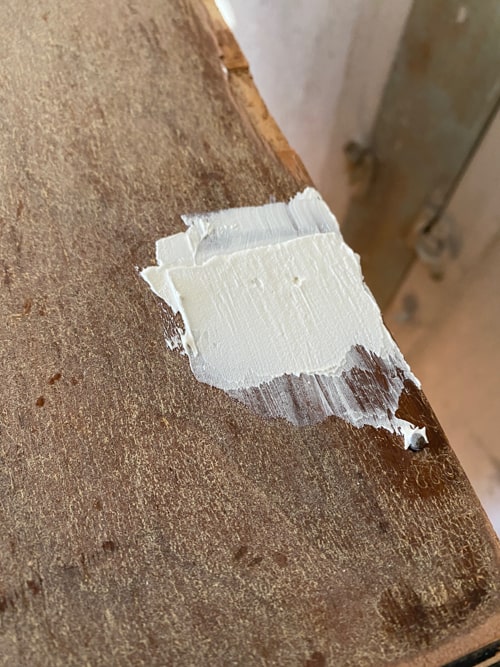
Time to fill the holes and other areas with MUD. I love this stuff. It is so easy to apply with a plastic paint scraper.
Once the MUD was dry, it was time to sand the entire piece.
I used my electric sander that hooks up to my shop vac for this part of the process. (Check the supply list above for my coupon to save on the sander).
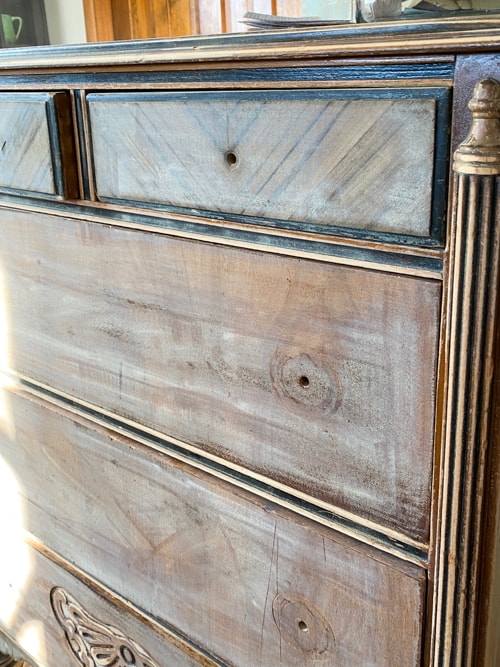
The mix of paint and stain on a furniture piece is so beautiful.
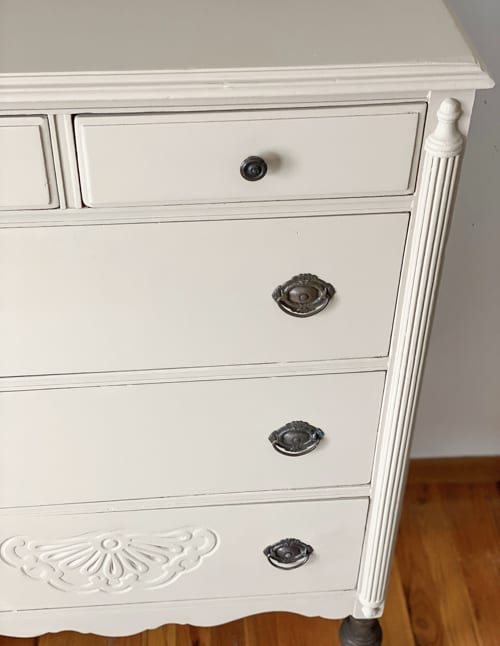
I wanted to stain the front legs in this makeover. I used the electric sander for most of the legs but used this small handheld sander to get into the tiny areas that the electric sander couldn’t get to.
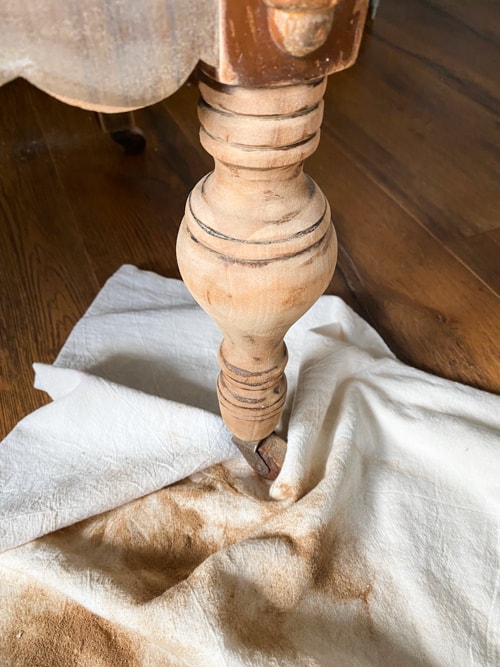
Once the sanding was all done, I took a damp rag and wiped off any dust that was left.
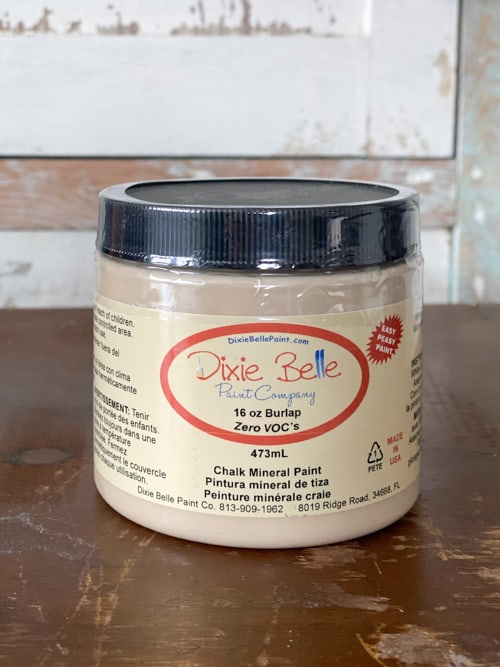
I wanted this to be a traditional dresser makeover so I decided to go with this color.

Having the right tools for every furniture flip is key to a successful flip every time.
I used one of my favorite paintbrushes to apply this beautiful color.
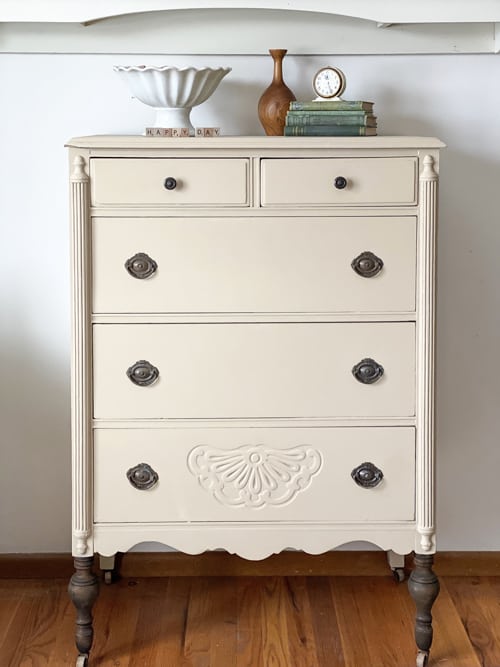
The dresser took two coats of paint. Then, I stained the legs in “Walnut” gel stain.
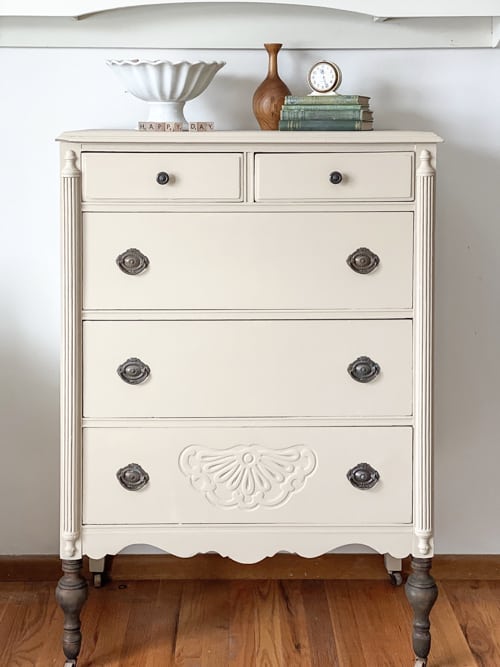
I love the new look!
I did add a topcoat with this blue sponge applicator. This sponge applicator makes it a breeze to apply the topcoat. And, you don’t get brush strokes applying it this way.
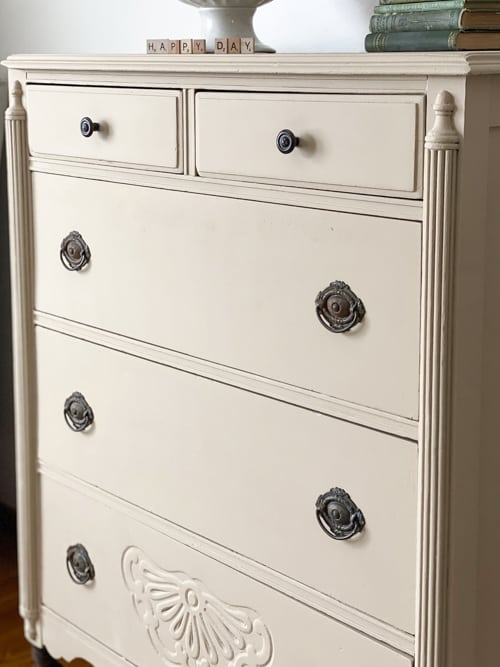
Just like with most pieces, the paint really brought out the details on this piece.
We had hardware in our stash. Always keep hardware from other projects and always look for hardware when you are out hunting for things. It will save you so much money when you flip.
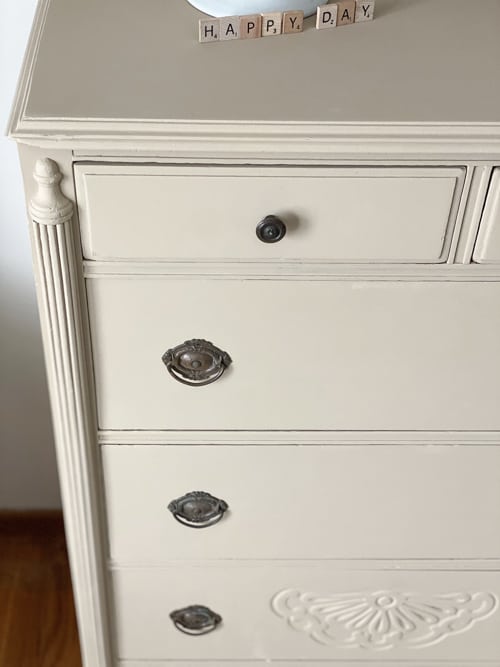
This color looks a lot more like a traditional “burlap” color than what is shown in these photos. It is really a beautiful, neutral color.
I will be selling this piece and getting started on the other three pieces we brought home that day from the thrift store.
See the full video of this makeover in progress on my YouTube channel:
Flipping furniture is not only a fun, creative outlet, but it can be very profitable. It is also how I have furnished our homes over the years. If you are someone looking to learn more about flipping for your home or growing a profitable business around it, I would love to help you! I have created a course for you! Find all the information HERE.
Do You Want To Make Money Flipping Furniture?
After twenty years of doing this, I am still picking up pieces when I can find them because I love the creative outlet, but I am now coaching other furniture flippers on how to make more money in their business. If you are someone who is looking to start and/or grow a furniture flipping business, I would love to help you. There are ways to make money in your business beyond painting a piece of furniture. Once I learned that, my business flourished. Don’t waste your time trying to figure it out on your own.
To help other flippers, I created The Furniture Flipping Academy! The academy includes everything you need to start, grow, and/or scale a furniture flipping business. It includes courses, resources, templates, social media planner and guide, a private community, and so much more. It will ensure that you are doing the steps that will lead to success and not wasting your time on things that won’t.
You can find all the information about the Furniture Flipping Academy HERE.
Let’s get your business started and/or moving in the right direction. The Furniture Flipping Academy is for any flipper, from beginner to experienced. If your business is stagnant, there is a reason for that. Let me help you grow it into a flipping career that is profitable and fits the lifestyle you want to live.
PIN THIS POST!

If you liked this Traditional Dresser Makeover post, you will also love these furniture flipping tips and makeovers:
Small End Table Makeover With Wise Owl Products
Supplies Every Furniture Flipper Needs On Hand
How To Clean A Piece Of Furniture Before Painting