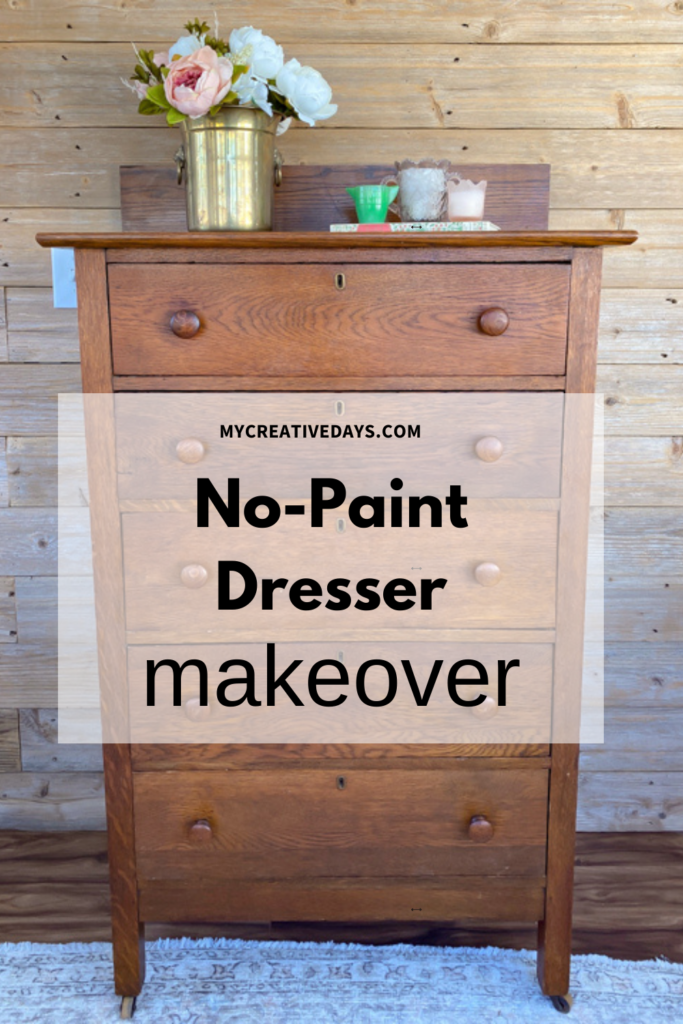
Are you tired of the same old look of your dresser but hesitant to pick up a paintbrush? This makeover has got you covered! In this tutorial, I’ll show you the process of transforming your dresser without a single drop of paint. With the magic of salve and Restor-a-Finish, you can breathe new life into your furniture effortlessly. Follow along as I share this no paint dresser makeover.
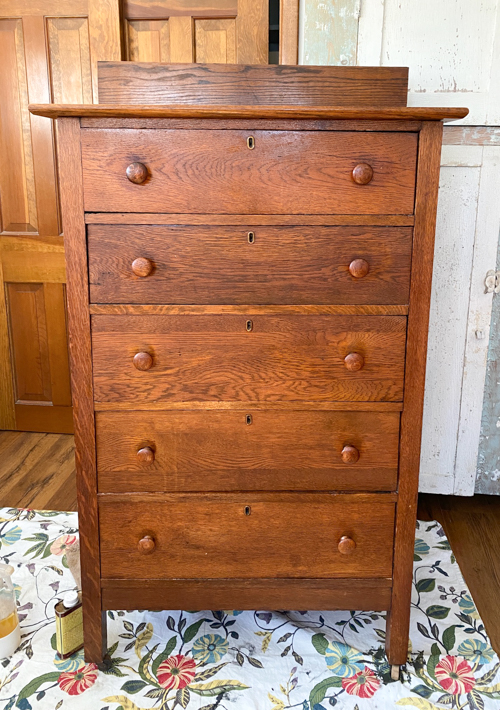
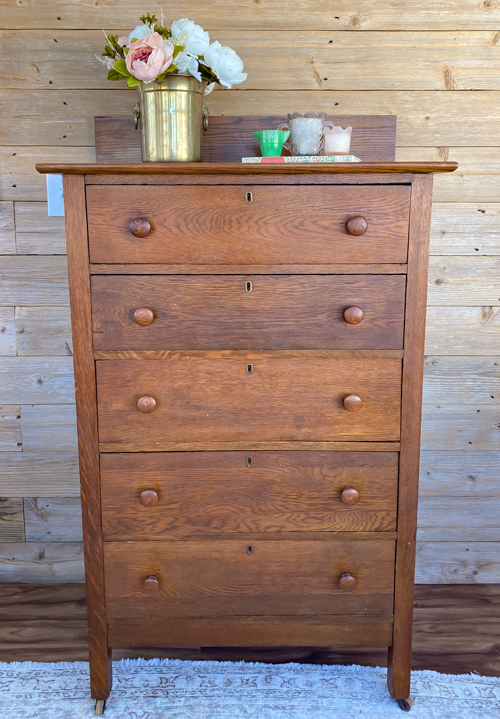
I found this piece at my local Goodwill store for only $15.88! It was in good condition and the perfect candidate for a no paint dresser makeover!
Supplies Used In This No Paint Dresser Makeover
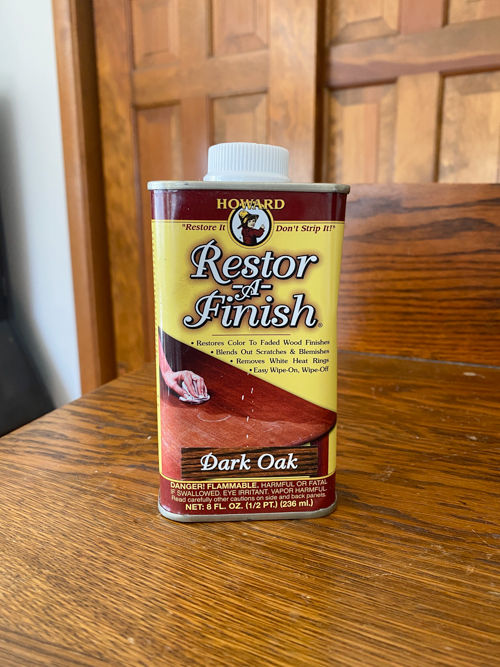
Restor-a-Finish (select a finish that matches your dresser’s wood type)
{Affiliate links are used in this post. Click on any of the underlined links to find the products and sources I am referring to. You can read my disclosure HERE.}
Steps In This No Paint Dresser Makeover
Step 1: Assess Your Dresser’s Condition
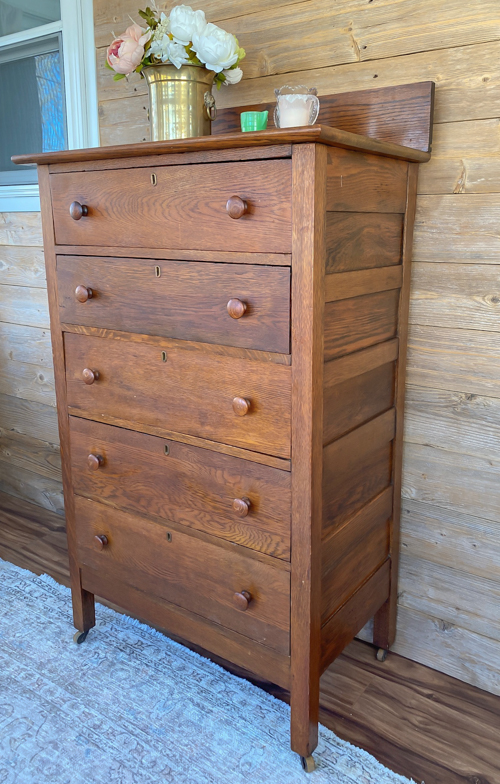
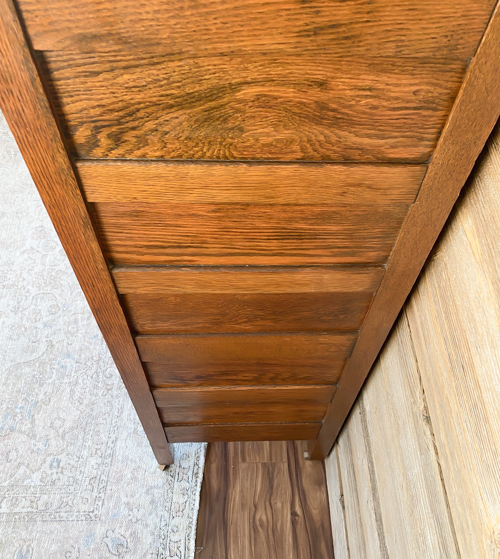
Before diving into the makeover process, it’s essential to assess the condition of your dresser. Take note of any scratches, dents, or imperfections that need attention. This step will help you determine the extent of restoration required and set the stage for a successful makeover.
Step 2: Gather Your Materials
Gather all the necessary materials for the makeover, including:
Step 3: Clean and Prep Your Dresser
Start by thoroughly cleaning your dresser to remove any dirt, grime, or residue. Use a mild cleaner and a clean cloth to wipe down the surface. Allow the dresser to dry completely before proceeding to the next step. If your dresser has stubborn stains or buildup, gently sand the affected areas with fine-grade steel wool or sandpaper. Find my full post about how to clean a piece of furniture before a makeover HERE. If you are looking for cleaners, I have a post with my 5 top cleaners for furniture makeovers HERE.
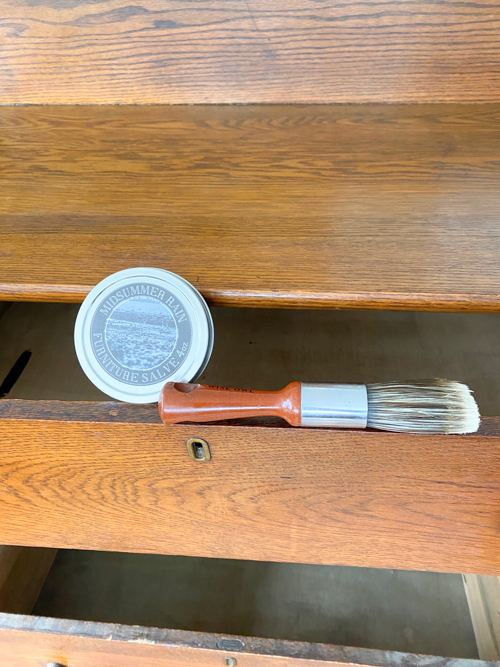
Step 4: Apply Salve to Revitalize the Wood Inside The Drawers
Once the dresser is clean and dry, it’s time to apply the salve inside the drawers. Using the salve brush, apply a small amount of salve and apply it evenly to the inside of the drawers. Work in small sections, ensuring thorough coverage. The salve will penetrate the wood, moisturizing and rejuvenating its appearance. After a few hours or even the next day, take a clean cloth and wipe away an excess salve that has not penetrated the wood. You need the salve to fully cure before putting clothes in the drawers.
Step 5: Restore the Finish with Restore-a-Finish
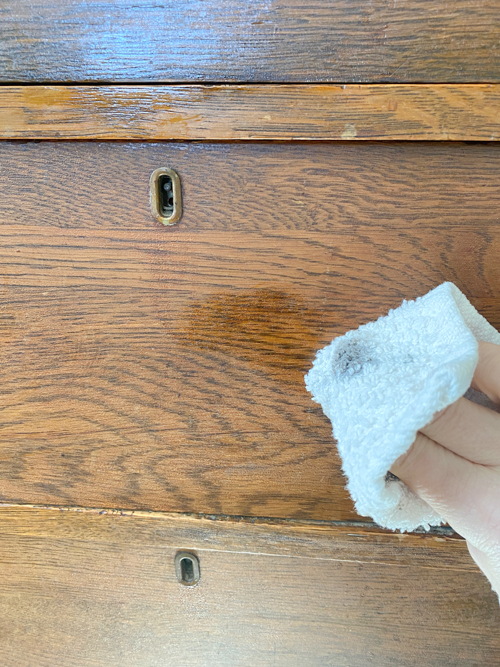
Now, it is time to work on the outside using Restor-a-Finish. Shake the bottle well and apply the product to the outside of the dresser using a clean cloth, following the wood grain. Allow the Restor-a-Finish to penetrate the wood for a few moments, then buff the surface with a clean cloth to remove any excess product.
Step 6: Finishing Touches and Final Inspection
Once you’ve applied the Restore-a-Finish, take a step back and admire your handiwork. Inspect the dresser for any missed spots or uneven areas, and touch up as needed. Once you’re satisfied with the results, allow the dresser to dry completely before placing any items on it.
We’ve successfully transformed your dresser without a drop of paint. With the power of salve and Restor-a-Finish, we’ve breathed new life into this dresser. Not all furniture pieces need paint. There are a lot of them that do but this one was the perfect candidate for a no paint dresser makeover. I hope this tutorial has inspired you to get creative and explore the possibilities of furniture restoration.
To see how I cleaned this piece, head to my video HERE. To see the Restore being applied, head HERE, and to see the salve being applied inside the drawers HERE. I upload new DIY YouTube videos every week. Make sure you SUBSCRIBE when you are there so you don’t miss any of them!
Do You Want To Make Money Flipping Furniture?
After twenty years of doing this, I am still picking up pieces when I can find them because I love the creative outlet, but I am now coaching other furniture flippers on how to make more money in their business. If you are someone who is looking to start and/or grow a furniture flipping business, I would love to help you. There are ways to make money in your business beyond painting a piece of furniture. Once I learned that, my business flourished. Don’t waste your time trying to figure it out on your own.
To help other flippers, I created The Furniture Flipping Academy! The academy includes everything you need to start, grow, and/or scale a furniture flipping business. It includes courses, resources, templates, social media planner and guide, a private community, and so much more. It will ensure that you are doing the steps that will lead to success and not wasting your time on things that won’t.
You can find all the information about the Furniture Flipping Academy HERE.
Let’s get your business started and/or moving in the right direction. The Furniture Flipping Academy is for any flipper, from beginner to experienced. If your business is stagnant, there is a reason for that. Let me help you grow it into a flipping career that is profitable and fits the lifestyle you want to live.
PIN THIS POST!
Thank you for this post! I have a chest of drawers almost identical to this one that I am about to refurbish. I am new to restoring furniture, so this information is helpful. I hope mine will look as good as yours when I finish. : )
You’re welcome! You are in the right place for all kinds of help with furniture projects! So excited for your project!