Easy DIY Hutch Makeover in our living room to spruce up an already beautiful piece to make it even better in a few, simple steps.
My parents rescued this hutch a long time ago. I remember my mom working on it in our backyard. She was the OG furniture flipper. I wonder where I got it from?
It has been in her home ever since and she gave it to me a few years ago.
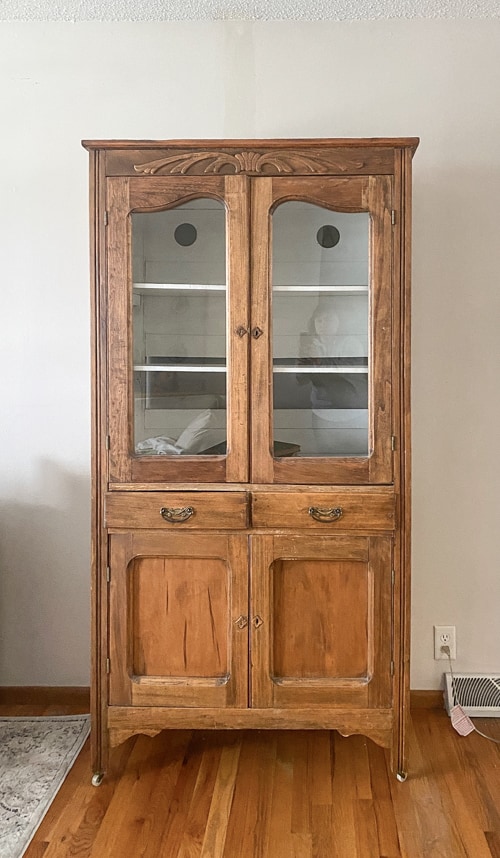
I haven’t touched the hutch since I got it. I will never do anything to the outside. She worked a long time to remove all the paint and I love it the way it is. I have, on the other hand, wanted to give the inside a little makeover for some time.
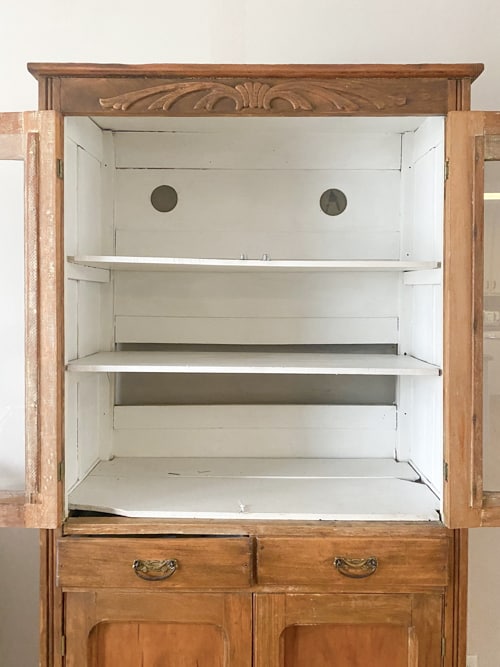
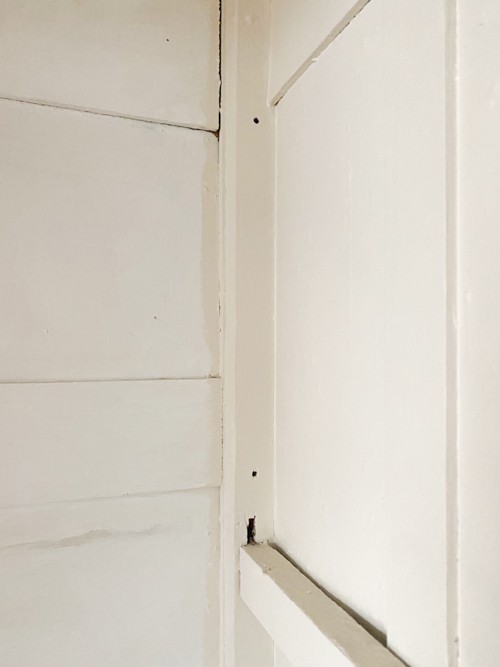
The shelves weren’t original to the piece and they were warped. The back had openings with a screen.
{Affiliate links are used in this post. Click on any of the underlined links to find the products I am talking about. You can read my disclosure HERE.}
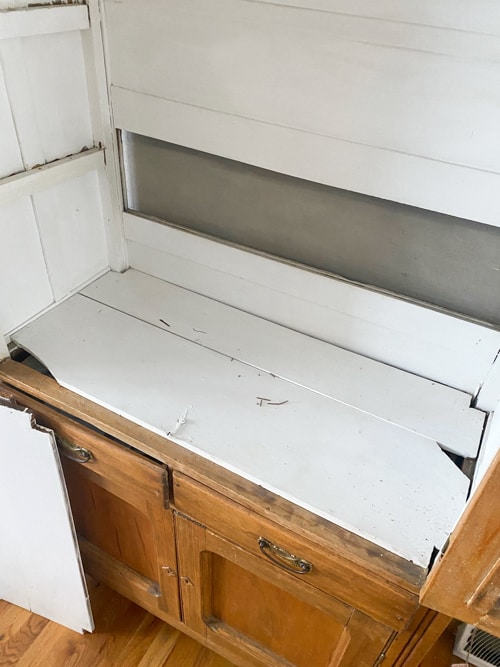
The bottom shelf was made of two boards and they were missing pieces on each end.
I wanted to do this easy DIY hutch makeover to make the inside solid, straight, and more cohesive without ruining the integrity of the hutch.
This is what we did.
Supplies Used In This Easy DIY Hutch Makeover
Gel Stain (we used American Honey)
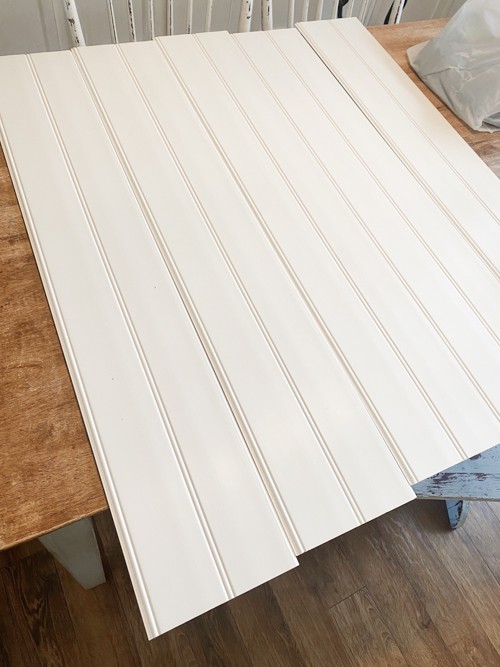
3/4 in. x 16 in. x 4 ft. Softwood Boards
Steps For This Easy DIY Hutch Makeover
The first thing we did was remove the shelves.
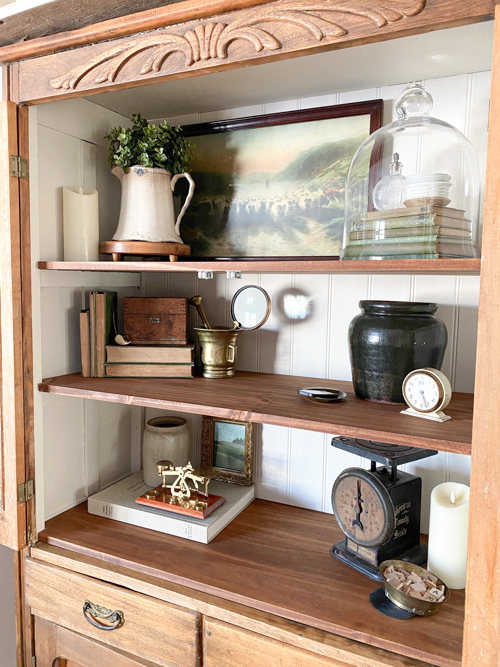
Then, I painted the inside. I only painted the sides and the top. I wanted to go with a warm color but still keep it light and bright. The stark white was so dingy and I didn’t love how cold it was. I chose this color. It was exactly what this hutch needed.
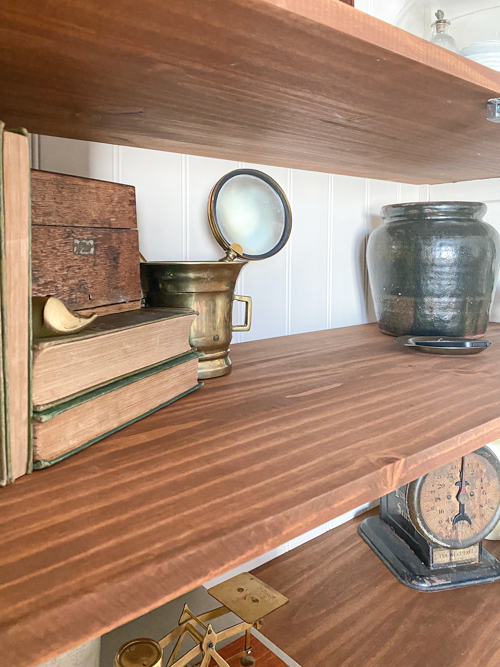
While that dried, Matt cut the planks to fit on the back of the hutch (on the inside). The planks aren’t permanent. They can be removed at any time to reveal the original hutch. They were a great solution to create a solid back and a clean look for the inside of the hutch.

Matt attached them with a nail gun. He used small nails and only put a few nails in each one so they could easily be removed.
We filled all the nail holes with my favorite wood filler. Then, let that dry and sanded it down smoothly.
Next, I painted the planks the same color as the sides and ceiling of the hutch.
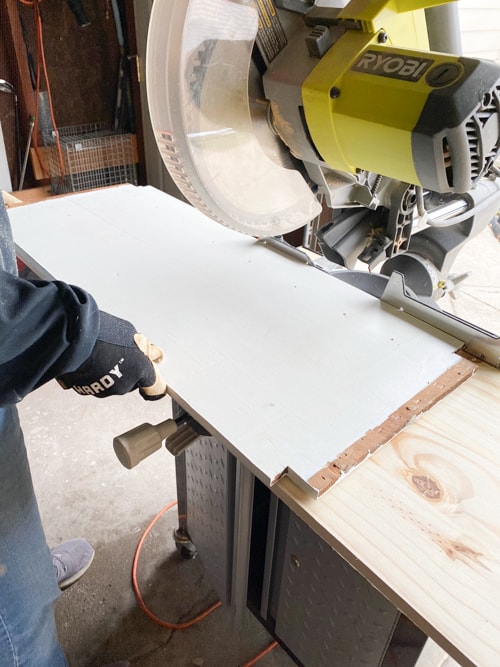
After that, we needed to make the new shelves. We bought 3/4 in. x 16 in. x 4 ft. softwood boards for the shelves. Matt cut them down to size using the old shelves as templates. Then, I stained them this color.
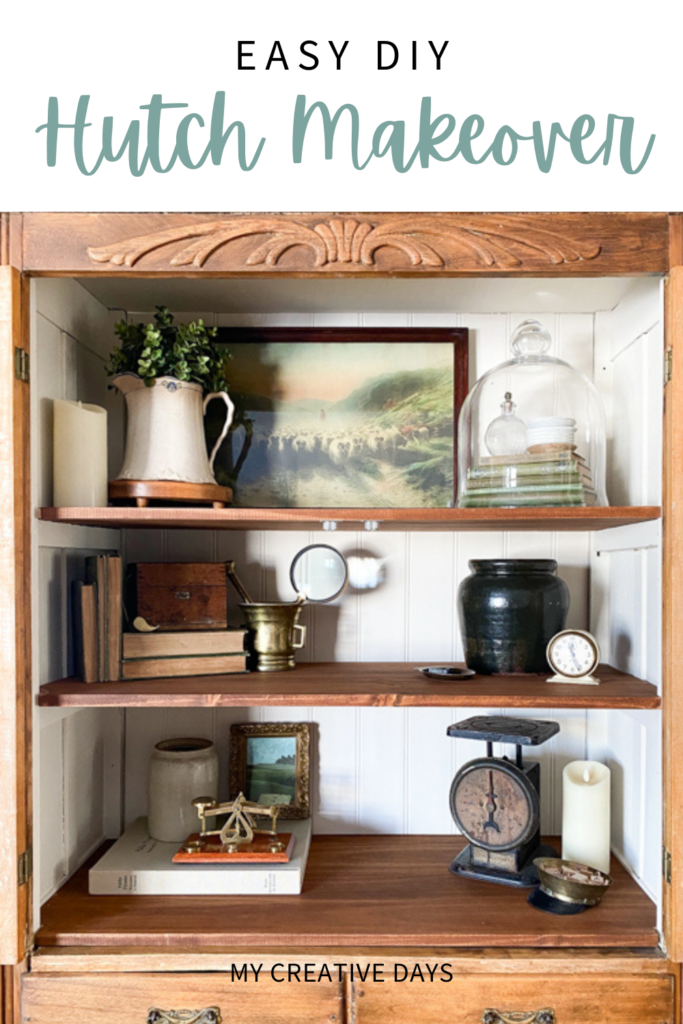
Once they were dry, we added them to the hutch and the makeover was complete!
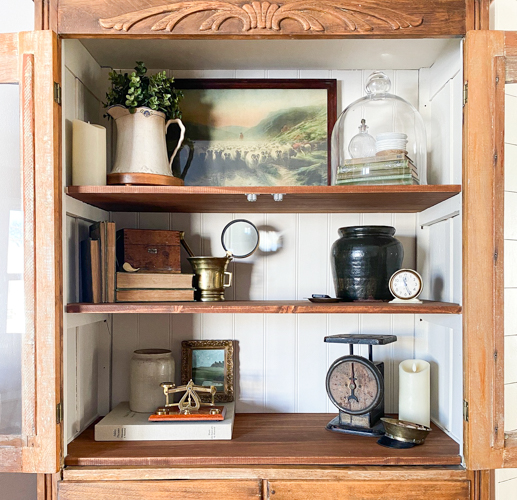
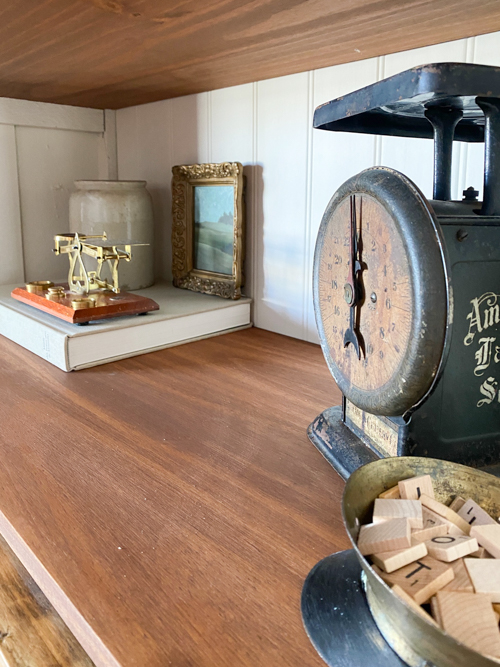
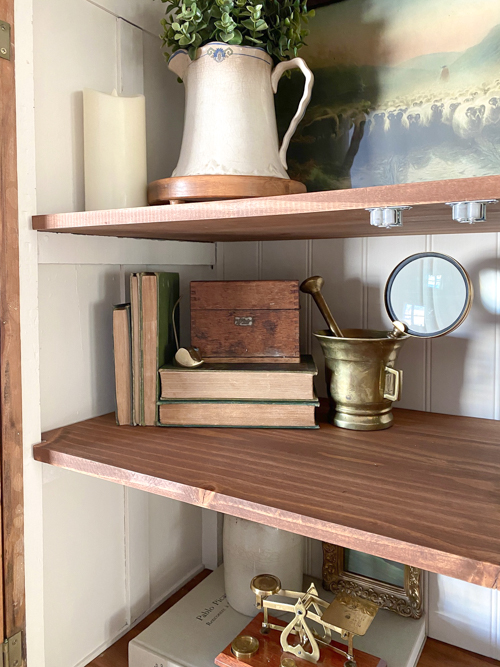
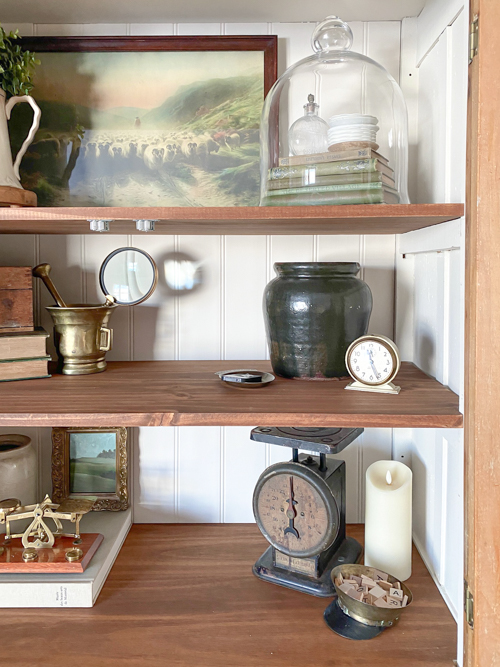
The new shelves and the back make this hutch complete.
I knew this simple makeover would not take a lot of time but it would make such a difference.
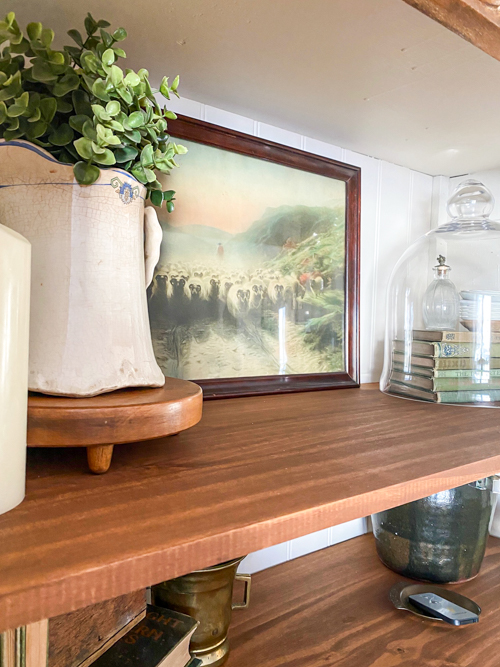
The warmer paint color fits our style better. It is also a great background color for all the decor inside.
The new shelves were needed. We didn’t know how much they were needed until we got them done.
We had to move the door magnets a few times to get them just right. The warped shelves made the magnets hard to work on the new shelves. We didn’t realize just how warped they were.
We are so glad we finally did this and my mom came over and said she loved the small changes.
I am on a mission to make the small changes I have been putting off in our home. I want to love each space again and these little projects are helping me do that. This easy DIY hutch makeover has breathed new life into our living room. I hope this inspires you to make the small changes you have been putting off. Paint the room. Buy the rug. Rearrange the furniture. Whatever you need to do to love the space you are in all over again.
PIN THIS POST!