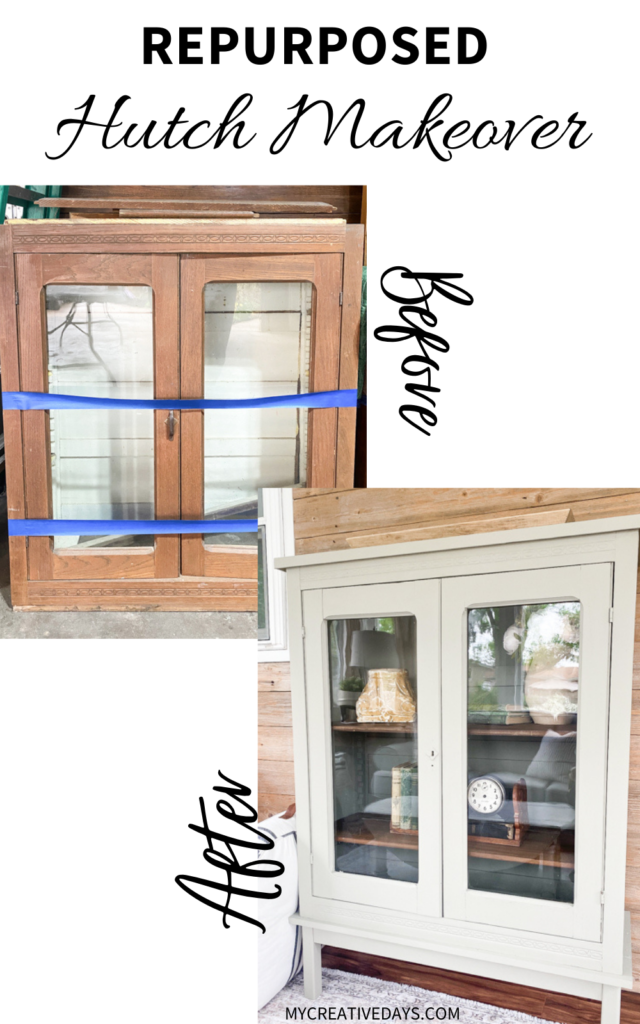
This repurposed hutch makeover was a way to make the most out of a piece of a hutch that still had a lot of potential and function.
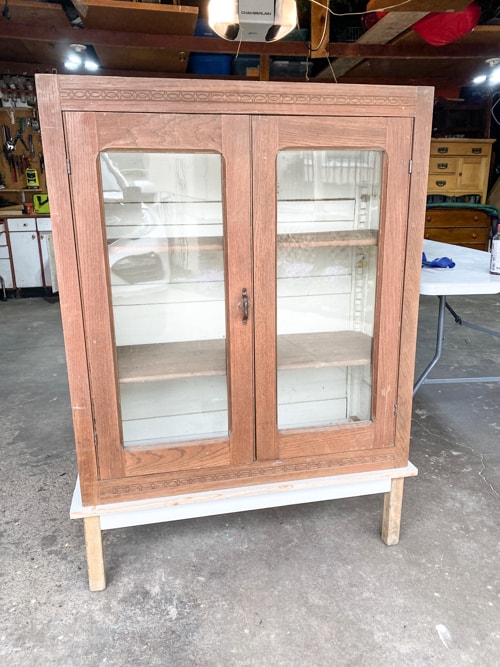
When I saw this hutch top, I had to bring it home.
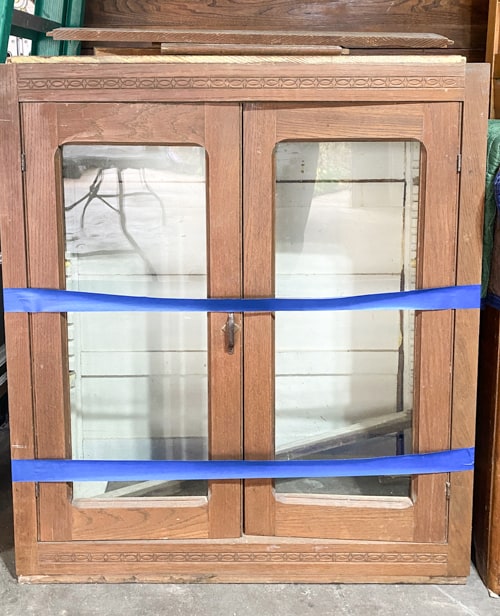
It was missing a bottom and was in need of some repair but it still had so much going for it. One of my favorite things about flipping furniture is that it is never the same. Every project looks different. Each project pushes my creativity and skills. Taking pieces like this and making them into something usable and pretty again are my favorite flip projects. I love bringing pieces that are destined for the landfill back to life.
The detail on the top and bottom of the front was still great. Those little details will make me fall in love and find all kinds of potential in pieces.
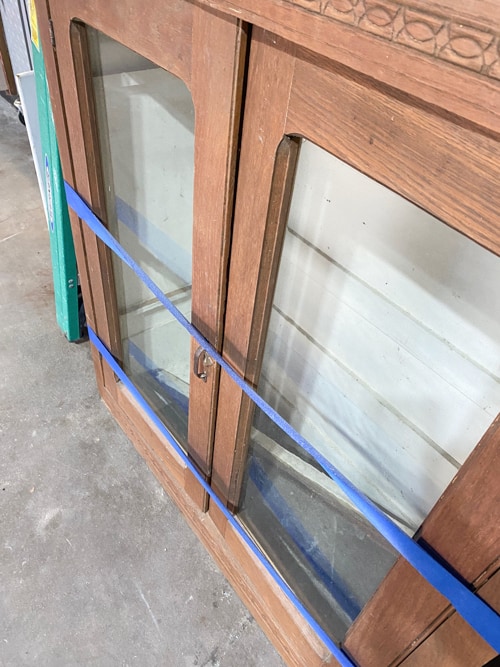
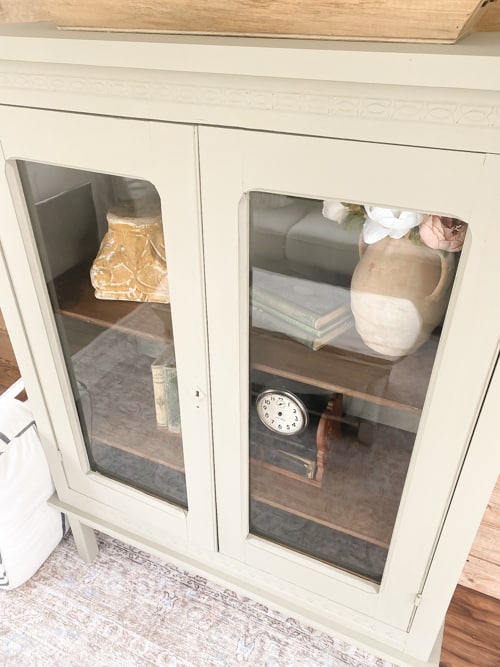
Another amazing thing about this hutch top was that it still had all the original glass. It is the old, way glass. Beautiful.
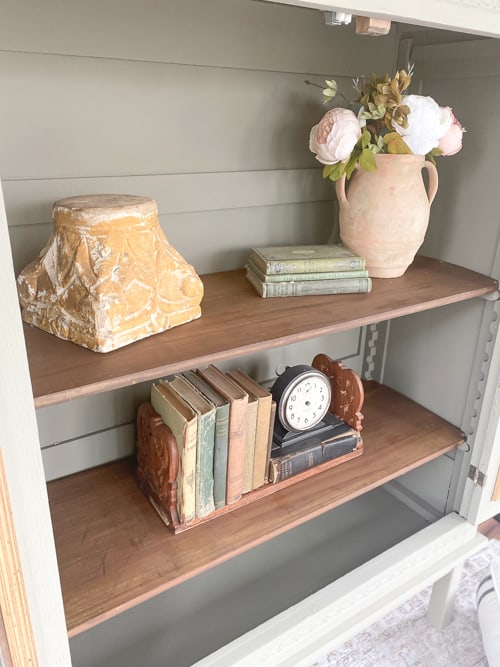
It also still had the shelves inside.
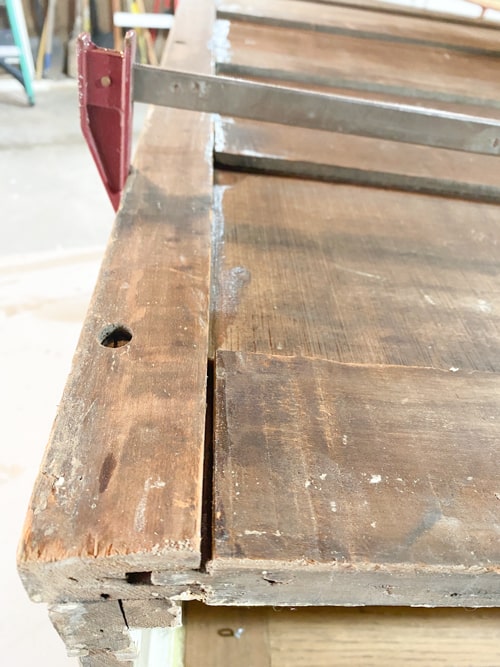
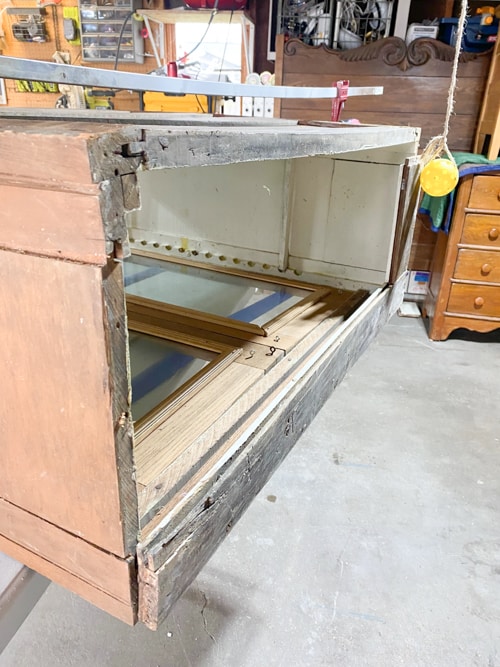
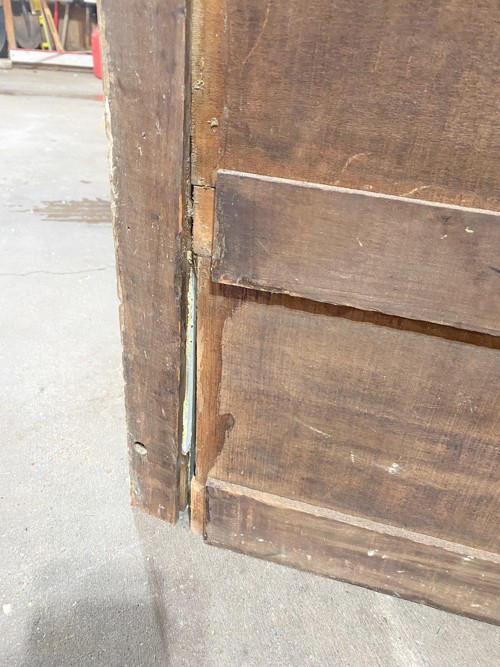
As I said, this piece needed some repairs to make it functional again. Some clamps and glue made that an easy fix.
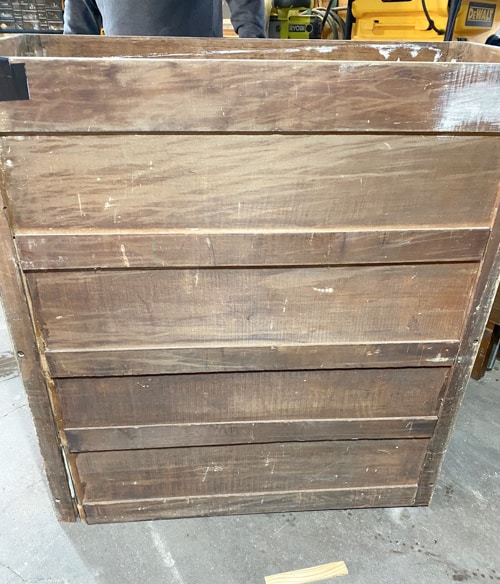
Look at the back!!! When you see this on a back of a piece of furniture, you know you are working with a real wood piece of furniture.
{Affiliate links are used in this post. Click on any of the underlined links under the photos to find the products I am talking about. You can read my disclosure HERE.}
Supplies Used In This Repurposed Hutch Makeover
Paint – (Dried Sage & Spanish Moss)
Scrap Wood
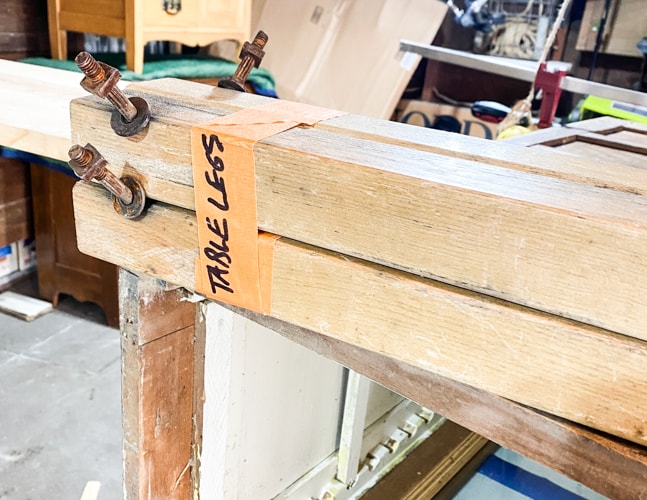
I had to find some legs that we could use to get this hutch top on a base. Restore is a great place to find things like that. These straight legs worked perfectly.
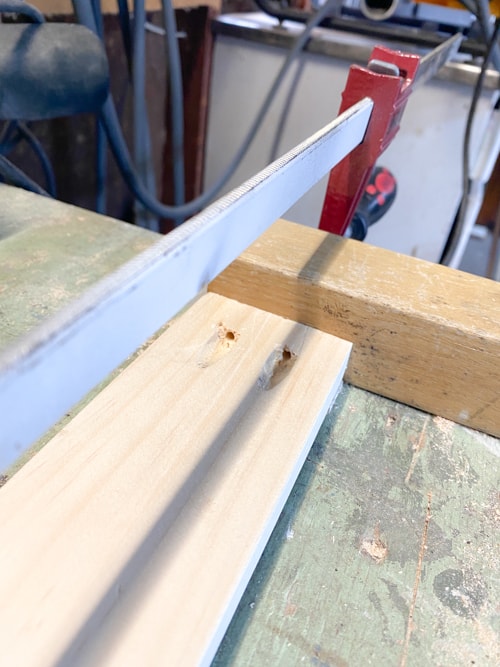
We used scrap wood we had in the garage and the Restore table legs to make the base.
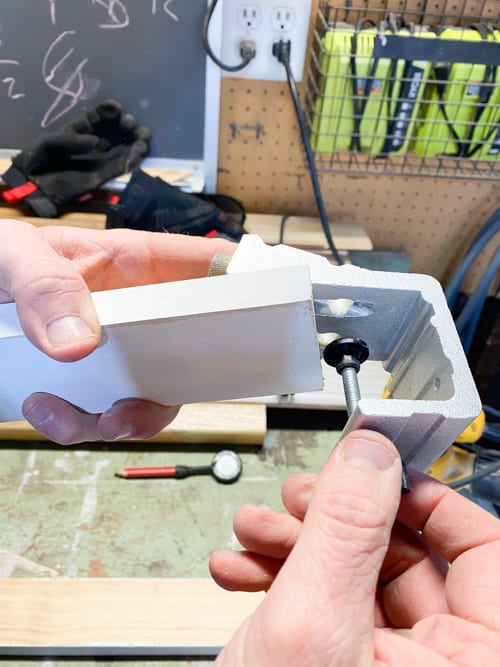
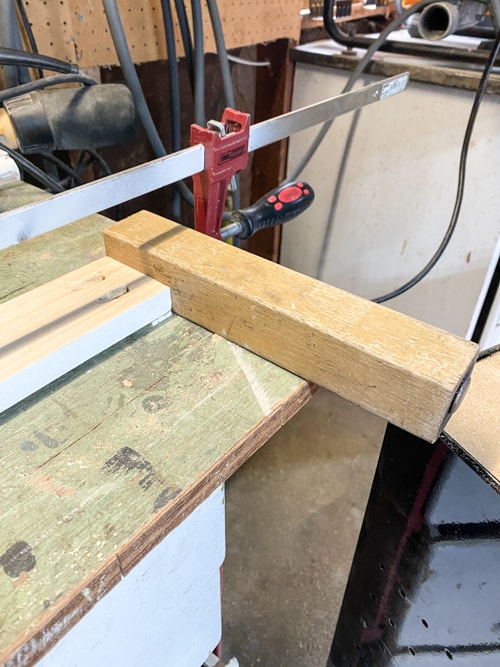
A jig hole set makes projects like this flawless. It sets the screws inside the piece so you can’t see them. It just makes for a more seamless/”professional” look.
The long clamps are great for holding pieces after you glue them, but they worked great for holding the leg onto the scrap boards when we were putting the base together.
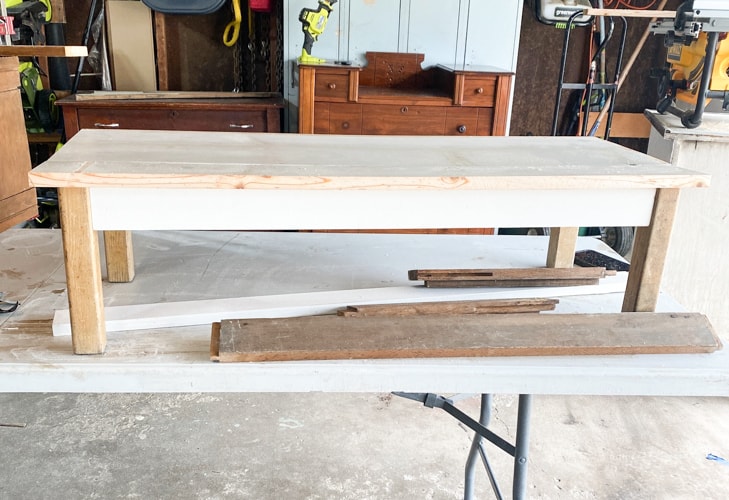
Once the base was together, it was time to attach the hutch top to it. Then, Matt used some more scrap wood to add the top.
We did use some paintable caulk in a few areas where the wood needed to be filled on the hutch part. Once that was dry, it was time for paint.
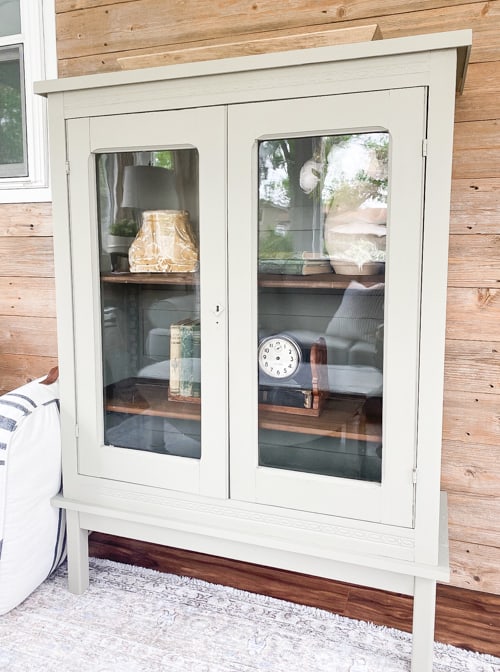
I chose two of my favorite Dixie Belle Colors (Dried Sage and Spanish Moss) for this hutch. I wanted the darker (Spanish Moss) inside and the lighter on the outside.
It only took two coats to cover the hutch portion and the scrap boards we used on the base and the top.
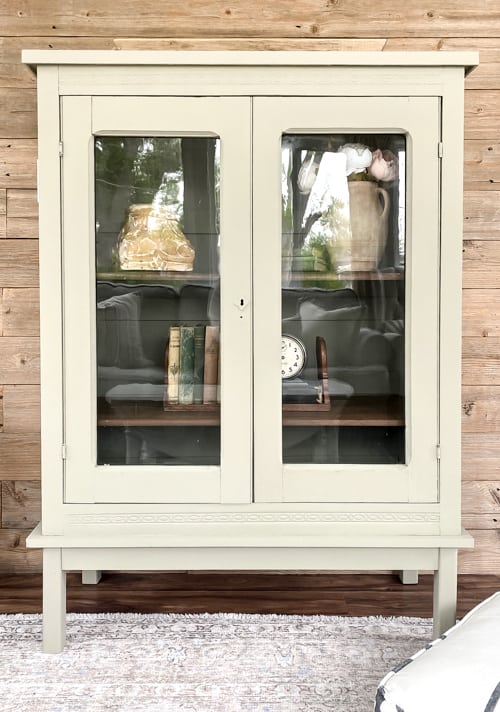
Look at this piece now!!
The shelves needed some sprucing up so I did take some stain we had on hand and went over them. It made a huge difference.
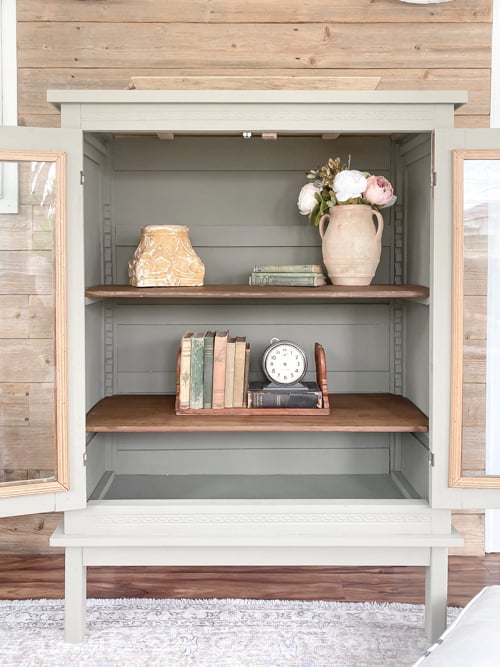
I LOVE pieces like this because they are so versatile. You can use this for so many things.

There is so much storage too! Pretty storage is always a win in my book.
This piece has come a long way. I am so glad I came across it because it still has a lot of life to live.
Would you have picked this up? How would you use a repurposed hutch like this?
Do You Want To Make Money Flipping Furniture?
After twenty years of doing this, I am still picking up pieces when I can find them because I love the creative outlet, but I am now coaching other furniture flippers on how to make more money in their business. If you are someone who is looking to start and/or grow a furniture flipping business, I would love to help you. There are ways to make money in your business beyond painting a piece of furniture. Once I learned that, my business flourished. Don’t waste your time trying to figure it out on your own.
To help other flippers, I created The Furniture Flipping Academy! The academy includes everything you need to start, grow, and/or scale a furniture flipping business. It includes courses, resources, templates, social media planner and guide, a private community, and so much more. It will ensure that you are doing the steps that will lead to success and not wasting your time on things that won’t.
You can find all the information about the Furniture Flipping Academy HERE.
Let’s get your business started and/or moving in the right direction. The Furniture Flipping Academy is for any flipper, from beginner to experienced. If your business is stagnant, there is a reason for that. Let me help you grow it into a flipping career that is profitable and fits the lifestyle you want to live.
PIN THIS POST!
If you liked this makeover, you will also like these transformations:
Creamy White Boho Buffet Makeover
DIY Industrial Coffee Table From A Metal Cabinet