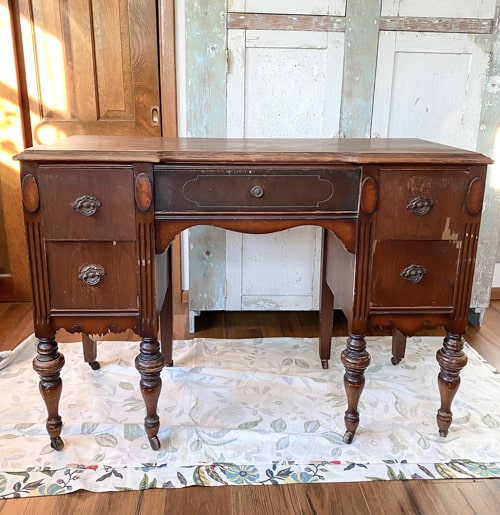
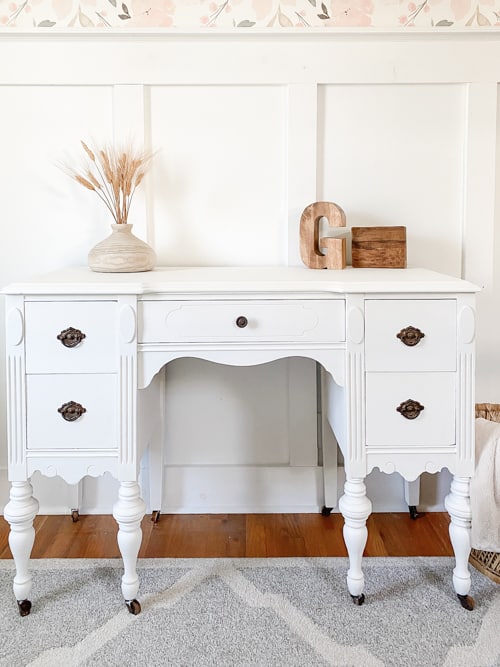
Old furniture pieces make me so happy. This piece was such a good find. Vanities are great because you can use them in many different areas in your home. I like to use them as desks, buffets, sofa tables, vanities, and serving side tables. Versatile pieces of furniture are my favorite to flip. This DIY vanity makeover will show you how easy it is to do.
{Affiliate links are used in this post. Click on any of the underlined links to find the products I am talking about. You can read my disclosure HERE.}
Supplies Used In This DIY Vanity Makeover
Sander (use code mycreativedays10 to save on your order)
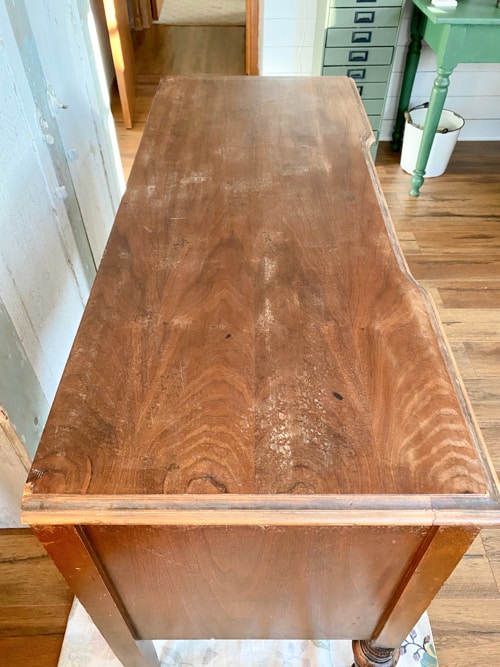
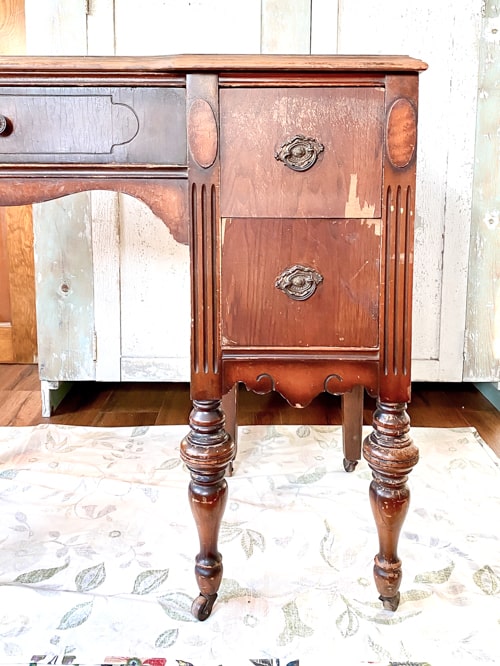
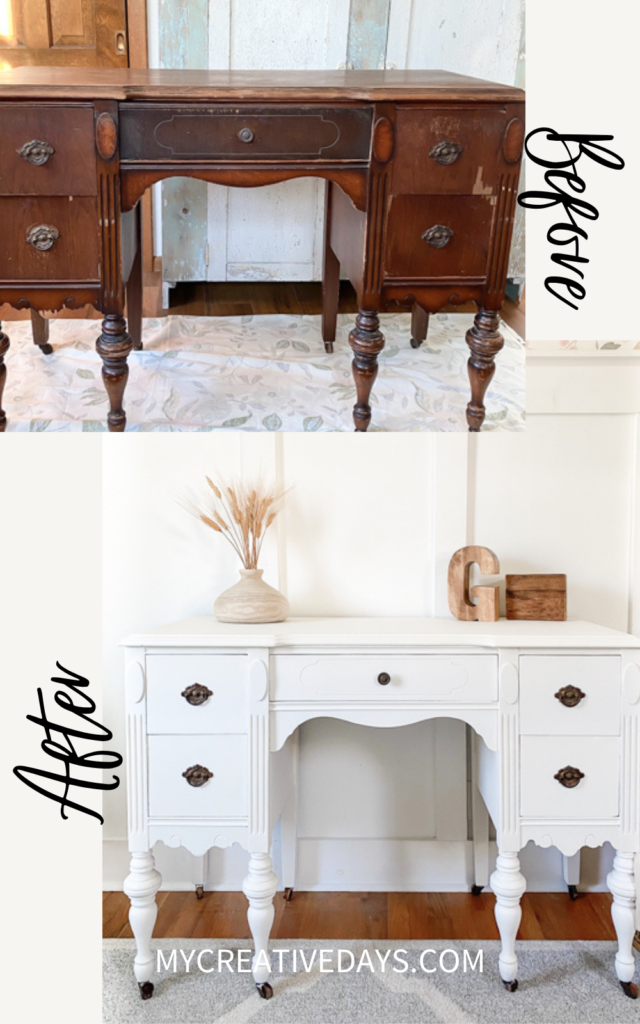
This piece was in great condition.
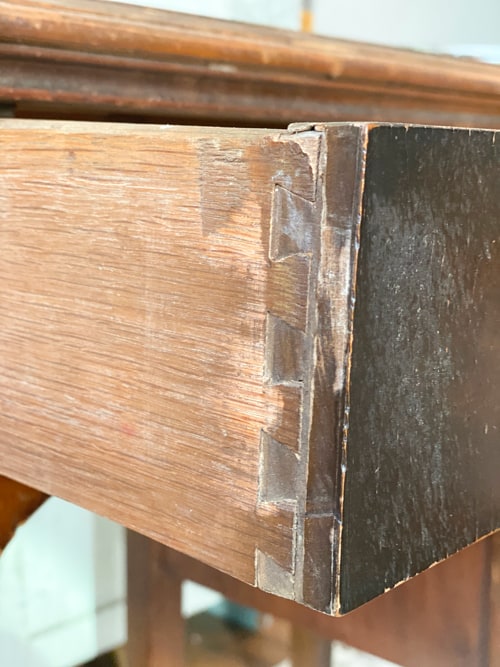
I love dovetail drawers. That is one of the signs to look for when you are searching for all-wood furniture to flip. To see what else I look for when picking up pieces to flip, head to my blog post HERE.

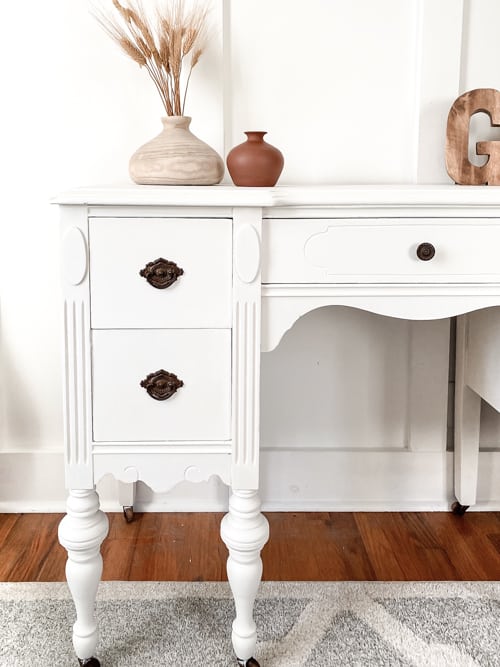
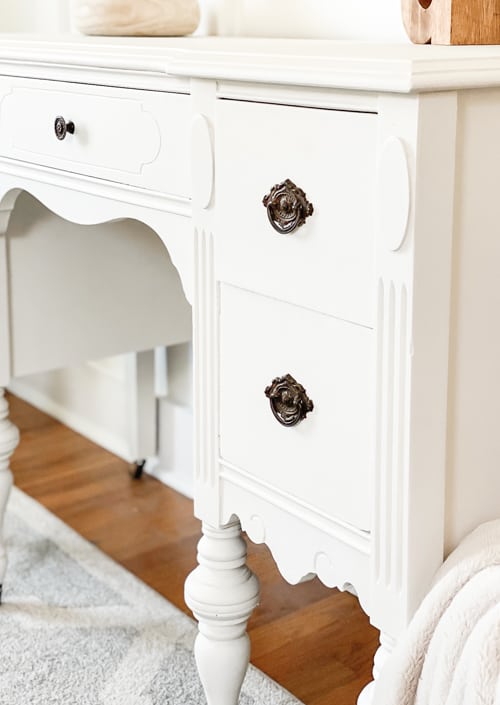
Finding pieces that have all the original hardware is like hitting the jackpot.
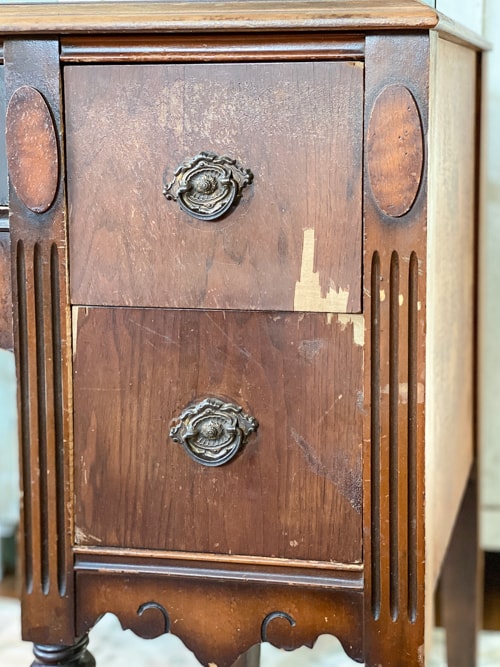
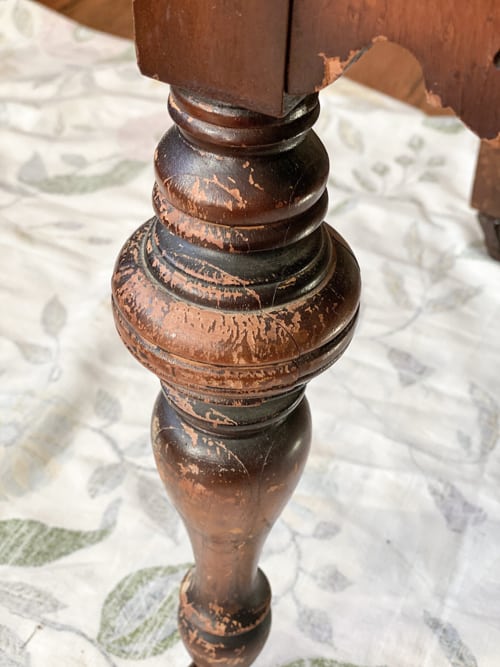
Even though this vanity was in good condition and had a lot going for it, there were a few things that needed to be dealt with before I could paint it.
Steps To This DIY Vanity Makeover
First, I gave the vanity a good cleaning. You can see how I clean furniture pieces before I give them a makeover HERE. After the vanity was cleaned, it was time to prep it for paint.
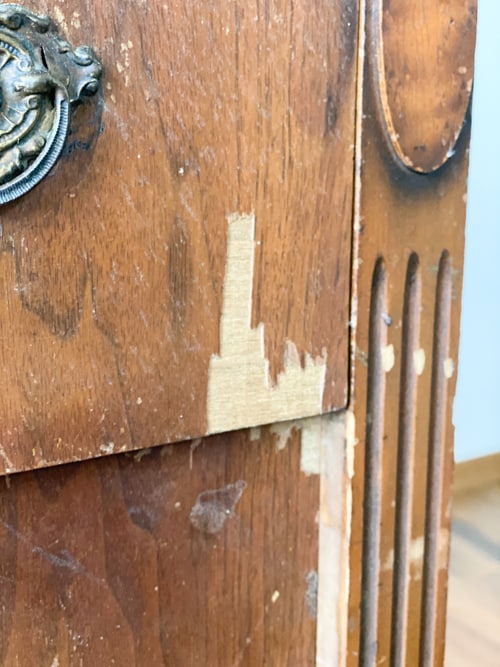
I needed to start by patching the missing veneer. There were only a few places that needed to be patched. I love using MUD for this. When a piece needs patched, MUD works so well. You can see how I do the patching process HERE.
Once the MUD was dry, I sanded it to make it smooth and flush with the rest of the vanity.
Now, it was time for a scuff-sand on the rest of the piece.
A scuff-sand will help the primer and paint adhere well.
It also ensures the piece is smooth which in turn will make the end result that much better. The Surfprep sander is amazing for this. It works so well. It is an investment but one that is well worth it. I have a coupon code that I put in the supply list above that will save on your order.
After the scuff-sand, I took a damp cloth and wiped the piece down to remove any sanding dust that was left over.
Now, it was time to prime.
I love using BOSS when I prime pieces. It will stop any bleed-through when you paint. It will also get rid of smells.
After I put a coat of BOSS on and let it thoroughly dry for a few hours, it was time for paint.
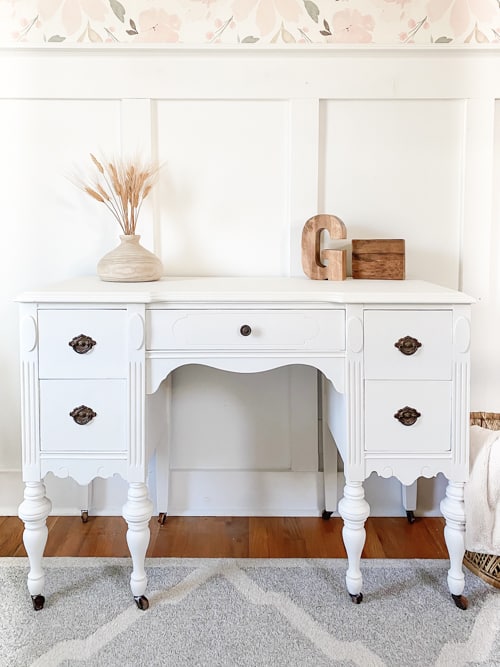
I love Dixie Belle Paints (linked above in the supply list) on my projects. They have beautiful colors and the coverage is amazing. This DIY vanity makeover took two coats of paint (with a light sanding between coats) to get it covered.
Once the paint fully dried, I gave it a finish sanding and added the topcoat (linked above).
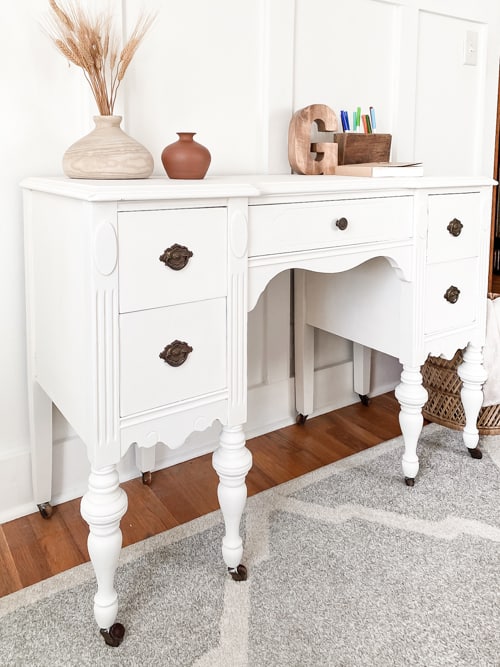
Once the topcoat was dry, I put the hardware back on and it was ready to sell.
This DIY vanity makeover was so fun to work on. I don’t find these kinds of pieces all the time. I find dressers the most. So, when I get to work on a piece of furniture that is different, it is always a little more fun.
How would you use this piece in your home?
If you make over a piece of furniture, I would love to see it! Share a photo on Instagram and tag me @mycreativedays.
Do You Want To Make Money Flipping Furniture?
After twenty years of doing this, I am still picking up pieces when I can find them because I love the creative outlet, but I am now coaching other furniture flippers on how to make more money in their business. If you are someone who is looking to start and/or grow a furniture flipping business, I would love to help you. There are ways to make money in your business beyond painting a piece of furniture. Once I learned that, my business flourished. Don’t waste your time trying to figure it out on your own.
To help other flippers, I created The Furniture Flipping Academy! The academy includes everything you need to start, grow, and/or scale a furniture flipping business. It includes courses, resources, templates, social media planner and guide, a private community, and so much more. It will ensure that you are doing the steps that will lead to success and not wasting your time on things that won’t.
You can find all the information about the Furniture Flipping Academy HERE.
Let’s get your business started and/or moving in the right direction. The Furniture Flipping Academy is for any flipper, from beginner to experienced. If your business is stagnant, there is a reason for that. Let me help you grow it into a flipping career that is profitable and fits the lifestyle you want to live.
PIN THIS POST!
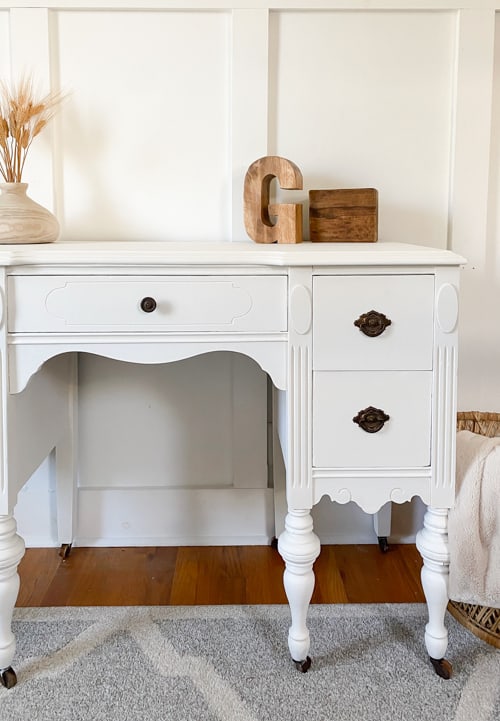
It’s so pretty now