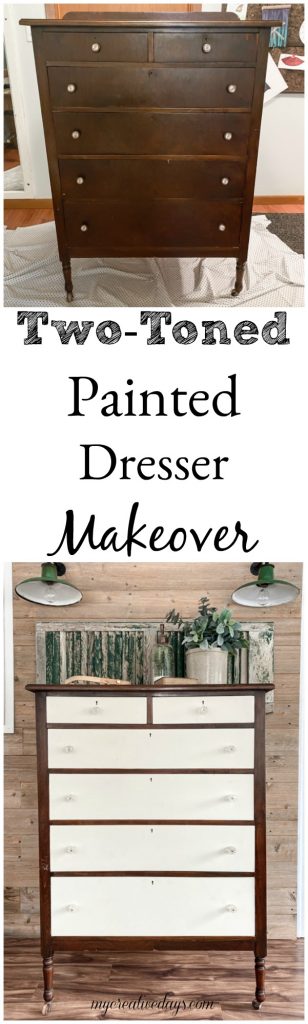
This easy DIY tutorial will teach you how to create a Two-Toned Painted Dresser Makeover with a few supplies and a little elbow grease.
I have another fun makeover to share with you today. In the last couple of months, I have had some great luck finding dressers and furniture pieces that need a little TLC and that were priced well enough for me to bring home to work on them. My latest find was this tall, six-drawer dresser.
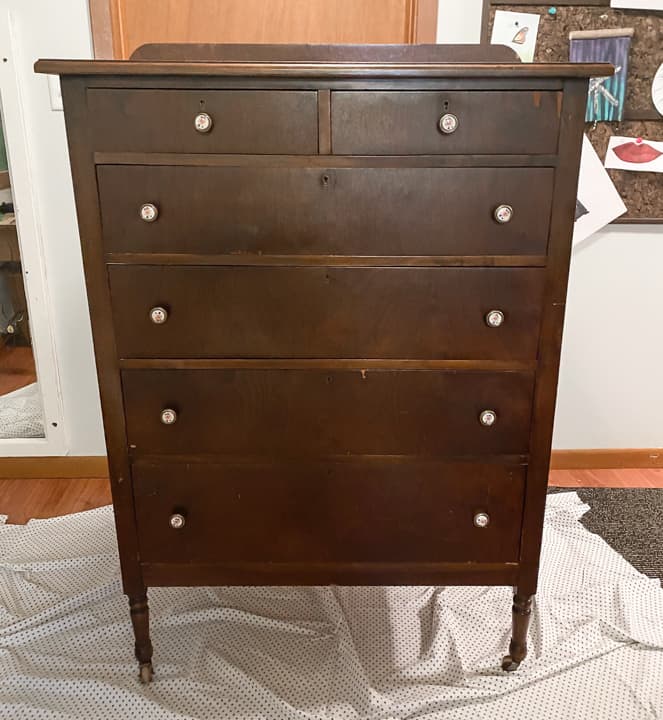
Please excuse the poor lighting for the before photos. In the winter, I work in the basement a lot and the lighting isn’t great.
Like most pieces I rescue, this dresser had a few issues that made the price right and also made sure that no one else had taken it home. 🙂
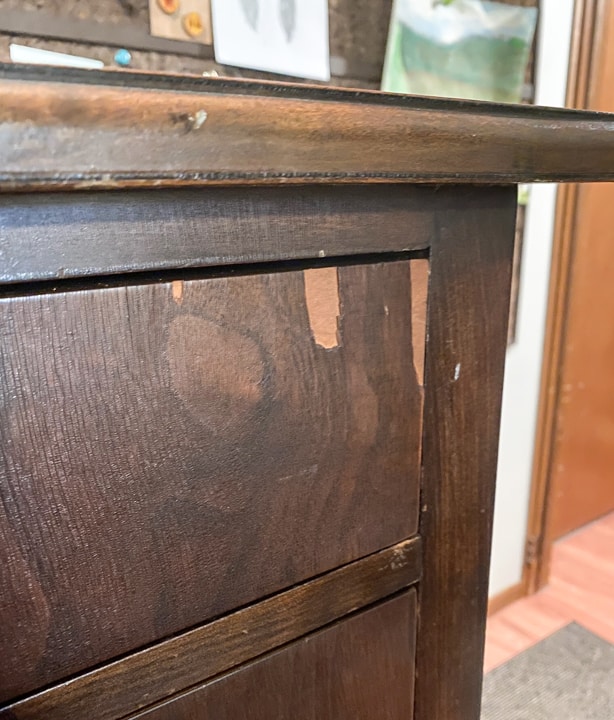
There were a few areas on the dresser drawers where the veneer was either gone or peeling off. There are two ways that I remedy peeling and/or missing veneer. If it is really bad, I will remove it all with this easy way to remove veneer trick. If it isn’t as bad or it is happening in smaller spots, I will use this technique for how to fix peeling veneer.

{Affiliate links are used in this post so you can find products used in this project easily. You can read my disclosure HERE.}
Supplies Used In This Makeover:
Dixie Belle Paint – “Drop Cloth”
Restor-A-Finish – “Dark Walnut”

This dresser only had a few spots of missing veneer on a couple of the drawers so I used MUD from Dixie Belle Paint. This stuff is amazing for projects like this. It is so easy to use and you can’t do it wrong. I use a small putty knife to apply a thin layer to the missing veneer areas.
Once the MUD is dry, I sand the area down so it is flush with the rest of the drawer. I use a 120 grit sandpaper. You don’t want a harsh sandpaper because the MUD sands down very easily and you want a finished look when you are done sanding. You want the area you put the MUD on to be flush with the rest of the drawer so when you paint it, you can’t tell where you patched it.
Besides the drawers, the rest of the dresser was in great condition.
I was only planning on painting the drawers to give it a two-toned look. The rest of the dresser was in great condition so I just cleaned it all (inside and out) with my homemade Thieves cleaner and let it dry. When it was dry, I took an old rag and rubbed Restor-A-Finish in “Dark Walnut” all over the wood. This step alone made this dresser come alive. If you have never used this product, I highly recommend it. It comes in different colors and we have used it on hardwood floors, cabinets and furniture. It is amazing how it makes older wood come alive and look new again. We will always have Restor-A-Finish on hand (in multiple colors).
Once the outer shell of the dresser was done, it was time to paint the drawers.
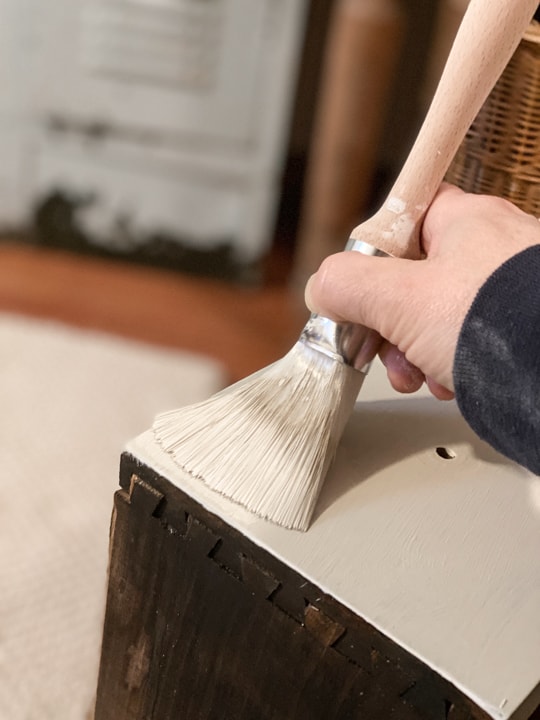
I grabbed one of my favorite paint brushes and one of my favorite paint colors for furniture and got started.
Zibra paint brushes have made my painting days so much happier.
They have brushes in all shapes and sizes. You can find the exact brush you need for the paint job you are doing. They have really thought about what painters need. I am thankful every time I have something to paint that I discovered them. If you have been searching for good paint brushes, you don’t have to look any further. Head over to Zibra Paint and find exactly what you need.
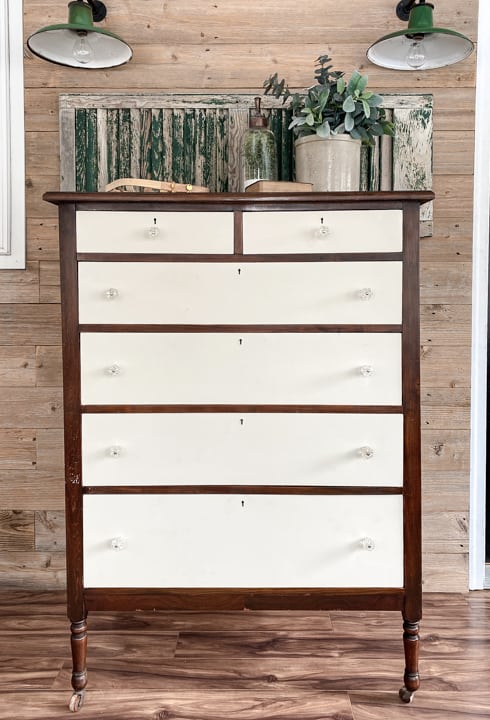
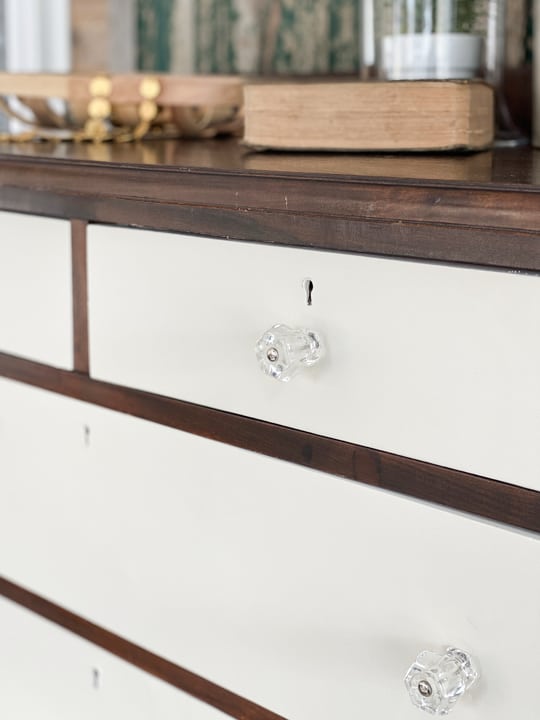
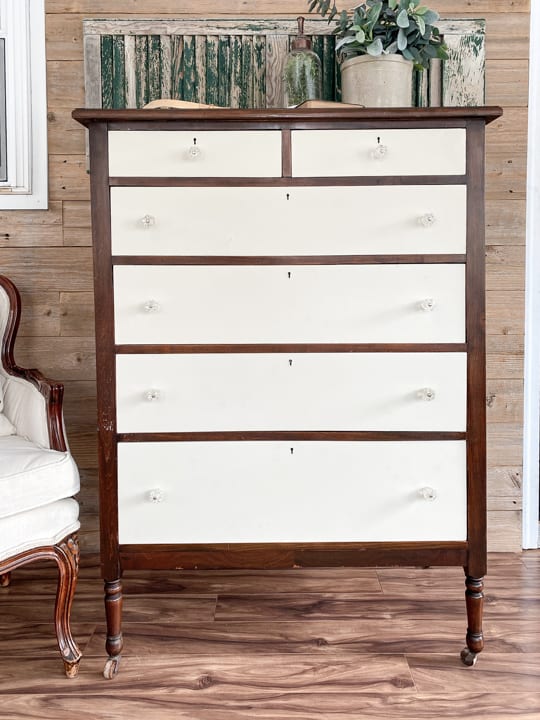
The drawers needed two coats of paint. Once they were dry, I added vintage glass knobs that we had on hand. The original knobs were fine, but they didn’t match the vibe I was going for. I will use them on a different project for sure.
When Matt and Landen carried the dresser up for its glamour shots, I couldn’t believe how good it looked. It sparkled once we got it out of the dark basement and into the porch for the photo shoot. It is so pretty!
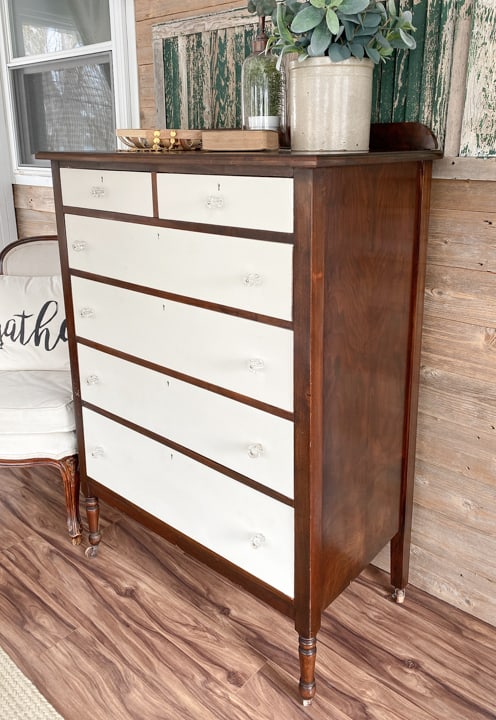
I was so excited that the original wheels were still on the dresser and that they all function great. Whenever a piece has the original hardware or casters, I feel like I have hit an extra jackpot. It is hard to find them with those things intact.
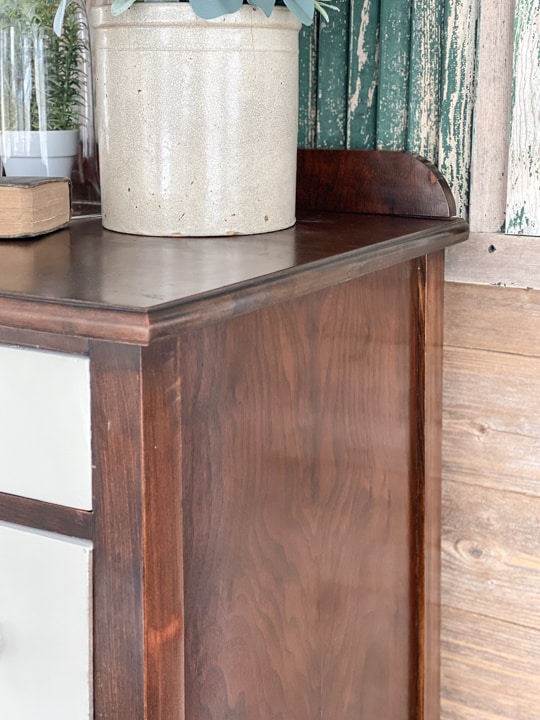
The Restor-A-Finish really made a difference in the wood on this dresser.
It is beautiful. If the drawers weren’t missing veneer, I would have used it on the drawers too.
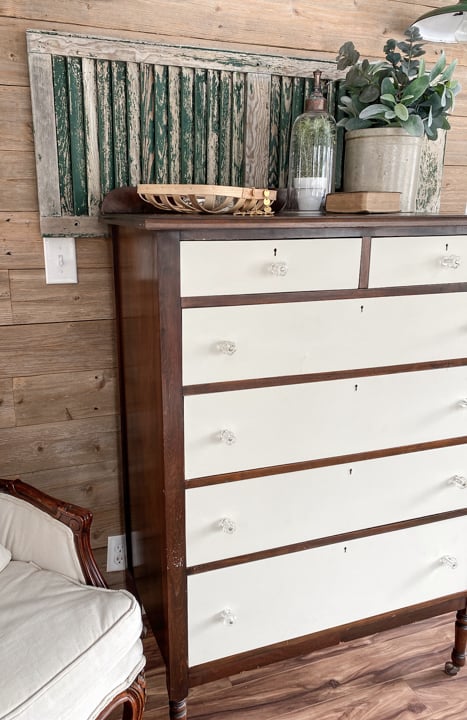
I couldn’t be more happy with this makeover.
I am always amazed what a little paint, some time and some elbow grease can do to a piece that was destined for the landfill. It is so satisfying saving these pieces and breathing life back into them so they can live on and be functional and pretty wherever they end up.
It has been a long time since I have found a tall dresser like this. The size and the amount of drawers it has are what attracted me to it. The small drawers on top make me so happy. I don’t know what it is about small drawers, but whenever a piece has them, I love it even more.
Would you have rescued this tall, handsome fella? I am hoping after you saw the Two-Toned Painted Dresser Makeover, your answer is “YES”! 🙂
PIN THIS POST!
This dresser turned out amazing! Great job. I am so glad you did the two tone look. Very sophisticated!
It turned out beautiful!! I love the knobs. What color did you use on the drawers?
It is linked in the post. One of my favorite colors.