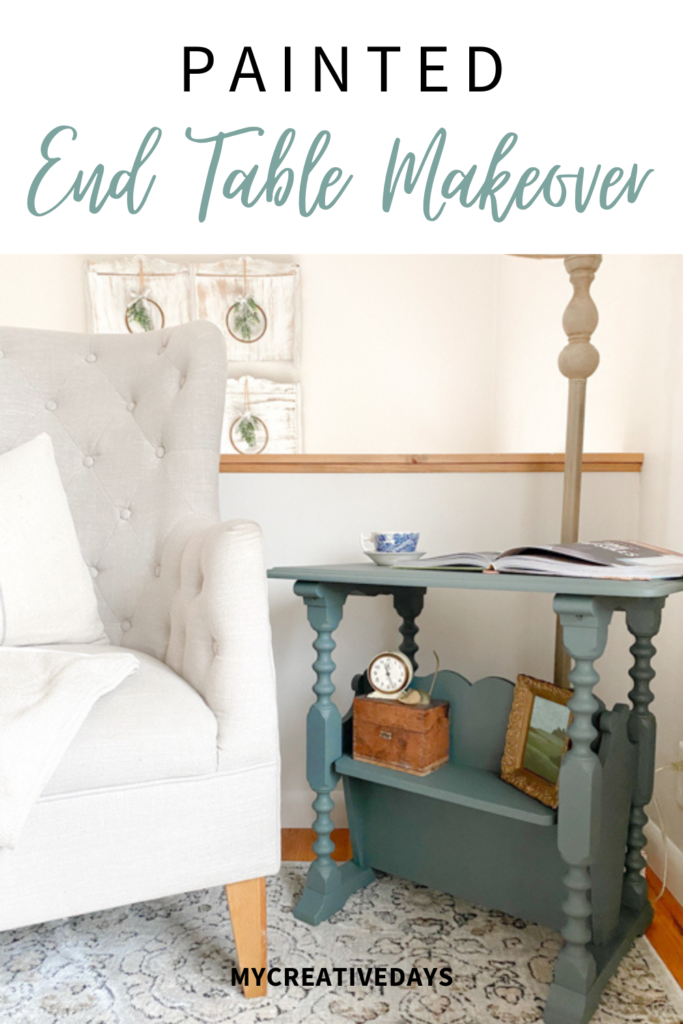
This DIY painted end table makeover is a step-by-step tutorial showing how to clean, and remove loose veneer, sand, and paint to get a beautiful piece.
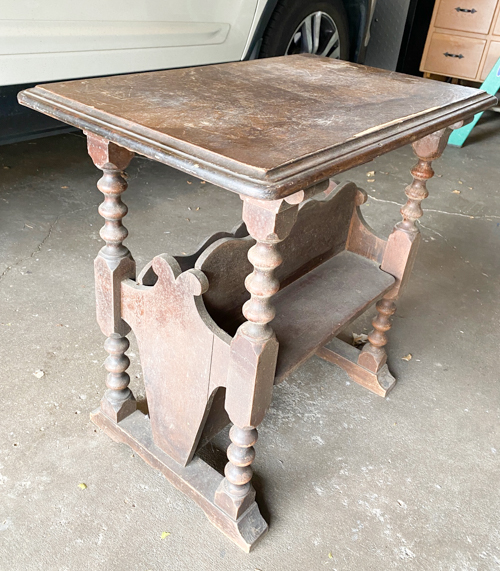
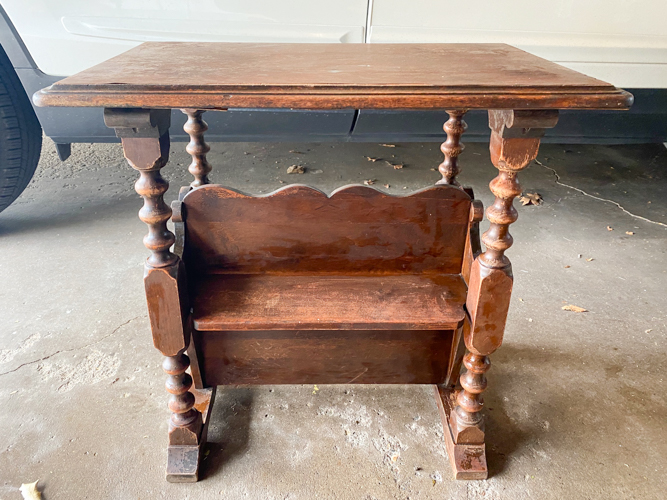
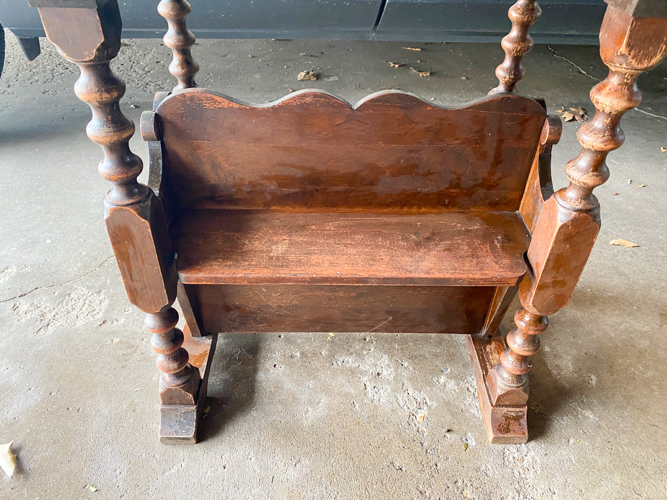
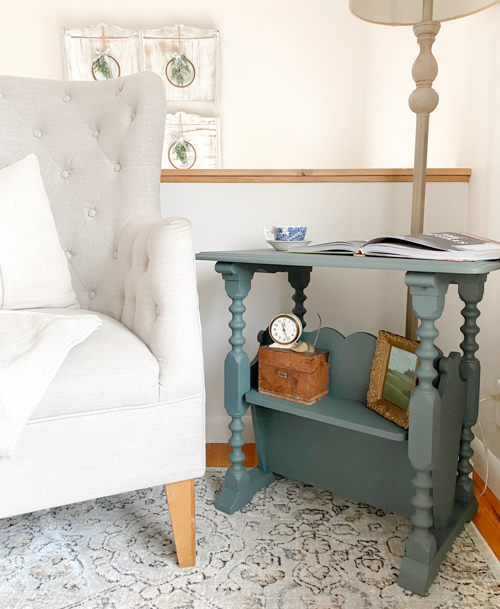
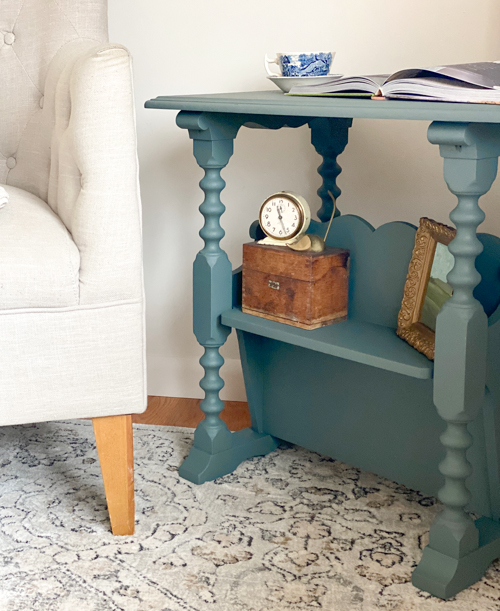
I found this table at my local Restore. I have never seen a table like this. It has a shelf on one side and a magazine holder on the other side. I was excited to bring it home and give it a makeover.
{Affiliate links are used in this post. Click on any of the underlined links to find the products and sources I am referring to. You can read my disclosure HERE.}
Supplies Used In This Painted End Table Makeover
Paint (in the color “Smokey Mountains “)
This table needed A LOT! I didn’t know that until I started working on it. Let’s get into the tutorial.
Steps To This Painted End Table Makeover
- The first thing I did with this table was clean it. You must clean your furniture pieces before you begin the makeover. I shared the cleaning process on my YouTube channel HERE. I upload new videos every week to my YouTube channel. Make sure you SUBSCRIBE when you are there so you don’t miss any of them!
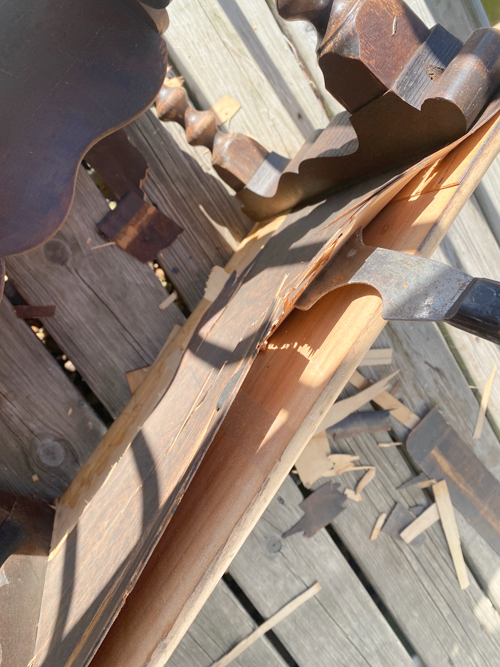
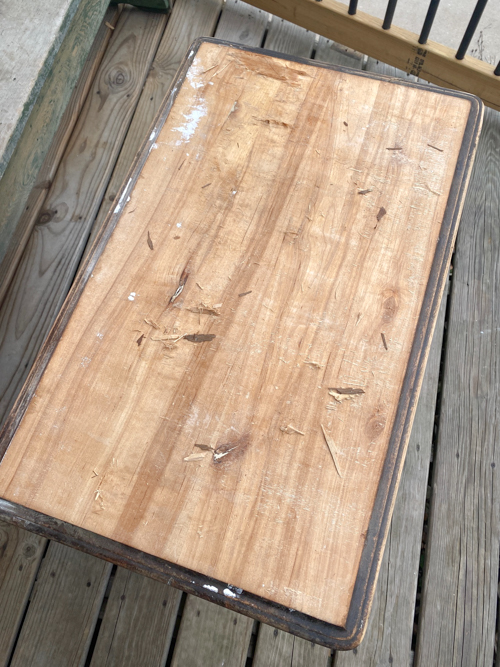
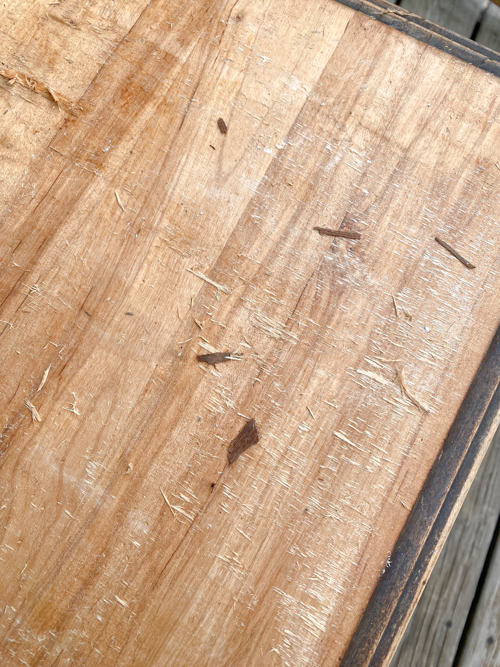
- Once the table was clean and dry, I thought I was going to use a wood filler around the edges where the veneer was missing but as I went to do that, I noticed how bad the veneer was so I decided to remove it from the top and the underside of the top of the table. A lot of it came off easily with my paint scraper but I did have to use my damp cloth method to get the rest off. To see the process of how to remove veneer from a piece of furniture with a damp rag, head to my tutorial HERE.
- Once the veneer was gone, I gave the entire table a good scuff-sand. I teach all about the difference between scuff-sanding and regular sanding HERE.
It is imperative to always scuff-sand your furniture pieces before painting them.
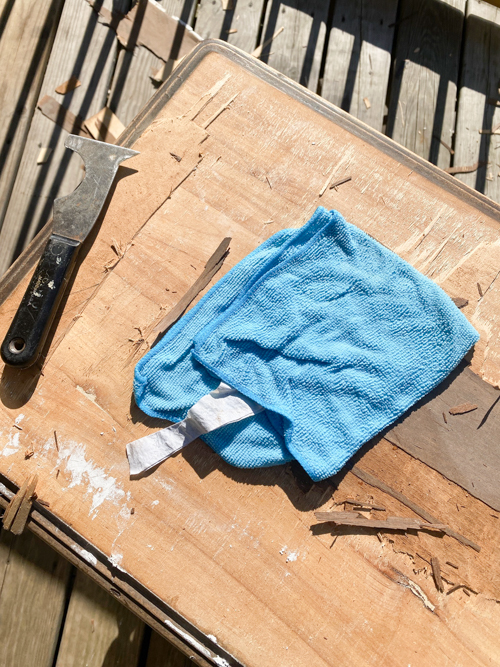
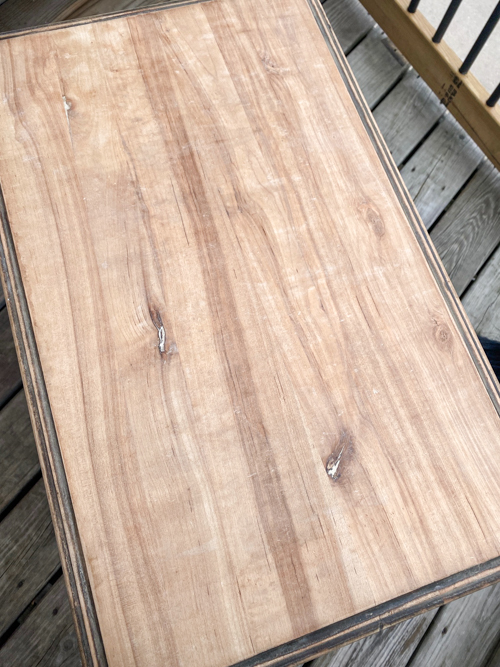
- Once the sanding was done, I took a damp cloth and wiped away all of the sanding dust.
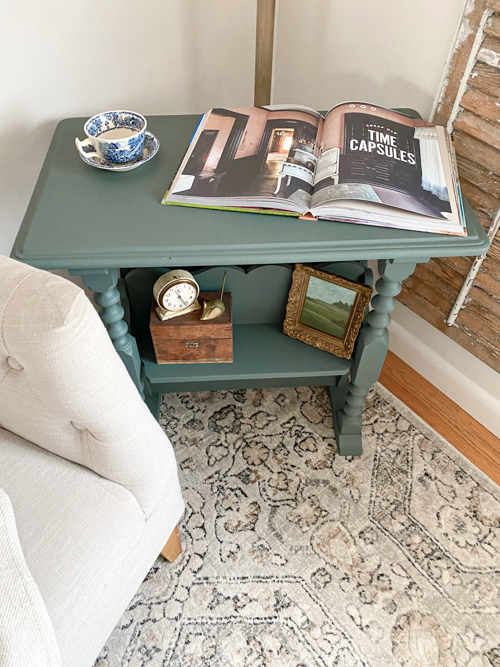
- Now, it was ready for paint. I LOVE the Silk paint line from Dixie Belle Paint because it is an all-in-one paint. It has the primer, paint, and topcoat all in one can. It cuts my project time by more than half. I wrote an entire post all about the Silk paint HERE. I chose to paint this end table in “Smokey Mountains “. IT IS A GORGEOUS blue/gray color. It took two coats to complete the table makeover.
I shared a full video of me painting this table sharing tips and techniques throughout the process on my YouTube channel HERE.
The Smokey Mountains color is SO PRETTY!
If you find small pieces like this, they are great for trying new paint colors and working on your furniture flipping skills.
Transforming a tired end table through a painted makeover is a rewarding and cost-effective DIY project. By following a few simple steps, you can breathe new life into old furniture, adding personality and charm to any space. Whether you opt for bold colors or subtle hues, the possibilities are endless. Embrace the joy of creating and enjoy the satisfaction of revitalizing your home decor with a fresh and stylish touch.
Do You Want To Make Money Flipping Furniture?
After twenty years of doing this, I am still picking up pieces when I can find them because I love the creative outlet, but I am now coaching other furniture flippers on how to make more money in their business. If you are someone who is looking to start and/or grow a furniture flipping business, I would love to help you. There are ways to make money in your business beyond painting a piece of furniture. Once I learned that, my business flourished. Don’t waste your time trying to figure it out on your own.
To help other flippers, I created The Furniture Flipping Academy! The academy includes everything you need to start, grow, and/or scale a furniture flipping business. It includes courses, resources, templates, social media planner and guide, a private community, and so much more. It will ensure that you are doing the steps that will lead to success and not wasting your time on things that won’t.
You can find all the information about the Furniture Flipping Academy HERE.
Let’s get your business started and/or moving in the right direction. The Furniture Flipping Academy is for any flipper, from beginner to experienced. If your business is stagnant, there is a reason for that. Let me help you grow it into a flipping career that is profitable and fits the lifestyle you want to live.
PIN THIS POST!
If you liked this makeover, you will also love these makeovers:
Dresser Makeover Tutorial In Black Sands
Love the style of that table! It looks very durable and the paint color is great!
It is! Very strong table and loved trying a new color!
I really love this piece and the updated color. What a great find.
It was a good find! I have never seen one like it.
It’s cute, and I love the color. I thought it was a bigger piece, but the actual size makes it a very usable piece.
It is a great size!