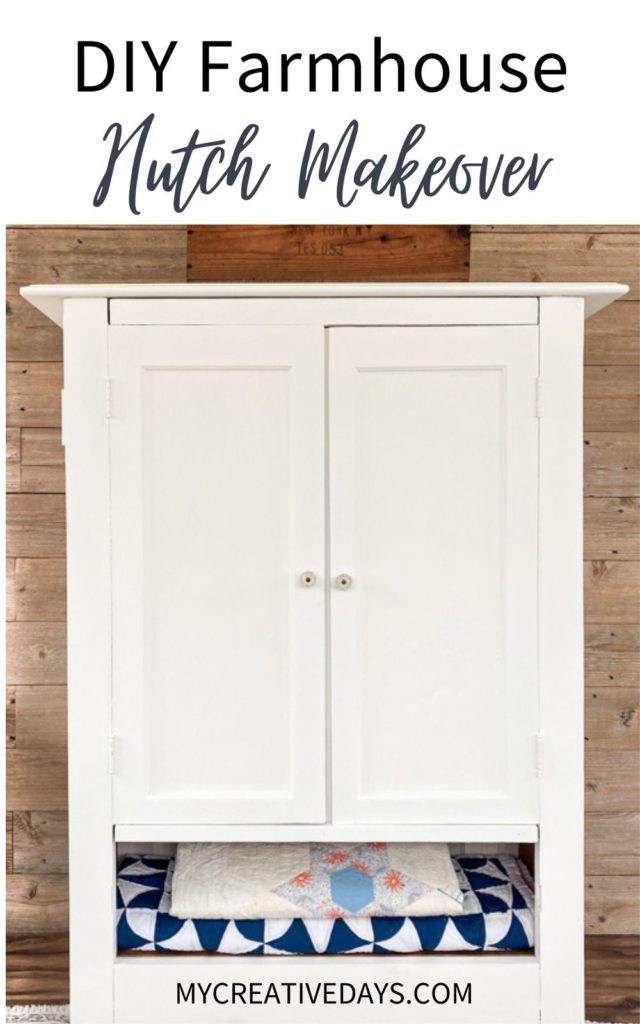
Revamp an old hutch with this DIY farmhouse hutch makeover! Learn the step-by-step tutorial it took to make this hutch beautiful again.
If you find a hutch that still has the farmhouse vibe but needs some work, try this DIY farmhouse hutch makeover.
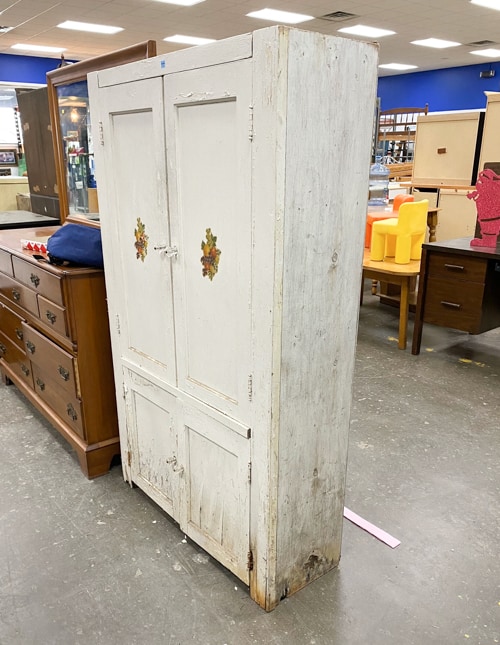
I found this hutch at my local Restore. It had a lot of issues but I still felt like I could salvage most of it.
{Affiliate links are used in this post. Click on any of the underlined links to find the products I am talking about. You can read my disclosure HERE.}
I will list the main supplies you will use but every hutch will look a little different depending on the condition and what you need to do to make it over.
Supplies Used In This DIY Farmhouse Hutch Makeover
Old Hutch Cabinet
Top From A Vanity
Scrap Wood
Tongue and Groove Wood (we had this left over from another project)
Steps It Took For This Makeover
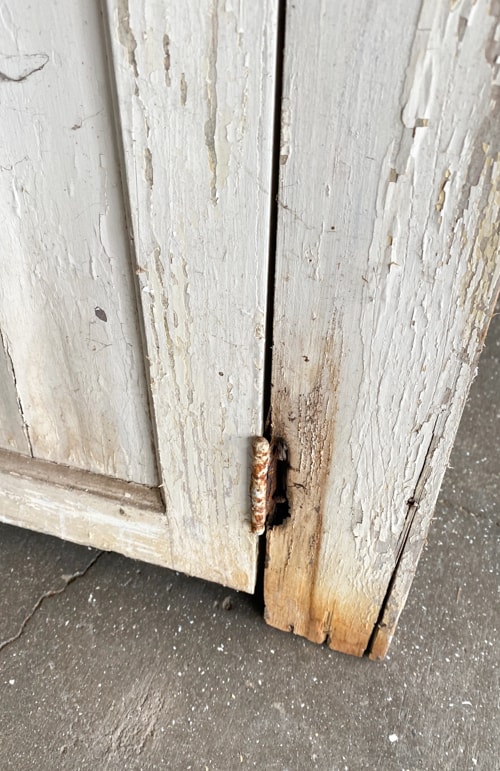
When I got the hutch home, Matt and I did a thorough inspection. After a lot of back and forth, it was decided that the button half of the hutch wasn’t salvageable the way it was. There was too much rot around the bottom and the hinges so I had to rethink that area.
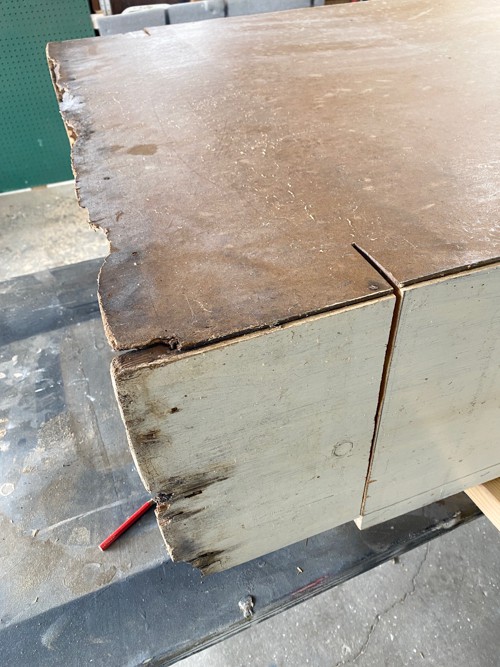
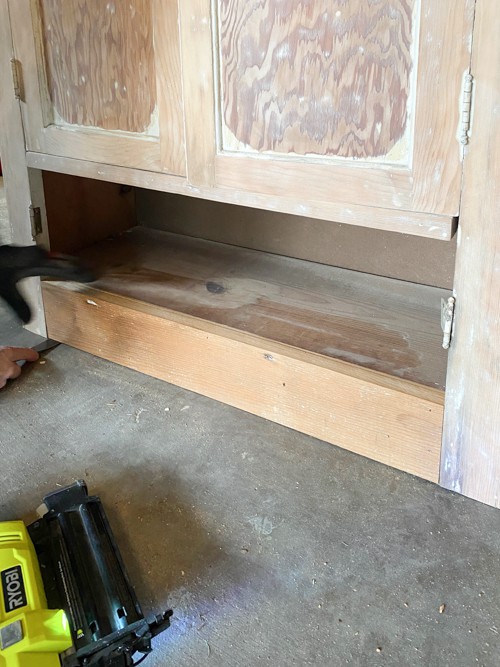
We measured and cut the bottom part off with a circular saw that was full of rot.
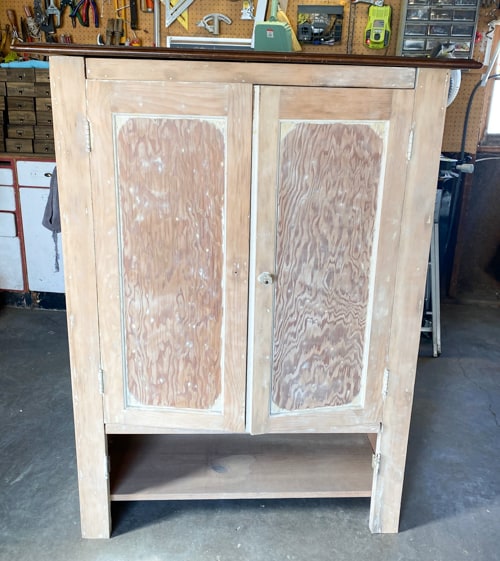
With the rotted area off, it still has a lot of potential and still can be used as a hutch. Onto the next steps!
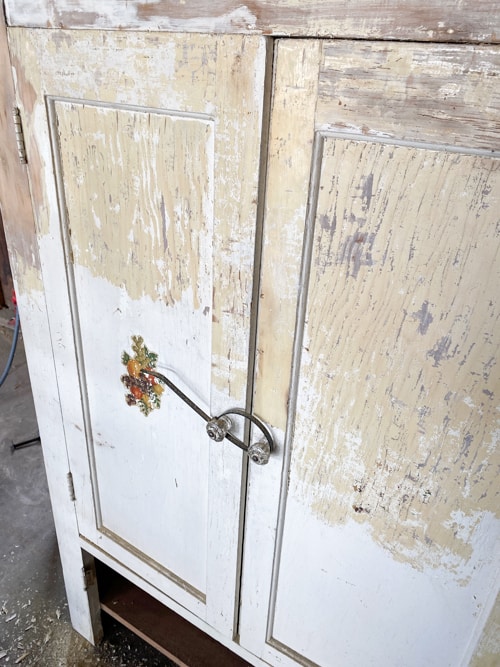
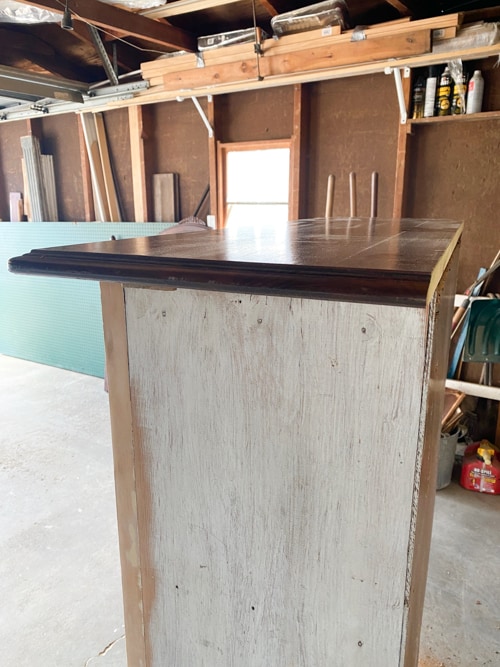
This was a cabinet in an old house. There were a couple of layers of paint on the piece and the white layer was chipping off. I needed to use a heat gun to scrape off the white layer of paint. Then, I used a sander to sand it down to the raw wood layer.
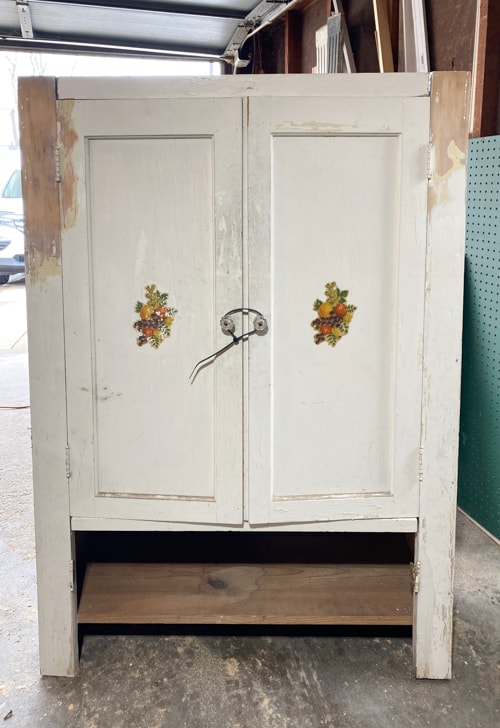
Once the sanding was done, it was time to talk about a new top and a bottom piece.
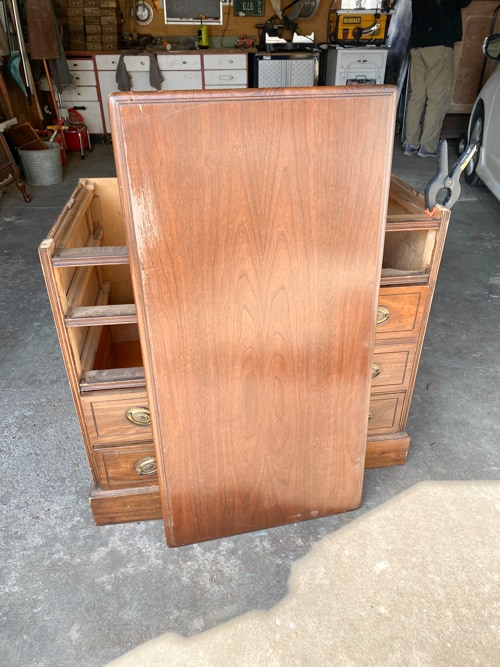
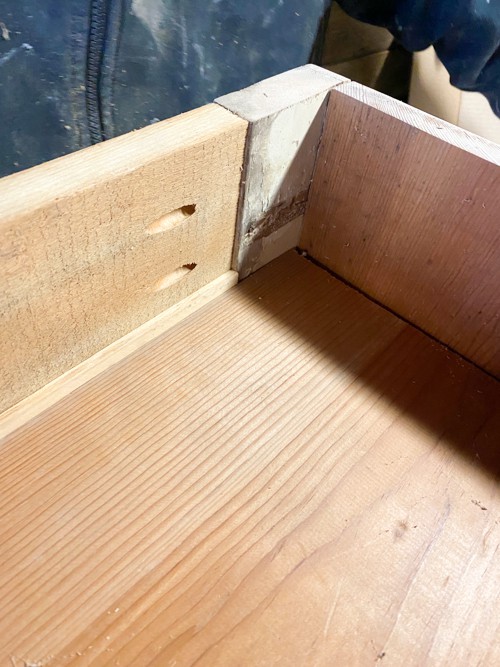
We used the top of a vanity we were taking apart for another project for the top of the hutch. Then, we used a piece of scrap wood from the garage to finish the bottom.
We used a pocket hole jig to attach the bottom and a table saw to cut the vanity to fit the hutch top.
Now, it was time to tackle the back of the hutch. It had a particle board on the back. I wanted to use some tongue and groove we had left over from a previous project on the back instead.
How We Made Over The Back Of The Hutch
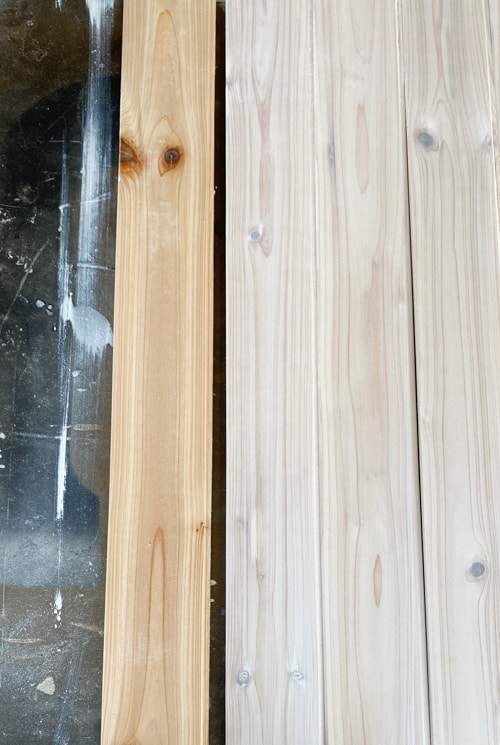
We cut the tongue and groove down to size and I used Picklin’ stain on all the boards to give them a white-washed look.
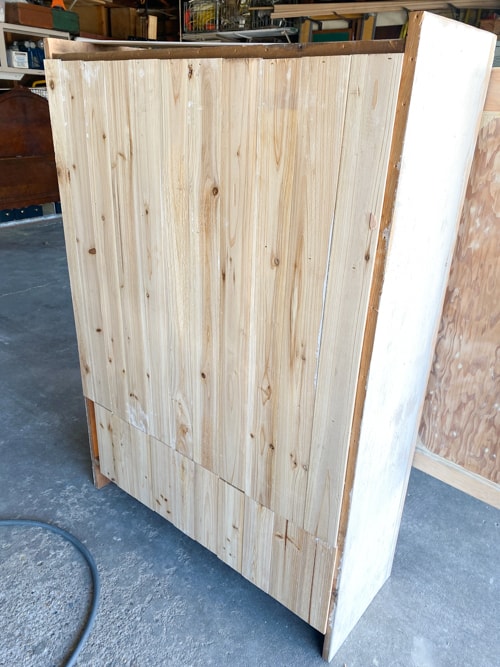
We attached the tongue and groove to the back with a nail gun.
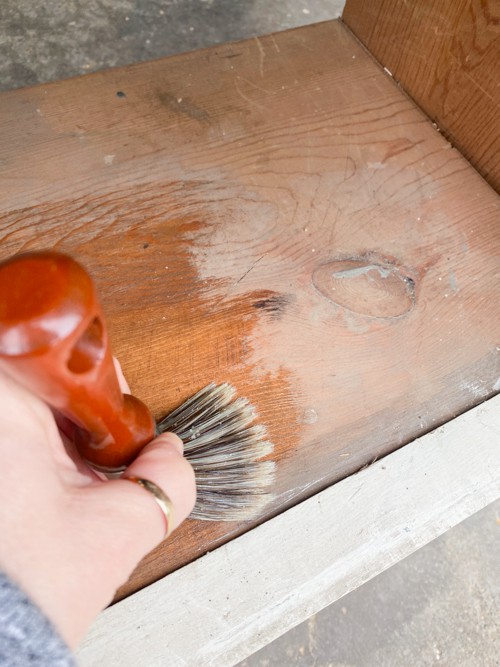
Lastly, I painted the entire piece with all-in-one paint and used salve on all the shelves inside.
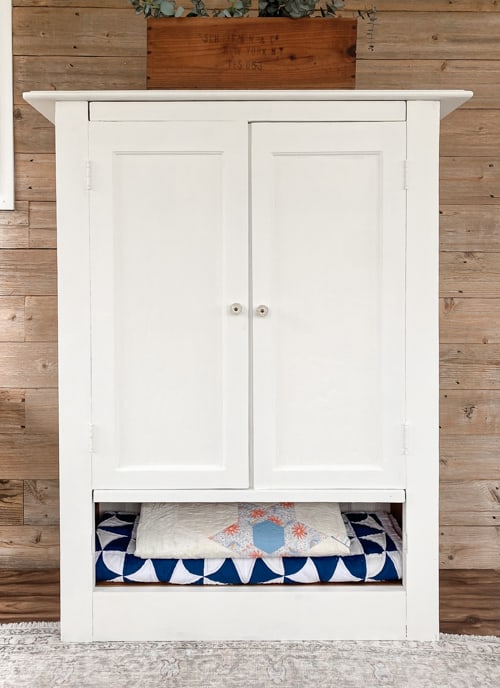
This hutch has been saved!
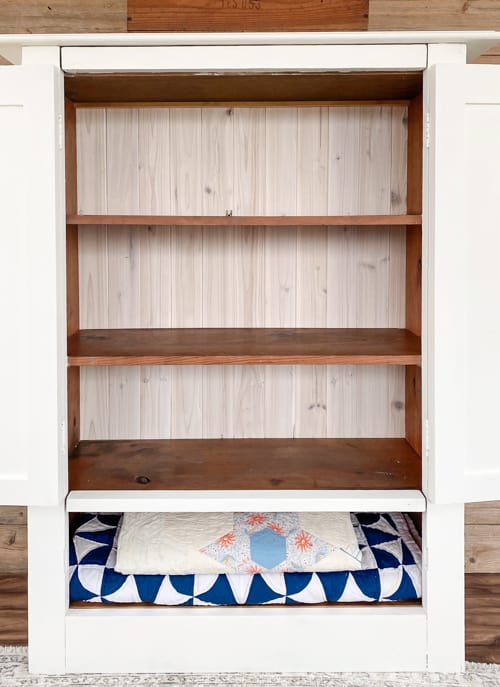
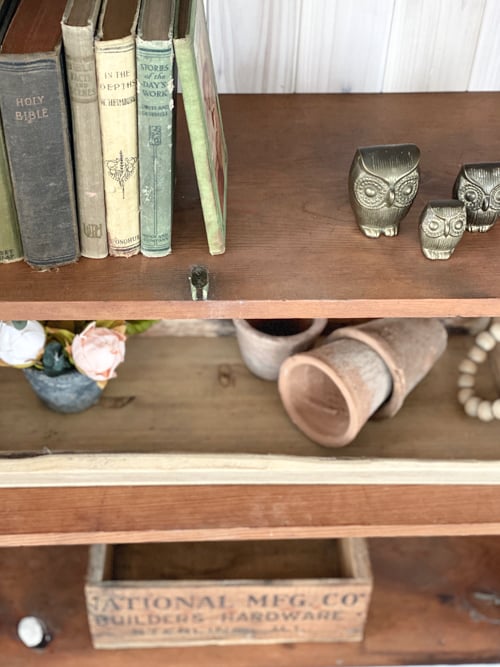
I love how the back turned out.
I used the original glass knobs in the makeover. They belong with this piece.
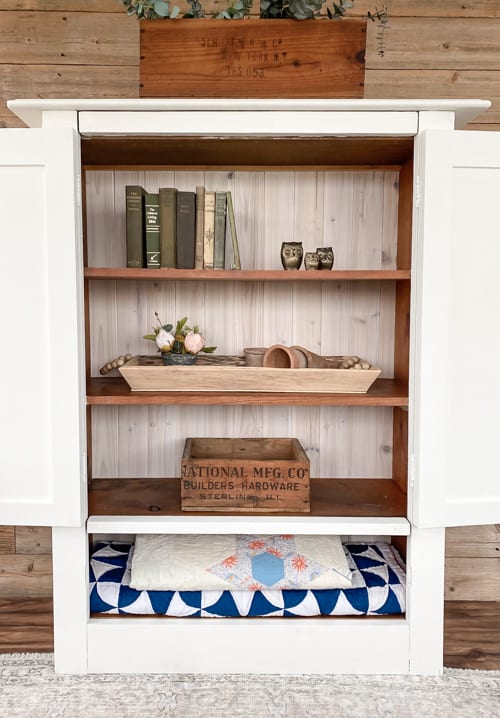
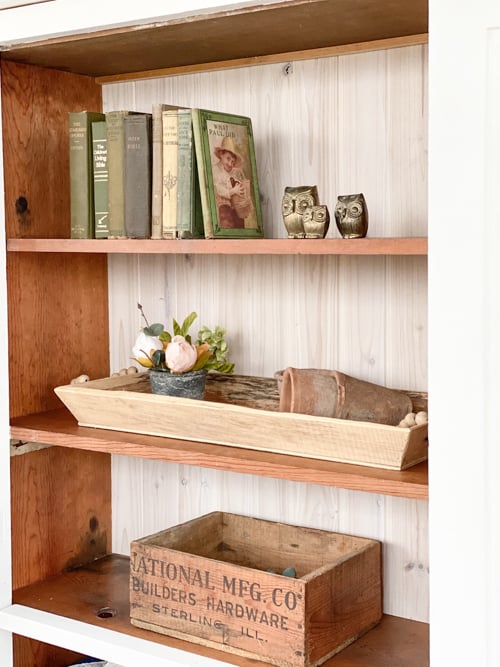
You can use this piece for so many things now.
Would you have rescued this piece in the condition it was?
Transforming an outdated hutch into a stunning farmhouse statement piece is easier than you think! With a little creativity, some elbow grease, and our helpful DIY tips, you can create a beautiful and functional hutch that will be the envy of all your friends and family. So, don’t wait any longer, grab your tools, and get started on your very own farmhouse hutch makeover today! And remember, if you have any questions or need further inspiration, be sure to check out my blog for more DIY ideas and tutorials.
You can always see our DIY projects in real time on my YouTube channel! I am creating new videos every week on my channel. You can find it HERE. Make sure you SUBSCRIBE when you are there!
Do You Want To Make Money Flipping Furniture?
After twenty years of doing this, I am still picking up pieces when I can find them because I love the creative outlet, but I am now coaching other furniture flippers on how to make more money in their business. If you are someone who is looking to start and/or grow a furniture flipping business, I would love to help you. There are ways to make money in your business beyond painting a piece of furniture. Once I learned that, my business flourished. Don’t waste your time trying to figure it out on your own.
To help other flippers, I created The Furniture Flipping Academy! The academy includes everything you need to start, grow, and/or scale a furniture flipping business. It includes courses, resources, templates, social media planner and guide, a private community, and so much more. It will ensure that you are doing the steps that will lead to success and not wasting your time on things that won’t.
You can find all the information about the Furniture Flipping Academy HERE.
Let’s get your business started and/or moving in the right direction. The Furniture Flipping Academy is for any flipper, from beginner to experienced. If your business is stagnant, there is a reason for that. Let me help you grow it into a flipping career that is profitable and fits the lifestyle you want to live.
PIN THIS POST!
If you liked this DIY Farmhouse Hutch Makeover, you will love these makeovers:
Antique Headboard Turned Bench