We are in the beginning stages of making some changes to our kitchen/dining area………. on a budget. We don’t want to spend a ton of money to make the changes and we really want to see how many of the projects we can complete on our own. We have never tiled before on our own. My dad has usually been by our side with all tile projects, but we wanted to tackle it this time. We wanted to be able to say that we have conquered the DIY Tile Backsplash project on our own!
(Affiliate links are used in this post. You can read my disclosure HERE.)
Supplies Needed For This DIY Tile Backsplash:
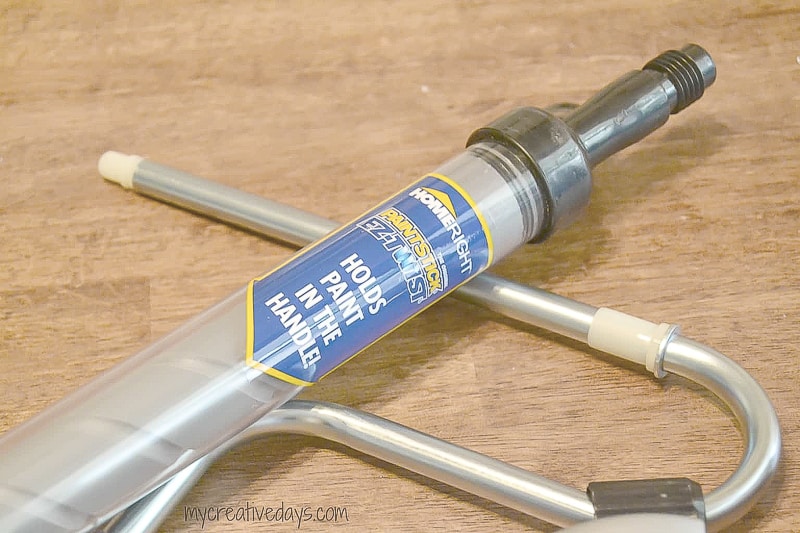
HomeRight Paint Stick (because we painted the ceilings when we did the tile)
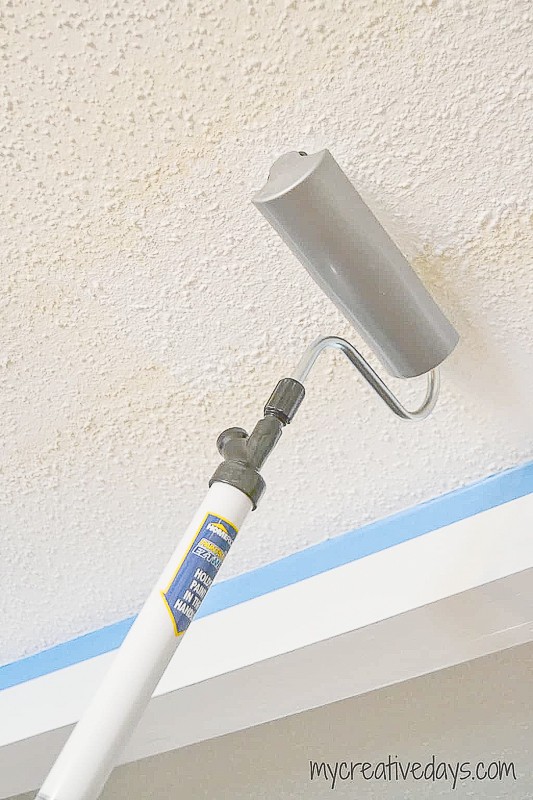
Before we started tiling, we started with something we have done over and over and over again. Painting. We painted the walls and ceilings using the HomeRight Paint Stick. This stick made the painting so easy. I love that the paint stick holds the paint inside of it so you don’t have to keep stopping to dip your roller in a tray. We were amazed by how fast the painting went with this roller and realized that it does take a lot of extra time to keep stopping and refilling your roller with paint.

We had to “retexture” part of our ceiling before we painted it (we hate our popcorn ceilings – UGH), which left a yellow color on the ceiling. But, as you can tell in the picture below, it was easily covered with paint.
If you do a lot of painting, the HomeRight Paint Stick would be a wise investment. It is easy to clean, easy to use and cuts your painting time in half.
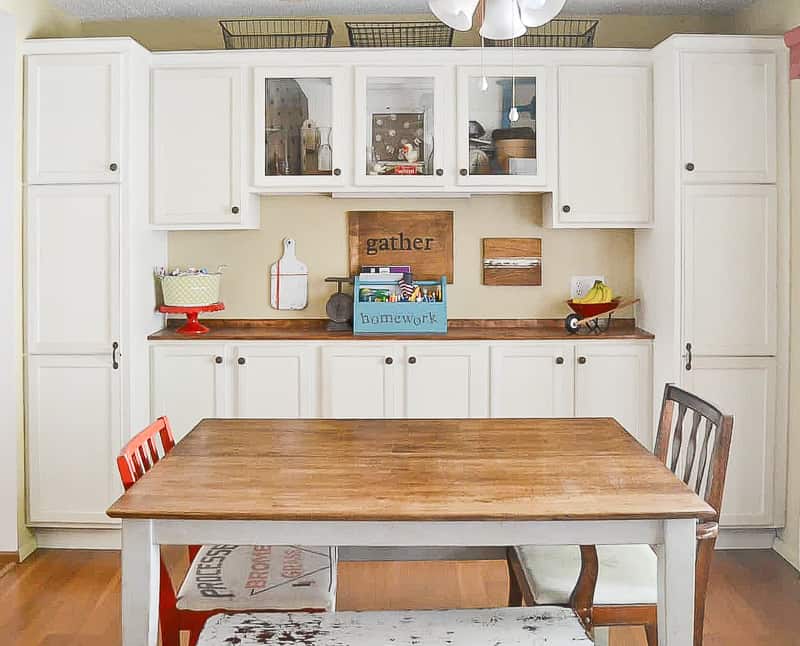
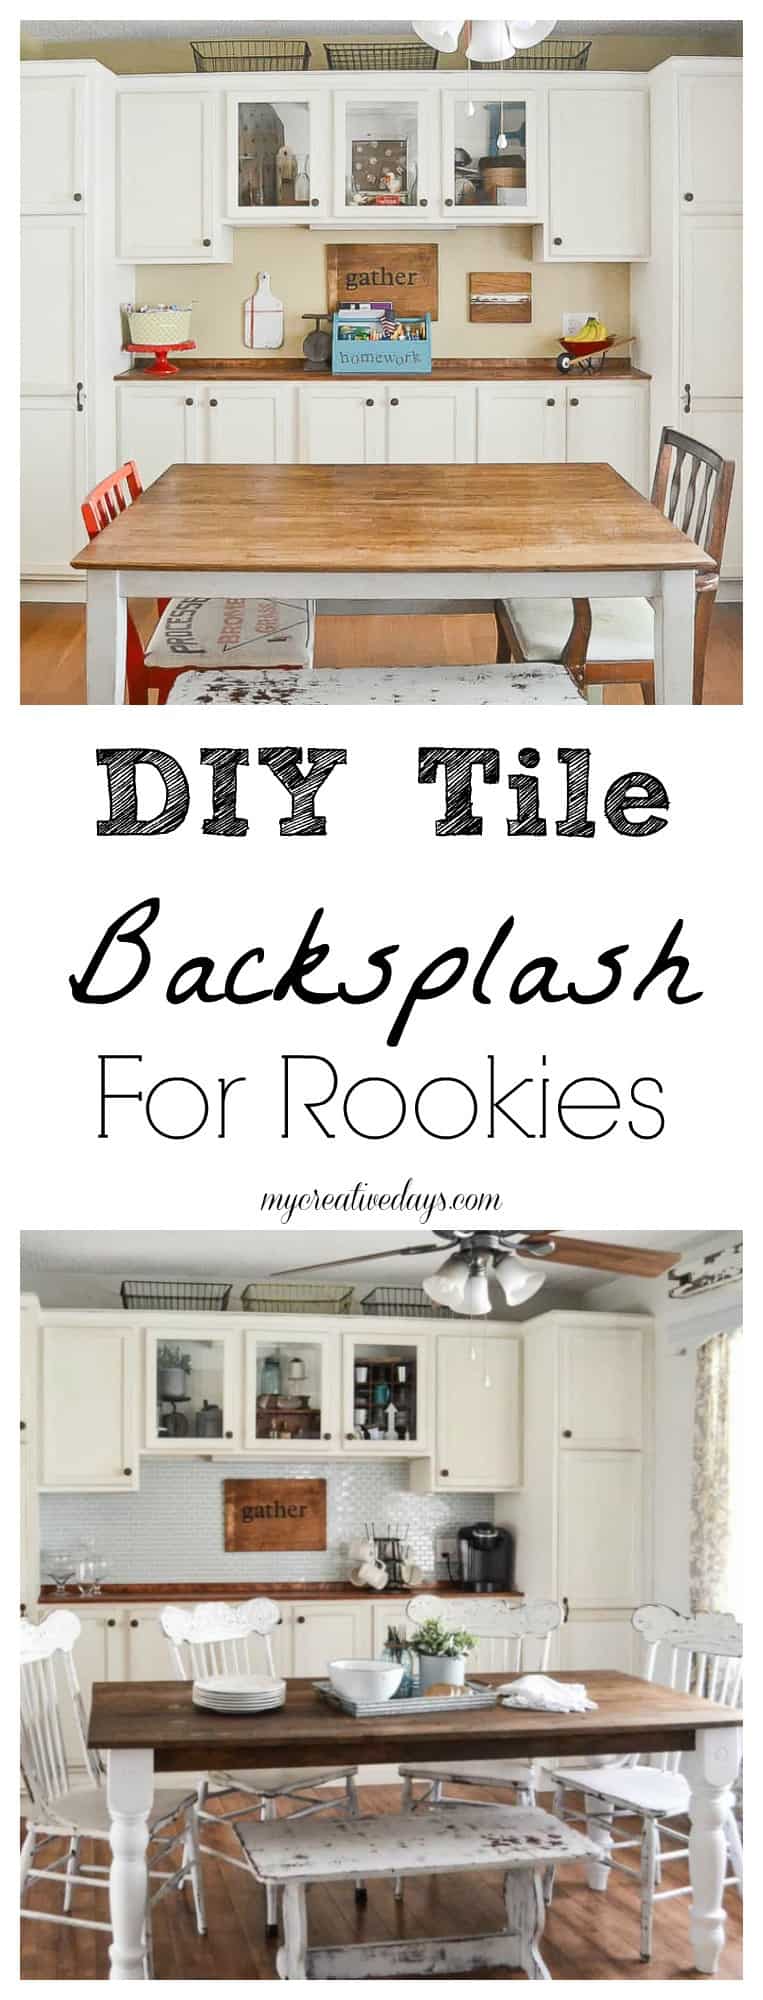
Now, on to our next project: tile backsplash. We love to tackle all kinds of DIY projects, but when it comes to major projects in the house, we usually call on my dad to lend a helping hand or at least to get us started.
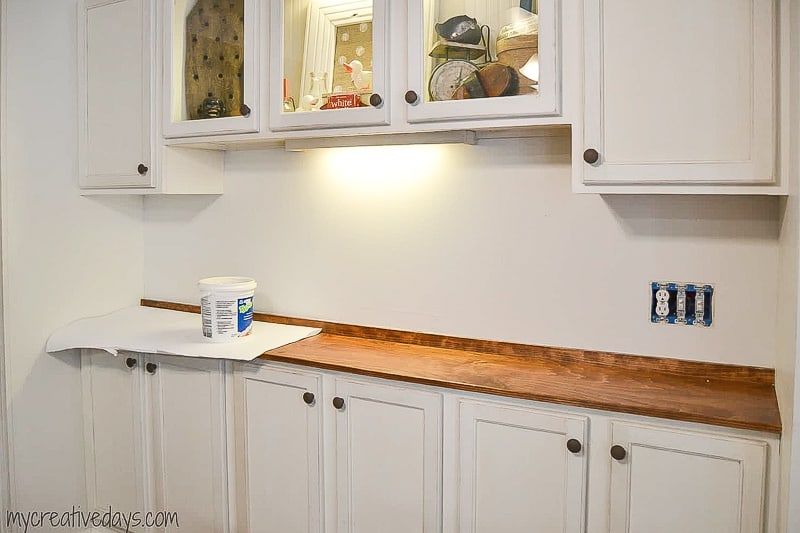
We have wanted to add a backsplash to the wall under the cabinets we installed in the dining area.
When I first saw this particular glass tile at our Menards store, I really liked it, but it was not on sale so I didn’t pay much attention to it. Fast forward a few months and the tile was on sale! The price was too good to pass up so we bought it. We were able to do the entire wall for under $30! Now, this tile was even more gorgeous than the first time I came across it. 😉

We have never tiled anything in our home by ourselves so I was a little nervous, but Hubby was confident that we could handle it. He was right.
The first thing we did was remove everything from the walls.
Then, we started the tile. We put the tile adhesive on the wall with a trowel that had “ridges”. Hubby knew that you needed to have “grooves” in the adhesive to help the tile stick. The tile came in sheets so that made it that much easier. We just put the sheets up in rows until we got to a spot that required some cutting.
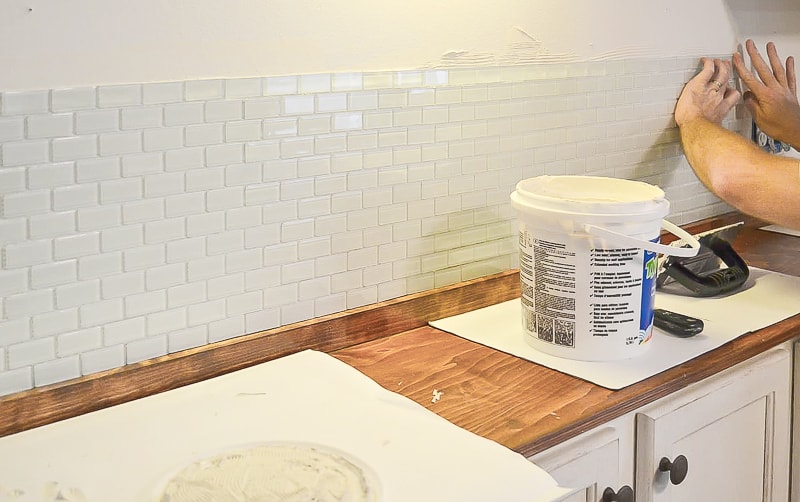
*Tip: Make sure you cover what you are working on with something (paper, cardboard, tarp, etc.) to catch any adhesive drippings.
Hubby did an amazing job measuring and cutting the tile with a tile cutter. I wish I would have taken pictures of that process, but I was sticking tile on the wall as he was cutting it.
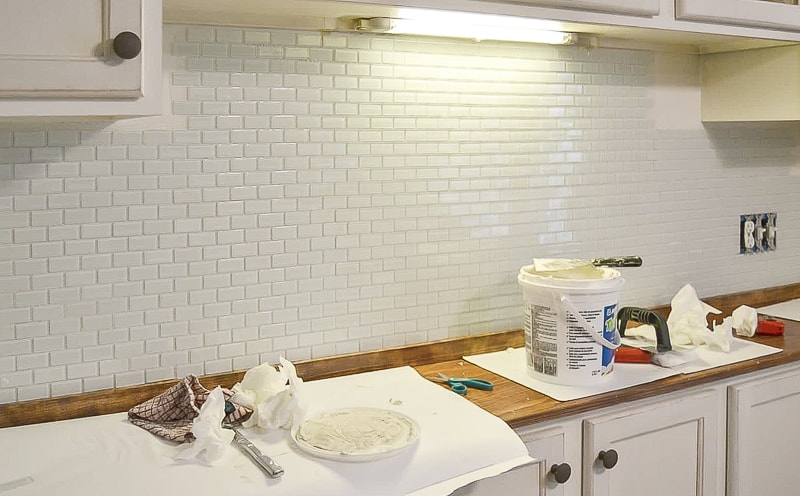
It took about two hours to get all the tile cut and on the wall. Since we are rookies and not very “neat” in our tiling skills yet, we taped some black garbage bags on the countertop before applying the grout. We have learned some things from DIY jobs in the past and this DIY tile backsplash was no different.
Okay, I have to be honest and say that the grouting was not hard at all, but it was messy! Hubby would apply the grout to the tile and then I would use a damp cloth to wipe off any excess. Let’s just say, we had a lot of excess! Being rookies means we probably used way too much grout which meant it took extra long to get the excess removed.
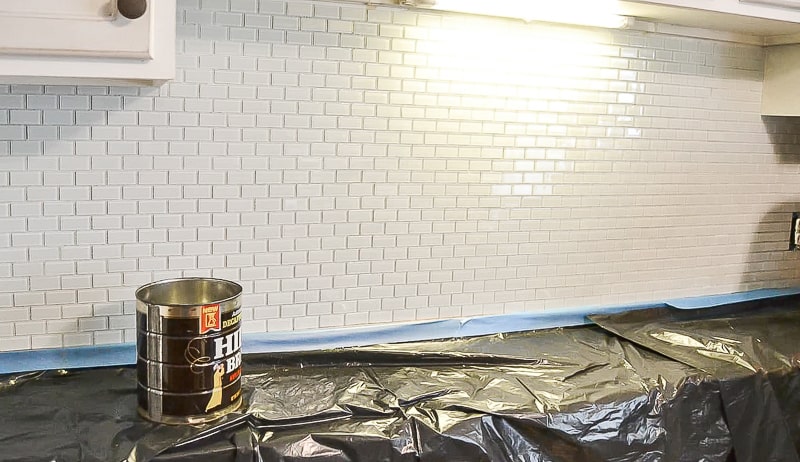
It took about an hour to grout the tile. I went over the tile a few times to remove the white “film” left over from the grout. Once all the tile was cleaned off, we let it be over night. The next morning, I noticed a few spots I missed with the damp cloth, but it was very easy to remove.
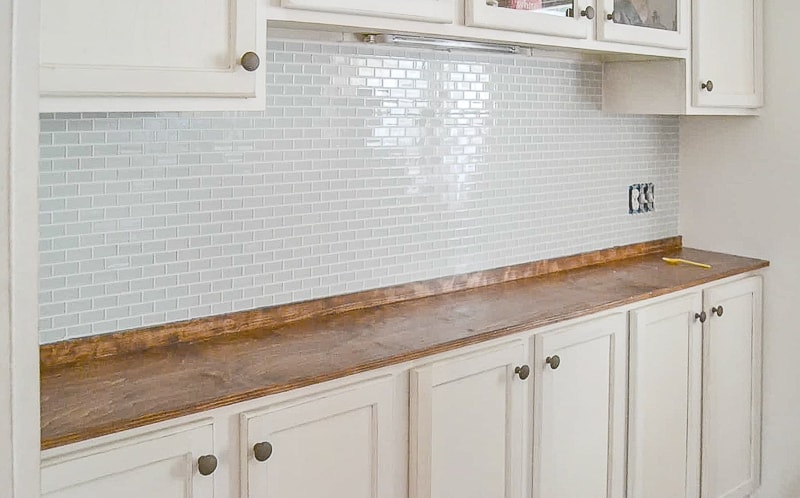
My dad came over to inspect our DIY tile backsplash and he was amazed at how well we did. Mission accomplished!
If you have been putting off tiling a backsplash because you don’t think you can do it, I am here to tell you you can. From one rookie to another, a DIY tile backsplash is a fairly easy job and once you get the hang of it, goes pretty smoothly.
On to the next project. DIY lighting!
PIN THIS POST!
I’ll be doing this in 2 weekends in our kitchen! so happy to know rookies can do it 🙂
Awesome Bex! It really wan’t that bad at all! Good luck!
Oh wow!!! What a huge difference! That looks amazing in your kitchen! Great job.
OMG!! SO glad you posted this, Lindsey! I have been staring at our ugly faux brick backsplash wondering if we (very much diy ‘rookies’, too) could do it ourselves. I LOVE how it turned out!! I’m newly energized about our project now!!
Thank you Katie. It was pretty easy – so much so that we would tackle it again and are thinking about doing so in the kitchen.
Great job, Lindsay! This is something I probably would have put off, but you made it look nice and easy! Love the new look 🙂
Beautiful tile and great job of tiling! My husband and I are “rookies” too. So if I can pass on one bit of advice that was given to us by the guy at the tile shop, “seal your grout lines”. You will forever be greatful that you did when you splash tomato sauce or red wine on your back splash.
Keep up the good work,
Vanessa
Thank you for the advice Vanessa! I will for sure look into this if we do the tile in our kitchen. Where we put this tile, there isn’t any food prep.
Oh I love it! I want to do a backsplash in our kitchen this winter. We will see if that happens. lol Great job!
Impressive job, ya’ll!!!
Thanks!