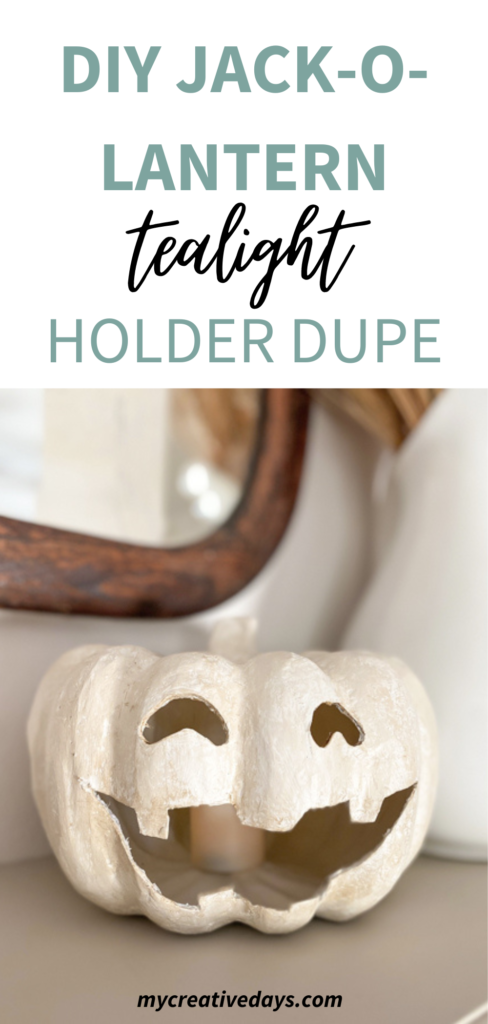
This DIY Jack-O-Lantern Tealight Holder is an easy project that will give you the look of an expensive holder for a fraction of the cost.
When I saw this tealight holder from Luminara, I fell in love. But, I don’t really decorate for Halloween anymore now that the kids are older. I decided to get the pumpkin candles from Luminara instead since I still decorate for fall. You can watch my review of these candles (and the Christmas tree candles I got on my YouTube channel HERE).
Once I got the pumpkin candles in the mail, I put them out immediately. They are amazing.
BUT… I couldn’t get the jack-o-lantern tealight holder out of my head so I decided to replicate the look for a lot less.
(Affiliate links are used in this post. You can read my full disclosure HERE.)
Supplies Used To Make This DIY Jack-O-Lantern Tealight Holder
Antiquing Glaze (this link will give you 10% off your order)
Paper and pencil
Paintbrush
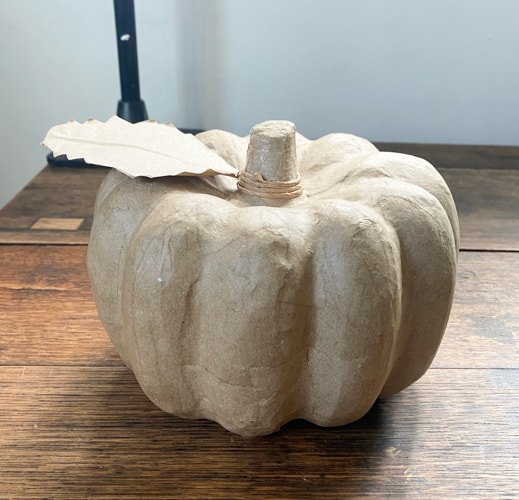
You can use any size pumpkin you like. I found my pumpkin at the thrift store. You just want to make sure the pumpkin is big enough to make the mouth large enough to fit a faux tealight candle inside.
Steps To Making This DIY Jack-O-Lantern Tealight Holder

- First, measure the width of your pumpkin on a piece of paper so you know how big you can make the face of your jack-o-lantern.
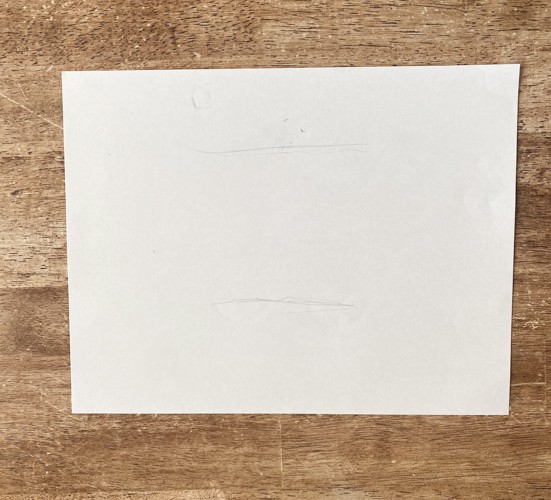
- Once you have the measurement, you can make the face however you want. I really wanted mine to look like my inspiration so I went with that face.
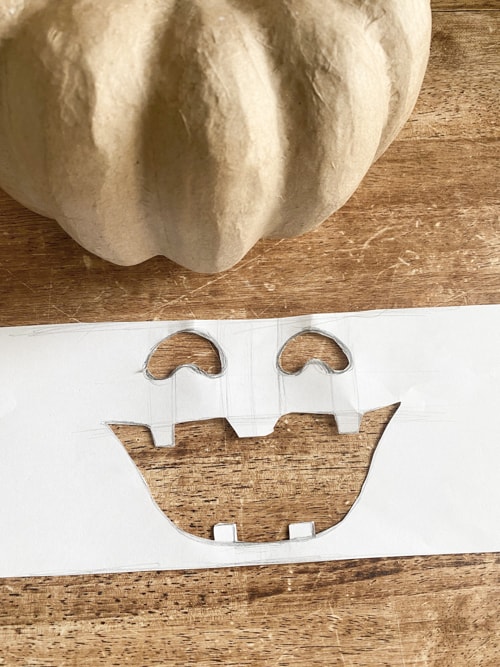
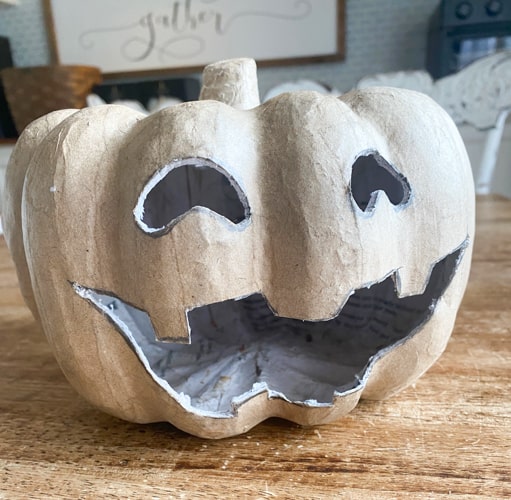
- Cut out the face so you can trace it on your pumpkin.
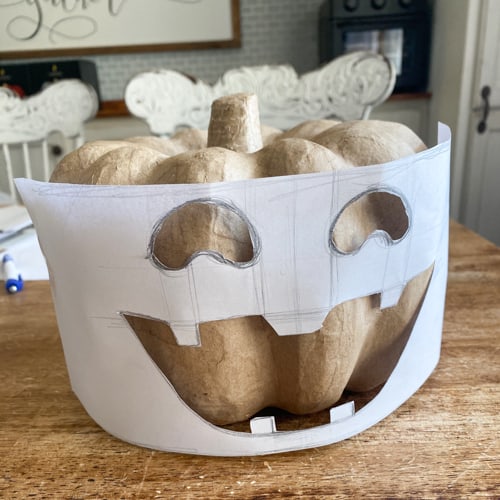
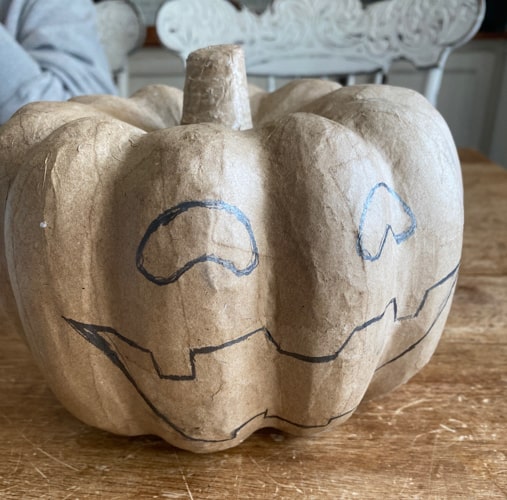
- My pumpkin had a lot of “ridges” so I just took my time in tracing the face. I taped it on both sides to help keep it in place.
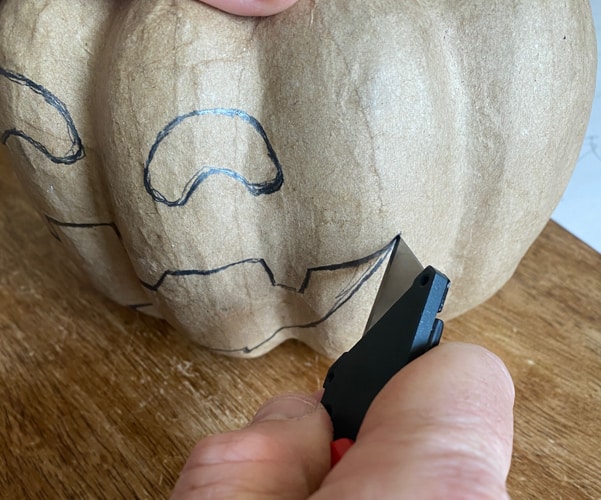
- We started cutting out the face with a utility knife for the bigger areas but found that the exacto knife worked better because you can control it better around the small curves.
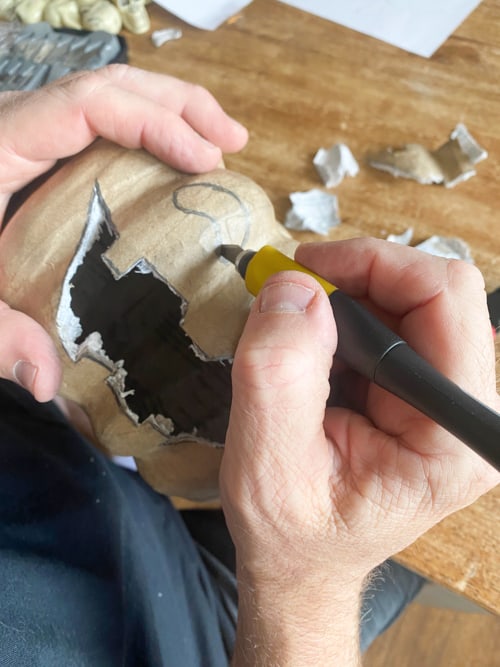
You can use sandpaper to smooth out any rough edges.
- Once the face was cut out, I went around and cleaned up with cut areas that were pulling apart. You could use a high grit sandpaper if your cut edges are really rough. You will paint the pumpkin so don’t worry about the pencil lines.
- Next, it was time to paint.
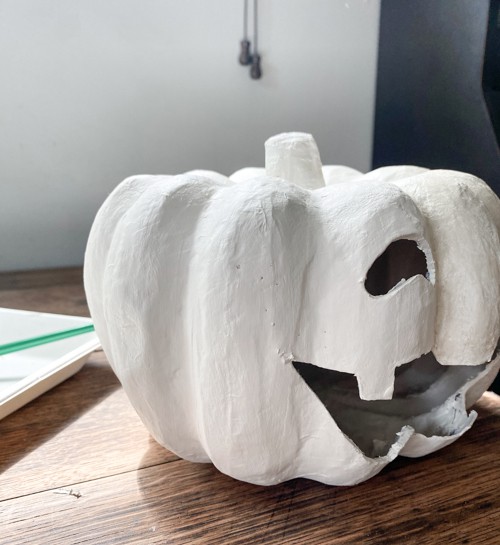
- I used my favorite all-in-one paint. This paint has the primer, paint, and topcoat in one. It comes in many colors and was perfect for this project. You can read more about why I love this paint so much in my post HERE.
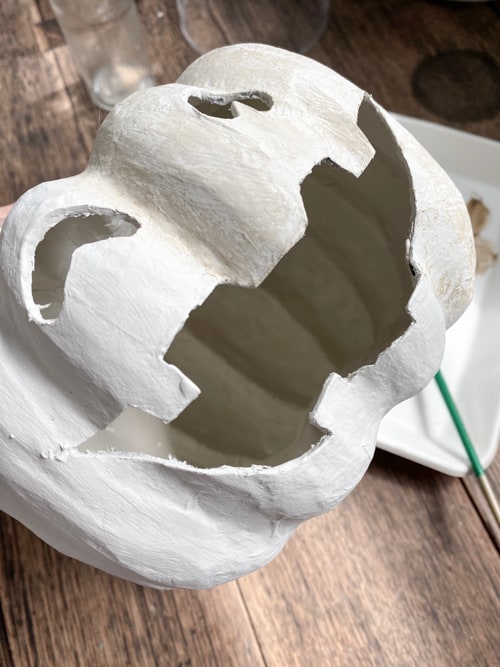
- I wanted to paint the inside so you didn’t see the “paper” the pumpkin was made from. I poured some of the paint inside the pumpkin and moved it around to coat the inside. Make sure you don’t pour too much paint inside because it will take forever to dry. Use a long paintbrush to move the paint around to the areas it didn’t reach. Then, paint the outside.
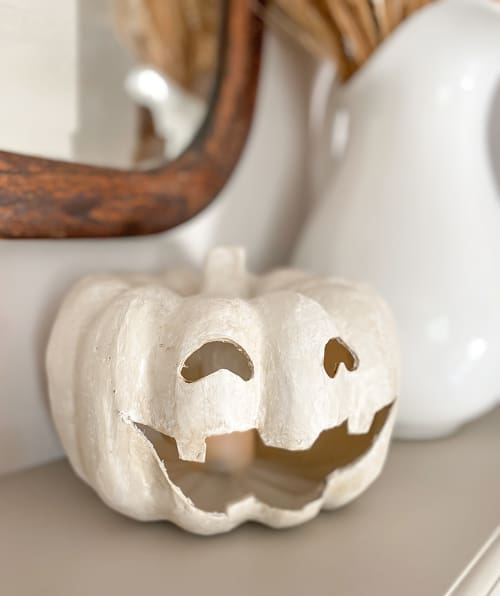
- Once the paint was dry, I added a little bit of Antiquing Glaze to give my holder a patina like the one I love at Luminara.
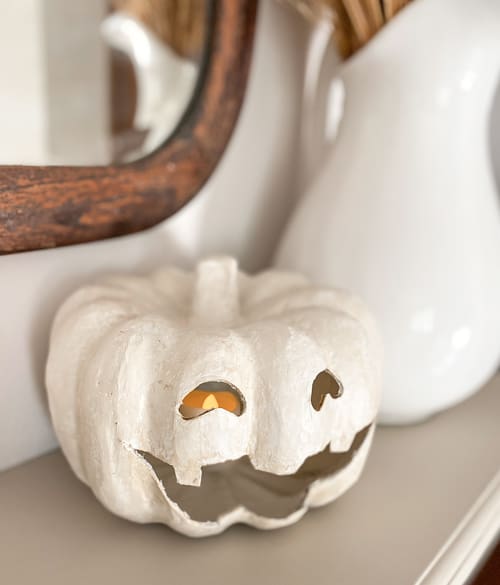
This tealight holder is easy to make and makes a fun piece to add to the mantel.
I couldn’t be happier with this little project. It definitely gave me the look I was going for and it was very easy to do.
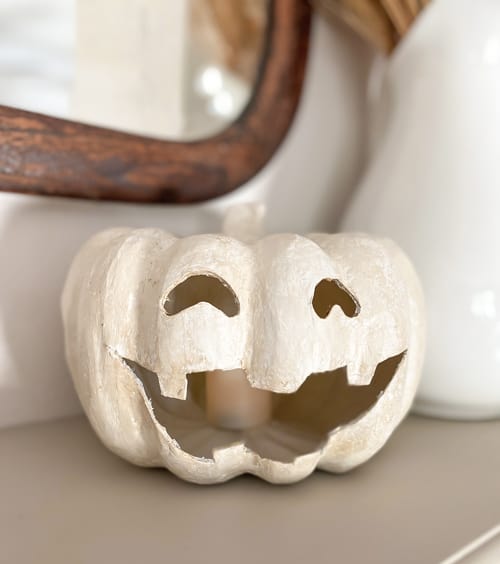
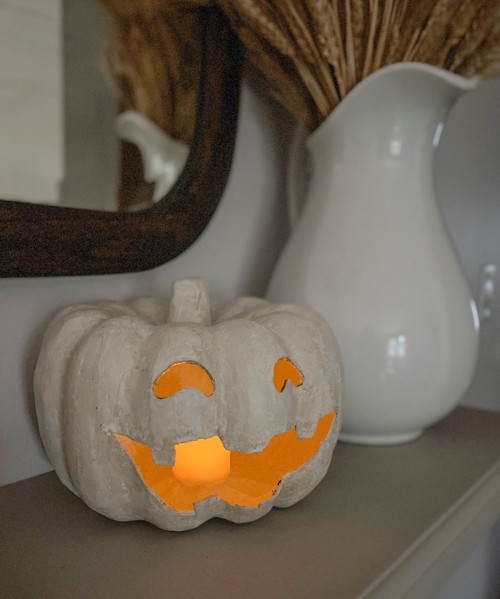
I was able to fit a taller tealight inside.
Luminara candles feel and look like real candles (you can see that in my YouTube video that I linked above). They have scented options too. The wicks move like real candles and the glow they give off looks like the real thing. They have remote controls too so you can turn them on or off from anywhere in the room.
Another favorite thing about these candles is that I can put them anywhere are not worry about it. Inside cabinets I decorate for different seasons, under cloches for the holidays, inside jack-o-lanterns I create, on top of old books, etc. You definitely need to check out Luminara if you are looking for quality faux candles that look and feel like the real thing. I have a coupon code for Luminara. You can browse their site HERE and use the code “Mycreativedays10” to save on your order.
PIN THIS POST!