• Home
  • About
    • Disclosure
      • Terms And Conditions
      • Cancellation Policy
      • Refund Policy
      • Shipping Policy
    • Contact Me
    • My Favorites
      • Our Toolbox
      • Paint Colors
      • My Amazon Store
  • Categories
    • Seasonal
      • Spring
      • Fall
      • Halloween
      • Thanksgiving
      • Christmas
      • Valentine’s Day
      • Easter
      • Mother’s Day
    • DIY
      • Repurposed
      • Furniture
      • Crafts
    • Our Home
    • Recipes
    • Crafts
      • Party Planning Ideas
      • Kids Activities
  • Resources
    • Organization Tools
      • Organization Challenge
      • 5-Day Organization Challenge
      • 12 Monthly Purge Checklists
      • Sentimental Purge Guide
    • Thrifting | Decorating
      • 105 Things To Throw Away | Recylce | Sell | Donate For Instant Decluttering
      • 50 Things To Donate For Instant Decluttering
      • 50 Things To Throw Away For Instant Decluttering
      • How To Decorate Your Home On A Yard Sale Budget
      • 11 Quick Tips To Organize A Profitable Yard Sale
    • Furniture Flipping
      • The Ultimate Furniture Flipping Program For Beginners
      • The Creative Squad
      • The Furniture Flippers Social Media Planner
      • Furniture Flipping Assessment
      • Furniture Flippers E-Book
      • Mini Courses
      • Quick Guide To Painting Furniture
      • Types Of Paint For Furniture
    • Consultations
    • Join My Newsletter
    • Become An Affiliate
  • Podcast
  • Furniture Flipping Course
  • Learn With Me
  • My New E-Book!
    • Facebook
    • Instagram
    • Pinterest
    • RSS
    • Twitter
    • YouTube

My Creative Days

DIY blog sharing our home, budget decorating tips with repurposed farmhouse decor.

How To Make A Wooden Box

August 18, 2016 23 Comments

I promised you all that I would write this post when I shared How to Turn A Curbside Dresser Into A Bar. In that project, we made a wooden box to store ice. I mentioned how often we make wooden boxes and that I needed to write a post about how we do it. Well, a few of you have been asking about this post and I am happy to report it is finally here! I picked up a great little piece at a yard sale that needed wooden boxes so the timing was perfect.

Wooden boxes are a weakness for me. They are in my top ten list of things you should buy at yard sales and I am always drawn to them when I see them in stores. Then, I see the price tag and I am not so drawn to them anymore. We started making them for different projects and today I am going to share with you how we make a wooden box!

If you love the look of wooden boxes for your home's decor and function, click over to learn how easy it is to make a wooden box so you can save a lot of money and use them all over the house!

{*Disclaimer: This post is long, but I really wanted to get pictures of each stage so you can get a good understanding of how we make wooden boxes.)

(This post contains affiliate links. You can read my disclosure HERE.)

Supplies Needed To Make A Wooden Box:

Wood

Masonite boards

Table Saw

Miter Saw

Nail Gun

Tape Measure

Orbital Sander

Crown Stapler

Directions To Make A Wooden Box:

To make our wooden boxes, we use any wood we have on hand. The particular boxes for this project were made from wood left over from the reclaimed wall we added to the back porch makeover.

Okay, let’s get to making some homemade boxes without hefty price tags, shall we?!

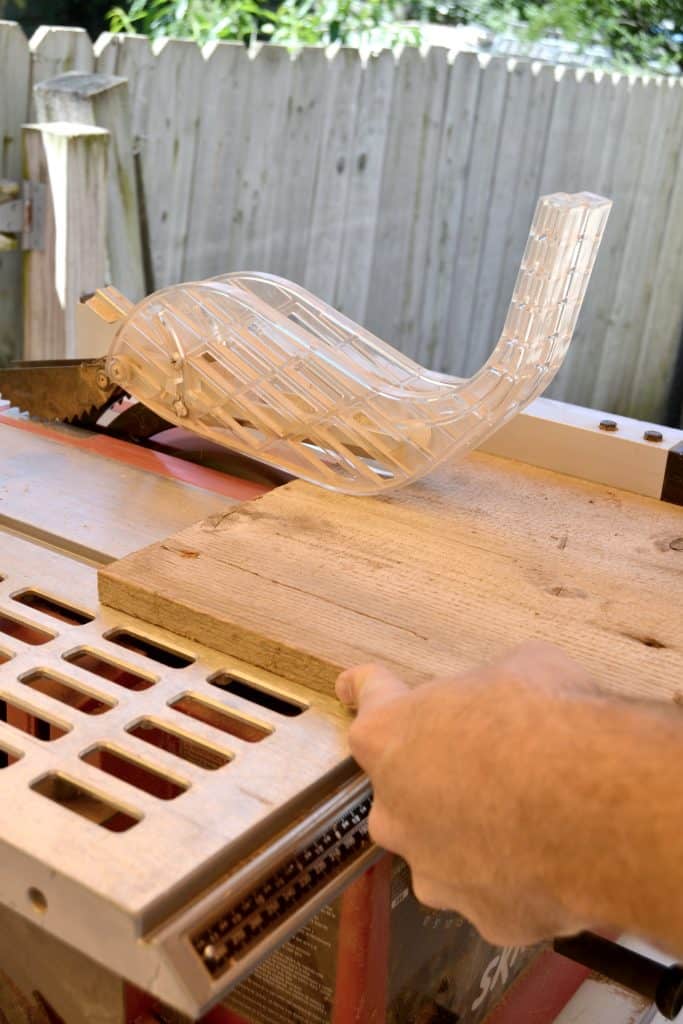
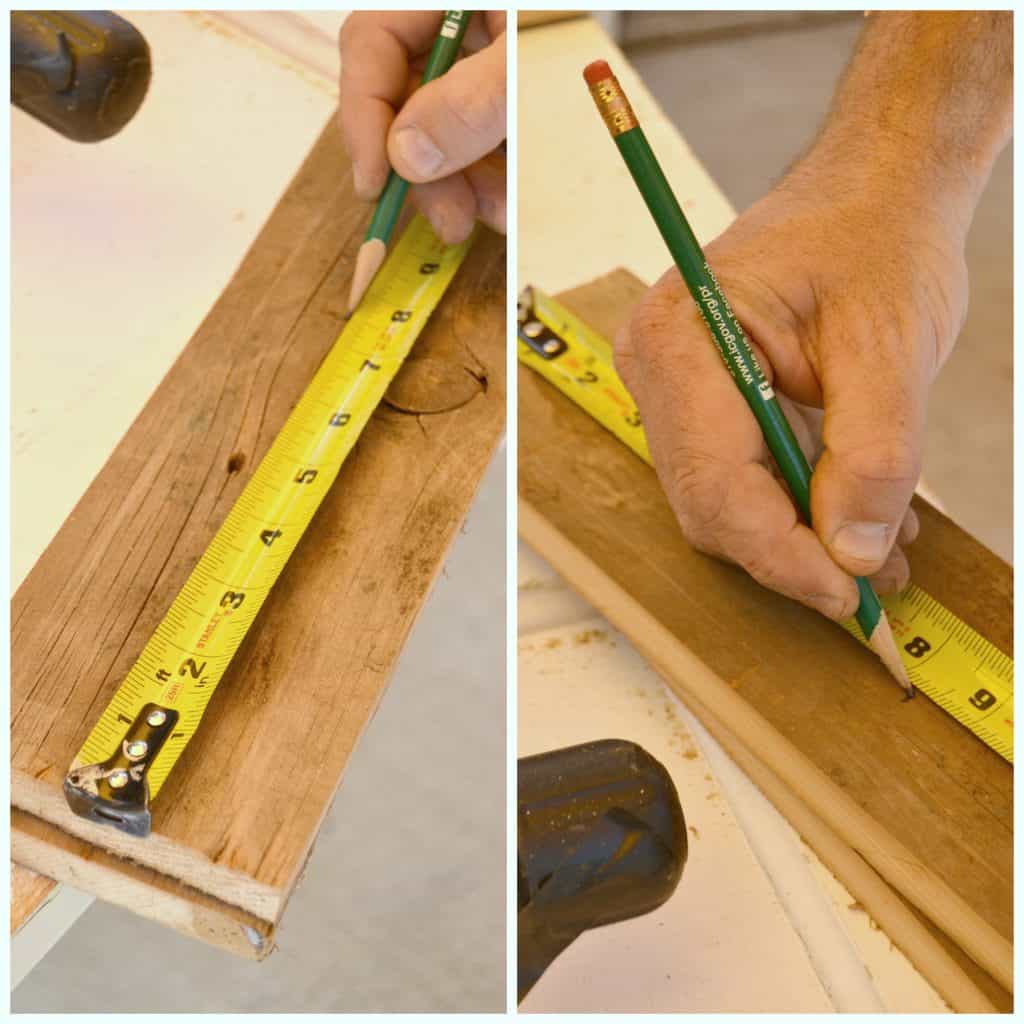
To start, measure how tall you need the sides of the wooden box to be. Then, set your table saw to your measurement.
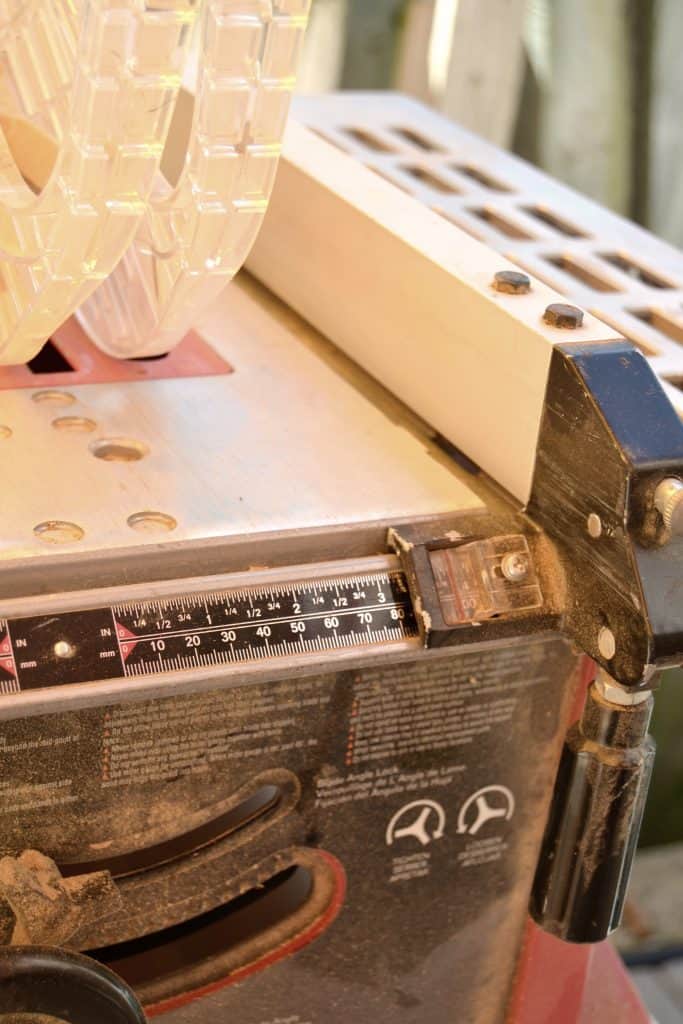
If you love the look of wooden boxes for your home's decor and function, click over to learn how easy it is to make a wooden box so you can save a lot of money and use them all over the house!

Next, cut the wood.

If you love the look of wooden boxes for your home's decor and function, click over to learn how easy it is to make a wooden box so you can save a lot of money and use them all over the house!

Now, it is time to measure again.

If you love the look of wooden boxes for your home's decor and function, click over to learn how easy it is to make a wooden box so you can save a lot of money and use them all over the house!

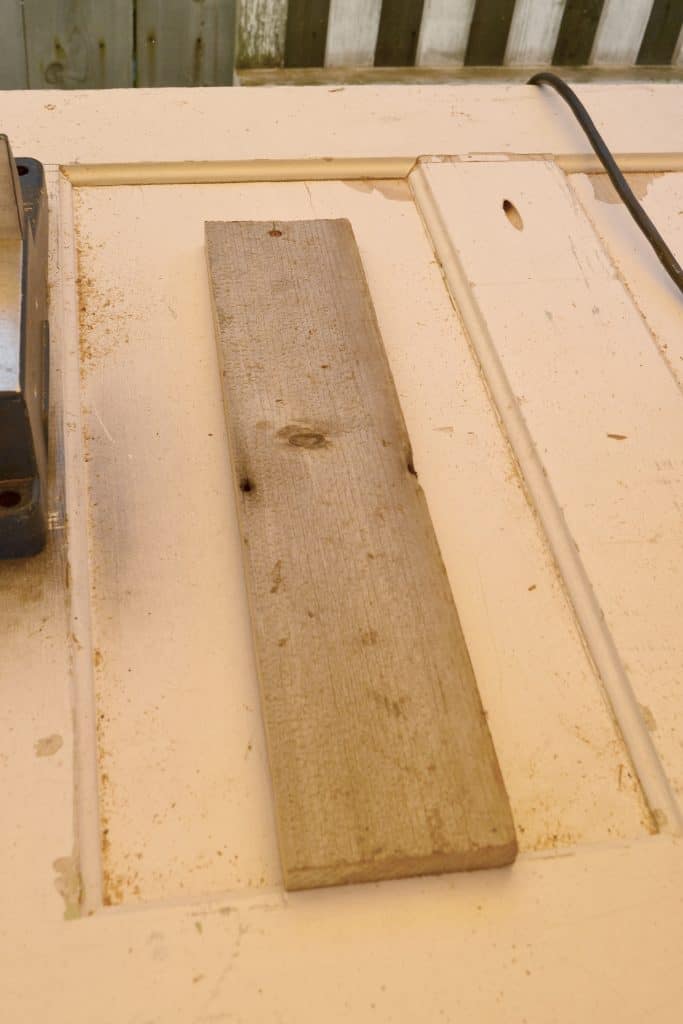
Mark the board you just cut to the width you need the sides of the box to be. This time around, our boxes needed to be shorter on the sides and longer on the front and back. Matt took one board to cut both of those measurements and made “templates”.

If you love the look of wooden boxes for your home's decor and function, click over to learn how easy it is to make a wooden box so you can save a lot of money and use them all over the house!

Once the “template” boards are cut, use them to cut the rest of the sides needed to complete all the boxes you need. To do this, stack the “template” board on top of another board (already cut down to height size) to use as the guide.

{A little tip from Matt: Make sure to use the same “template” board through all the cuts so they are uniform.}

If you love the look of wooden boxes for your home's decor and function, click over to learn how easy it is to make a wooden box so you can save a lot of money and use them all over the house!

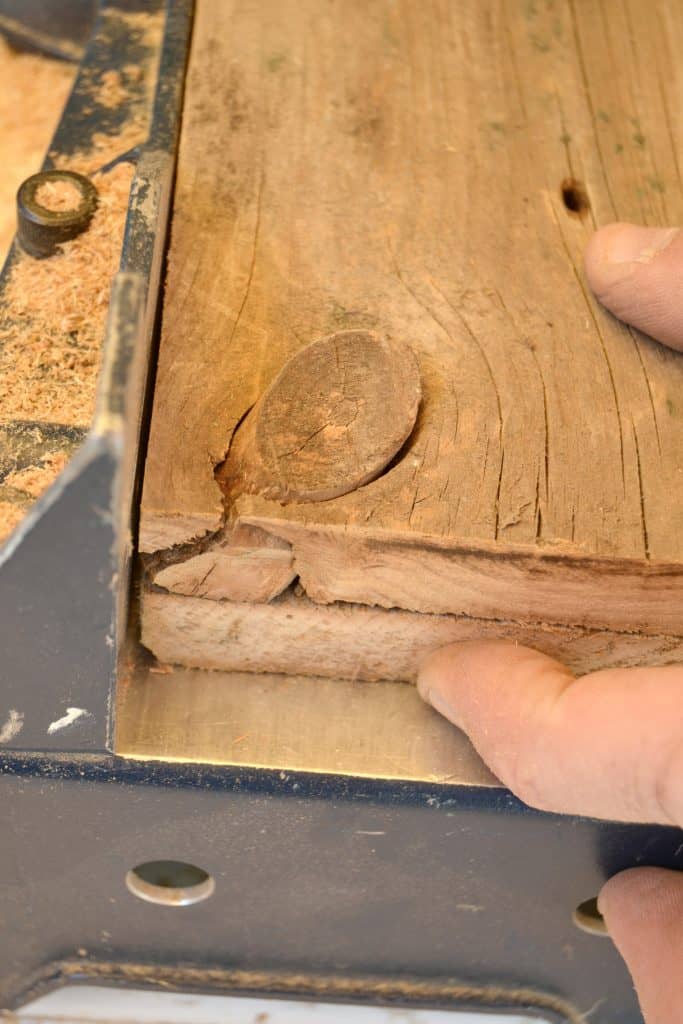
Now that all the sides of the wooden box are cut to the size you need, it is time to make 45° angle cuts. Set the miter saw at 45° and it is ready to make the angle cut.

If you love the look of wooden boxes for your home's decor and function, click over to learn how easy it is to make a wooden box so you can save a lot of money and use them all over the house!

To make the angled cut, turn the board on its side and line the saw blade up with the corner edge of the board.

If you love the look of wooden boxes for your home's decor and function, click over to learn how easy it is to make a wooden box so you can save a lot of money and use them all over the house!

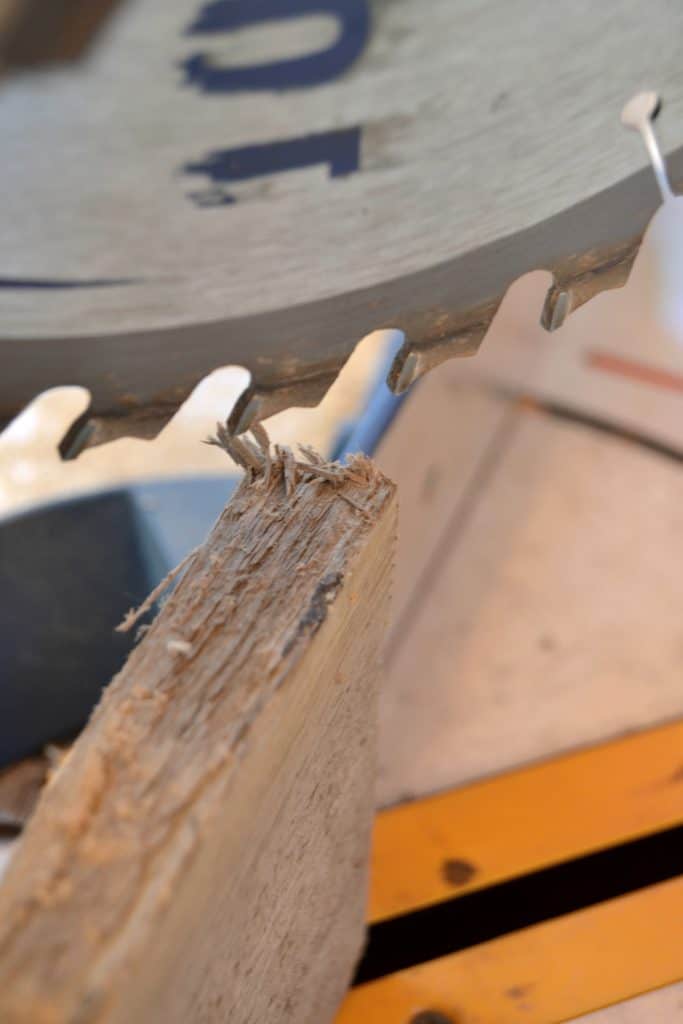
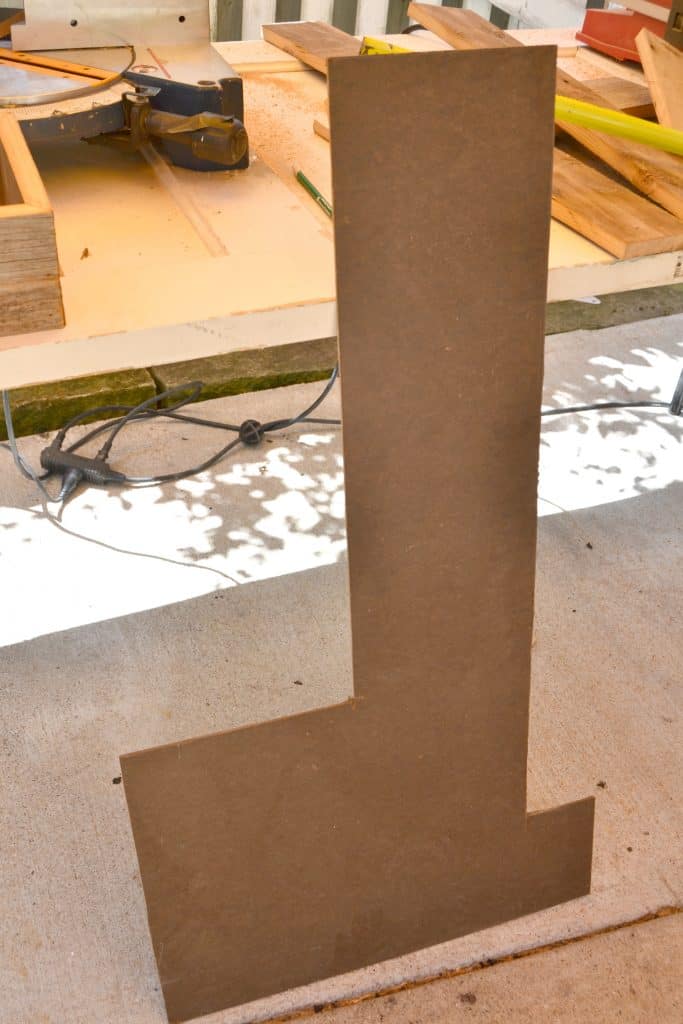
Your board will look like this after it’s cut:

If you love the look of wooden boxes for your home's decor and function, click over to learn how easy it is to make a wooden box so you can save a lot of money and use them all over the house!

Now, it is ready to put together!

If you love the look of wooden boxes for your home's decor and function, click over to learn how easy it is to make a wooden box so you can save a lot of money and use them all over the house!

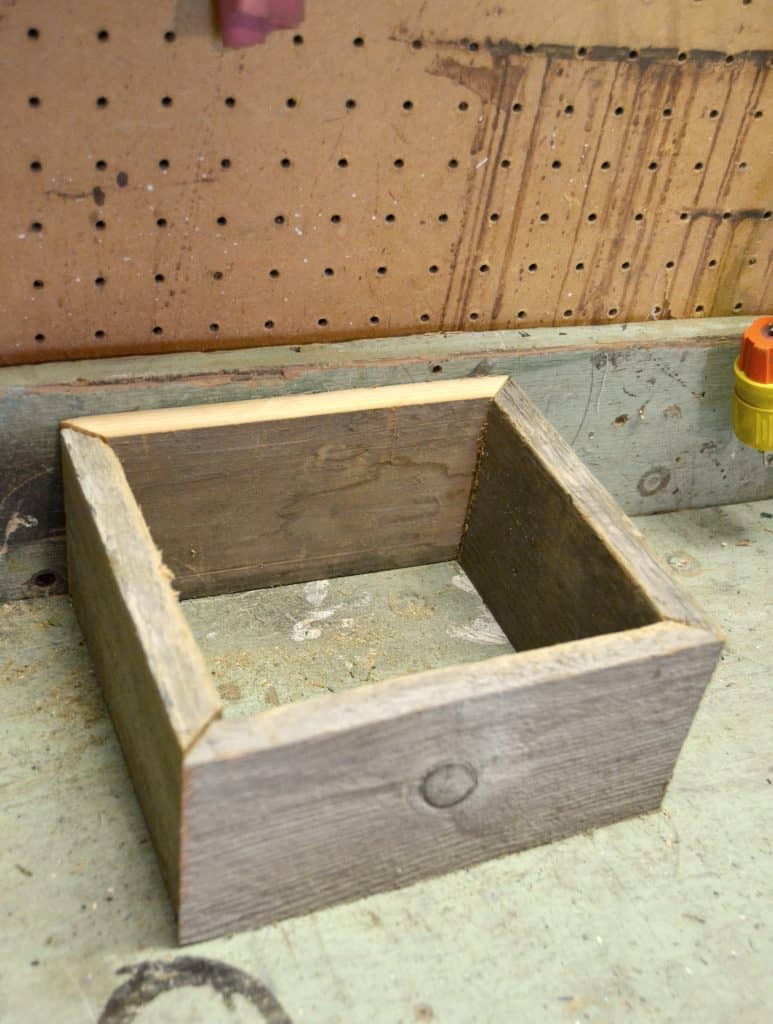
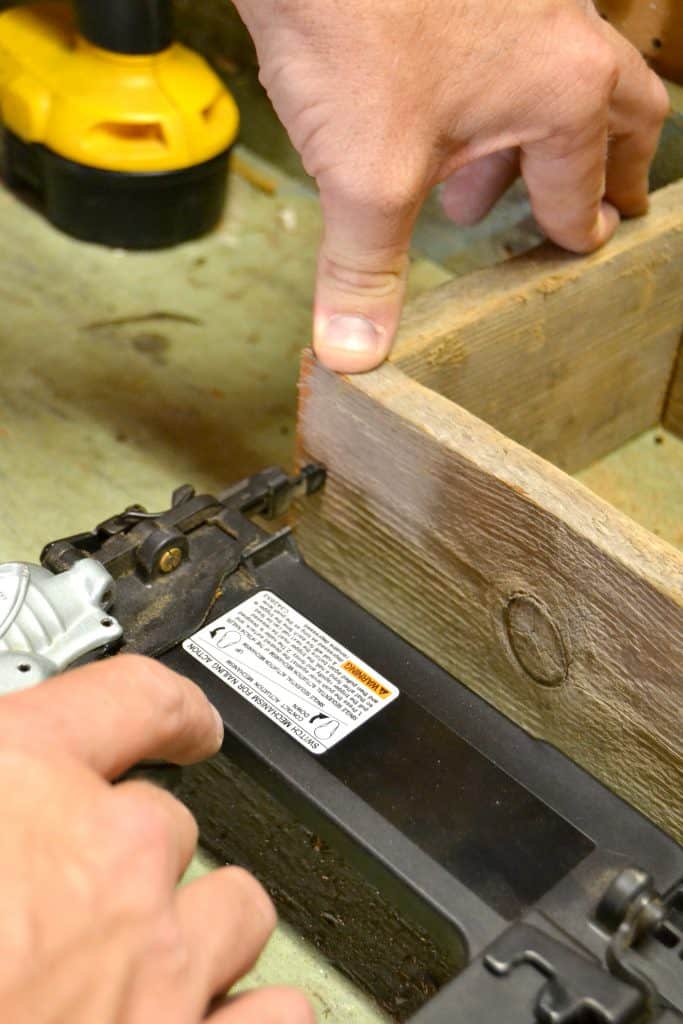
Use a nail gun to connect all four sides together.

If you love the look of wooden boxes for your home's decor and function, click over to learn how easy it is to make a wooden box so you can save a lot of money and use them all over the house!

The bottom of the box is next. We use the thin boards you usually find on the back of laminate furniture. I didn’t know what the name of it was so I called my dad and he said it is like Masonite boards. We pick these boards up at Restore when we find them because we use them on a lot of projects like this.

If you love the look of wooden boxes for your home's decor and function, click over to learn how easy it is to make a wooden box so you can save a lot of money and use them all over the house!

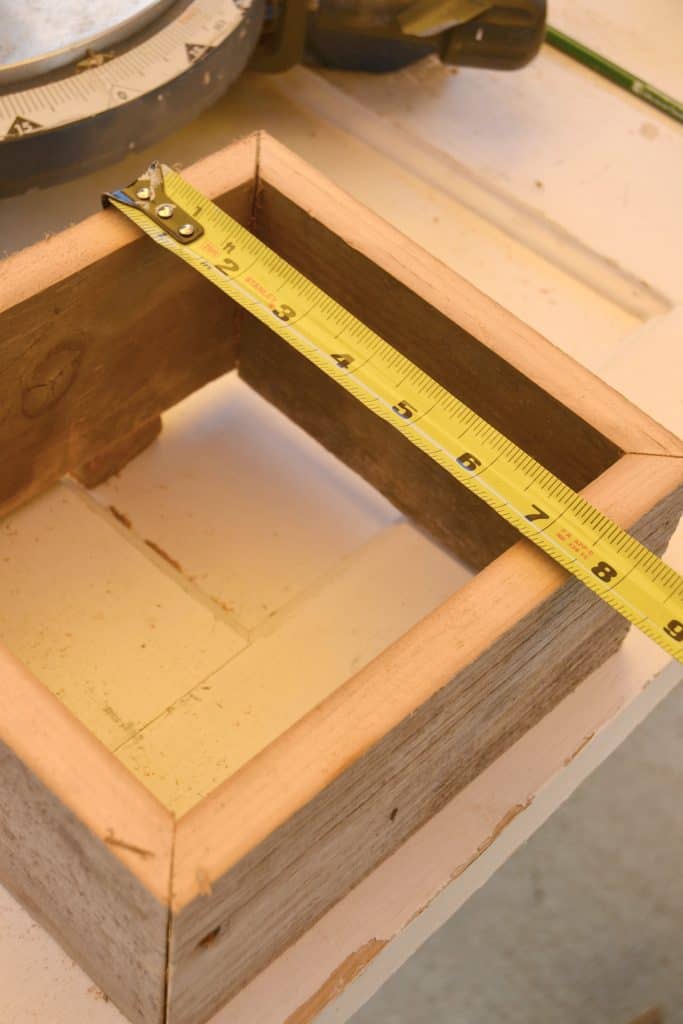
To add the bottom to the box frame you made, measure the frame and cut the Masonite board with the table saw.

If you love the look of wooden boxes for your home's decor and function, click over to learn how easy it is to make a wooden box so you can save a lot of money and use them all over the house!

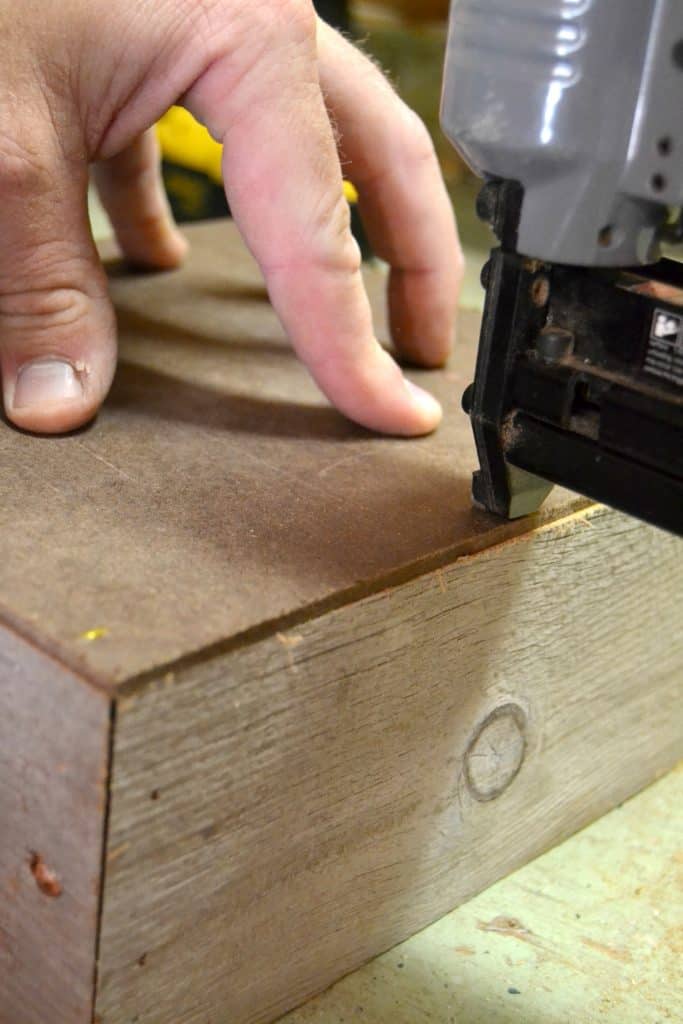
Matt uses a crown stapler to attach the bottom to the box frame.

If you love the look of wooden boxes for your home's decor and function, click over to learn how easy it is to make a wooden box so you can save a lot of money and use them all over the house!

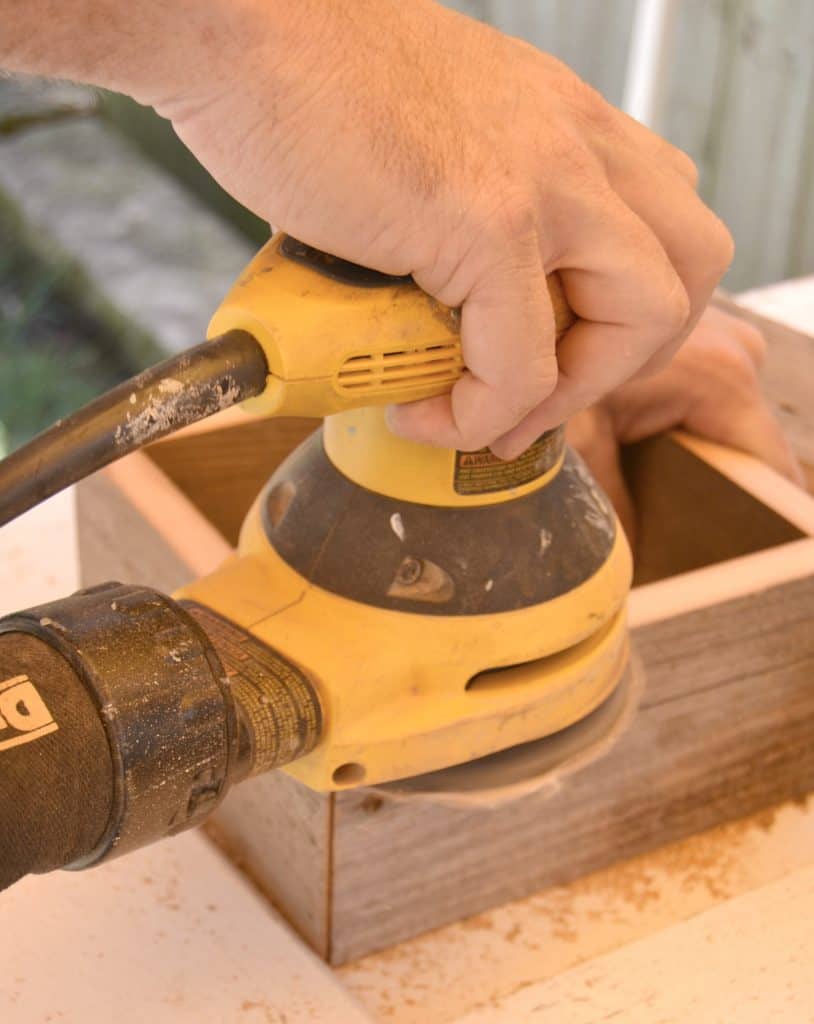
Once it is all put together, use an orbital sander to smooth down all the edges.

If you love the look of wooden boxes for your home's decor and function, click over to learn how easy it is to make a wooden box so you can save a lot of money and use them all over the house!

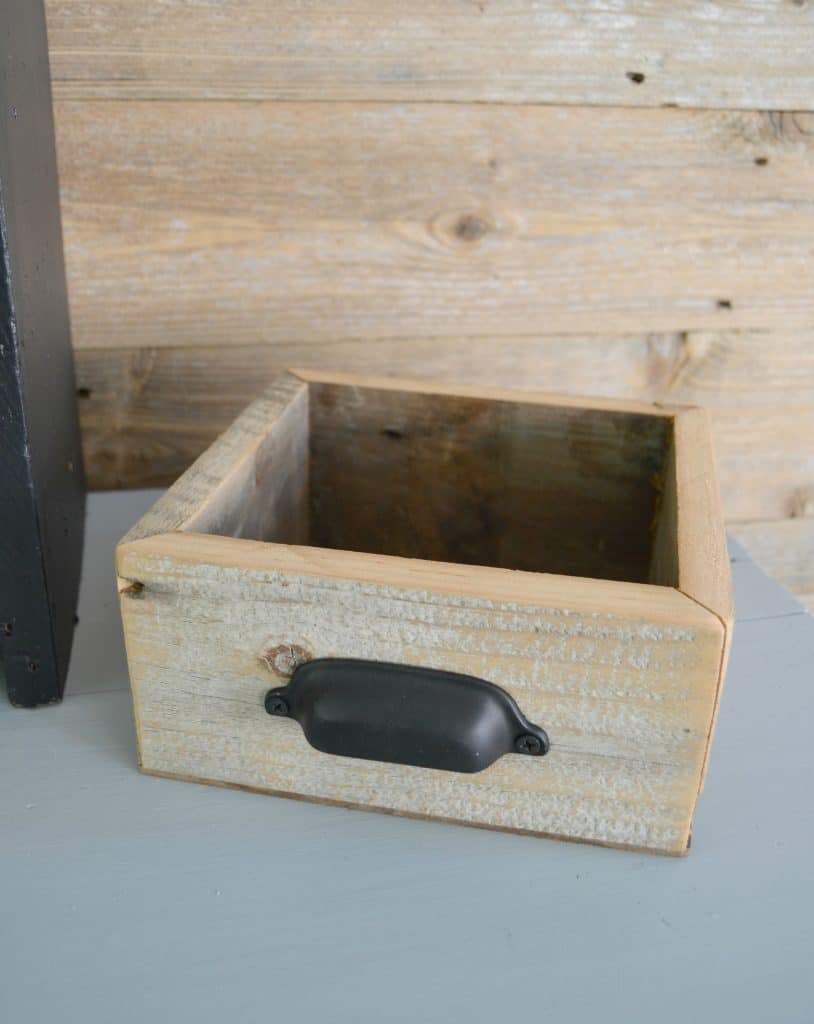
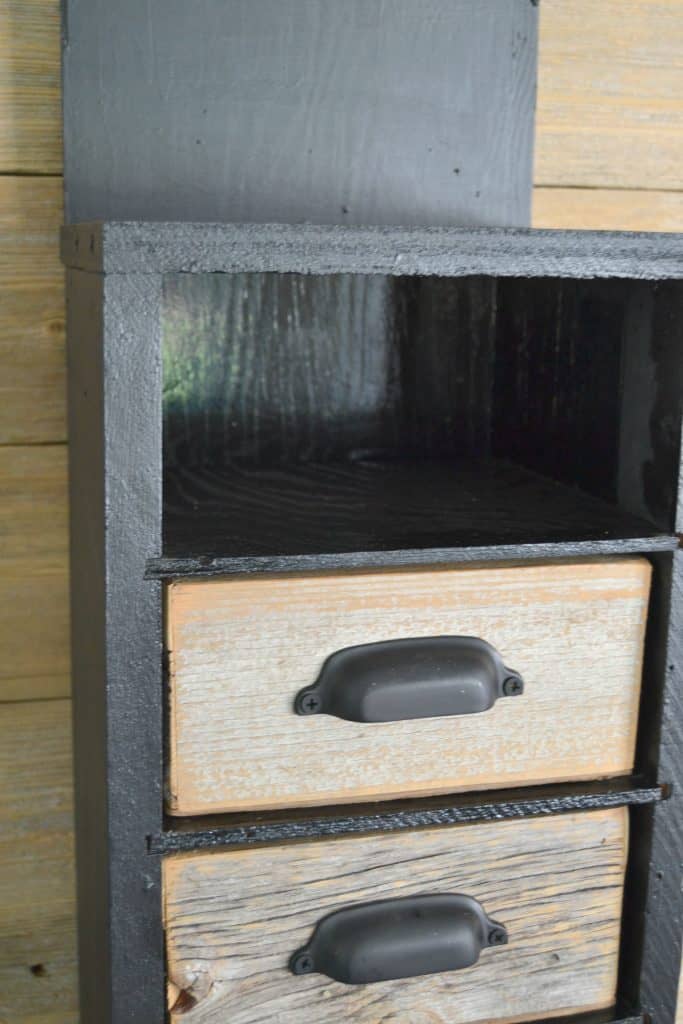
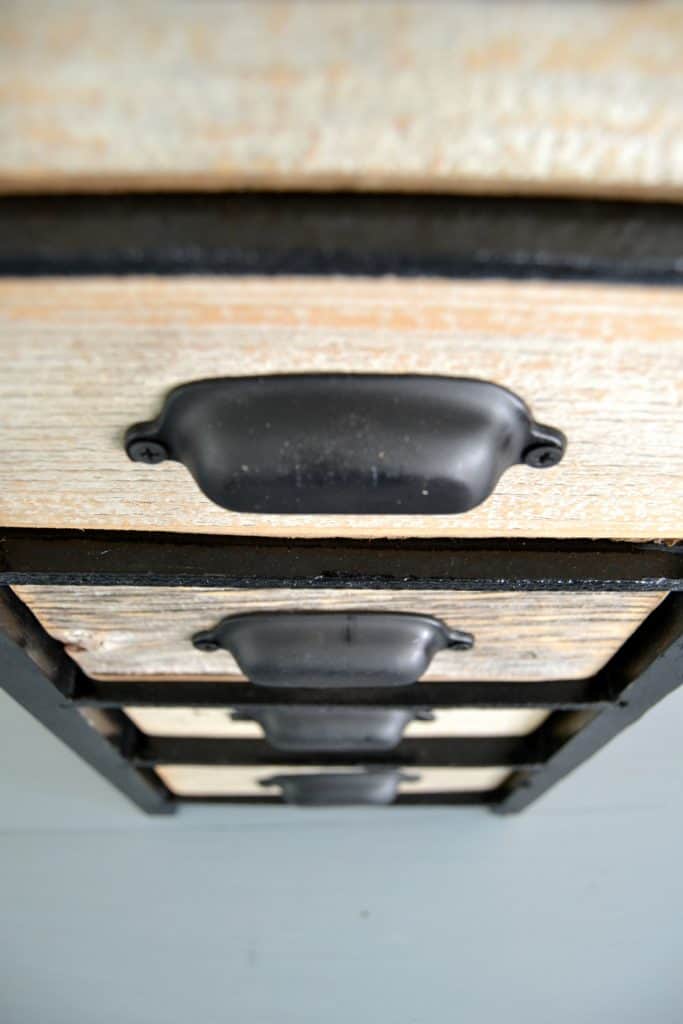
For this project, I wanted to add hardware to the front of the boxes because we were making “drawers” for the piece I brought home. These pulls were a Restore find. I spray painted them black and screwed them to the front of each box.

If you love the look of wooden boxes for your home's decor and function, click over to learn how easy it is to make a wooden box so you can save a lot of money and use them all over the house!

Finally, the transformation and the project starts coming together!

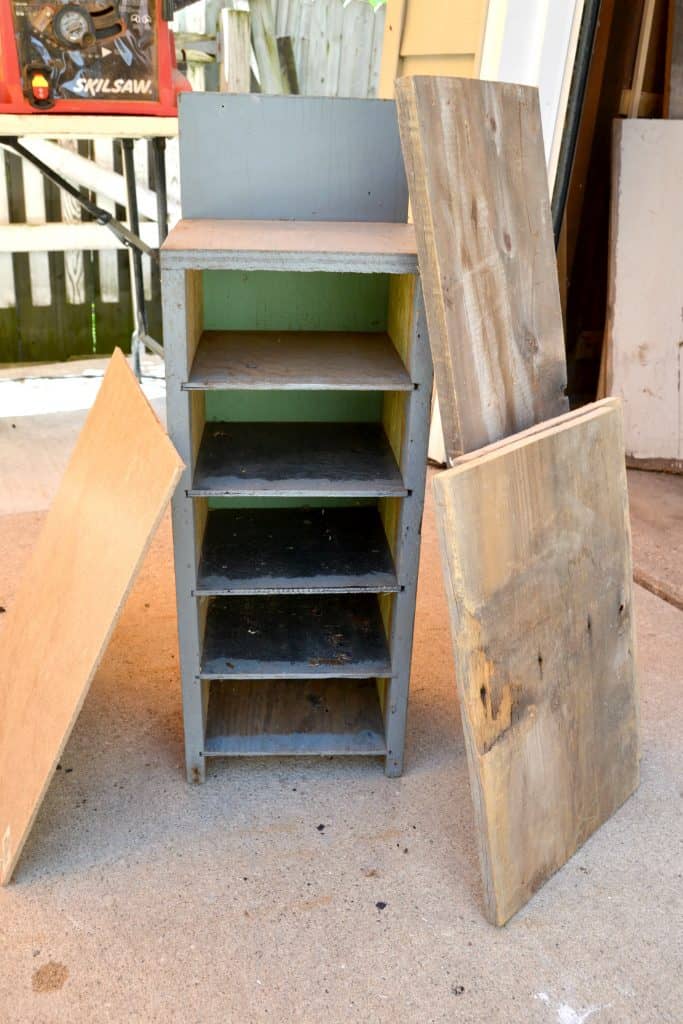
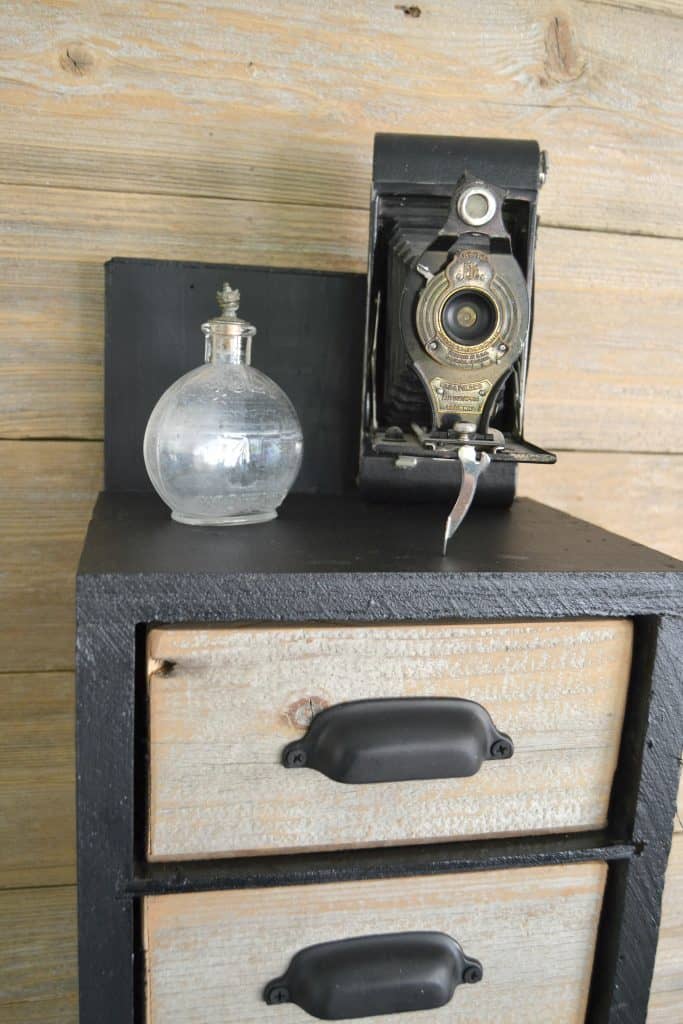
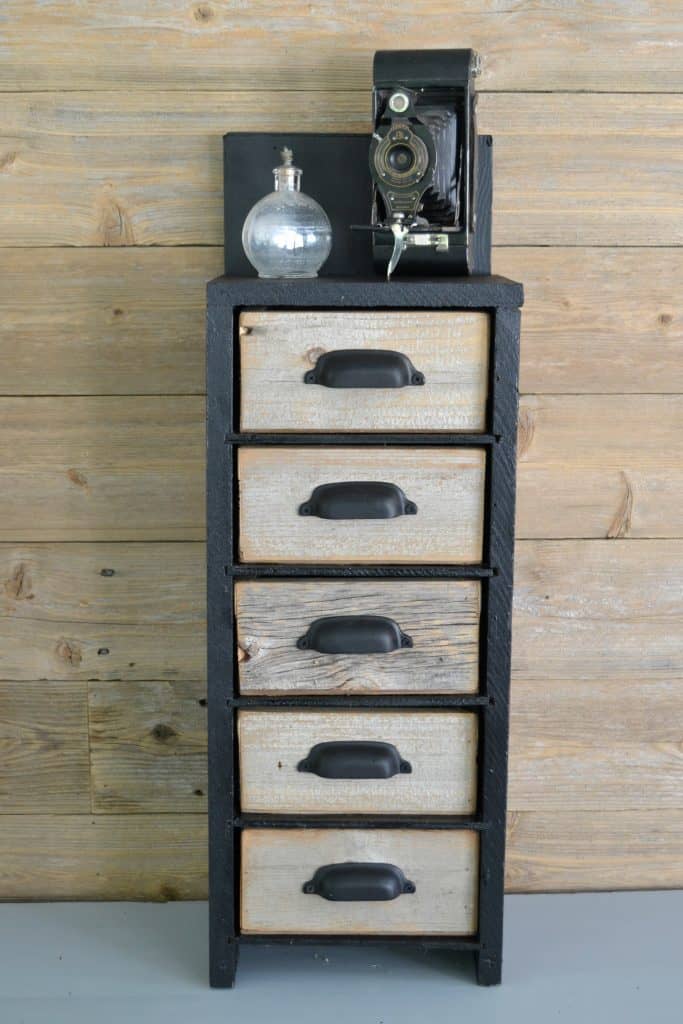
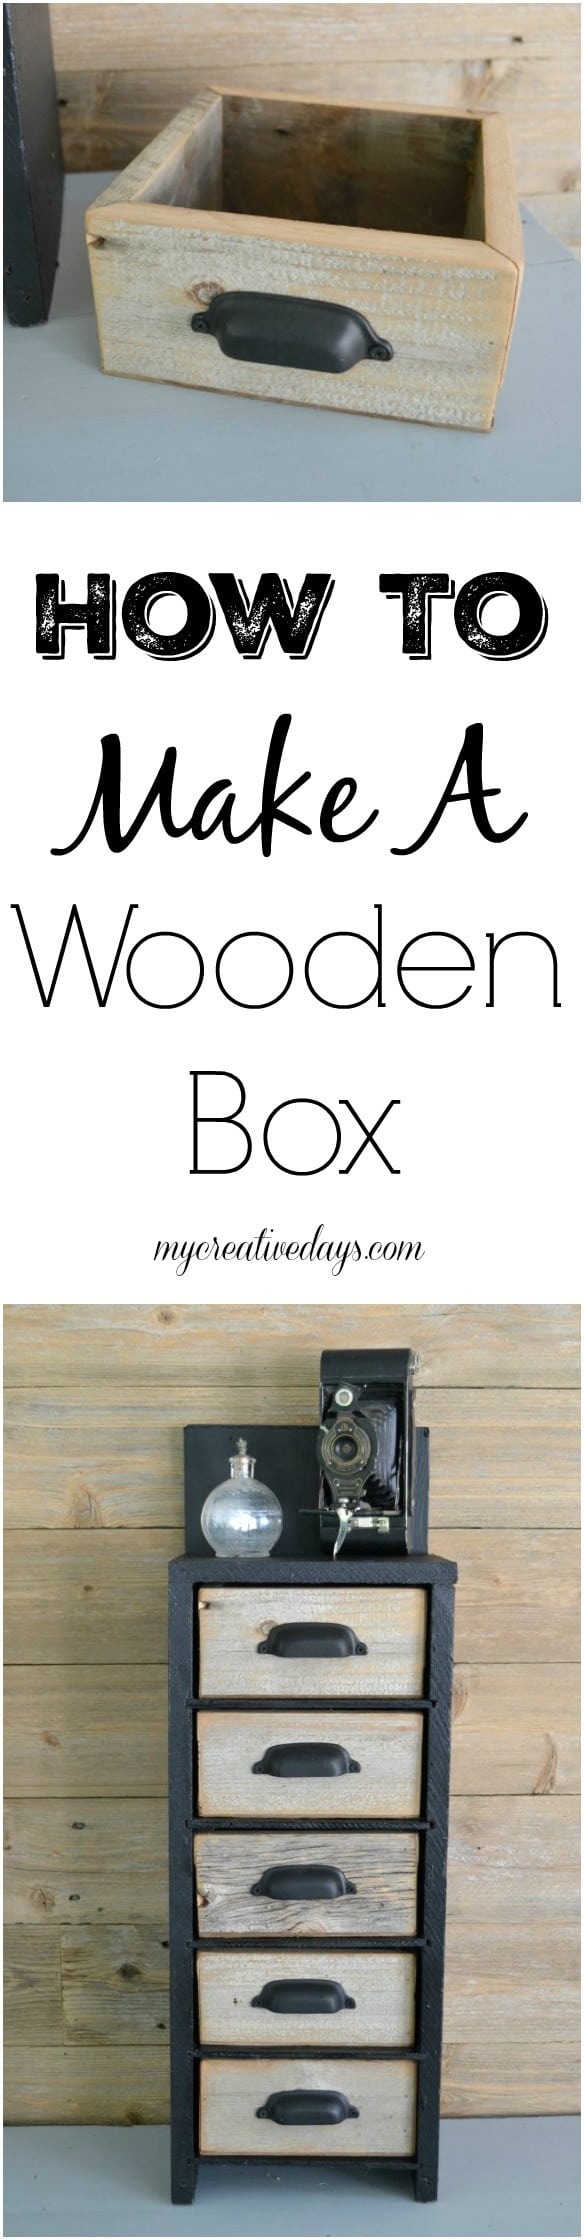
The piece below is what we made the wood boxes for this time around. As soon as I saw it at the yard sale, I knew wooden boxes would make it a beautiful piece.

If you love the look of wooden boxes for your home's decor and function, click over to learn how easy it is to make a wooden box so you can save a lot of money and use them all over the house!

HomeRight just released their Small Spray Shelter and I was excited to use it for this project. The piece I got at the yard sale is not big so the small spray shelter worked perfectly!

If you love the look of wooden boxes for your home's decor and function, click over to learn how easy it is to make a wooden box so you can save a lot of money and use them all over the house!

Since we are in the middle of the porch makeover, everything is cleared out of there. It has been nice having that extra room to work on projects. I set the shelter up in there and got this piece painted in no time.

If you love the look of wooden boxes for your home's decor and function, click over to learn how easy it is to make a wooden box so you can save a lot of money and use them all over the house!

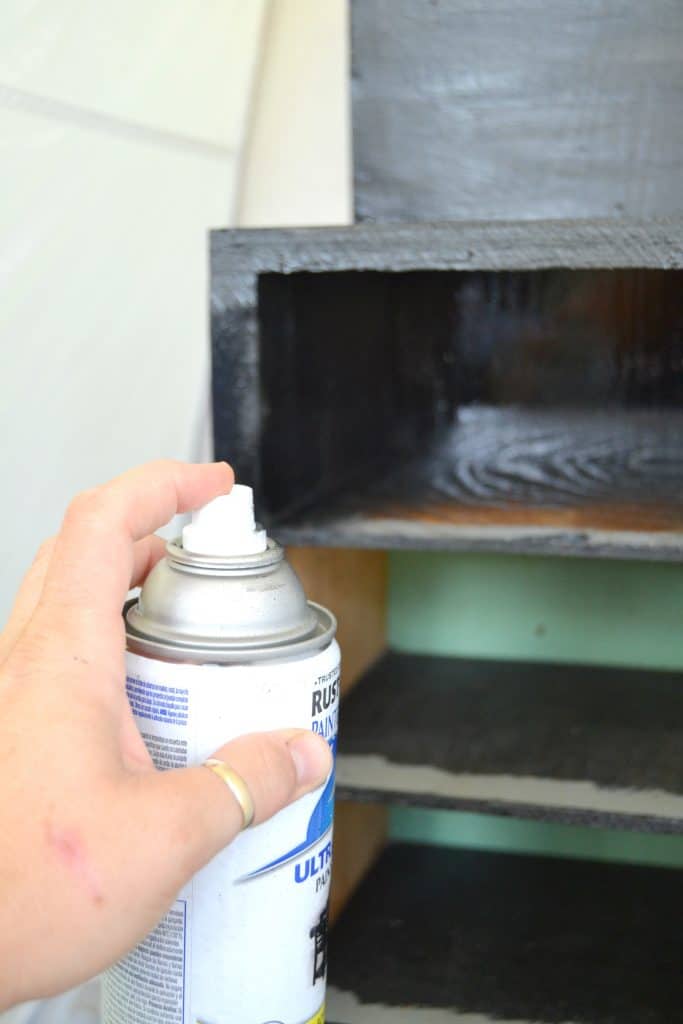
I was able to spray paint the entire piece inside this tent in my porch! All of the windows were open and I didn’t have to worry about paint getting everywhere because the shelter protected it all.

If you love the look of wooden boxes for your home's decor and function, click over to learn how easy it is to make a wooden box so you can save a lot of money and use them all over the house!

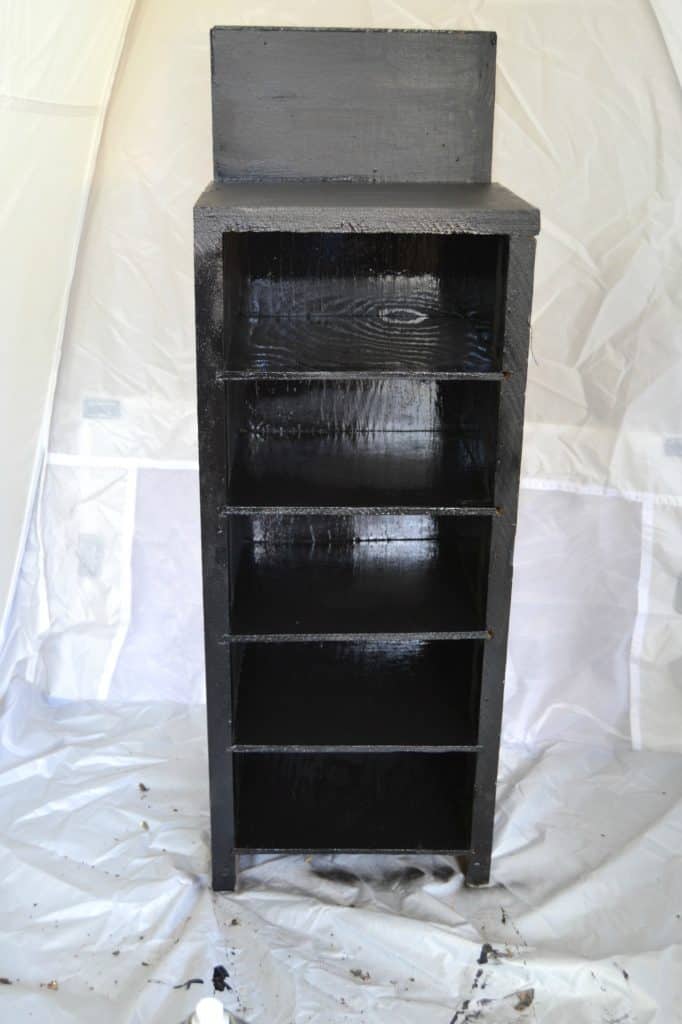
This little guy turned out so great. A little paint and some new wooden boxes was all it needed.

If you love the look of wooden boxes for your home's decor and function, click over to learn how easy it is to make a wooden box so you can save a lot of money and use them all over the house!

The hardware on the boxes didn’t hurt either. 😉

If you love the look of wooden boxes for your home's decor and function, click over to learn how easy it is to make a wooden box so you can save a lot of money and use them all over the house!

If you love the look of wooden boxes for your home's decor and function, click over to learn how easy it is to make a wooden box so you can save a lot of money and use them all over the house!

If you love the look of wooden boxes for your home's decor and function, click over to learn how easy it is to make a wooden box so you can save a lot of money and use them all over the house!

This post was long, but once you start making these at home, it goes by fast. You will be amazed how much money you can save by making your own wooden boxes.


PIN THIS POST!

If you love the look of wooden boxes for your home's decor and function, click over to learn how easy it is to make a wooden box so you can save a lot of money and use them all over the house!

If you liked this wooden box post, you will also love these tutorials:

The Paint Sprayer That Will Paint A Room In 10 Minutes

Spring Wreath: Made From Embroidery Hoops & Book Pages

10 Tips On How To Paint Furniture


Sharing is caring!

84 shares
  • Share

Filed Under: DIY Projects Tagged With: diy wood box, how to, wood box

Click HERE to Support My Creative Days


HURRY – 10% OFF EVERYTHING!


Use coupon code: TAKE10 at checkout
LEARN MORE

« DIY Nursery Dresser
5 Ingredient Protein Balls Recipe »

Comments

  1. Cecilia says

    August 18, 2016 at 8:38 AM

    Nice! The little cabinet and wood boxes look great. And making the boxes sound easy enough. Thanks for the tutorial!

    Reply
    • Lindsay says

      August 18, 2016 at 6:52 PM

      Thank you Cecilia!

      Reply
  2. Connie says

    August 18, 2016 at 7:24 PM

    Love your site! Great work and skill.

    Reply
    • Lindsay says

      August 18, 2016 at 7:40 PM

      Thank you so much!!!

      Reply
  3. Kimberly says

    August 25, 2016 at 10:01 AM

    Thanks so much for the tutorial. One little constructive input, though? I noticed your miter saw is compound. It would be much safer for most of your readers/home DIYers to lay the board flat and do a 45° bevel instead of slicing down through a board on its edge. Also, many readers can try asking for hardboard at the home improvement store if the associate does not recognize the more specialized term Masonite.

    Reply
    • Lindsay says

      August 28, 2016 at 11:20 AM

      Thanks

      Reply
  4. Val says

    November 18, 2016 at 9:13 PM

    Hi Lindsay,

    I just love this little project! I too, am addicted to crates and boxes. You can tuck them into all sorts of little nooks and crannies!

    Reply
    • Lindsay says

      November 18, 2016 at 9:55 PM

      Yes you can!!!

      Reply
  5. Debbie Perkins says

    January 21, 2017 at 7:40 AM

    Thanks for the tutorial. A friend of mine does weddings. She made boxes , put old handles on the sides, and some with feet. These were used for food holders. I loved them. Never thought about making the boxes and actually using for drawers. Food for thought and my next project. (Just used a dorm fridge and made a cooler out of it.) ((Pain in the butt because I had no plans, and I muddled my way through it.)) Hmmmm, might have to dig through my cypress pile and make a matching box! Thanks, Debbie

    Reply
    • Lindsay says

      January 24, 2017 at 8:52 AM

      Yes for sure!!!

      Reply
  6. Maria Brittis says

    February 24, 2017 at 10:09 PM

    This color combo of the black and that light color stain is gorgeous. I love my tent shelter too. Love the vintage camera.
    MAria

    Reply
    • Lindsay says

      March 6, 2017 at 4:52 PM

      Thank you Maria!

      Reply
  7. dani@lifeovereasy says

    March 6, 2017 at 2:09 PM

    What an amazing transformation! Those boxes are adorable 🙂

    Reply
    • Lindsay says

      March 6, 2017 at 4:47 PM

      Thank you!

      Reply
  8. simeemma30 says

    April 15, 2018 at 4:10 PM

    If you enjoy free woodworking plans, you will love woodprix. Get inspired by all the endless possibilities of furniture plans and other wood projects to build, for both indoors and outdoors.

    Reply

Leave a Reply Cancel reply

Your email address will not be published. Required fields are marked *


follow along

  • Facebook
  • Instagram
  • Pinterest
  • RSS
  • Twitter
  • YouTube

search for a project

Listen In!

VIP Exclusive!

Get The FREE Ultimate Painting Furniture Guide Here!

“ultimate

My Creative Days is a participant in the Amazon Services LLC Associates Program, an affiliate advertising program designed to provide a means for sites to earn advertising fees by advertising and linking to Amazon.com
If you are looking for the best paint brushes for furniture makeovers, you don't have to look any further. Click over to find the paint brushes that everyone needs in their toolbox when painting furniture or anything for that matter.

Best Paint Brushes For Furniture Makeovers

The Best Black Matte Furniture Paint

DIY Farmhouse Table - Want a farmhouse table? Make your own! Check out how to refinish one easily from My Creative Days.

Farmhouse Table DIY Made From A Dumpster Find

DIY Farmhouse Office Sign

DIY Office Sign

PO Box 11823, Cedar Rapids, Iowa, 52410
Copyright © 2022 · Design + Development by Grace + Vine Studios · Privacy Policy

84 shares