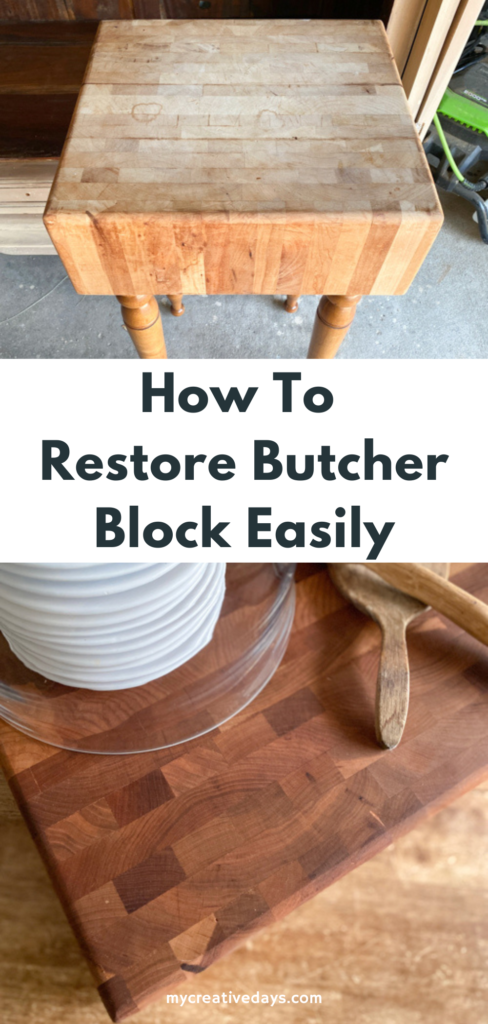
If you have a piece of butcher block that needs some refreshing, this post will show you how to restore butcher block easily and effectively.
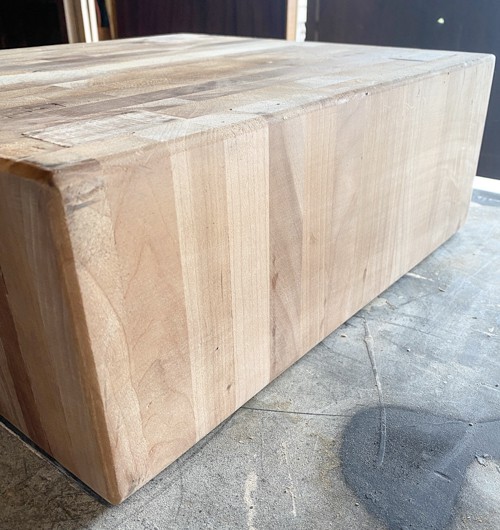
I saw this “table” at my local thrift store. They actually walked it out of the back room when I was there. When they set it down, I walked right over to it to see what the price was. It was only $10.88!! I had to bring it home.
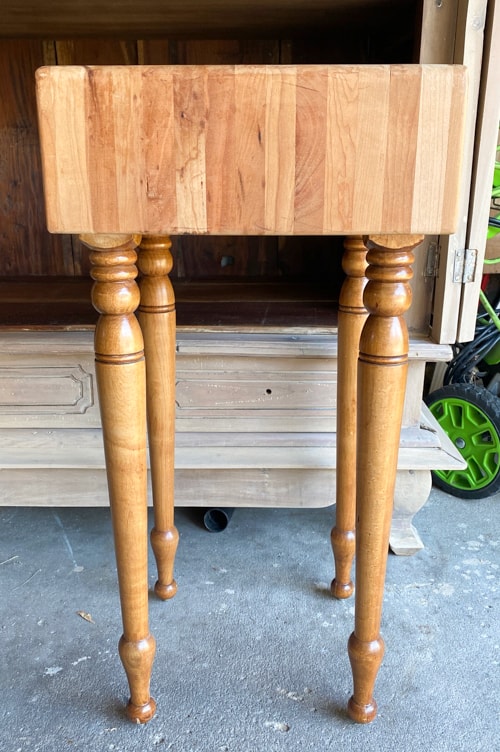
I knew right away that I was going to get rid of the legs they put this piece of butcher block on. The legs were not a good look for this beautiful and thick piece of butcher block. Not at all! I knew we could remove them though. It is so important to always keep an open mind when shopping in thrift stores. If you can look past certain things, you will find so many diamonds in the rough!
- Side Note: If you are looking for thrifting tips, I share Thrift Store Shopping Tips For A Successful Haul every time in my post HERE.
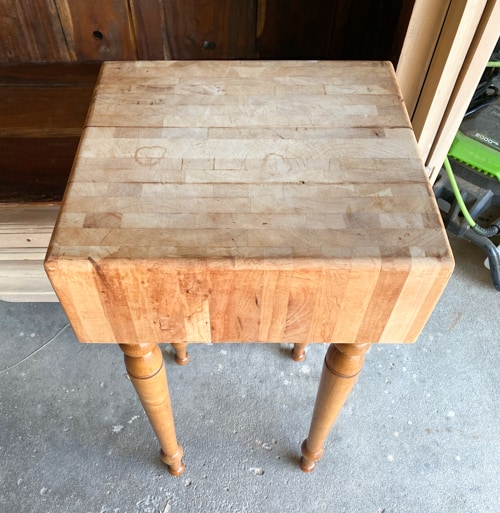
A piece of butcher block like this isn’t cheap. I was excited to bring it home because it was the perfect candidate to share how to restore butcher block the easy way.
{Affiliate links are used in this post. Click on any of the underlined links to find the products I am talking about. You can read my disclosure HERE.}
Supplies To Restore Butcher Block
Steps To Restore Butcher Block
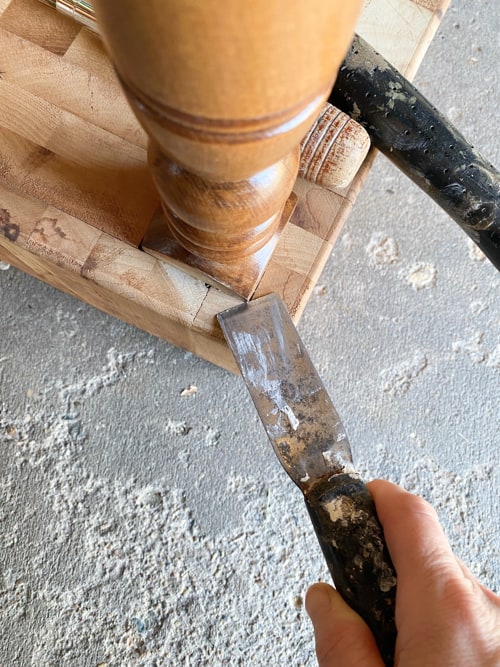
- The first thing we did was remove the legs. They cut notches out of the butcher block to fit each leg inside. They glued the legs in WELL! I was hoping I would be able to loosen them with a tool to loosen the glue a bit but they didn’t budget. (I would love to know what glue they used because that stuff worked!).
Matt had to use a jigsaw to cut the legs off as close to the butcher block as he could.
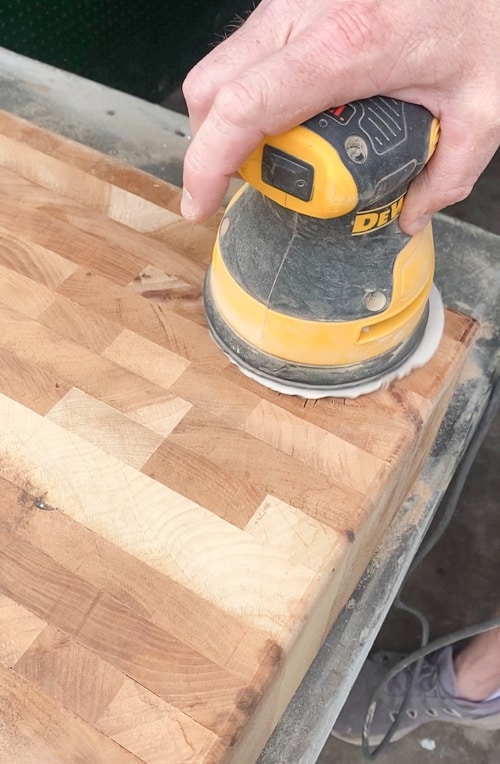
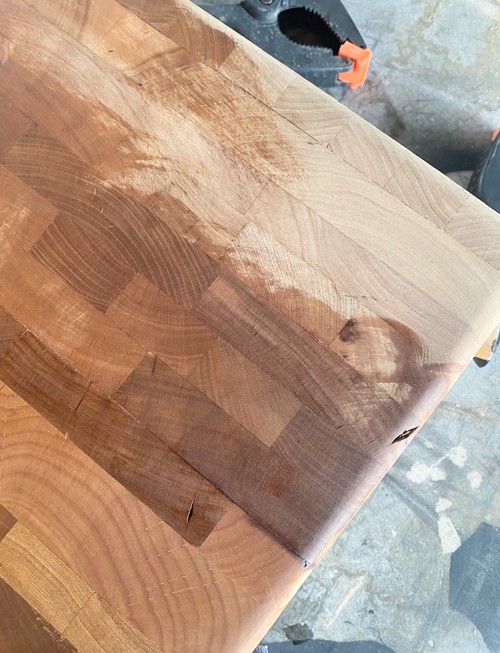
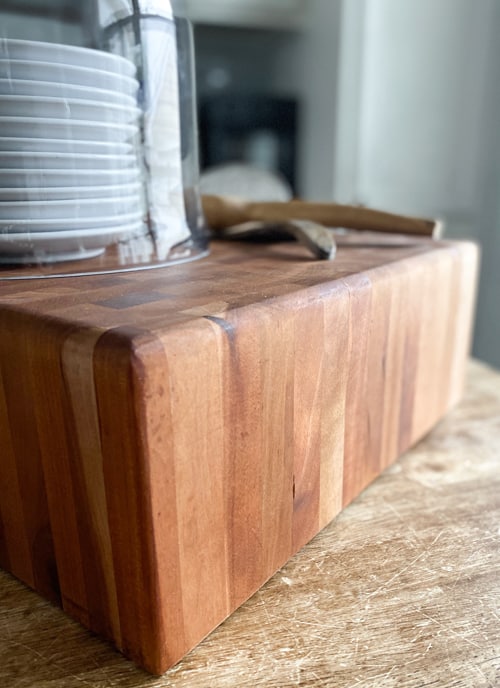
- Then, he used 60-grit sandpaper on the orbital sander to sand down what was left and to get a smooth, level surface.
- Then, he used the 60-grit sandpaper on every side of the butcher block. This really gave the butcher block a much-needed cleaning.
- Once the sanding was done, I cleaned the butcher block well with water to remove all the dust. You would use a cutting board cleaner as well. (That is not shown in photos but it is linked above in the supply list).
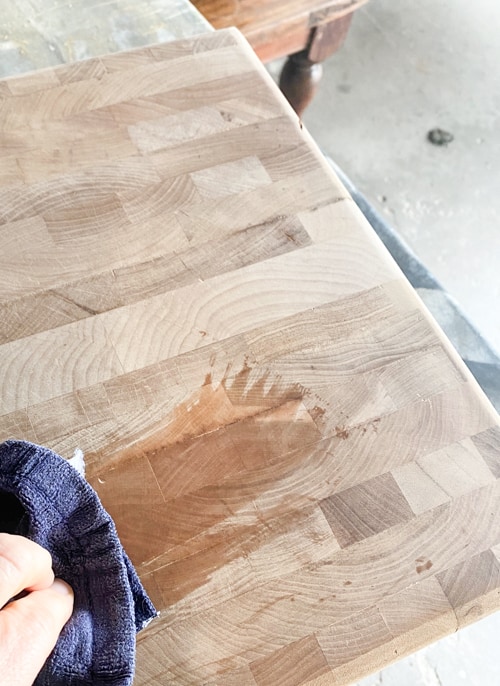
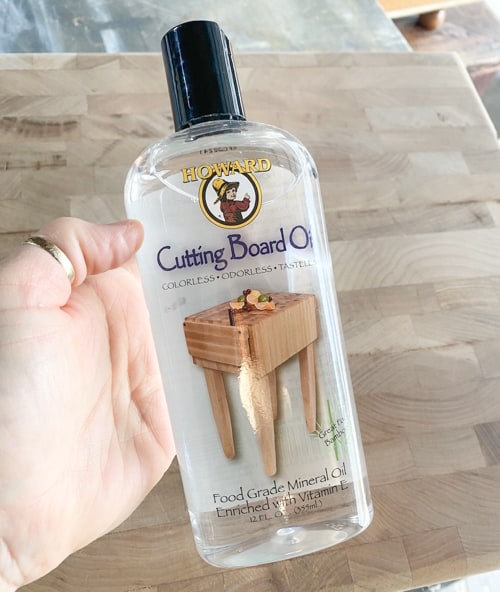
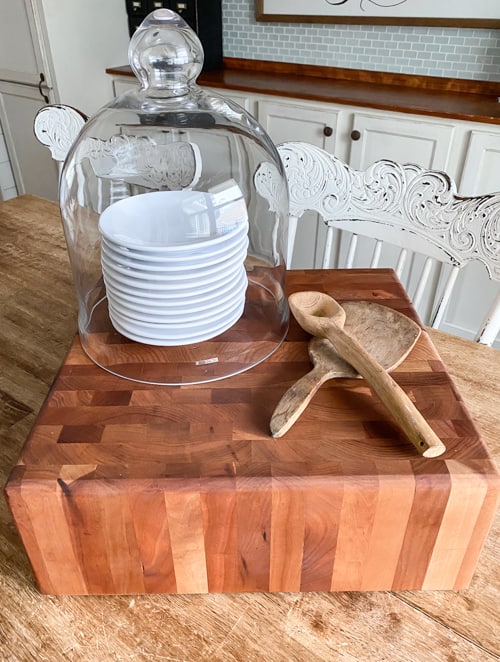
- Once the butcher block was fully dry, I applied food-safe oil all over it with a rag.
As soon as that oil hit the butcher block, I was so happy.
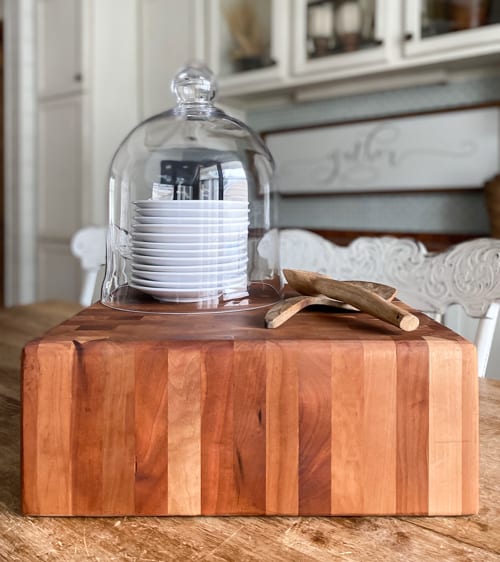
It is beautiful.
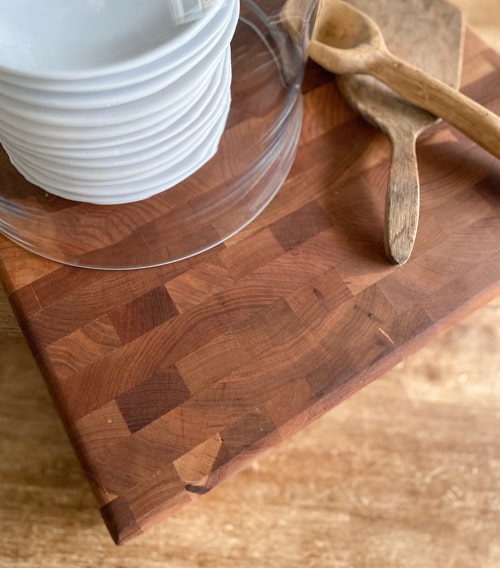
This doesn’t even look like the same block!
This is such an easy process.
Does this project make you want to try this process?
Would you have picked up this butcher block table at the thrift store?
If you are looking for even more easy DIYs, I am sharing new videos every week on my YouTube channel! You can find them all HERE. Make sure to SUBSCRIBE when you are there so you don’t miss any of them!
PIN THIS POST!
If you liked this post, you will also like these posts:
How To Prep Furniture For A Makeover
Revive Old Wood And Metal With 1 Product
How to Successfully Tackle Your First DIY Project