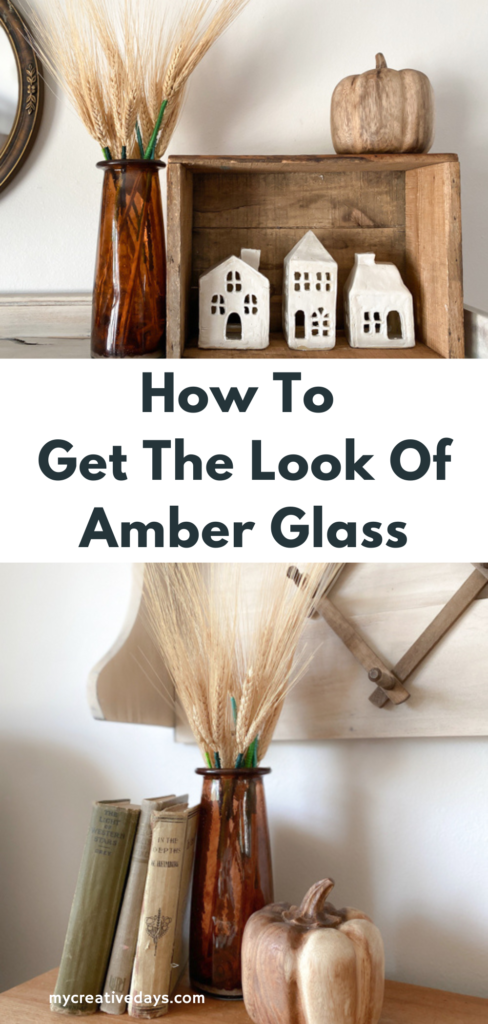
This DIY, step-by-step guide shows you how to get the look of amber glass on clear glass with supplies you may already have on hand.
I love amber glass but it is sometimes hard to find. In this post, I am going to show you how to get the look of amber glass easily and with items you probably have in your kitchen!
{Affiliate links are used in this post so you can easily find the products I used. You can read my disclosure here.}
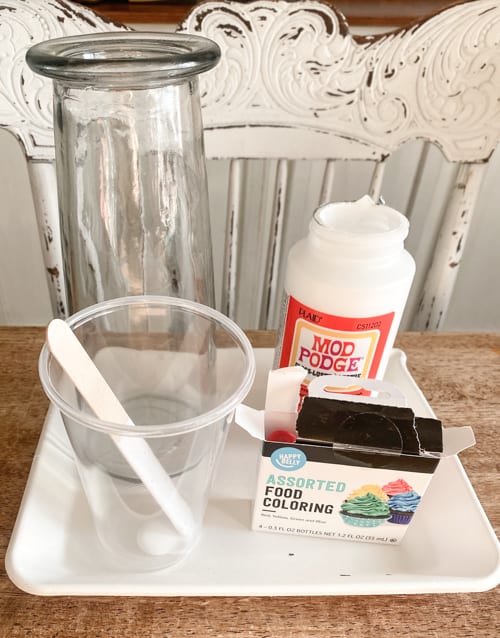
Supplies Used For How To Get The Look Of Amber Glass
Liquid Food Colors (red and green)
Glass Vase or Vessel (I got mine at the thrift store)
Plastic Cups To Mix Glue and Food Coloring
Something To Cover Your Workspace
Popsicle Sticks (or something to stir with)
Steps To Get The Look Of Amber Glass
- Turn oven to 200°.
- Clean out the glass vessel well and make sure it is completely dry before continuing.
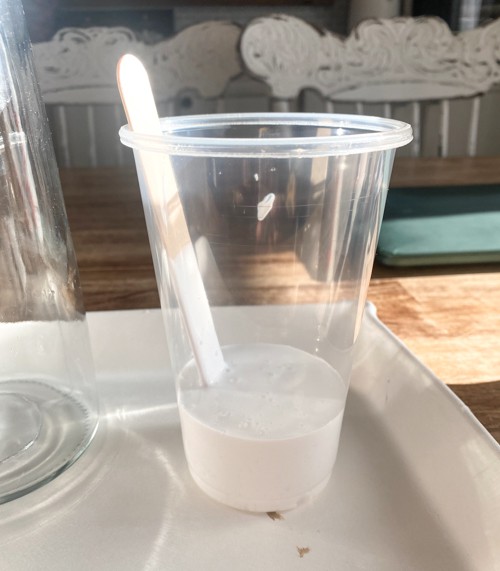
- Pour Mod Podge into a plastic cup. You want to make sure you have enough to completely cover the inside of the vessel you chose.
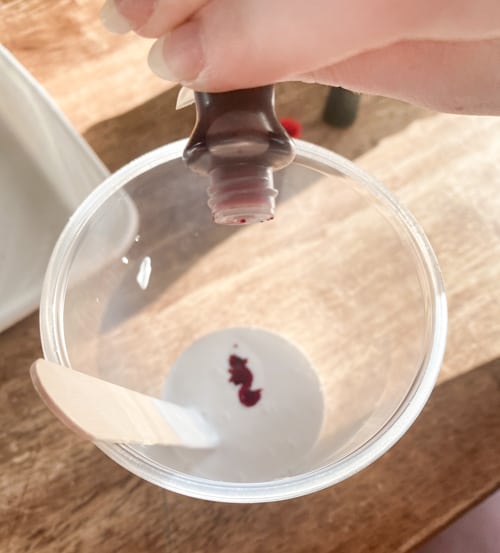
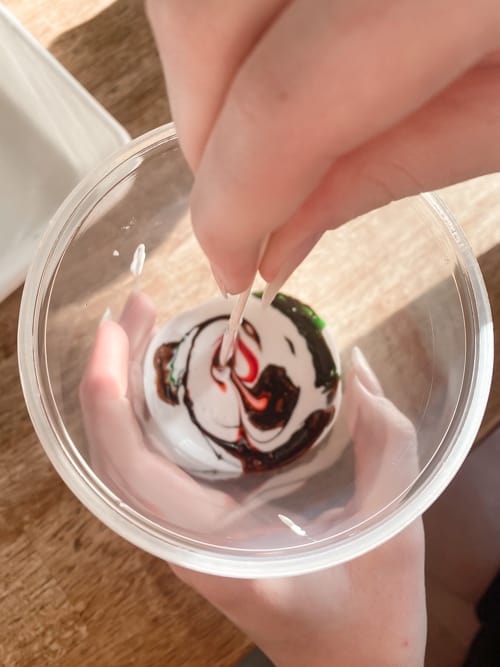
- Add the same number of red and green food coloring drops to the Mod Podge. It is a 1:1 ratio. We did 4 drops of each.
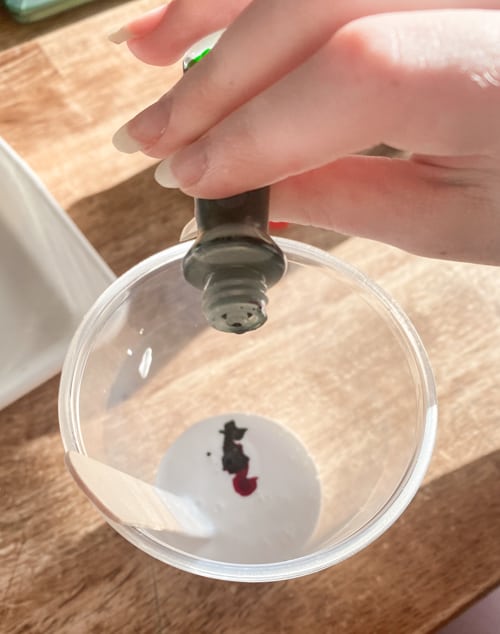
- Mix the colors together completely.
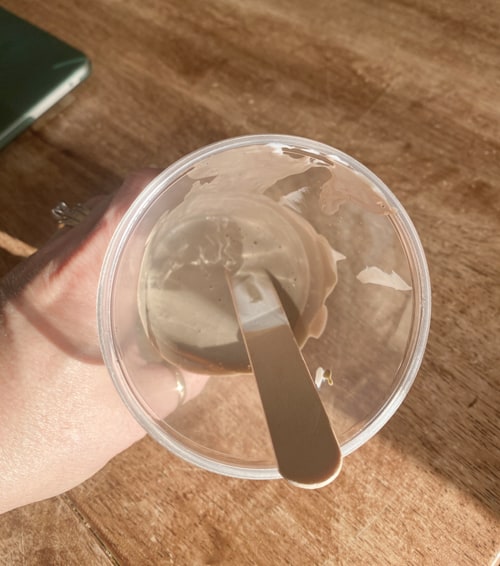
- The color will end up like a tan or light brown color. It will not be a full amber, dark brown color at this stage. The color below is what you are looking for.
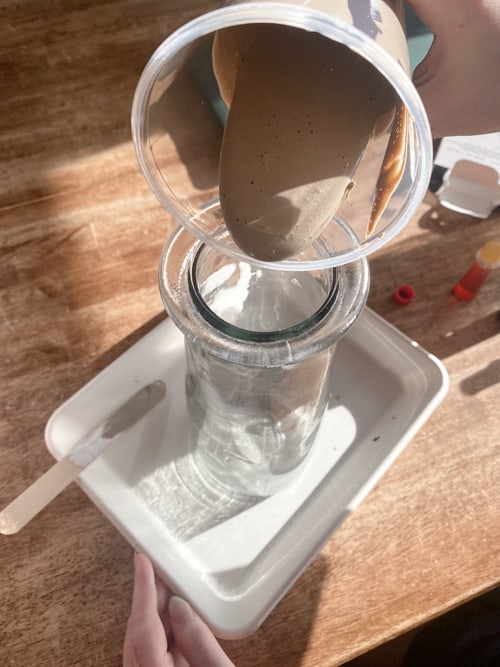
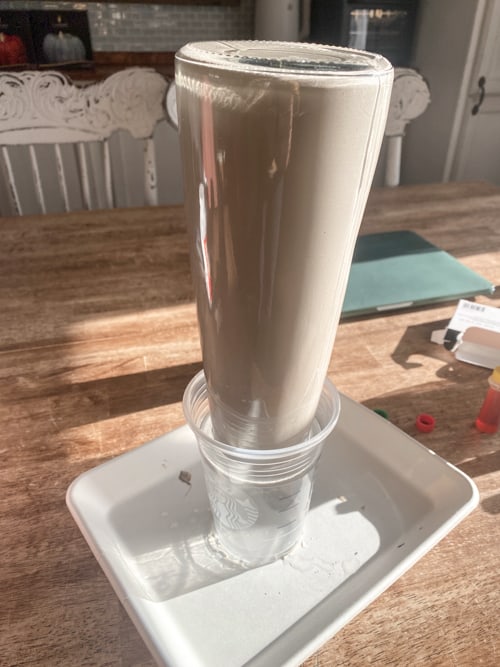
Don’t pour the mixture in the bottom! Pour it around the inside edges.
- Next, pour that tan Mod Podge into your glass vessel AROUND THE EDGES FIRST. We learned the hard way. Don’t just pour it into the bottom of your vessel and then move it around. Pour it on the sides of your vessel and move the mixture around to coat the entire inside.
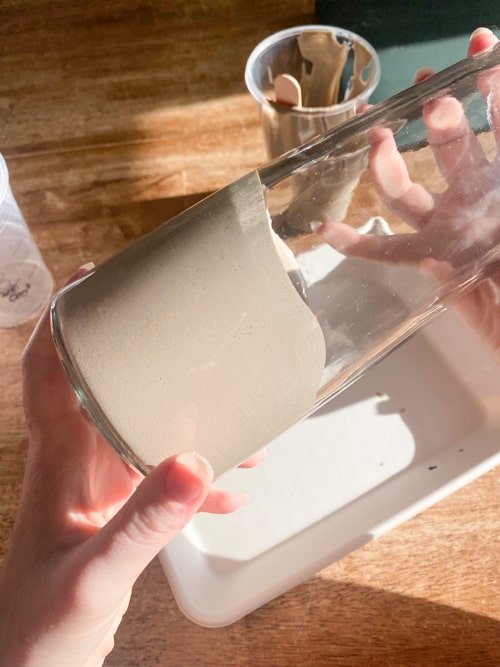
- Keep rotating your vessel until the inside is completely covered.
- Once it is completely covered, turn it upside down into something stable so the excess drips out. We had it sit like this for about 25 minutes. You don’t want a lot of excess paint inside at all. You just want the glass covered.
- Now, turn it right side up and set it in your preheated oven and then it bake for at least 1.5 hours. Our vessel was a bit large so it took a little over 2 hours for all the of the solution to turn amber. I didn’t set mine on an oven-safe pan but you can.
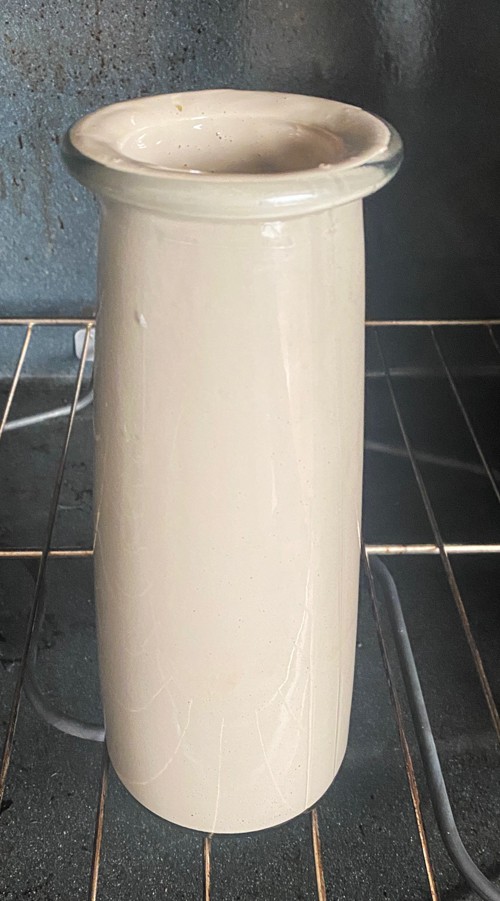
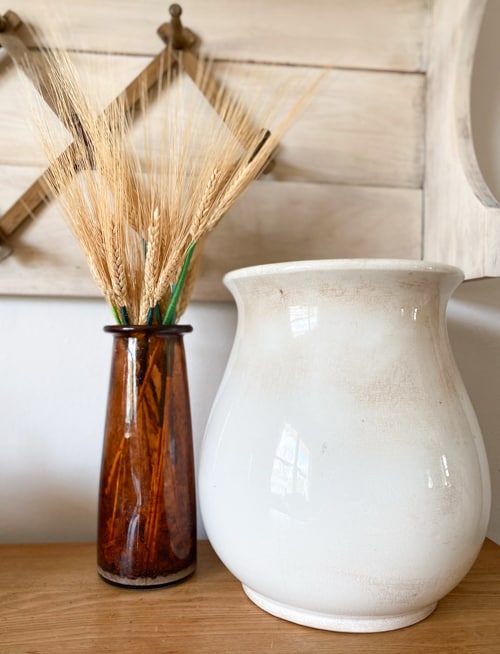
- Once the entire vessel has turned amber-colored, you can remove from the oven and let cool.
I couldn’t believe how well this turned out!
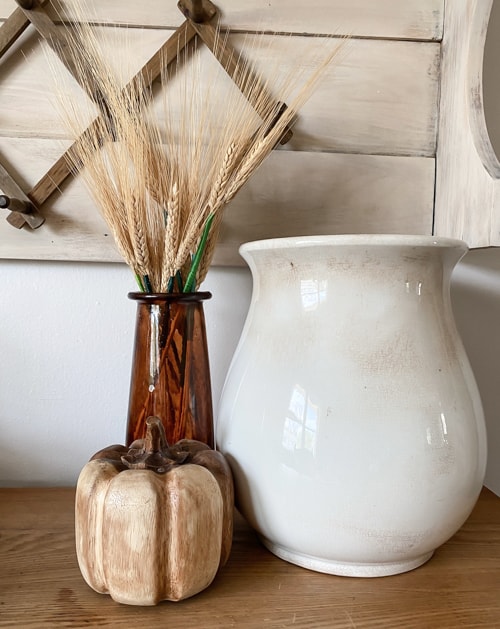
It looks like the real thing!
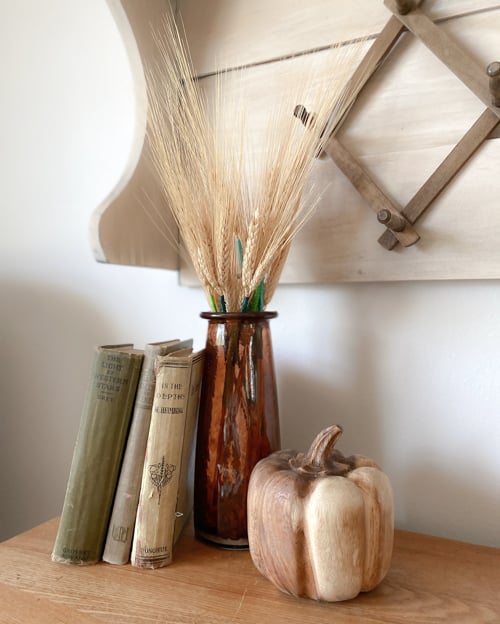
Just think of all the thrift store vessels you can turn into amber glass with this easy process!
Is this a project you would try?
If you want to see this project in real-time, head over to my YouTube video HERE. Make sure to hit the SUBSCRIBE button when you are there as I am sharing new videos every week on my page!
PIN THIS POST!
If you liked this project, you will also love these easy projects:
Get A Rustic Wood Look With Household Items
My “solution” of mod podge and food coloring (1:1 ratio) does not look tan no matter how I mix the solution. Mine in more of a purple hue. Any suggestions would be helpful. Thank you!
Have you tried it anyway? It should come out just fine!