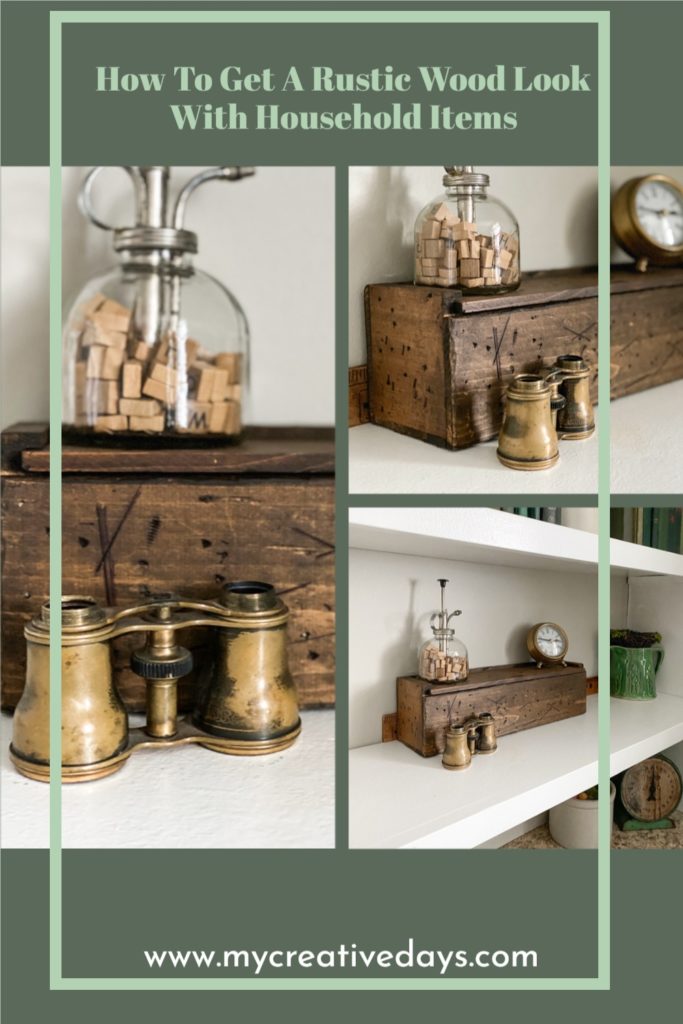
This project will show you how to get a rustic wood look using household tools, a gel stain, and a Sharpie marker!
I saw this plain, wood box at my local thrift store.
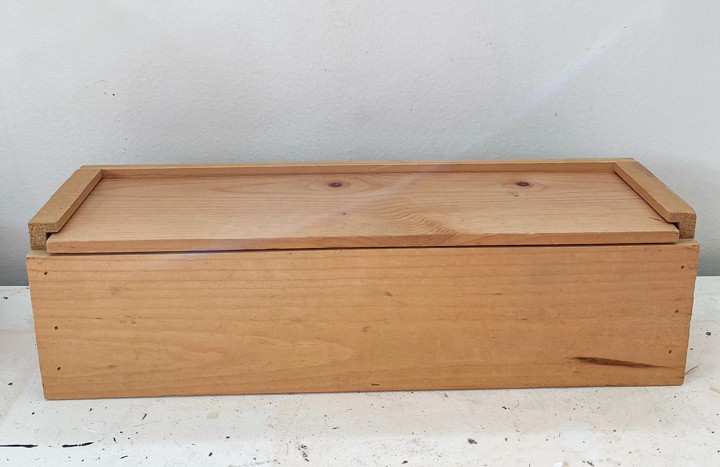
There was nothing too fancy about it, but it had a lot of potential.
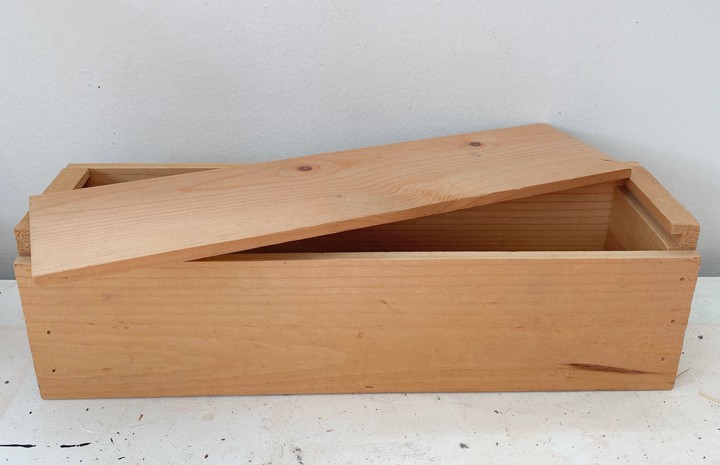
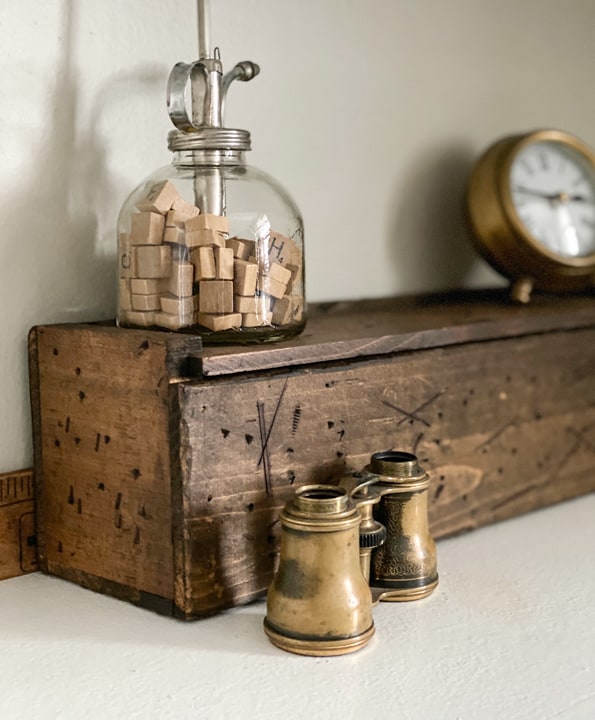
It has a removable lid that slides into the top and a notch on the top for your finger to move it in and out.
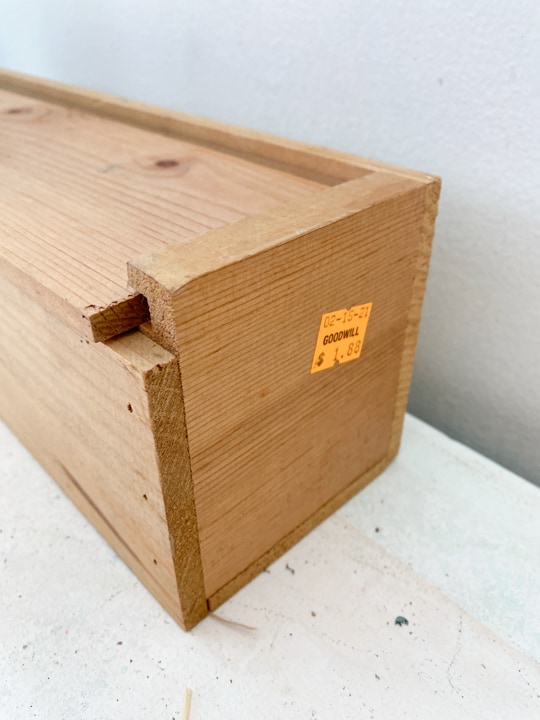
I couldn’t beat the price either.
This box is not made with fancy wood and it isn’t an old piece by any means. When I find things like this, I know I can do so many things with them and I know it would take Matt longer than needed to recreate something like this so the $1.88 was a steal to get an easy project that will look totally different in the end.
I wanted to make this new wood look like old, rustic wood. I pictured wood beams in old buildings.
{Affiliate links are used in this post. Click on any of the underlined links to find the products I am talking about. You can read my disclosure HERE.}
Supplies Used To Get The Look Of Old Wood:
Household Tools (screwdrivers, screws, hammer, putty knife, etc.)
“Walnut” Gel Stain from Dixie Belle Paint
Black and Brown Sharpie Markers
Rag
Here is my YouTube video showing you how I made this thrift store box look like something old and rustic and more the style I was looking for in a few shorts steps:
Easy Steps – How To Get A Rustic Wood Look With Household Items
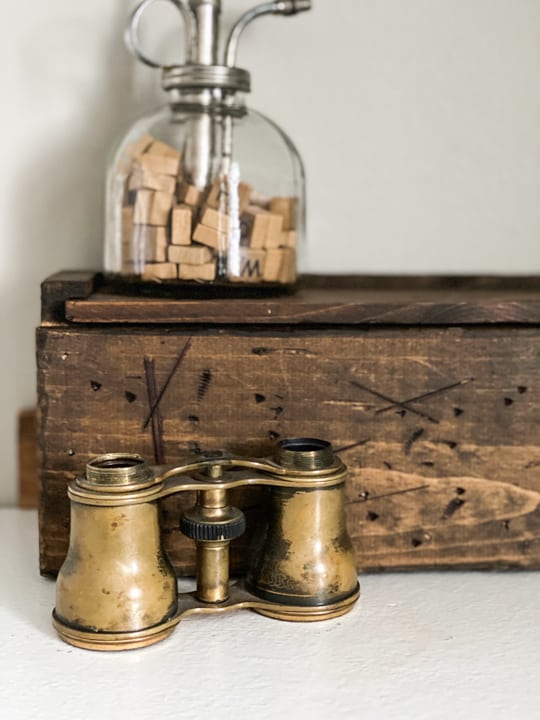
- Use household tools to “bang-up” the wood. Use the back end of the hammer and the tips of screwdrivers. Hammer screws laid down into the box to get some indentations. Hammer the edges to make them rounded a bit. Put lines in the wood by holding the putty knife straight up on the wood and tapping the other end with my hammer. Whatever you had around the house to make some indents and “imperfections” on the wood will work here.
- Then, I used a black and brown Sharpie marker and “colored in” the indented areas I made in the wood with the household tools.
- Lastly, I used an old rag and applied the gel stain all over the wood box (inside and out). You may find there is some “new wood” showing through the stain. Use your Sharpie makers in those areas or more of the stain.
- Let dry and it is ready!
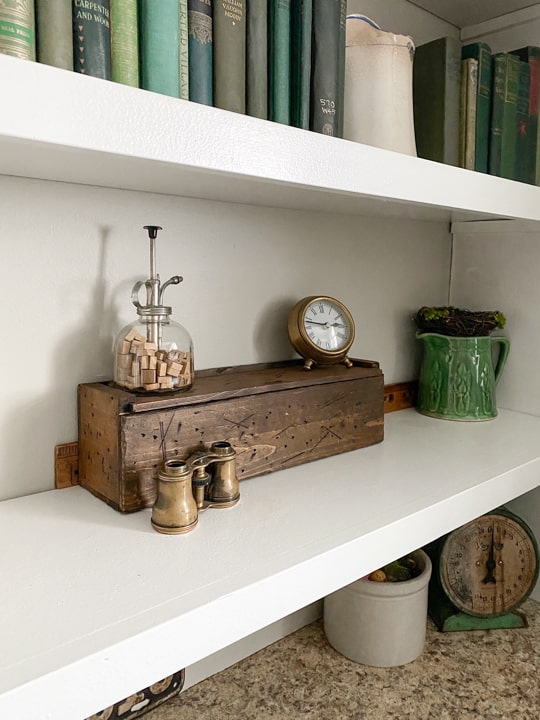
This piece looks totally different now!!! It fits the style of my decor so much better.
A $1.88 thrifted wood box can be so much more with things you already have on hand! Look past colors of things when you see them in thrift stores. Paint and stain go a long way in transforming things you can find there. You can come away with one-of-a-kind piece or your home that fits your style perfectly ON THE CHEAP!
It’s my favorite way to decorate and I am always so excited to share these easy tips and projects with you.
Is this a project you would try? I would love to see it if you do! Post a photo and tag me @mycreativedays on Instagram!
PIN THIS POST!
If you liked this easy project, you will also love these projects:
DIY Anthropologie Dupe – Floral Cloche
DIY Framed Botanical Prints – Get The Look For Less
Industrial Coffee Table From A Metal Cabinet