

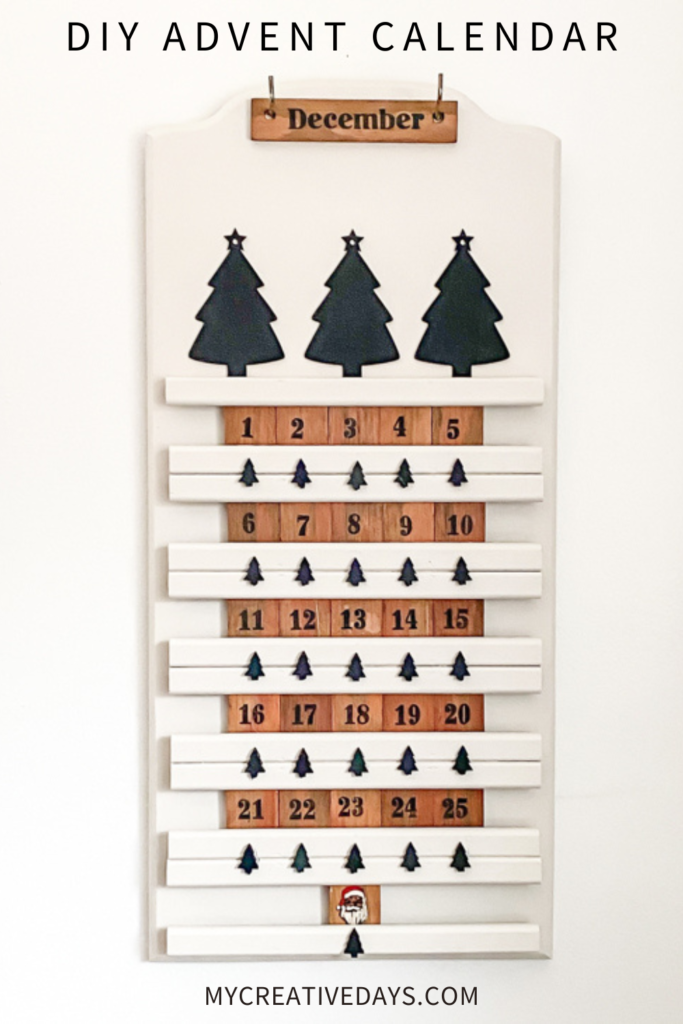
The holiday season is the perfect time to let your creativity shine, and what better way to count down the days to Christmas than with a unique advent calendar? In this tutorial, I’ll show you how I transformed a thrift store find into a charming DIY thrifted advent calendar that’s both budget-friendly and festive.
The Inspiration Behind the DIY Thrifted Advent Calendar
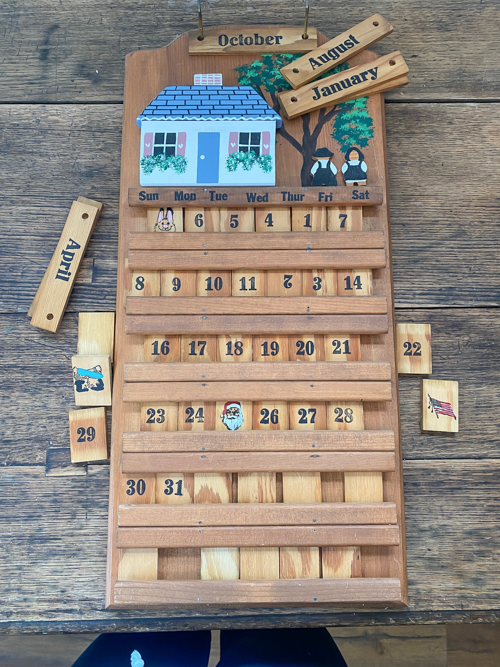
While browsing my local thrift store, I stumbled upon a wooden piece that had so much potential. It wasn’t labeled as an advent calendar, but I could immediately envision how I could repurpose it into a functional and decorative countdown for the holidays. That’s the beauty of thrift finds—you can see possibilities where others might not.
{Affiliate links are used in this post. Click on any underlined links to find the products and sources I am referring to. You can read my disclosure HERE.}
Materials You’ll Need
These are the supplies I used on mine. I wanted to use what I already had on hand:
- A wooden thrift find with a design that can be adapted (mine had everything I needed. All it needed was a makeover to fit the holiday season).
- Paint
- Sandpaper for prepping the surface.
- Hot glue gun (INVEST IN THIS CORDLESS OPTION! GAME-CHANGER!)
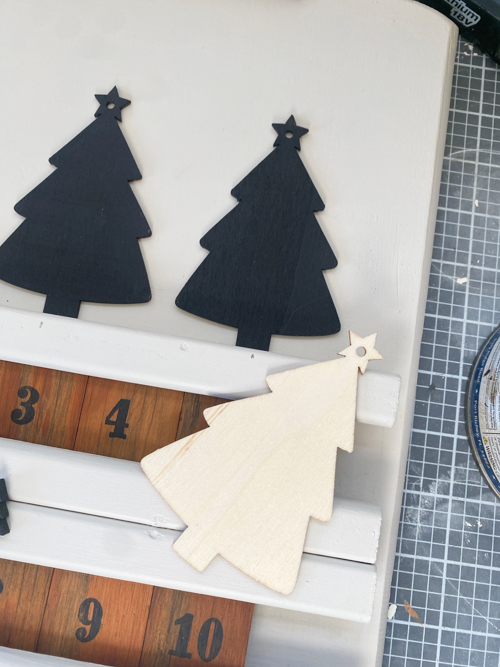
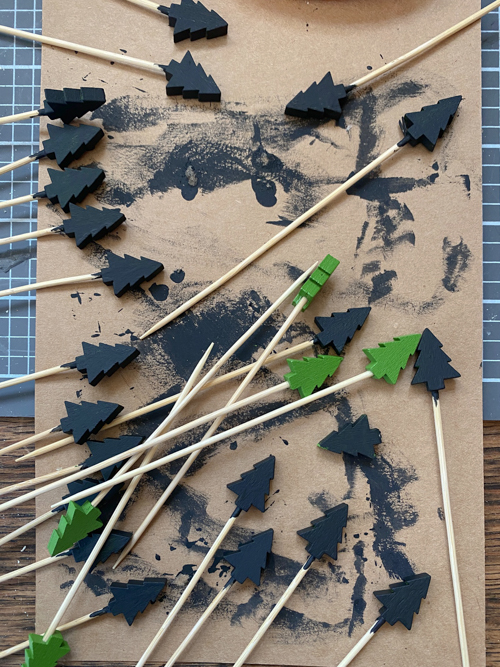
- Wood Christmas tree cutouts(I used the top of toothpicks I had and flat cutouts I had)
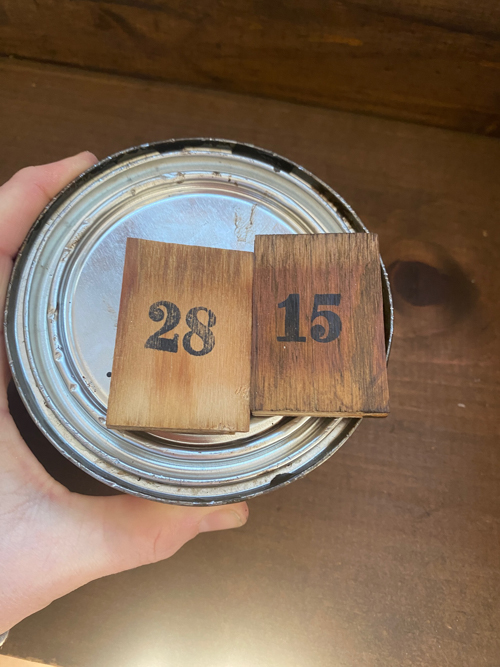
- Gel Stain
Step-by-Step Instructions
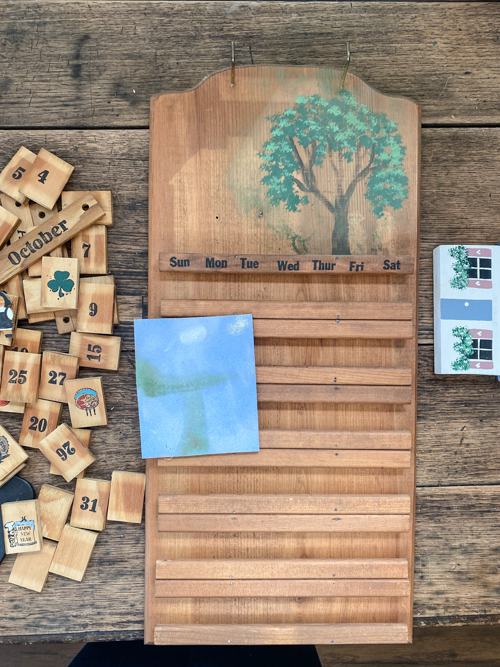
- Prep Your Thrift Find
Start by cleaning your thrifted piece to remove any dust or dirt. Use sandpaper to smooth out the surface and prep it for paint. This step ensures the paint adheres well. - Plan Your Design
Decide how you want your advent calendar to look. I opted for a classic holiday theme with small Christmas tree shapes and a neutral color. Lay out the design to visualize how it will come together. - Paint and Customize
Apply a base coat of paint to the wooden piece and any added elements, like blocks for the numbers. Once dry, add details using stencils, freehand designs, or stamps. - Add the Numbers
Number each section or block from 1 to 25 (or 24 if you prefer). These will correspond to the days leading up to Christmas. - Assemble Your Advent Calendar
Once all the pieces are painted and numbered, arrange them on your thrifted base. Secure them with hot glue if necessary. - Seal and Protect
To ensure your DIY thrifted advent calendar lasts for many holiday seasons, finish it with a clear sealer. This step also gives it a polished, professional look.
Why Make a DIY Thrifted Advent Calendar?
Creating a DIY thrifted advent calendar is not only a fun and creative project but also a sustainable way to decorate for the holidays. By repurposing a thrift find, you’re giving new life to something that might have otherwise been overlooked. Plus, it’s a cost-effective alternative to store-bought advent calendars.
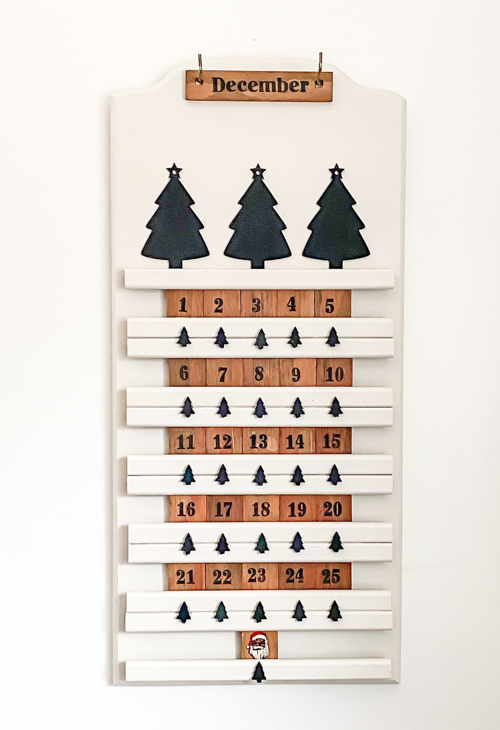
Displaying Your DIY Thrifted Advent Calendar
Once your advent calendar is complete, find the perfect spot to display it in your home. It can be a centerpiece on a mantle, a cheerful addition to your entryway, or even a fun activity station for the kids to engage with each day.
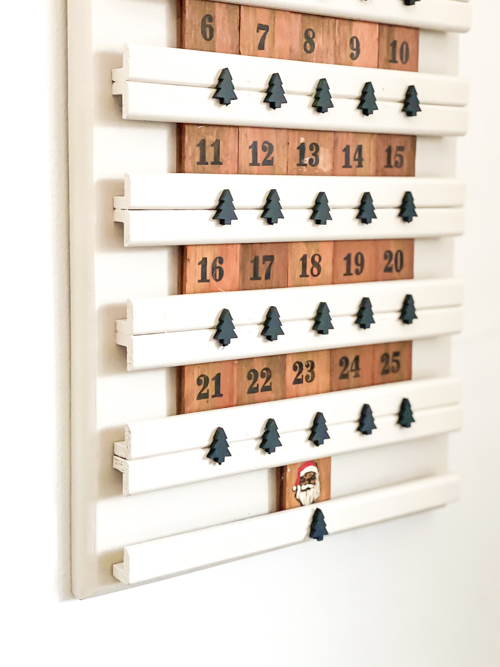
This DIY thrifted advent calendar has quickly become one of my favorite holiday projects. It’s a creative way to add a personal touch to your Christmas countdown and showcase the beauty of upcycling. If you’re inspired to create your own, be sure to share your results!
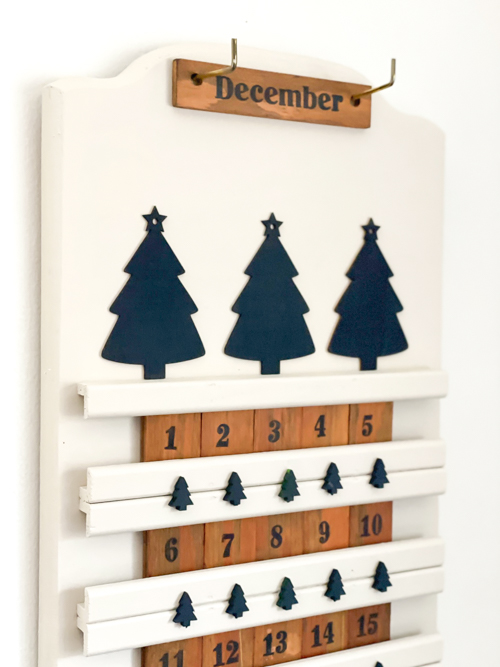
To see this project come together in real-time, head over to my full tutorial video on YouTube HERE. Make sure to SUBSCRIBE when you are there. I am launching new videos every week!
PIN THIS POST!
If you liked this DIY Thrifted Advent Calendar, you will also like these:
DIY Scandinavian Advent Calendar