

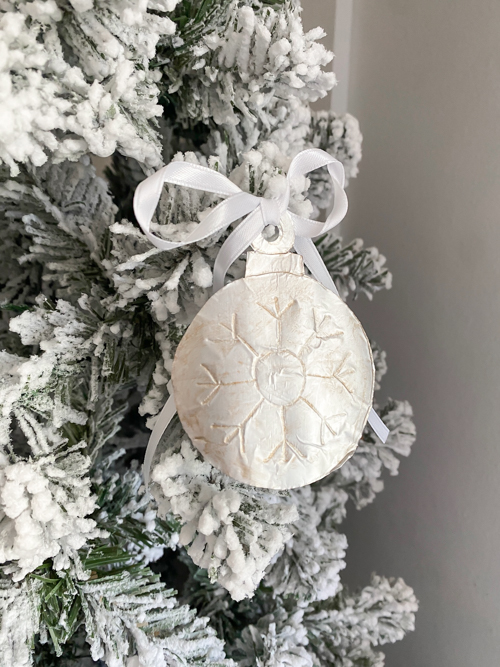
If you love vintage-inspired Christmas decor, these DIY Vintage Tin Ornaments are the perfect project to try this holiday season! They look like real antique tin ornaments, but you won’t believe what they’re made from, just aluminum foil and cardstock!
This easy and inexpensive craft adds a charming, old-world touch to your Christmas tree, garland, or gift wrapping. You can customize the shapes, colors, and finishes for a truly one-of-a-kind holiday look.
{Affiliate links are used in this post. Click on any of the underlined links to find the products I am talking about. You can read my disclosure HERE.}
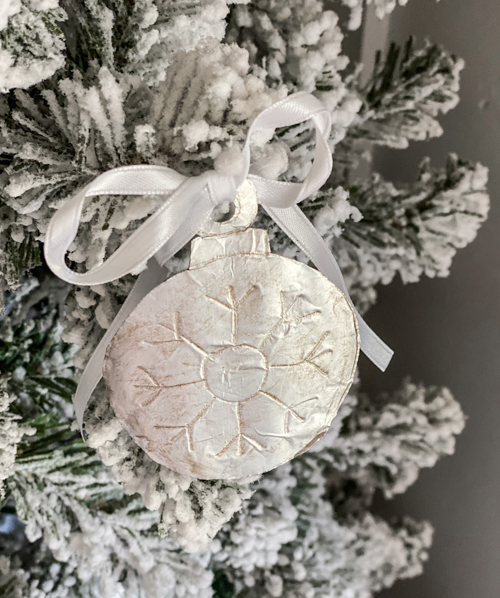
Supplies You’ll Need to Make DIY Vintage Tin Ornaments
- Aluminum foil
- Cardstock (any color)
- Ornament templates (stockings, stars, Christmas trees, bells, etc. – just Google some designs and print off the ones you like)
- Pen cap for tracing
- Scissors
- Gold metallic paint
- Small paintbrush
- Scotch tape
- Paper towels
- Ribbon or twine for hanging
- Hole punch
- School glue
Tip: You can freehand designs as well!
Step-by-Step Tutorial: How to Make DIY Vintage Tin Ornaments
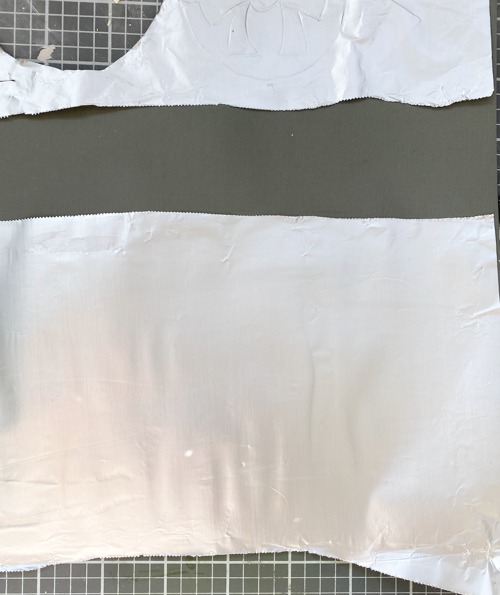
Step 1: Glue Aluminum Foil to Cardstock
Start by gluing a piece of aluminum foil to a sheet of cardstock. Make sure the shiny side of the foil is facing down and the dull side is facing up. You’ll be working on the dull side for this project. It gives the ornaments that aged, vintage look that feels more like a real antique tin. Smooth the foil with your hand or a clean cloth to remove wrinkles and bubbles. This will give it a sturdy backing for tracing and cutting later.
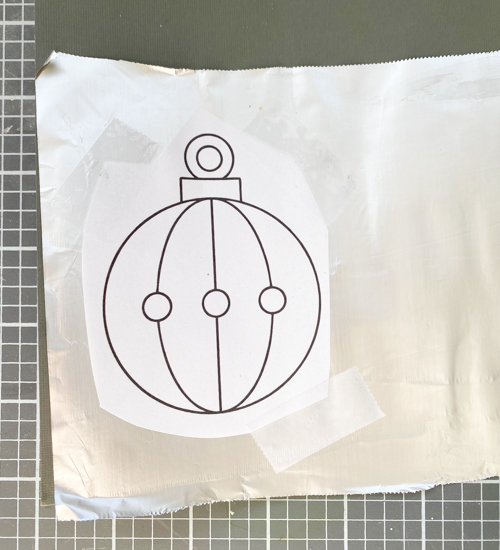
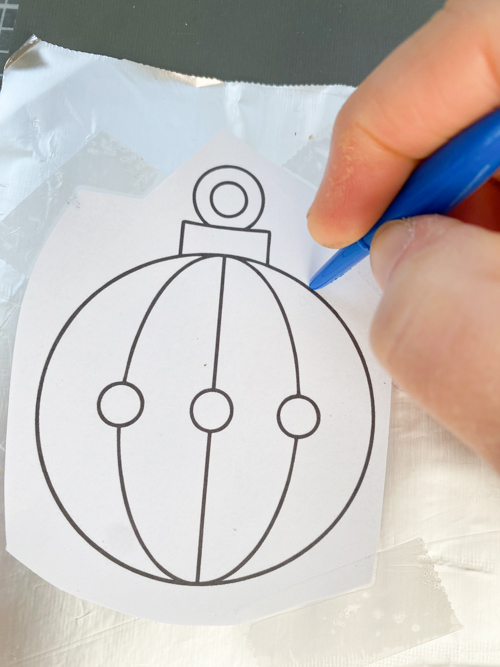
Step 2: Trace Your Ornament Template
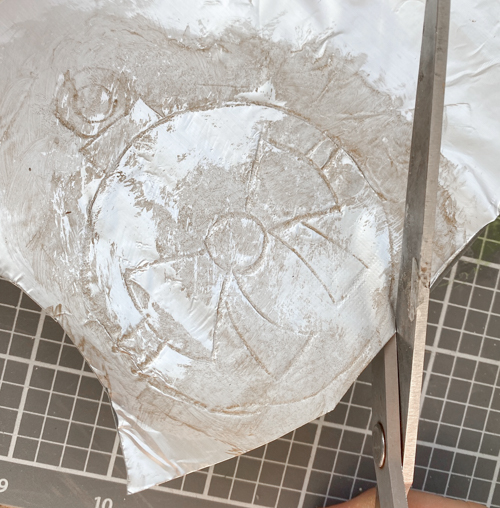
Lay your ornament template on top of the dull foil side and tape it down so it stays in place as you trace. Use a pen cap to trace around the design, pressing lightly to make indentations in the foil. This creates that embossed “tin” look you see on vintage ornaments.
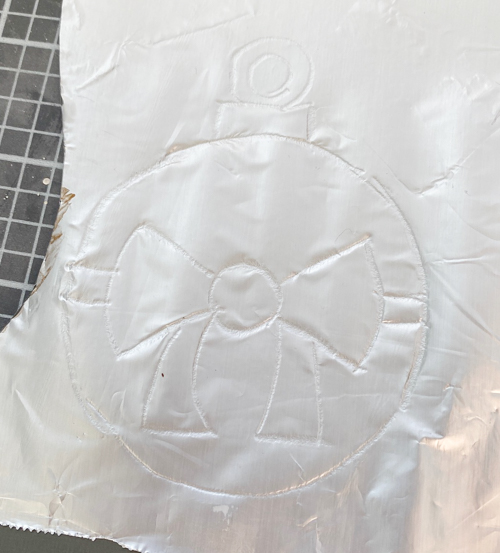
Step 3: Add the Vintage “Tarnish”
When you have everything traced, pull the template off the foil. Next, brush a small amount of gold paint over the embossed design. The paint will settle into the indented lines, highlighting the details and giving your ornaments that aged, antique look. Use a paper towel to wipe away excess paint until you get the look you like. I found that if I had a little bit of the glue on the ornament, it held the paint in certain areas that made the ornament look more tarnished.
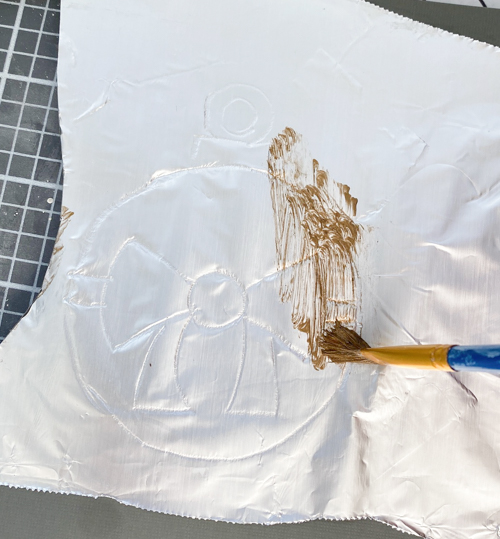
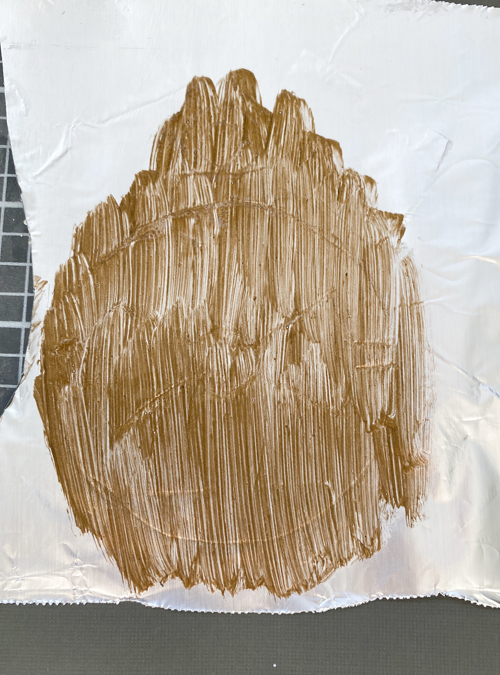
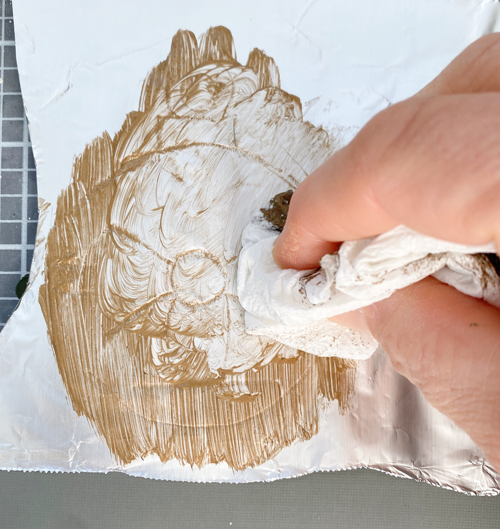
Step 4: Cut Out Your Ornaments
Once the paint is dry, carefully cut out each ornament with scissors. Be gentle so you don’t crease the foil.
Step 5: Add a Hole and Ribbon
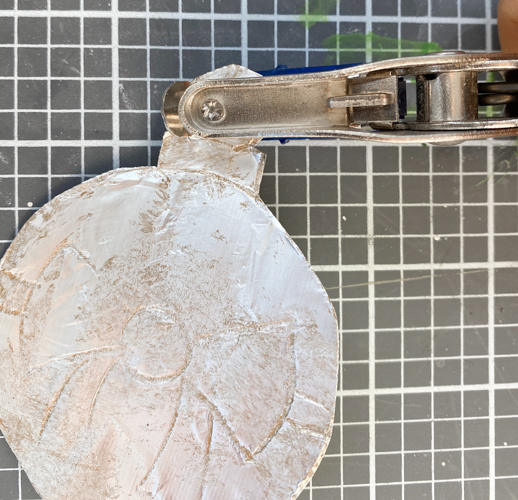
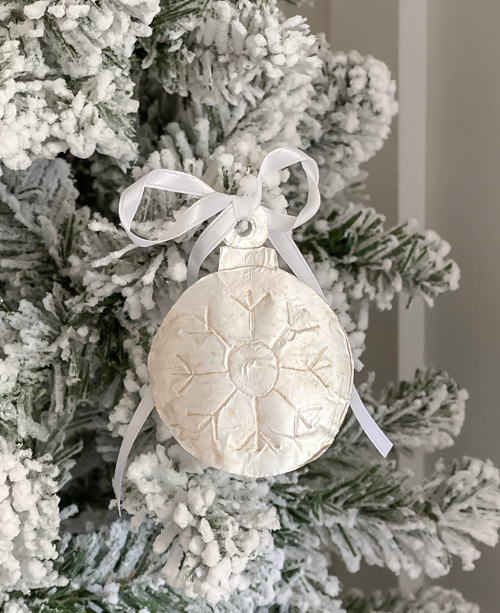
Punch a small hole at the top of each ornament, then thread through a ribbon or piece of twine for hanging.
Creative Ways to Use Your DIY Vintage Tin Ornaments
-
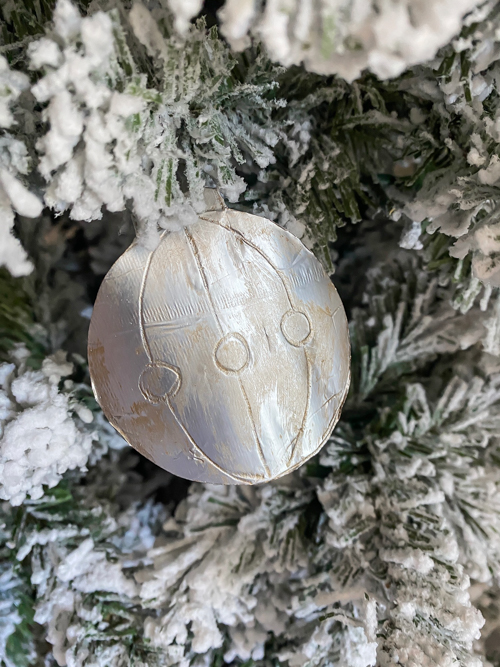
Hang them on your Christmas tree for a handmade, vintage look.
-
Use them as gift tags.
-
String them together to make a festive garland for your mantel or windows.
-
Create a variety of shapes like stars, bells, angels, or snowflakes
This project is perfect for crafters of all ages and adds a nostalgic touch to your holiday decorating without spending much money.
Watch the Full Tutorial on YouTube
Want to see exactly how these DIY Vintage Tin Ornaments come together?
Watch the full tutorial on my YouTube channel here to see the process in real time and get extra tips for making your ornaments look authentically aged!
Why You’ll Love This Christmas Craft
-
Budget-friendly and made with supplies you already have at home.
-
Easy enough for kids or beginners.
-
Customizable with any paint color or template.
-
Adds a handmade, nostalgic feel to your holiday decor.
If you’re looking for a creative and cozy craft this Christmas season, these DIY Vintage Tin Ornaments will become one of your new favorite traditions. Simple materials, stunning results, and that perfect vintage charm!
PIN THIS POST!
If you liked these DIY Vintage Tin Ornaments, you will also love these:
Upcycled Ribbon Spool Christmas Trees
DIY Wood Burned Christmas Tree Garland