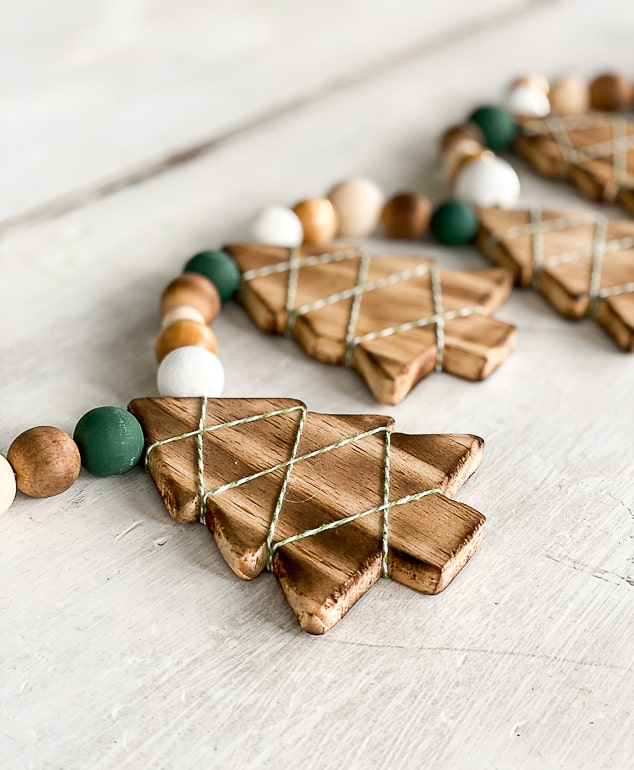
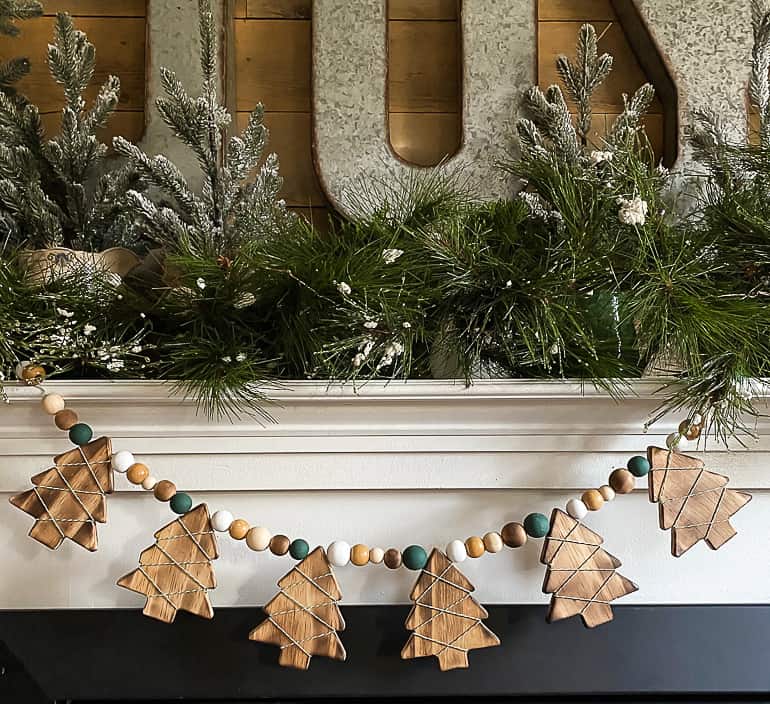
I have another easy Christmas garland tutorial to share with you today! This DIY Wood Tree Garland is not only beautiful, but it is another simple one to create.
A couple of weeks ago, I shared my DIY Christmas Gnome Garland idea and today, I am sharing a new spin on the garland project. This time around, I am using the Wagner Heat Gun to make a rustic garland that is full of charm and personality.
{Affiliate links are used in this post. You can read my disclosure HERE.}
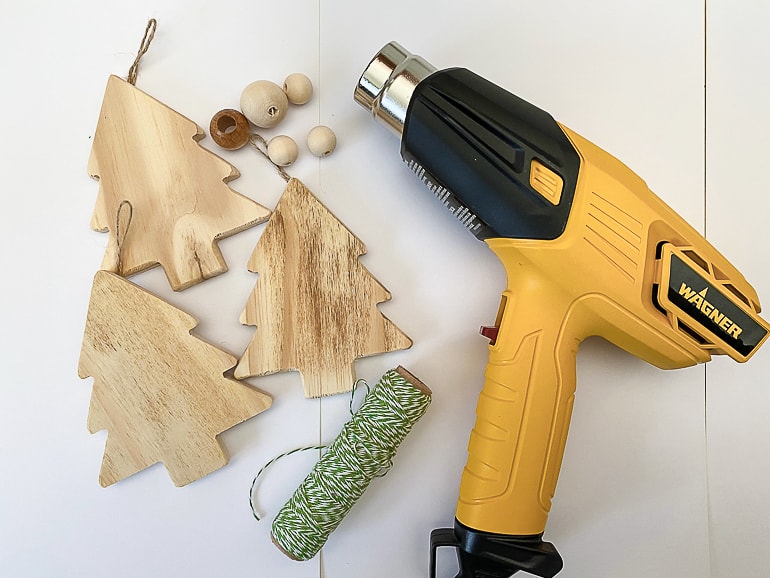
Supplies Used For The DIY Wood Tree Garland:
Wood Christmas Trees
The wood trees I used are hard to find sometimes. I have made the garland with these trees too!
Natural Wood Beads (any size you like)
Stained Wood Beads
Wagner Heat Gun
Baker’s Twine
Wood Skewers (to hold the beads while burning)
Scissors or Tongs (to hold the trees while burning)
Heat Gloves
Tape
Dixie Belle Paint (I used “Palmetto” and “Cotton” for the natural wood beads)
Here is a video showing you the process of how this project came together:
Steps To Make This DIY Wood Tree Garland:
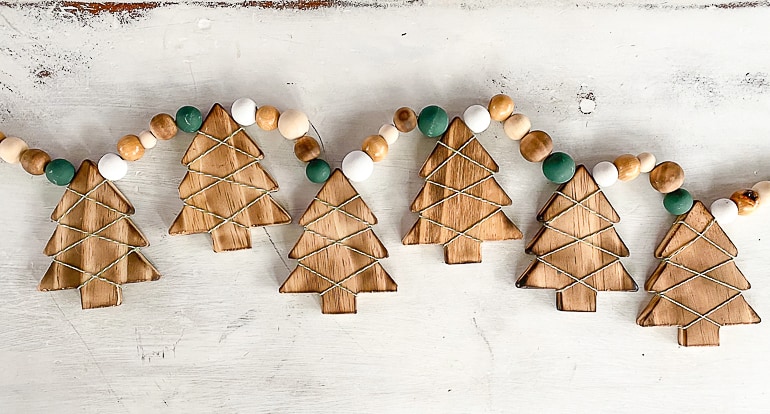
- First, measure how long you wanted the garland to be. (The garland I made is about 3′ long.) Then, plan out how many Christmas trees and wood beads you will need to fit that size garland. I added five wood beads of different sizes between each Christmas tree. You can make this garland any size, with as many beads and trees you want.
- Once I knew how many trees and beads I needed, I painted seven natural wood beads “Palmetto” from Dixie Belle paint and seven beads in “Cotton”. I put the beads on wood skewers to make it easier to hold them while I painted.
- While the beads were drying, I put seven more natural wood beads on a different skewer and gave them a golden burnt look with the Wagner Heat Gun. The skewer helps hold the beads and makes sure your hands don’t get too close to the heat in the process. To burn the beads, wait until the heat gun starts changing the color of the bead and continually move the bead around until you get the burnt look you are after. The longer you hold the heat gun in one area, the more chard it will get. Don’t hold it too long in one place because you don’t want them to start on fire. 😳
-
Once the burnt beads were done, I set them down and started working on the Christmas trees. I held the trees with a pair of scissors (shown in the video above). The beads were the same. I put the heat gun on the tree until it started burning the wood and then moved the tree around until I got the look I wanted. The heat gun gets hot so make sure to wear heat gloves or use tongs or scissors like I did to hold onto the tree as you are burning it.
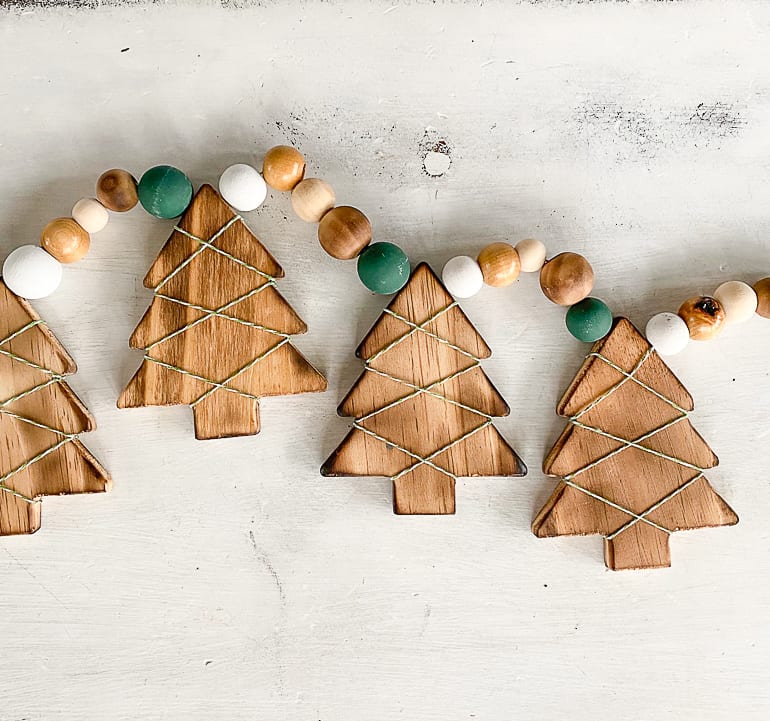
- Once the trees were burnt to perfection, I had Matt drill holes in the sides, near the top so I could string them onto the garland. The video above shows how he did that.
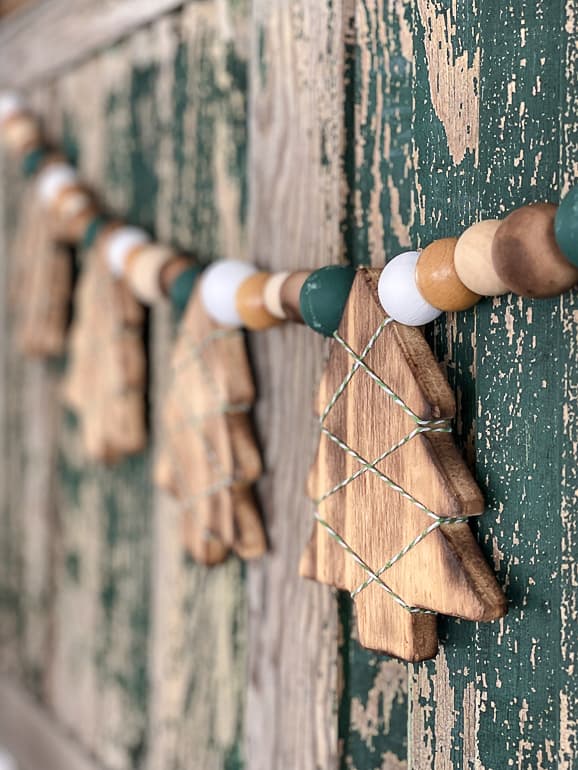
- Once the holes were drilled, I took baker’s twine and wrapped them around the trees for a little added decoration. I just secured the twine on the back of the trees with tape. See the video above to see how easy this was to do.
-
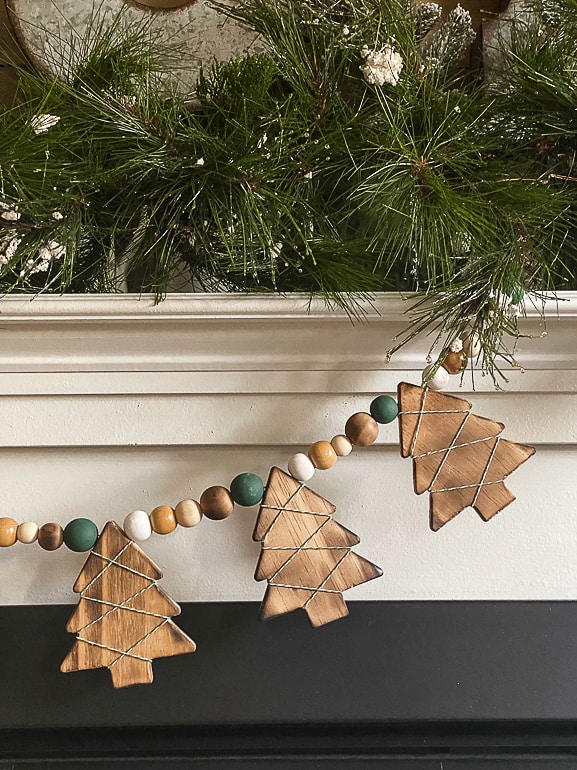
The last step to complete the DIY Wood Tree Garland is to string all the beads and the trees onto baker’s twine. I wrapped the end of the baker’s twine with some tape so it was easy to thread through the trees and the beads. Along with the painted and burnt beads, I used some stained wood beads on the garland as well to add a different color and texture to the garland. That’s it! Once you have everything on the garland, tie the ends around the last beads and you are ready to hang it up!

This DIY Wood Tree Garland is so easy to make and can be made in so many different colors, shapes and sizes.
This DIY Wood Tree Garland is full of possibilities and can be customized to your style and liking.
My favorite kind of project!
I didn’t think I would find a fun way to use the heat gun in a craft project. But, as I was experimenting with ideas, I was having so much fun and came up with some other ideas I will be sharing soon.
Crafting with a heat gun is fun. It gave this DIY Wood Burned Christmas Tree Garland a beautiful look. I wouldn’t have been able to replicate any other way.
I loved the way this garland turned out.

What do you think of this project? What colors would you have painted the beads to fit your home? Would you use a different shape instead of the Christmas tree? Maybe snowmen, stars or candy canes? It would be cute to use different shapes on one garland too.
This DIY Wood Tree Garland will be a project we make more of and decorate with year after year.
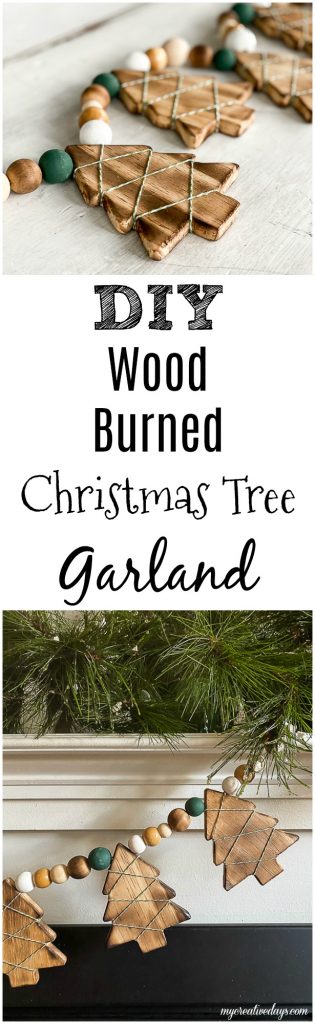
PIN THIS POST!
If you liked this DIY Wood Tree Garland, you will also love these holiday ideas:
DIY Glittered Ornaments For Christmas
Christmas Tree Made From Scrap Wood
That is adorable! I love it!
Thank you!
This is such a pretty garland.
Thank you for stopping by the blog and saying so! It means so much!
Very unique. Love it!
Thanks!
This is BEAUTIFUL!
Thank you!
What size are your Christmas Trees? The amazon link is not the same as what you have pictured.
I used that link because I couldn’t link the Christmas trees I used. I found mine at Michaels but they only had a limited supply. They were about 5″. The trees on Amazon would work. I am using some just like that that I found at Dollar Tree for a fall garland. Thanks for your question!
I love, love this! I found a man on Etsy that does custom wood working. He had Christmas Trees and will do different sizes. They are beautifully cut and fast delivery. His shop is called 24 Hour Crafts. You do have to drill your own holes if you want the hole to run through the side for proper stringing.
Thank you for sharing!