

Learn how to paint a bathtub with this step-by-step guide. See how we refinished an old cast iron tub in one of our flip houses on a budget.
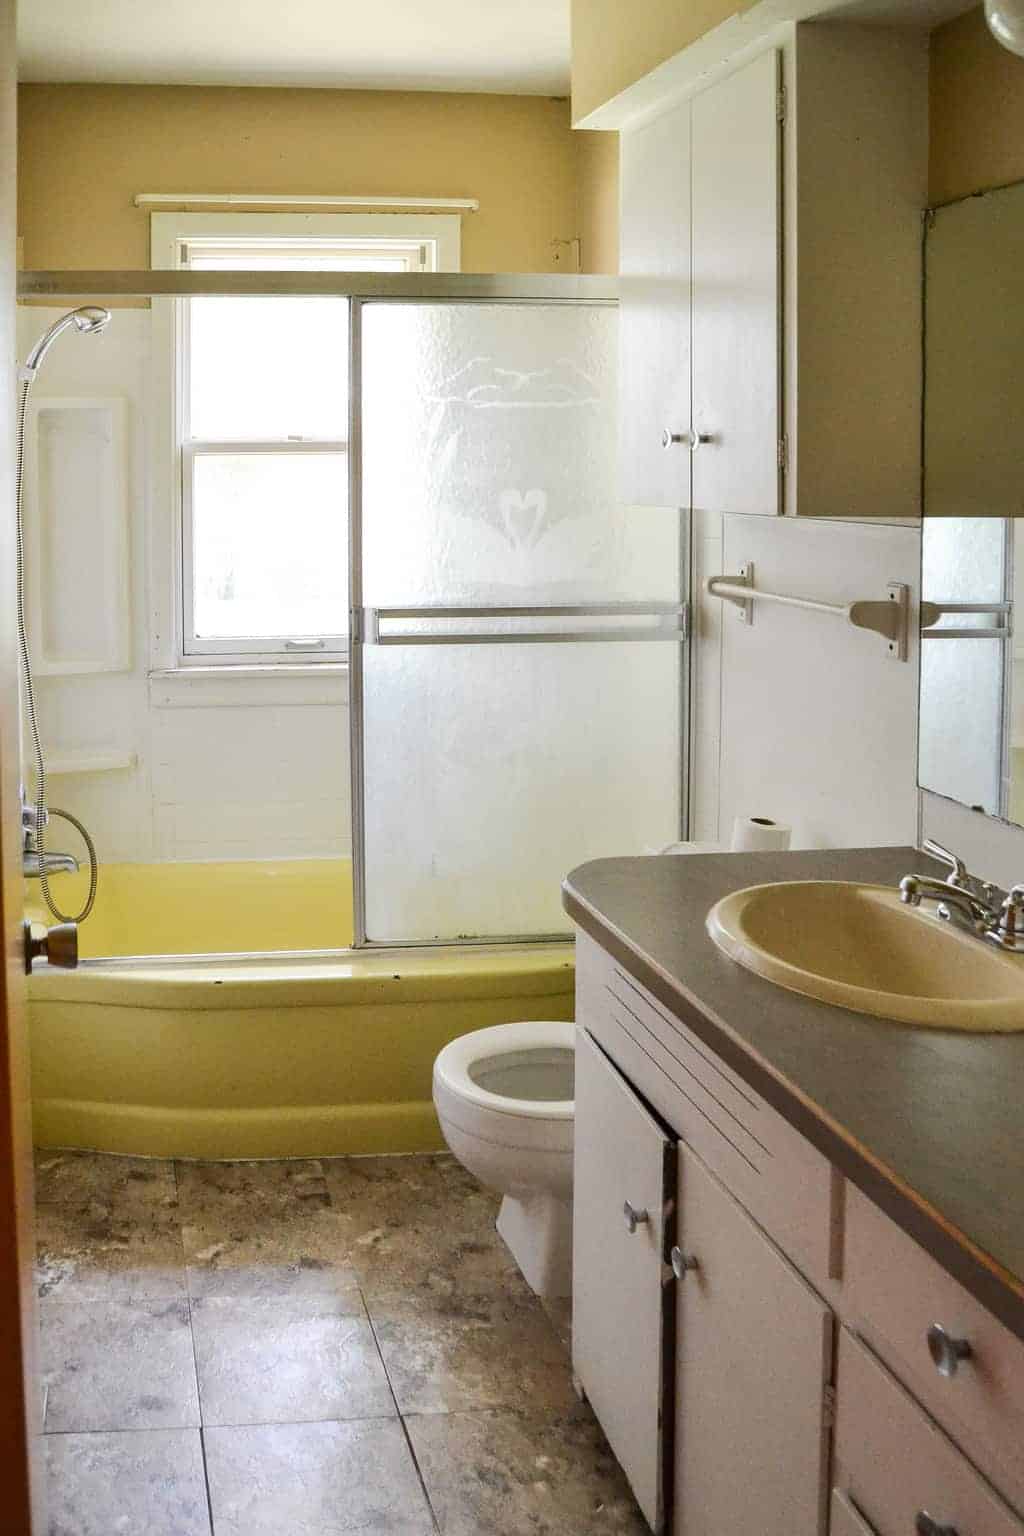
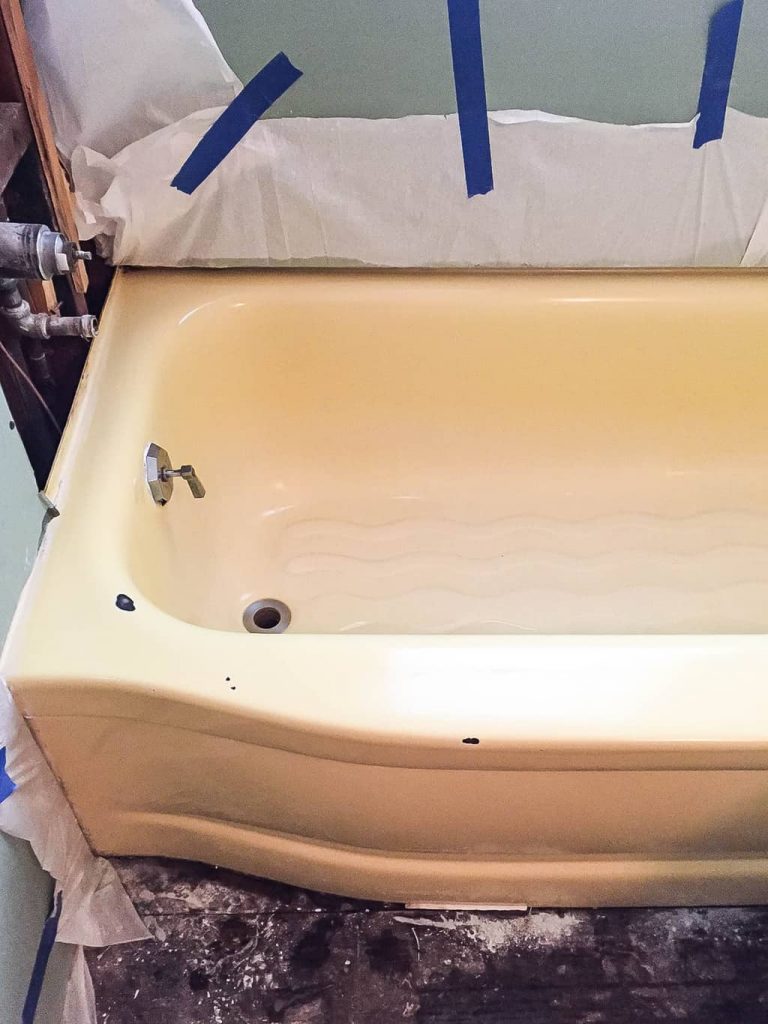
Painting a bathtub is one way we have saved money when updating bathrooms in our flip houses. When we bought this house, it had an old yellow cast iron bathtub that immediately made the bathroom feel dated.
The tub itself was in good shape. The problem was the color.
We could have removed and replaced the bathtub, but a heavy cast iron tub isn’t something you casually decide to haul out of a house. There was also no reason to replace a perfectly good bathtub just because we didn’t like how it looked.
So, we decided to paint it.
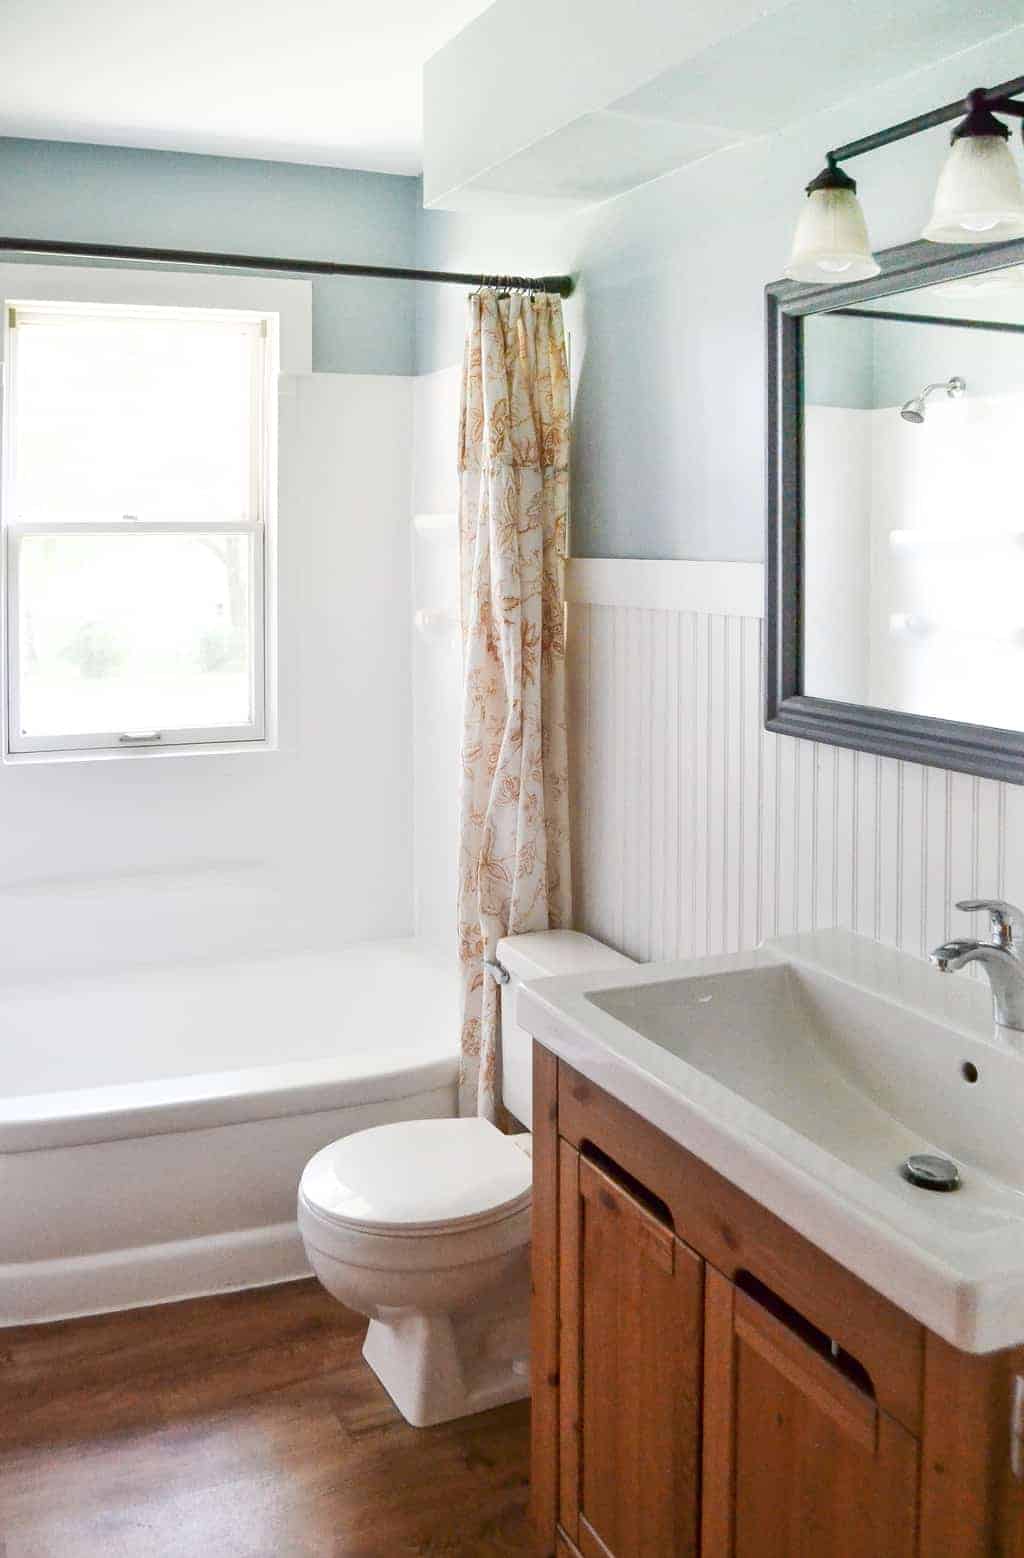
This ended up being a much easier and less expensive bathroom update than replacing the tub, and it made a huge difference in the finished bathroom.
We’ve painted more than one bathtub in our flip houses over the years, so this isn’t a project we tried once and hoped for the best. We’ve learned that the most important part of painting a bathtub is the preparation.
If you have an old, dated bathtub that is still in good condition, bathtub refinishing can be an option worth considering before you decide to replace it.
Can You Paint a Bathtub?
Yes, you can paint a bathtub, but you cannot use regular wall paint.
A bathtub needs a coating specifically designed for the type of surface you are painting and for an environment that is exposed to water and regular cleaning.
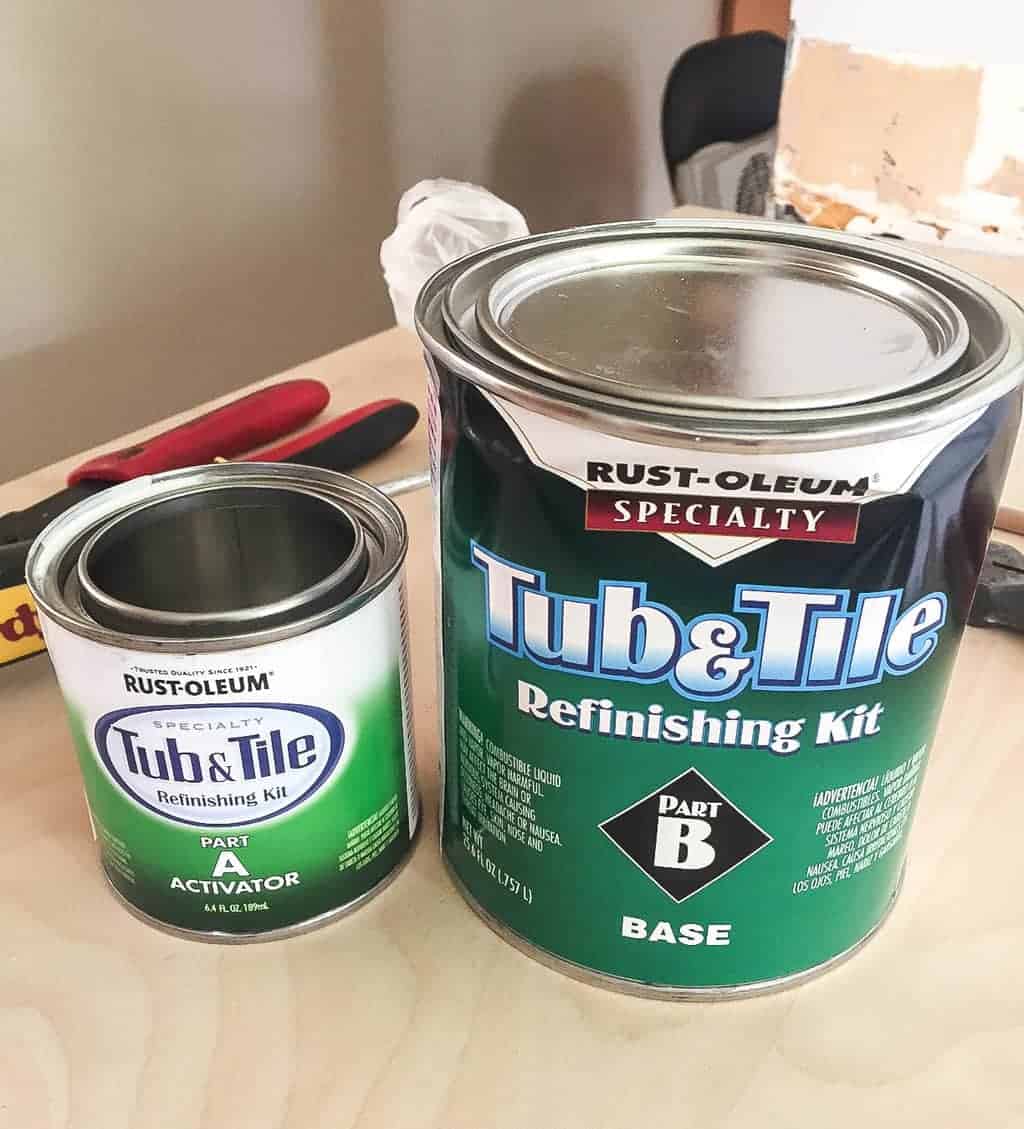
For our flip house bathtub, we used a tub and tile refinishing kit. The product you choose will determine which surfaces it can be used on, how you prepare the tub, how many coats you apply and how long you need to wait before using it.
Always read the current instructions for the product you purchase before starting your project.
The good news is that painting a bathtub can completely change the look of a bathroom without replacing the tub.
That was exactly what we needed in this flip house.
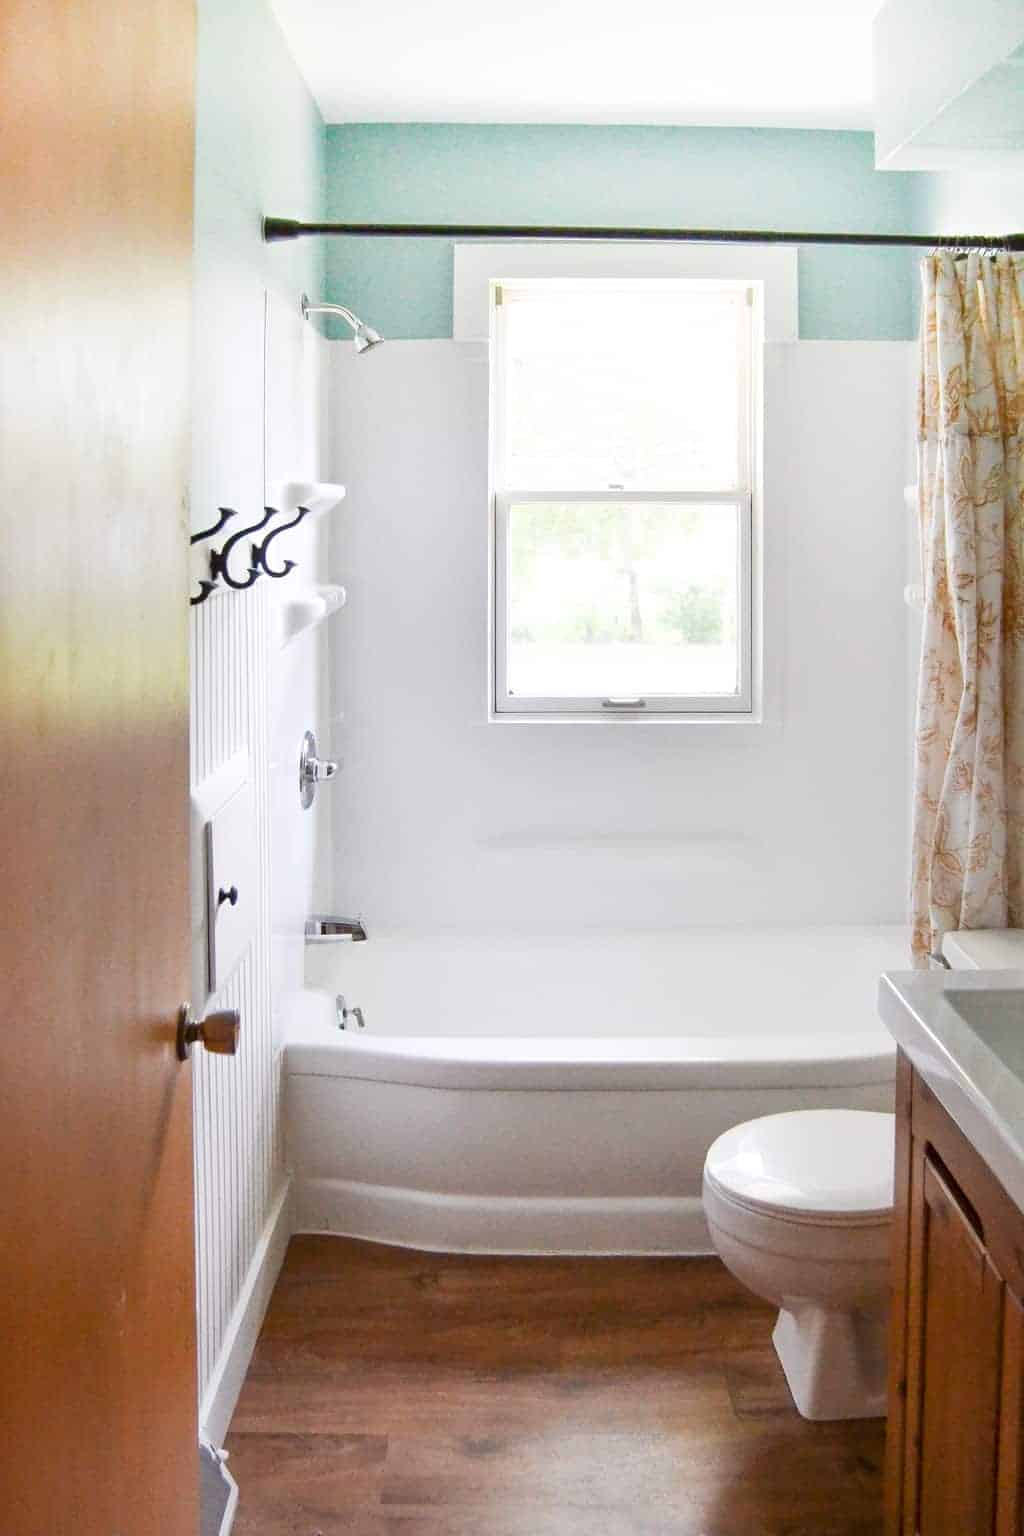
Why We Decided to Paint the Bathtub
When you’re flipping a house, every project must make sense.
We aren’t interested in replacing things just because they’re old if they are still functional and can be updated in another way.
This bathtub was a perfect example.
It was a yellow cast iron tub. It wasn’t broken. It wasn’t falling apart. It was just very, very yellow.
And the yellow wasn’t exactly helping our bathroom makeover.
Instead of spending the money and time to remove it, we decided to refinish the bathtub and give it a fresh finish.
My dad had also painted bathtubs in some of his flip houses, so I had seen firsthand that this was something that could work.
After this flip, we painted another tub in another flip, too.
{Affiliate links are used in this post. Click on any of the underlined links to find the products I am talking about. You can read my disclosure HERE.}
How To Paint A Bathtub – Supply List
- Tub and tile refinishing kit
- Comet cleaner
- Scour pads
- Lime cleaner
- 400-grit sandpaper
- Painter’s tape
- Paint roller
- Paint brush
- Plastic sheeting
- Gloves
- Appropriate respiratory protection
- Good ventilation
Your supplies may be different depending on the refinishing product you use, so use the manufacturer’s instructions as your final supply list.
The important thing is to have everything ready before you start. Once you are working with a bathtub refinishing coating, you don’t want to stop halfway through because you forgot something.
How to Prepare a Bathtub for Painting
If you are wondering how to paint a bathtub, don’t skip this part.
The prep work is probably the most important part of the entire project.
It is tempting to clean the tub quickly, grab your paint, and start painting.
Don’t.
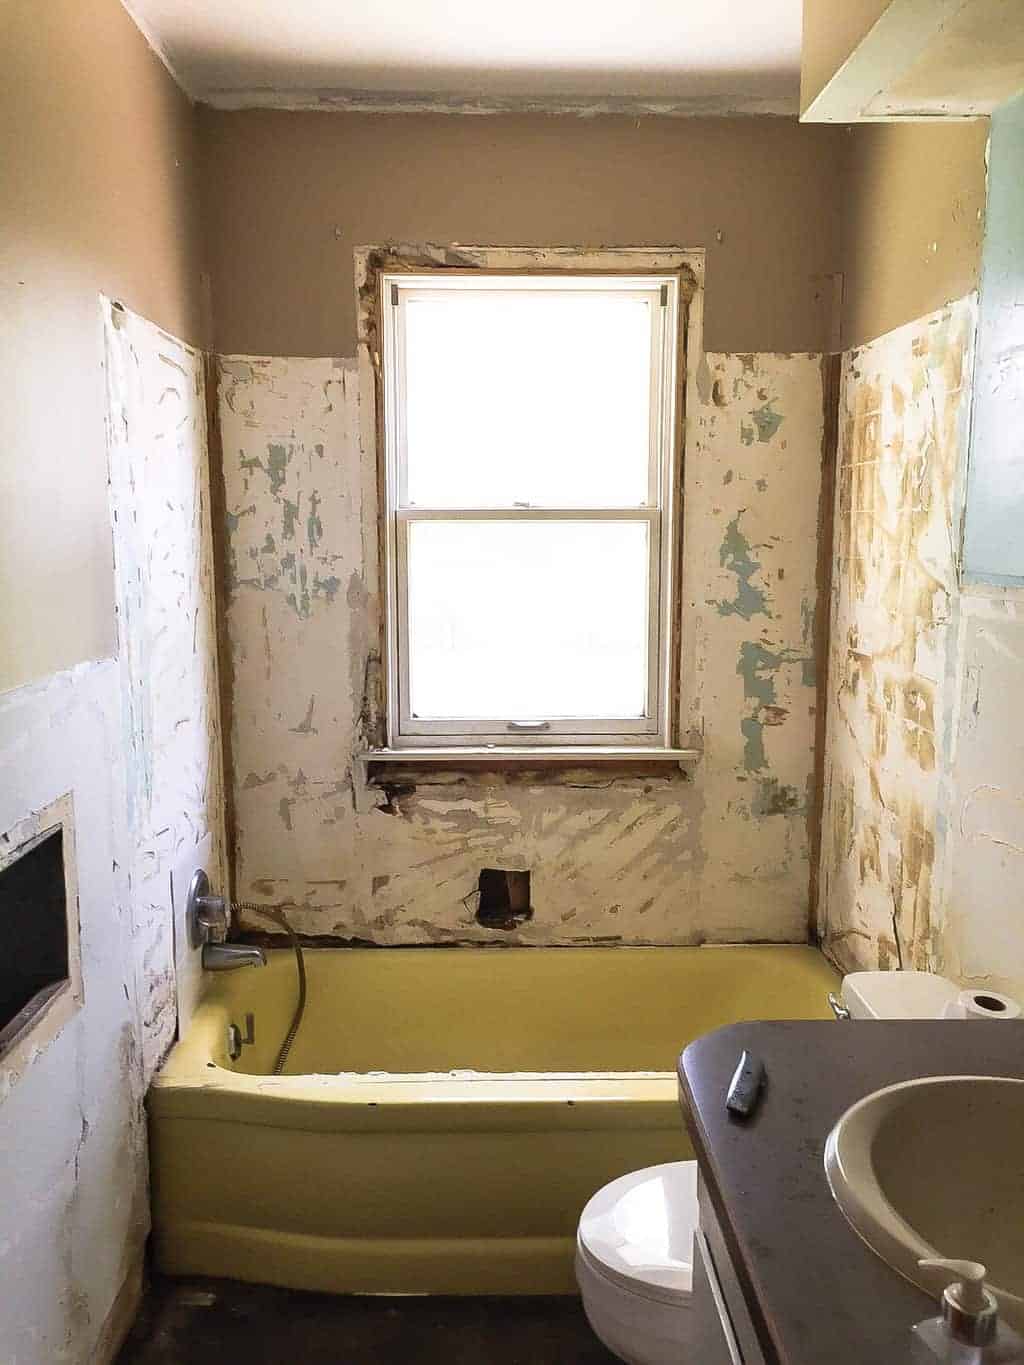
A bathtub has years of soap, dirt, mineral deposits, and other buildup on it. The new coating needs a properly prepared surface.
Clean the Bathtub Thoroughly
We started by scrubbing the entire bathtub with Comet and scrub pads.
We wanted to remove all of the dirt and buildup before doing anything else.
This is not the time for a quick wipe-down.
Really clean the entire surface, including the areas around the drain and fixtures.
Remove Lime and Mineral Buildup
Our bathtub also had lime and mineral buildup, so we used a lime cleaner to tackle those areas.
If you have hard-water stains or mineral deposits on your tub, take care of them before you start sanding.
The surface needs to be as clean as possible before you move on to the next step.
Sand the Bathtub
After cleaning, we let the bathtub dry completely and sand the entire surface with 400-grit sandpaper.
The goal is not to remove the bathtub’s existing finish.
You are preparing the surface for the new coating.
Make sure you follow the preparation instructions for the refinishing product you are using because different products can have different requirements.
Remove the Dust
After sanding, you need to remove all of the dust from the surface.
We used a damp cloth/tack cloth to clean the bathtub after sanding.
The surface needs to be clean and dry before you begin applying the coating.
This is one of those boring steps that doesn’t look like it’s accomplishing much, but it matters.
How to Paint a Bathtub
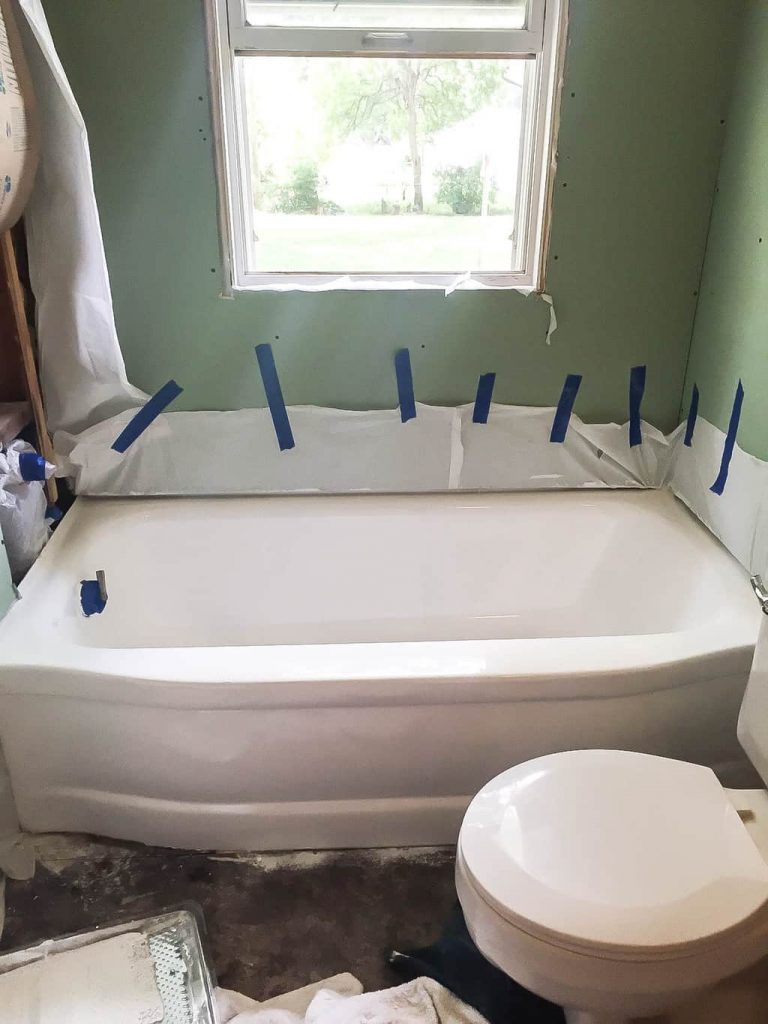
Once your bathtub is completely clean, dry, and prepared, you can start applying the refinishing coating.
Protect Everything Around the Bathtub
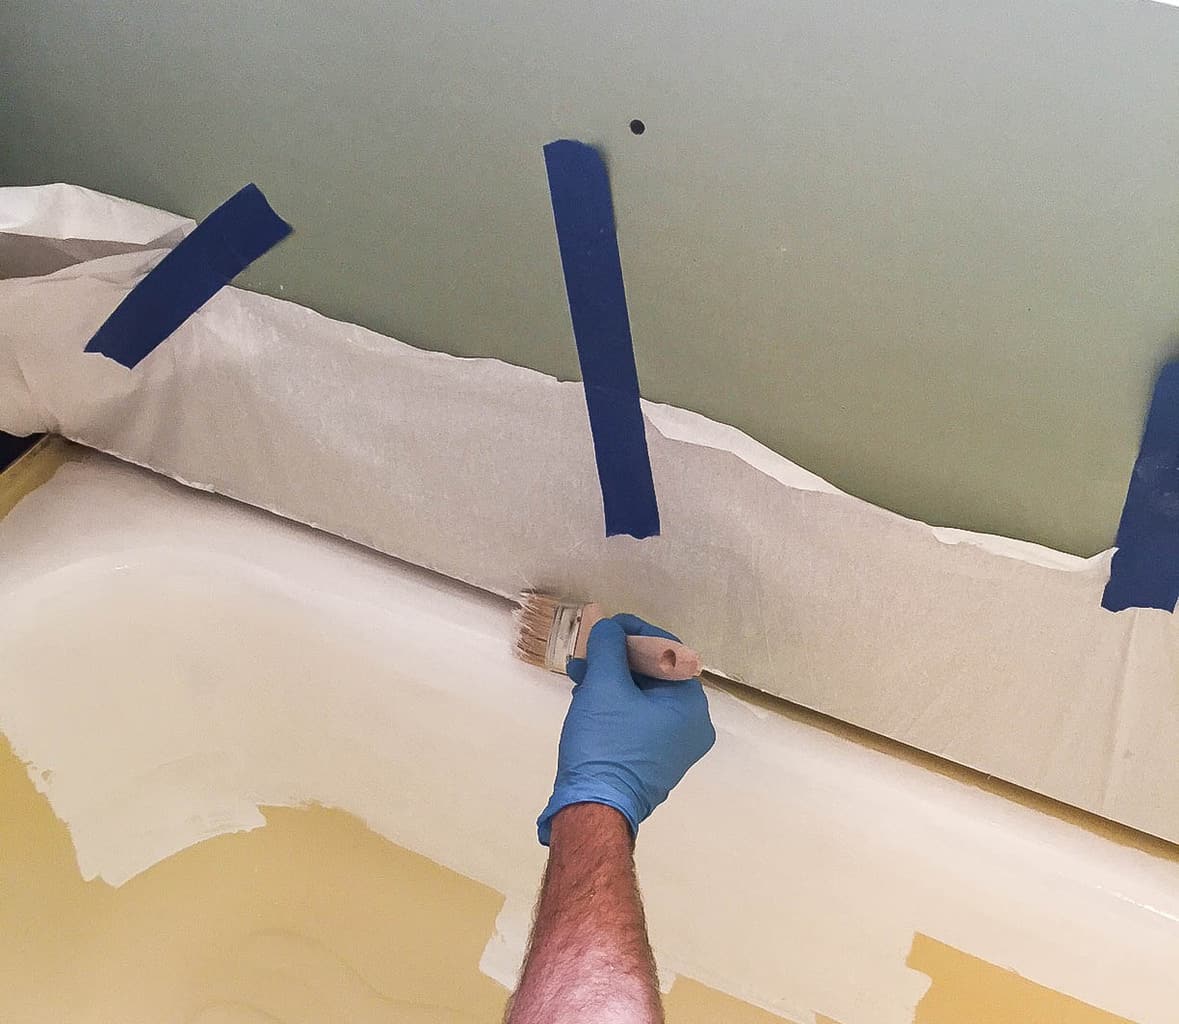
Use painter’s tape to protect the walls, floor, fixtures, and anything else around the bathtub.
We also covered the surrounding areas with plastic.
You will be very happy you did this when you get to the painting part.
Make Sure the Bathroom Is Well Ventilated
This is an important part of any bathtub refinishing project.
The products used for refinishing can have strong fumes, so make sure you have appropriate ventilation and follow all safety instructions on the product you are using.
Open windows when possible and use fans as directed.
Wear the personal protective equipment recommended by the manufacturer.
And please don’t skip the safety information just because you are excited to get to the fun part.
Prepare Your Bathtub Coating
We used a Rust-Oleum Tub & Tile Refinishing Kit for this project.
If the product you purchase requires multiple components to be mixed together, follow the manufacturer’s directions exactly.
Don’t guess at mixing ratios or changing the manufacturer’s process.
This is one area where the product instructions win over anything you read on a blog, including this one.
Apply the First Coat
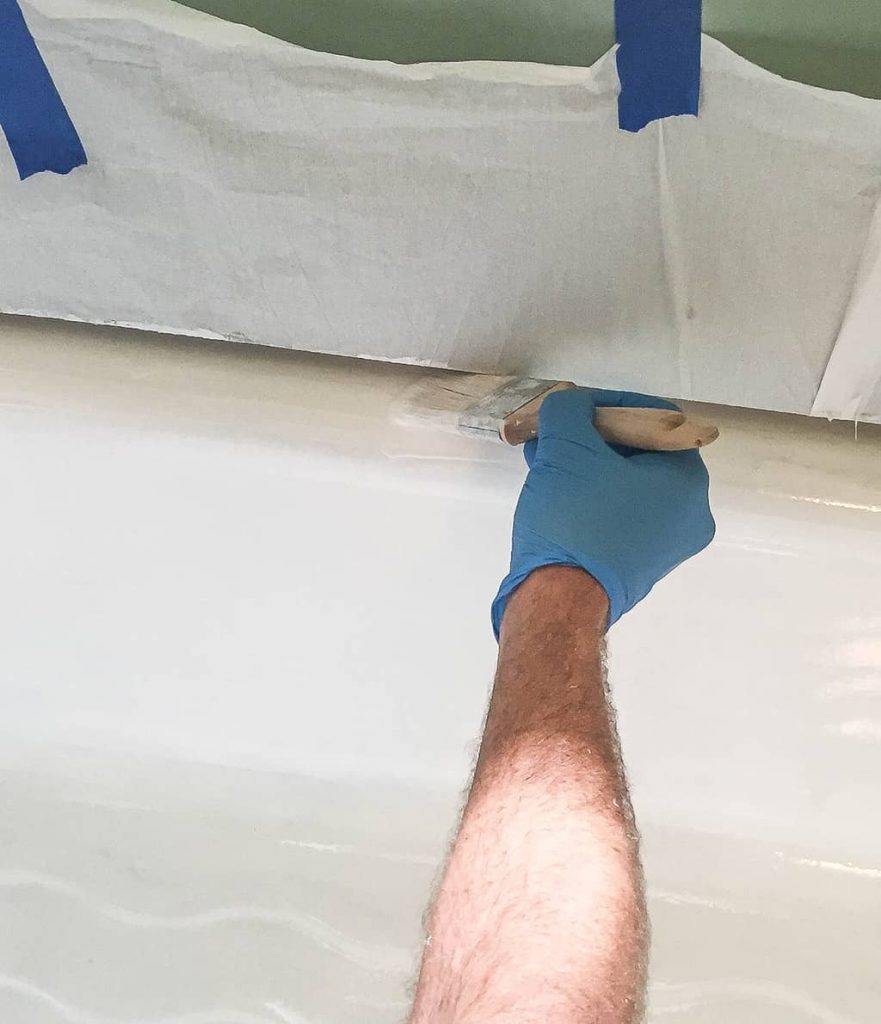
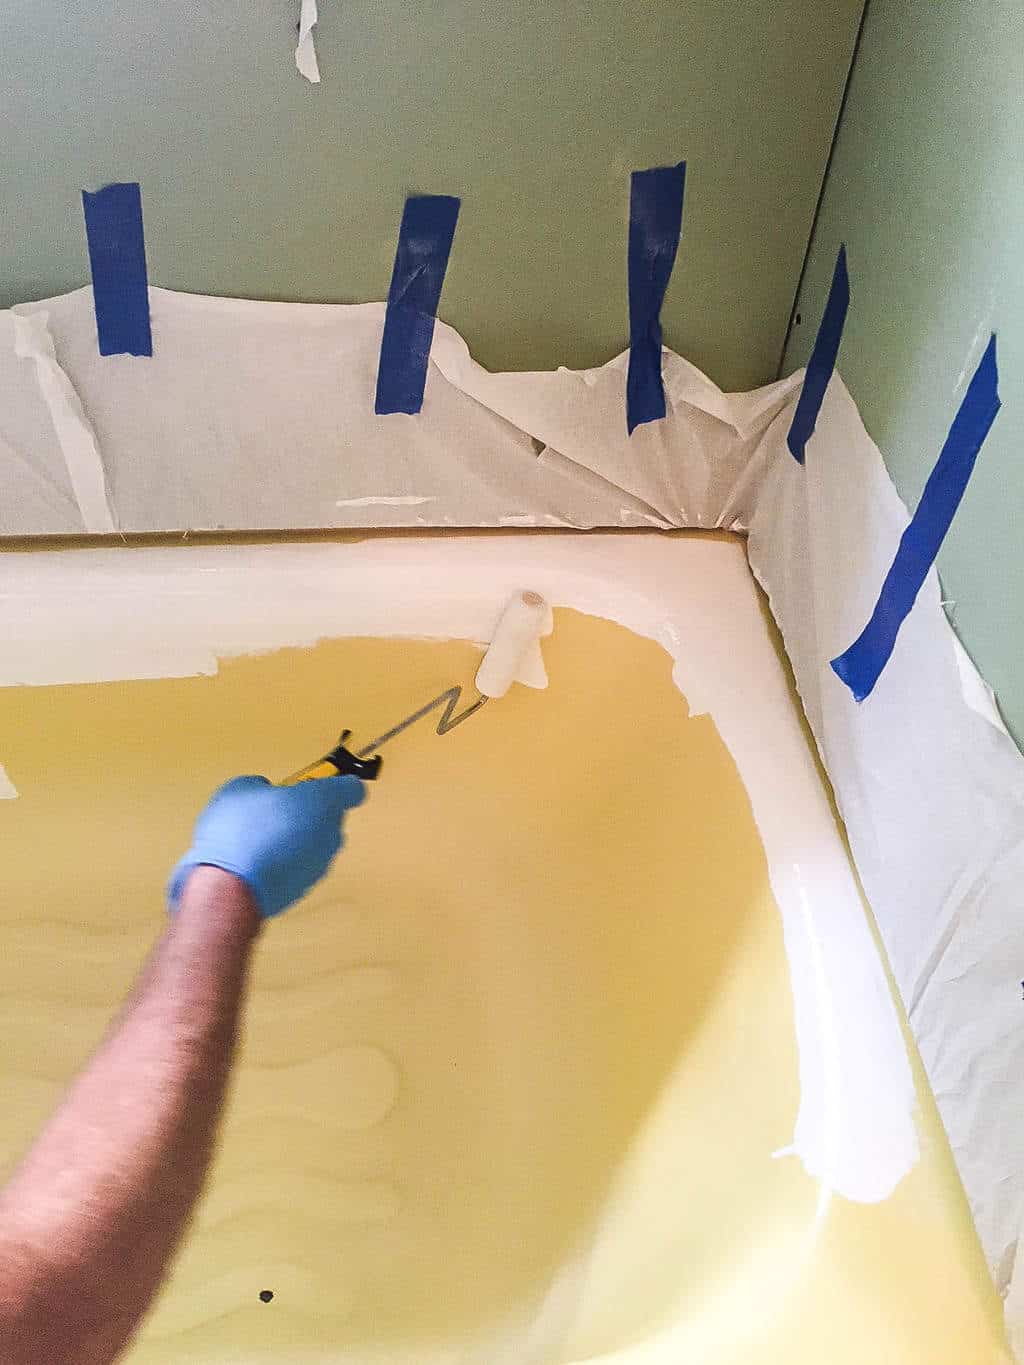
We used both a paint brush and roller when we painted our bathtub.
I preferred the brush because I felt like I had more control over the application.
The coating is thinner than regular paint, so you need to pay attention as you work.
Apply an even coat and watch for drips and runs.
Don’t try to pile on a thick coat because you want to cover the original color in one pass.
Thin, even coats are the way to go.
Let the First Coat Dry
Follow the recoat time listed in the instructions for your specific product.
Do not assume that the drying time from another bathtub paint or an older version of the product is still correct.
For example, current Rust-Oleum guidance recommends allowing the first coat to dry for 1–2 hours before applying a second light coat.
Apply the Next Coat
Once the first coat is ready for recoating, apply the next coat.
Continue to watch for drips and runs as you work.
The number of coats you need will depend on the color and condition of your original bathtub and the product you are using.
We’ve had bathtubs in our flip houses that needed two coats and another that needed three.
If you can still see the original color coming through, you probably need another coat.
How Many Coats Do You Need When Painting a Bathtub?
There isn’t one magic number of coats that works for every bathtub.
For our flip houses, we’ve had tubs that looked good after two coats and another that needed three.
The condition of the original surface and the color you are covering will make a difference.
Instead of focusing on a specific number, focus on getting an even finish with complete coverage.
And always follow the manufacturer’s recommended application and recoat instructions.
How Long Does It Take to Paint a Bathtub?
The actual work of painting the bathtub didn’t take us very long.
This project took us just under three hours.
The cleaning, sanding, and preparation are a big part of that time.
Then you have to wait between coats and, most importantly, wait for the coating to fully cure before the bathtub is exposed to water.
This is where I would tell you to be patient.
Dry and fully cured are not the same thing.
The cure time depends on the product you use.
For example, current Rust-Oleum instructions say to allow the coating to cure for three days before exposing it to water.
Always follow the cure time listed by the manufacturer of the product you are using.
Even if the surface feels dry, that doesn’t necessarily mean it is ready for normal bathtub use.
How Much Does It Cost to Paint a Bathtub?
When we completed this project in our flip house, we spent less than $50 to paint the bathtub.
Obviously, product prices change over time, so your cost may be different.
But this was still significantly less expensive than replacing the bathtub and dealing with all the work that would have come with removing the existing cast iron tub.
That’s one of the reasons I love projects like this when we are flipping houses.
We aren’t trying to make every room brand new.
We’re trying to make smart decisions about where our money will make the biggest difference.
Tips for Painting a Bathtub
After painting multiple bathtubs in our flip houses, these are the things I would keep in mind.
Don’t rush the prep.
Seriously.
Clean the bathtub thoroughly and follow the manufacturer’s preparation instructions.
Sand the entire surface.
Don’t just sand the areas that look bad.
Prepare the entire area you are going to coat.
Use the right product.
Regular paint isn’t going to give you the same type of finish or durability as a product designed for bathtub refinishing.
Apply thin, even coats.
Don’t try to cover everything with one giant coat of product.
Watch for drips.
Because bathtub refinishing coatings can be thinner than regular paint, keep checking your work as you go.
Ventilate the room.
Follow the product’s ventilation and PPE requirements.
Let it cure.
This is probably the hardest part because once the bathroom looks finished, you want to use it.
Don’t.
Wait until the manufacturer’s recommended cure time has passed before exposing the surface to water.
Be gentle when cleaning the finished tub.
Once you’ve refinished the bathtub, avoid abrasive cleaners and scrubbers that can damage the new finish.
Use the cleaning products and methods recommended for your particular coating.
Does a Painted Bathtub Hold Up?
We’ve painted multiple bathtubs in our flip houses, and our experience has been good when the bathtub is properly prepared and the product is applied according to the manufacturer’s instructions.
But I don’t want to make it sound like painting a bathtub is the same thing as installing a brand-new tub.
It isn’t.
The finished surface needs to be treated appropriately and cleaned without harsh abrasives.
The quality of the preparation also makes a huge difference.
For us, though, it has been a great way to update a bathtub that was still perfectly functional.
If you would like to see this project done in real time, head over to my YouTube Channel HERE. Make sure to SUBSCRIBE when you are there. I am uploading new videos every week!
PIN THIS POST!
Oh my….THANK YOU, we bought a foreclosure 9 years ago and the tub in main bathroom, while white, is in bad shape. It was refinished, badly….sometime in the past. The finish is scratched and has dingy spots on it. We’ve tried to clean it, but the spots come back. I hated to spend a ton of money having someone else redo it. This is going on my project list!
YAY! Hope you are as pleased as we are!
Is one kit enough to do a whole tub. Phyllis
yes it was for us. You could always do a few coats though.
If you put 2 coats on and still need another coat do you resend and use a tack cloth or just repaint it wit another kit
Paint with another kit
Hi Linda,
Thank you for this article, Im eager to use it!
Any recommendations for removing/restoring bath fitters? It looks like you’ve removed the bath fitter as well. I have an ole bath fitter and i’m stuck with how to update the space.
Thanks!
Amber
Hello! My name is Lindsay. You can usually buy replacements for the drain if that is what you are asking about. We hire plumbers to do that.
What did you do to the window, wood trim will get ruined from the shower?
We put a surround in the tub and there is trim that comes with the surround for around the windows. There is also waterproof trim that is made more of like PVC that looks like wood to go in there. That won’t rot either. You can also tile around the window. Many options! 🙂
When I pour bleach around my old nasty caulk my tub get stains bleach does not clean. PEROXIDE takes away my stains nothing else does!
Thanks for the tip!
Lindsay, We had our tub painted by a professional about 7 yrs ago and it’s held up really well but is not as bright as it was. My question is does this method you used work on fiberglass tubs. Thanks, Phyllis
I would think so. I would tell you to read the back of the box to make sure.
How did you fill the dings and chips in original photo? Does kit provide for that?
The paint filled them in nicely.
We have an old cast iron tub in our only bathroom, and I’ve wanted it GONE since before we moved in ten years ago! I have one question: did the brush leave stroke-marks, or is the finish smooth? I’ve seen tubs that were painted, and you could tell! But that was a long time ago, and I’m hoping products are better now. TIA!!!
It didn’t leave marks. It was smooth. The main thing you have to watch is the drip marks because the paint is so thin.
a pnt of muriatic acid accidentally poured in the bathtub …it heavily damaged the porceline..while we vacated our house for six months. …the rust is eating the finishing deeply…will your “solution” following it closely repair my bathtub to appear as new?
Your tub work is amazing! What a great transformation of a solid piece, that you just don’t get in newer houses today. (We have the standard fiberglass, tub/shower surround all in one.) I can’t wait to click on your other bathroom projects. I was excited to learn you are from Cedar Rapids. I am originally from Waterloo, and have lived in Pennsylvania for over 30 years. It is great fun to read your blog. Thanks for sharing.
Great job!!!!! Would love to see the finished bathroom makeover. Bet it will be beautiful.
I will share soon!
This is great we have an old tub that no one wants to take out so we a\will try this. Hope ours come out as great as yours. Thanks for sharing.
Your welcome! Good luck!
Did one quart cover the entire tub? Or did you need to buy more than one kit?
Just bought one kit.
Wow looks great! We moved our 1920’s Cape and bathroom needs another redo. How do you clean the tub once finished? Does the paint scratch? Also, I surmised you put a liner in tub first before the tile job. Wondering why tile wasn’t done first? Kudos to you and hubby
There is no tile in the tub. It is just a surround??? I have heard that Scrubbing Bubbles is the best cleaner for the painted tub.
How well does this hold up under use. Does it chip or scratch easily?
I have heard it is great!
a great improvement!!
Looks so good! Could you use sponge brushes? I want to do my tub, exactly like you did this one, but I am so afraid it will have brush marks and look awful. My tub is in my main bath. Also, I will have to take shower doors off….not an easy task. Do you caulk around the tub when you are finished painting? How long do you have to wait before putting the shower doors back up?
We took the doors off and put up a curtain. I will share a full tour hopefully this Friday. We put in a new tub surround and did caulk. There aren’t brush strokes.
I would use pretty shower curtain anyway rather than doors for looks. When I had door’s I still used pretty curtains, I have old house yuck
Wow this looks great, it doesn’t even look like the same tub. Years ago in a house we rented there was a chip so gigantic it looked like someone dropped a bowling ball. The landlord had a professional guy come in and while it looked good you could see the patch. This is a much better option and I bet a huge savings over hiring someone to do it for you.
Yes it was! Thank you so much!
My parents have an old porcelain tub in their home which has been painted before. Unfortunately, over the 20 yrs since it was painted, it has peeled in some areas. Fortunately, the paint used back then isn’t what it is today! I’m going to try to do this project – thanks to you! Wondering if we will need to sand off all the old paint. Any thoughts on that?
I might try and sand it where it is peeling just to make the surface smooth. You do have to sand before you paint anyway, so I would definitely sand those areas.
Oops! I meant to say, “fortunately, the paint today is much better than the paint was 20+ yrs ago!”
Yes, it is!
___123___How To Paint A Bathtub Easily & Inexpensively! – My Creative Days___123___
This weekend i am going to do this project because lets be honest an old 1980 yellow bath tub is not eye candy to say the least.
i just had a couple questions about the sanding portion. Did you buy and electric sander or did you just sand it by hand? Also how long did it take for this project?
We used our orbital sander. It was an entire afternoon project. Good luck!!!
Can you use this product to paint a toilet?
I am not sure about that??? Check the back of the box.
i painted my tub last year and 1 kit did not cover! It is peeling up all over and i was wondering if i just sanded down the tub can i apply right over again?? Would love your thoughts
You know, I would definitely try it! We have done a few coats on different things, it just depends, but I would sand and then maybe get two kits and use them both on it.
Do you have to repaint the entire tub? I have just a few areas where the tub is worn through but the rest of the tub is still nice. Could I just sand those areas and paint them only, without painting the entire tub?? Or would the newly painted areas look too different from the original area of the tub?
I would paint the entire tub because I think it would look spotty if not.
White is the only color? Also your talking about the bathtub refinishing kit only right ? Ran about $50 for the kit right? Few years ago I used a kit Like that but it was 2 spray cans …..is this new ?
I don’t know how new the product is. It isn’t $50. It is around $25 for one kit. I have only found it in white. It is so amazing! We have used it on a few flip projects now.
How did this refinish hold up? You said it’s a flip house.. just wondering if it holds up to regular use. I’ve seen some bathtubs that were refinished in rentals and they were beyond gross where the paint began to chip and the mildew took hold. Anybody have long term experience with this?
It has held up well so far!
Wow!! How great is that! Our tub is brown This would be fabulous. I have two kiddos… how does it hold up?
It holds up so well!! We added a couple of coats to make sure it did.
I need help please we bought a home an we have been doing every single thing well i had to go do something one day an my husband was going to go do some work at the new house well he was stripping all the floors and put primer on the floors just to make sure they were all prepared for whatever we decided we were going to do with the floors I was not there so he decided to rinse all the materials out in the tub I am so mad now because all the sticky primer stripper and paint he used that day is now everywhere In the tub an I dont know what to do I’ve tried everything to get it out and nothing is working what can I do please help me save this tub were on a budget an our budget is almost nonexistent at this point I can not afford to replace a tub at this time please help me u can email me any ideas anyone has
Hmmmmm. I would google different ways to get that sticky stuff up. I don’t think the tub paint will go well over that. I would do whatever it takes to get the stuff up and then you can paint over what is left with the tub paint. I am sorry I am not more help. I haven’t had to deal with that so I am not sure. Check YouTube too. We find so much help there!
We did our counter tops with the roller about 15 years ago and they still look great (tubby USA brand) We just did the bathtub/shower combo with Rust-Oleum tub and tile. We used the spray witch I will NEVER do again. The fumes were horrible, we spend over $200 trying to get it covered (total of 4 kits (8 cans), and it still has hi/lol spots. Not to mention the white paint dust covered EVERYTHING in the bathroom. I really wish I would have done the roll on coverage. Worked so much better and would have been cheaper.
I didn’t even know they had a spray version. This is good to know. Thank you for sharing!!!
Looks great!
Thanks!
so what if we want our tub to be pink and but we can find any paint thats pink and works for bathtubs?
sorry for my English, still learning.
I haven’t found the paint in any color yet. Sorry.
It does come in 3 colors; white, almond, and biscuit. I have a kit just waiting to get everything i need for my whole bathroom update before i start doing anything that way it gets done and not pushed aside!
Thank you so much!! I’m so excited to try this! We also need to do the caulking again, in addition to painting the tub. Would you recommend painting or redoing the caulking first? Again, thank you fo such clear directions! Looking forward to this project!!
Your welcome. Paint first so then you can get a clean and fresh finish with the caulk afterwards.
Hey Lindsay, what a wonderful DIY project it was. I will surely paint my bath tub by next week. Special thanks for your step by step guide and obviously those images.
Your welcome! It is amazing! We have done it a few times now in our flip houses.
Good Job! Thanks for the tips you gave! I too had one of those 60’s colored tubs, mine was the pink! Yikes…
The tub was still in great condition so I decided to also paint it. I researched the epoxy paints because I had heard that was the only way to go. I however, used Klass Kote Bathtub Epoxy because they were able to make a custom color for me which I wanted. (http://www.klasskote.com/epoxy_bathtub_paint) The process was pretty much the same with a few minor exceptions. Results were great! It was such fun…really! Thanks for sharing the possibilities to other brave souls.
Thanks for sharing! It works so well that we have done it in other flip houses. We just wanted to white so it made it easy.
I love the finished bathroom!! It’s set up exactly like our, so I’m very excited to be able to make some of these changes to ours! The sleek tub surround and window trim is exactly what I’ve been looking for. Could you share where you got it?
We got the surround at Menards and the window trim is something you have to order separate. I am glad this post helped! Good luck with your makeover! It will be amazing!
Very useful tips. Thanks for sharing! Easy and most of all pocket-friendly. 🙂
yes!
very informative. thanks
It is very friendly and helpful tips. Thank you for sharing this post.
Thank you!
Something to beawareof when contemplating “refinishing or replacement?
Painting would be the route to go on a flip, or resell. They always look amazing freshy done and once sold, wear is not your problem. Besides Even with the best refinishing job & improved paints it’s still just “paint” water is the most corrosive element there is, add to that dirt and grime (think -sand paper wear over time) then say perhaps something hard is dropped ? or say there’s a need to replace the tub shoe (drain) which was painted up to with the paint being the only seal? with that seal disturbed moisture gets beneath the paint with bubbling and peeling sure to follow further shortening its short lifespan. when installing a tub surround you’ve already went into the wall (something that “just painting” was supposed to save? The only cost in replacing would the 1. New Tub, 2. setting it and connecting the drain. diy or hire out just “that part” out. and you’re pretty much set for life!
(removing a cast Iron tub? throw a blanket over it and sledge hammer it into then carry it out- The new tub material can be but does not have to be cast Iron. There are some nice and much lighter composite material tubs available Including Acrylic, fiberglass, And Enameled Pressed Steel on the cheaper end. which you can shop for and have delivered.
I have a regular tub that is in pretty good shape except for an irregular shaped silver dollar sized “hole” in the paint. Can I just use this paint to fill in the hole without repainting the whole tub?
TIA
Pam
I have never just filled a hole with the paint, so I am not sure.
We have a cement shower pan. Can this process be used on cement? Thanks
I think you would need cement paint instead??? Ask your local home improvement store.
Hi Lindsey,
I love how this bathtub renovation turned out. Before you painted the bathtub did you have to fill any holes that were left in the bathtub after removing the shower?
Thanks,
Tanya
We didn’t have to fill any holes. We never removed the shower stall.
It’s nice to know that there are ways to repaint a bathtub without having to deal too much with paint smells. I’m considering to get a bathtub replacement soon because my current one has been showing sign that it might have cracks soon if I’m not careful with it. Getting to paint the new one however I like would make any upcoming bathroom remodel a lot easier.
We’ve been going a little project crazy over here at the Hursley house. From updating our front door to having our wood floor refinished, I barely even recognize our place anymore and I love it! Looks like we just found our next project and I can’t wait to get to work painting that bathtub. Thank you so much for sharing.
Love all the projects! Your welcome!
Hi Lindsay:
Excellent article. Bathroom renovation is not for the faint at heart. There is a lot of work involved.
You did a great job.
All the best and good luck on any future projects
It does come in 3 colors; white, almond, and biscuit. I have a kit just waiting to get everything i need for my whole bathroom update before i start doing anything that way it gets done and not pushed aside!
Excellent article! Painting an old standalone or corner bathtub serves as an affordable way to renew this item. Surprisingly, this task does not require much effort as it involves covering the cracks, sanding the tub, and adding paint.
Hi Lindsay!
Can you do a follow up on this project? How’s it holding up? Has the finish yellowed? Any peeling?
I know that with this kit (and others) you cannot use bleach products, any abrasives or any mat with suction cups. Your thoughts. Thanks!
We sold that property. That was years ago. It did hold up fine through a couple of tenants. I would definetly say to do multiple coats. In out latest property that we just finished, we did paint the tile again in the shower but we budgeted to have someone come and refinish the blue tub to white. I was amazed at the price that this cost. I thought it would be so much more! You can check out that information in my post here: https://www.mycreativedays.com/budget-friendly-bathtub-refinishing/