In April, I ventured out to my first yard sale of the year. I always get excited for this day because I have been anxiously waiting for it all winter long. I never have high hopes when I go out the first couple of times. For some reason, it just seems like the first few sales aren’t that exciting. When I was approaching the driveway at this particular sale, I didn’t see anything that caught my eye. I used to drive by these kind of sales, but since it was the first one of the year and it was the only one that day, I had to get out and look around.
When you shop at yard sales, LOOK AT EVERYTHING. Don’t just browse around the things on the tables, but look at the tables themselves. That is how I found this wooden chest of drawers. The top of it was filled with stuff for sale. Filled!!! I asked the guy at the sale if the cabinet was for sale and he said, “Yes, is $10 okay?”
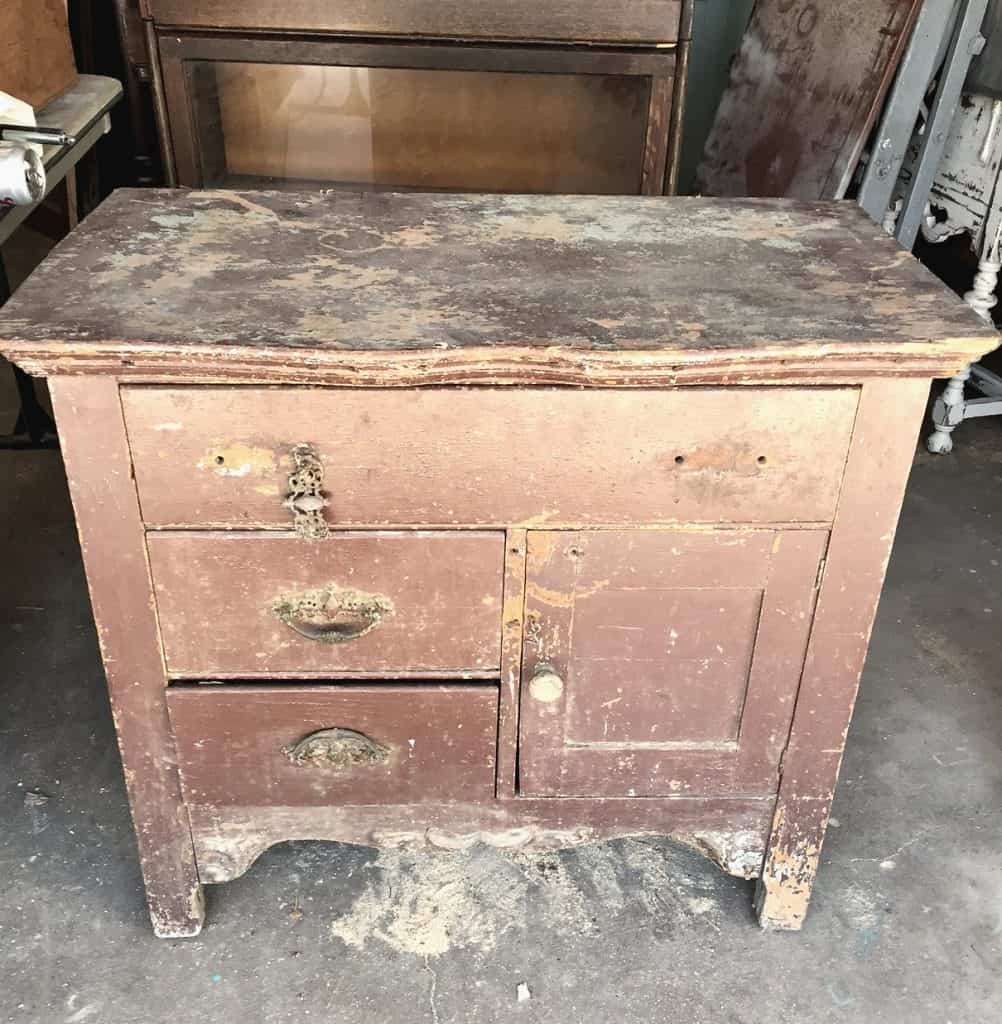
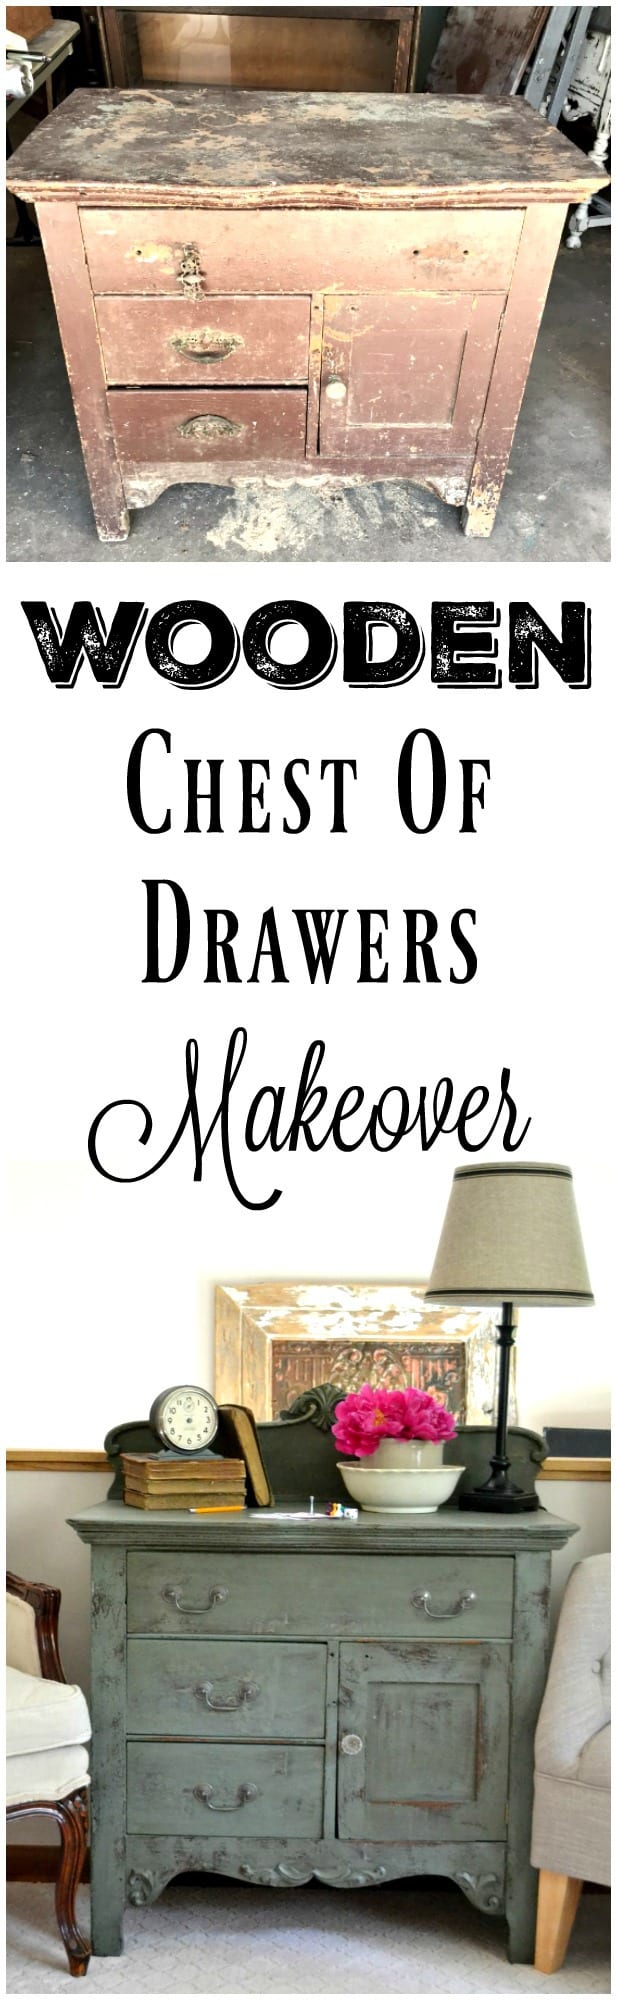
Now, most people would never pick up a wooden chest of drawers that looked like this. It is missing hardware. The hardware that is still there is broken. The finish is in horrible shape. It looks like it has been in a barn or garage for years and it is missing the back piece it originally had.
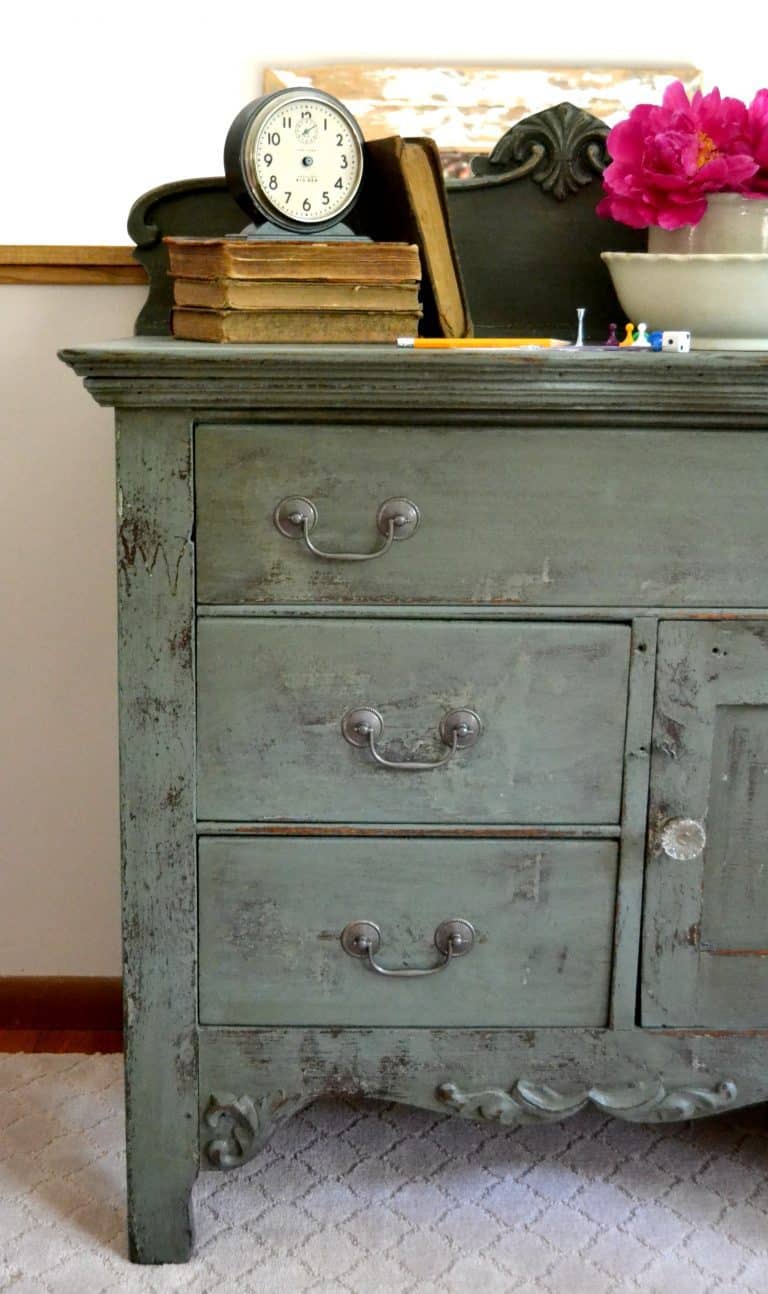
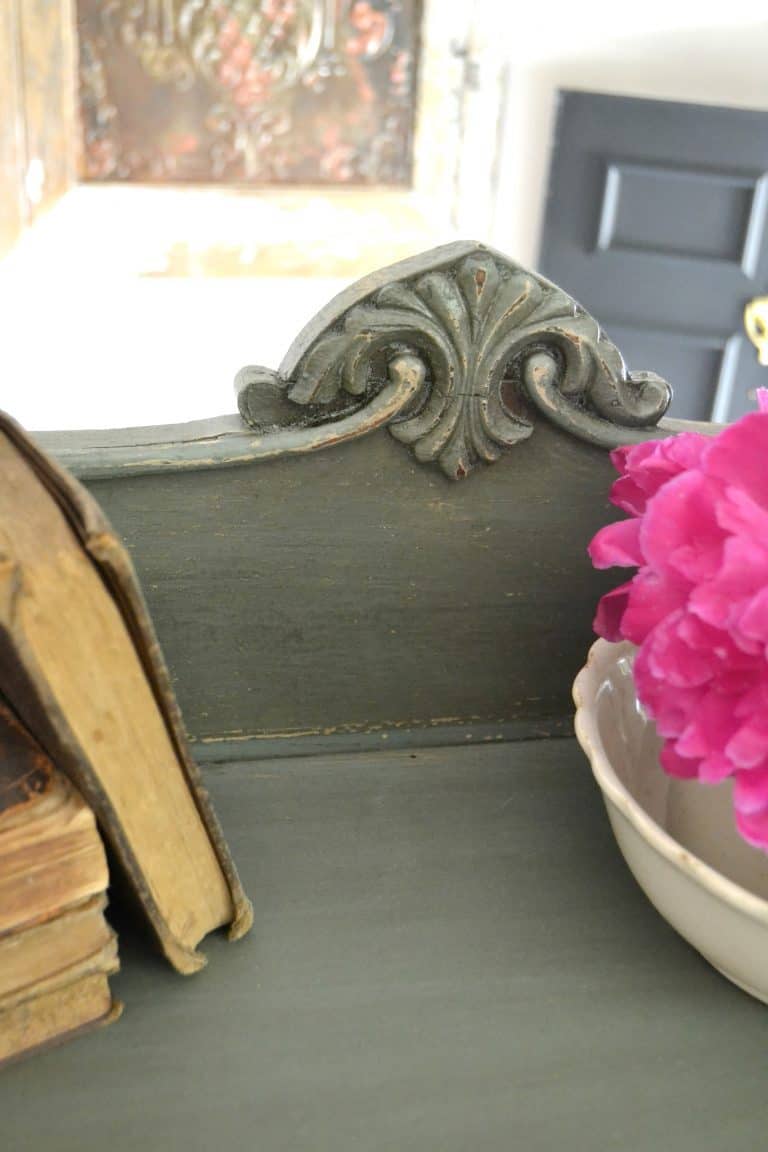
Me? I saw the glass knob it still had (I am a sucker for original glass hardware). The three small drawers and tiny cabinet door were charming and the detail on the bottom was stunning. I also loved the curve on the top. This piece had loads of potential and $10 was the perfect price for me to take it home.
After I had it home for a few days, I started making a plan for it. Then, after Plan A fell through, I had to come up with a Plan B.
Plan A For This Wooden Chest Of Drawers Makeover:
-
Sand and stain the top a dark color.
-
Paint the rest of the cabinet a green color.
-
Find new hardware (It killed me that the original hardware couldn’t be salvaged).
Plan B For This Wooden Chest Of Drawers Makeover: (Because Plan A fell through.)
-
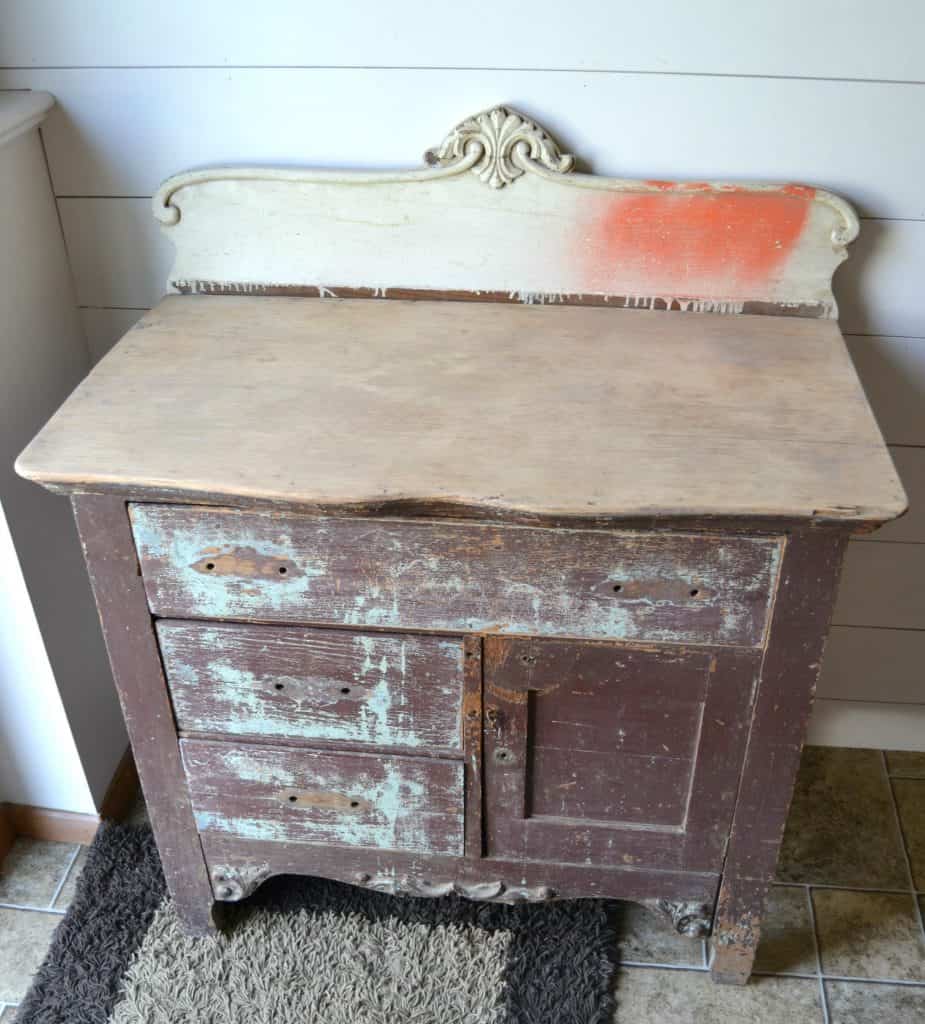
Sand the top and find out you can’t remove the damage and staining it will just enhance the water marks on it.
-
Paint the entire piece a green color.
-
Once the paint is dried, decide it needs to be a deeper color so add dark stain over the stain. (Never tried this before, but I am always up for new ideas.)
-
Scour through your “salvage pile” and find a piece that is the exact size needed to put on the back of the cabinet.

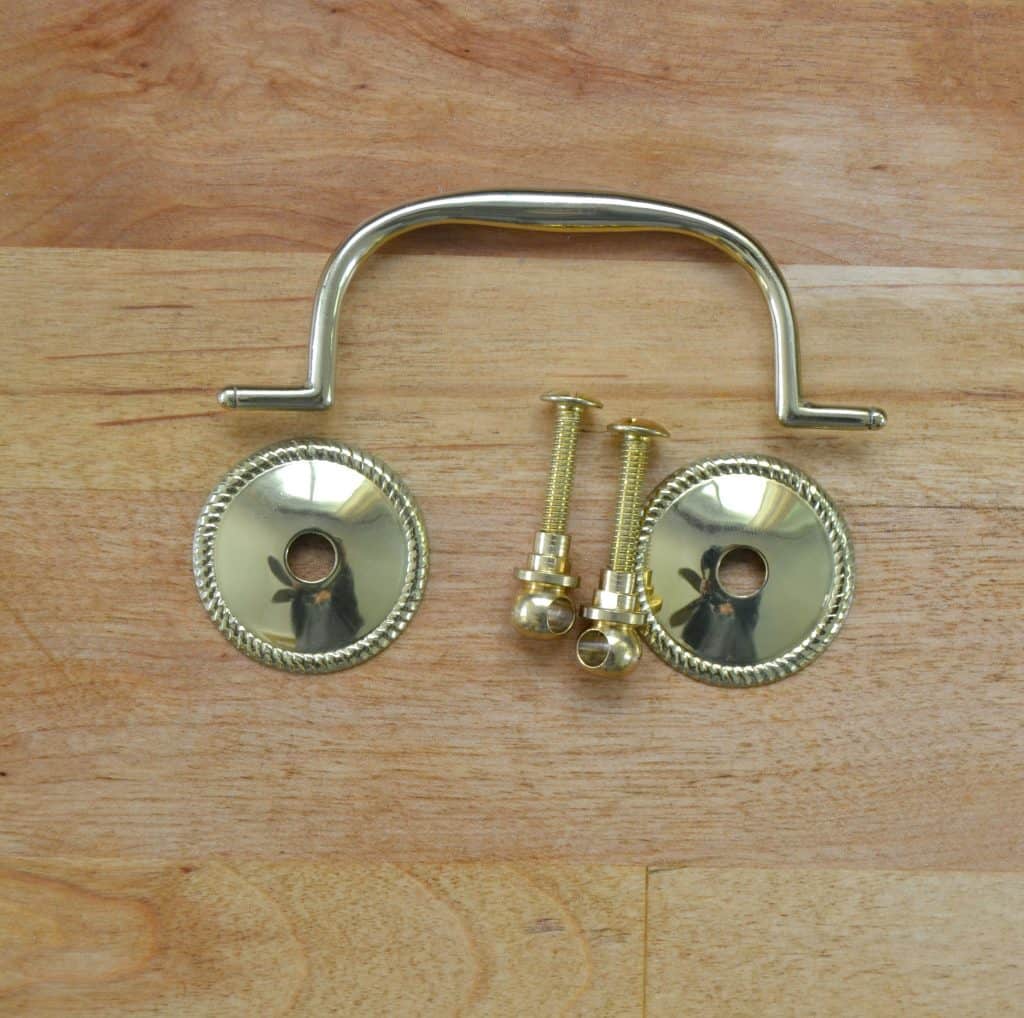
The hardware on this piece was amazing. Two of the pieces were still in good order, but one was broke and it was missing the other one. I couldn’t save them. So, I wanted to find some hardware that didn’t stand out and just blended in with the cabinet. I went to D. Lawless Hardware and found the Sheraton Style Bail Pull w/ Rope Design Trim that I thought was good, but I knew I would have to paint them to make them work.
(Affiliate links are used in this post. You can see my full disclosure HERE.)
Supplies Used For The Wooden Chest Of Drawers Makeover:
Rust-Oleum 7218830 Hammered Metal Finish Spray, Dark Bronze
Valspar “Redstone Blue Spruce” Paint.
Minwax “Dark Walnut” Stain (I used some of the “Minwax “Jacobean” Stain“ color as well).
Sheraton Style Bail Pull w/ Rope Design Trim from D. Lawless Hardware.
My favorite sander
I love green and I am always looking for that “perfect green” for projects. I have not found it yet, but I had a few paint colors on hand and I thought that Valspar “Redstone Blue Spruce” would be a great color for this piece. After I got the entire piece painted, I wanted to color to be a little deeper and richer.
Not knowing what I was going to do, I used my sander and went around the entire piece with it. I didn’t spend a lot of time with the sanding and let the paint come off where it wanted to and left the other spots alone.
Again at a standstill, Matt came out to see what I was working on. I told him that I wanted to change the color and he suggested adding a dark stain over the paint. What? I have never done that before. Can you do that? What do we have to lose? Let’s try it.
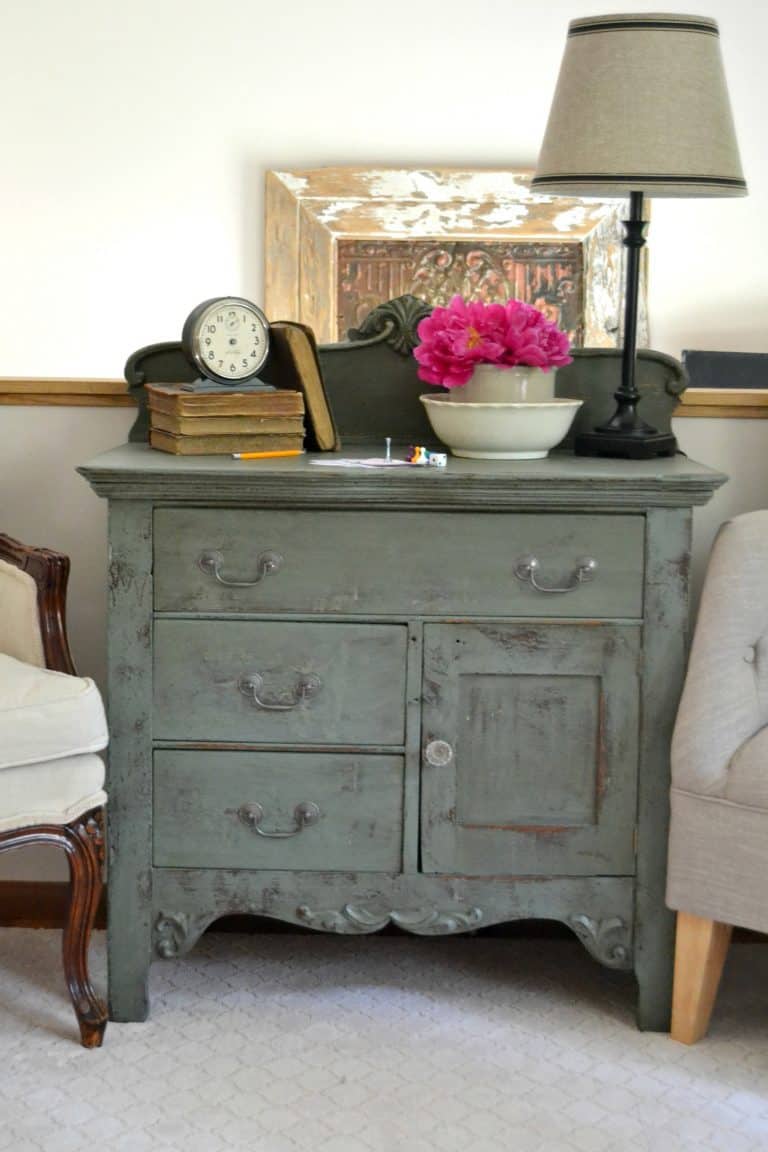
I used a rag to rub Minwax “Dark Walnut” and “Jacobean” all over the cabinet. IT WORKED LIKE A CHARM! It deepened the green color and made it look so much more “authentic” and rich. Like it has been around for a long time. It is gorgeous.
It is so much fun trying a new “application” and having it work out. I thought the stain wouldn’t soak in because of the paint, but once it was all dry, it wasn’t tacky at all.
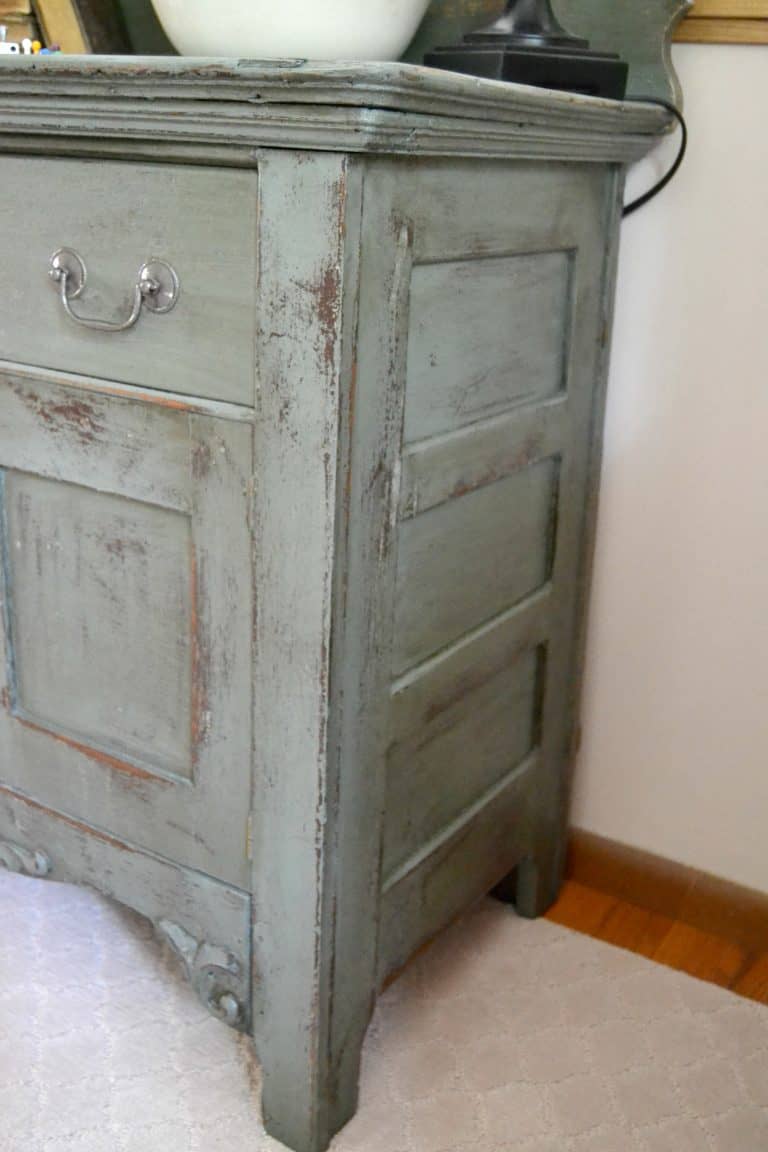
The piece we added to the back looks like it always belonged there!
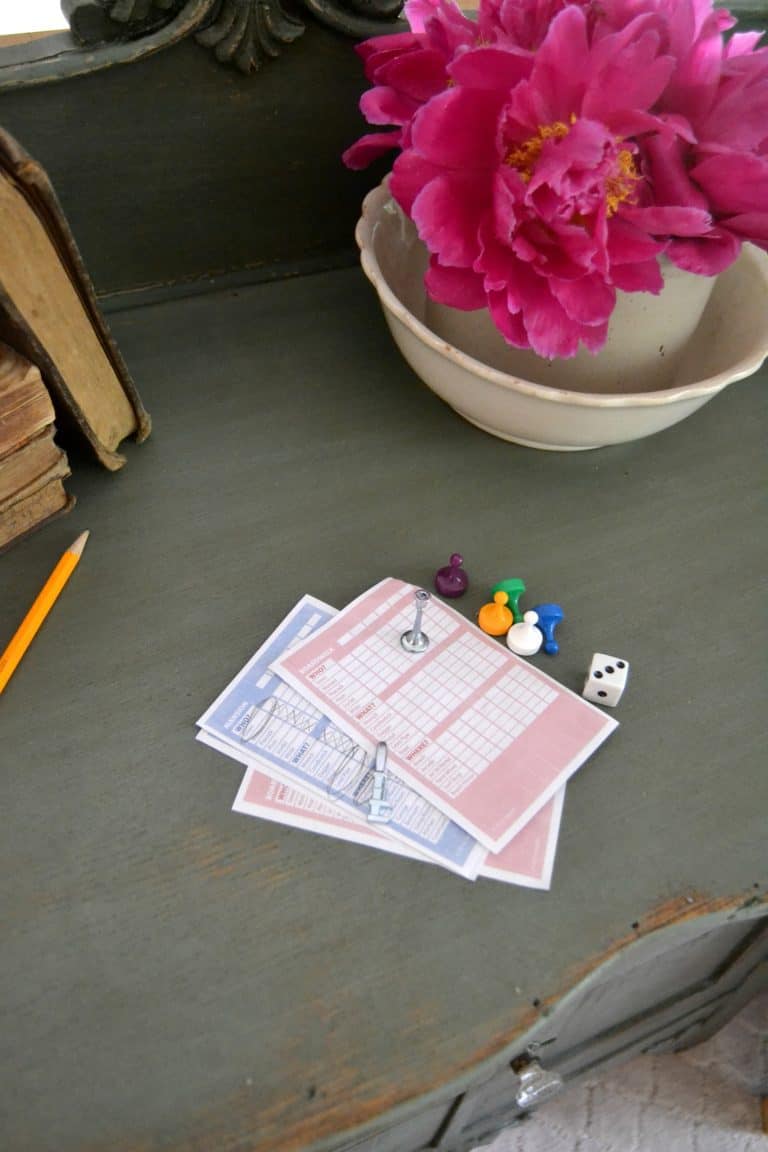
This cabinet makeover was so good, I moved it into our living room. 😉 I had an old radio cabinet in this spot before, but the green color on this cabinet fit better. It is still the perfect size to fit some of our games too.
Can you guess what game we were playing this day? (My kids are hooked with this game since their grandpa taught them how to play it.)
This is the first time trying this process. It went so well, that I will try it again if I come up with the same issue on a project. I can’t tell you how many projects I have done that the Plan B route was actually better than what I had planned originally. If your project isn’t working out as planned, step away from it. Think about it and see what else you can do to make it better. You would be surprised how many times it works out better anyway!
Would you have rescued this cabinet? What color would you have painted it?
PIN THIS POST!
I love how this turned out! I would love one of these in my house. Great color and the hardware you created looks great!
Thank you Mary Ann!
Great makeover. I love how it turned out. I am always looking for junk to work on.
Me too! 😉
Wow I’m loving everything about it! To be honest I probably wouldn’t have given it a glance but now I will be on the look out for potentials. Thanks for the inspiration.
Yes! Always look for the potentials. You can make them custom to what you like and not spend an arm and a leg to get them
Ummm…I am doing something for the first time. I am saying I don’t like the cabinet. I am NOT being rude. Honestly. I think the cabinet looks sad. It is dark and morose. It does not look happy. Since it was in such bad shape, I think a happy color would have worked well. I appreciate all the labor you put into it. I do furniture for resale too and I know w labor intense it can be.
Pinning this lovely cabinet to share but more so to refer back to as a reminder of this excellent technique. I’m definitely going to give this a try. Sweet makeover, Lindsay!
Thank you Marie! It turned out so well, I am going to try it again too!
Your piece looks so rich and original, like it has a history and stories yet to tell! I love, love, love the color you chose, that technique was a win! It’s so wonderful to see something destined for scrap be reinvented, thanks for sharing your process.
Thank you so much!
I am currently trying this. But am using red chalk paint with black cherry stain. Can’t wait to see the results. Waiting on paint to dry is killing me. Lol.
I know! The paint drying thing takes forever! 😉
Great makeover! I am not usually the biggest fan of green but this color you created is just beautiful! Nicely done!
Thank you Kristen!
I love that piece. And a steal at $10. I love finding treasures like that.
Thanks Amber! I do too!
I love the way the wash stand came out. I have a similar piece. Mine has a mirror. It is now in the garage with my husband’s nuts and bolts in the drawers. I my have to repo it and redo it.
Yes!!!!
I now have the same problem. I wanted it a deeper color coral. But I have applied wipe on poly – do you think if I lightly sanded and then applied stain would it work-or just give a mess. Or I probably should just leave it alone. it is a repurposed hutch top.
Coral might be a little harder. I would try an antique wax instead and see how it does.
Thanks for the tips! I have 2 nightstands and a writing desk in my guest room. I painted the bases. and really thought about using a stain over them to darken them up. My husband said I could not use a stain over paint! But you just proved him wrong! Do I need to put a poly finish over it?
You can. See what it feels like when you get it done. I really wiped all the excess stain off so it didn’t need a top finish.
I love this cabinet… The colors you chose are spot on!
Thank you!
Had 4 20×20″ frames made from pine and after painting them a SAGE satin latex trim paint, I decided they needed to be distressed. Doing that wasn’t hard with pine, but then I wiped, very sparingly, a dark oil stain and went over the frames and the color is terrific. Very rich and professional looking and really emphasized the distressing. My problem is after reading some other blogs I’m worried now that they may not dry and what kind of top coat do I use now. Could you please advise me on this. I hope I didn’t waste all that money for the frames by screwing up the painting and staining process. Thanks for any help you can give me.
I have never used an oil stain so I am not sure. I would wait and see if they dry in time. For a top coat, I like to use a Matte finish so it isn’t too shiny. Good luck! It sounds like a beautiful project!
I did this on a piece I picked up yesterday. It had serious chipping red and white paint all over an old Oak. But the lines and curves and character of the piece was too much to pass by. I ended up just sanding the chips and leaving the red and white. But the oak needed something… more. I did a dark walnut over the whole thing… and I am soooo in love. I can’t let her go now… so my hubby is making me choose a piece of furniture to go so I can bring it in. Haha! It’s definitely a statement piece. Loved the accidental technique! So glad.
It sounds AMAZING! I love accidents like that. I actually did that same kind of thing over a green piece and fell in love with it, I had to keep it. It is still in our living room today. Thank you for sharing!
That wash stand is gorgeous and without the original harp the piece you put on it looks like it was made to go with it !!! And I love the green color
Thank you!
I’m contemplating doing the same thing! My repurposed blue table is not dark enough and there’s too much green in the color. So you painted, then sanded, then stained, right? The stain was put in the entire piece, correct? Thank you for sharing! It’s beautiful and unique!
Yes. It just deepened the paint color. Good luck with your project! Sounds like a good one!
Whenever I want to make a piece appear more vintage I always apply stain over the paint you can’t go wrong, as proven here . Lindsey this piece is incredible bravo !!! I truly appreciate the fact that you see the beauty in neglected and what would otherwise be discarded treasures. Such a great find. You and I would be great friends
Thank you! I can’t let them go to the landfill. I see potential in too much! HAHA!
Hello I am having a hard time with the paints and stains and procedures that you did.amd used.
What problems?
Which ones!
Your cabinet is gorgeous! I have a white painted table that desperately needs character and this has inspired me! Time to pull out that wood stain that’s been patiently waiting in the closet for the right project. Thank you!!
YES! Post a photo on Instagram and tag me. I would love to see it! @mycreativedays
I I need some help on my bookshelf project going to see if you are still on instagram