

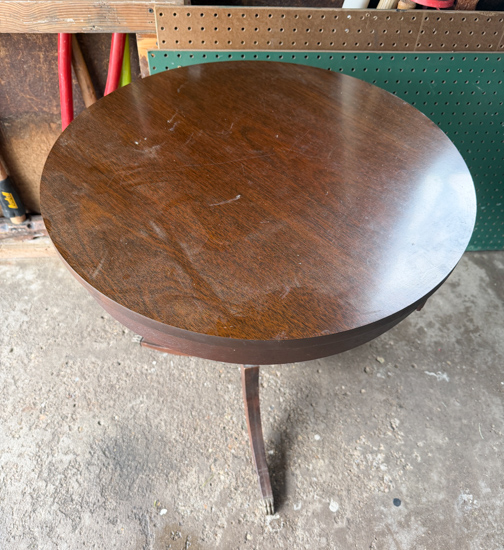
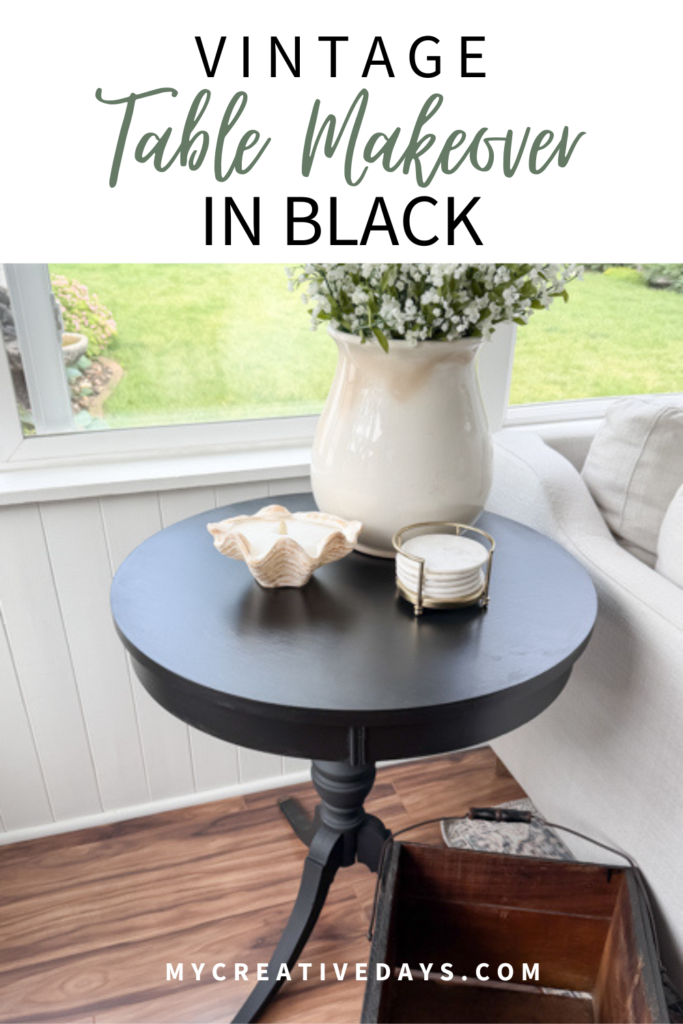
There’s nothing better than finding a piece with great bones and giving it a second life. This Vintage Table Makeover is a perfect example of how a small, yard sale find can completely transform with just a little paint and patience. This three-legged vintage table had so much character – hello brass feet. I decided to do a simple Vintage Table Makeover using a classic black painted finish.
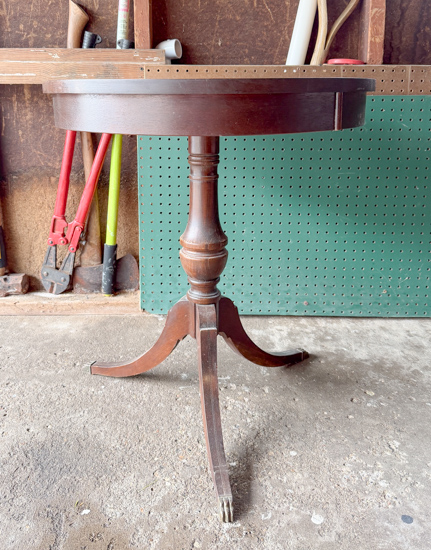
Black paint is one of my favorite ways to refresh old furniture because it instantly modernizes a piece while still letting the shape and details shine. This Vintage Table Makeover is proof that even the smallest tables can become statement pieces with the right update.
{Affiliate links are used in this post. Click on any of the underlined links to find the products I am talking about. You can read my disclosure HERE.}
Supplies for Vintage Table Makeover
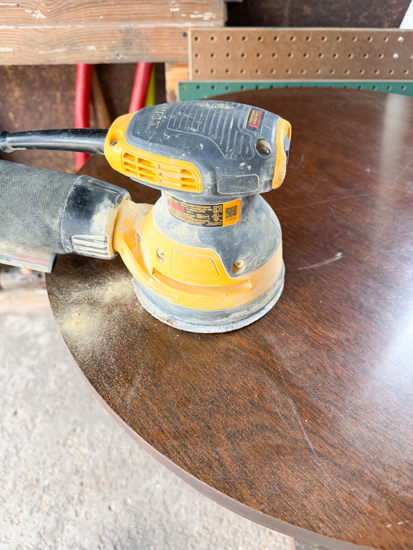
- Sander
- Old Rag
- Primer (if needed based on your paint choice)
- Black furniture paint
- Paint brush or foam roller
- Drop cloth or protective surface cover
- Optional: clear topcoat for added durability
Step-by-Step Vintage Table Makeover Tutorial
Step 1: Clean the Table
Every makeover starts with a deep clean. I wiped down the entire table to remove dust, dirt, and any buildup that could prevent the paint from adhering properly. Vintage pieces often hold years of residue, so don’t skip this step.
Step 2: Lightly Sand the Surface
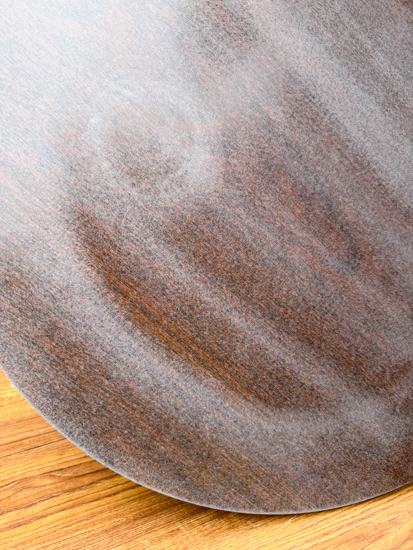
Since I was painting this piece, it needed a good scuff-sand. I wrote an entire post all about scuff-sanding HERE.
Step 3: Wipe Away Dust & Primer
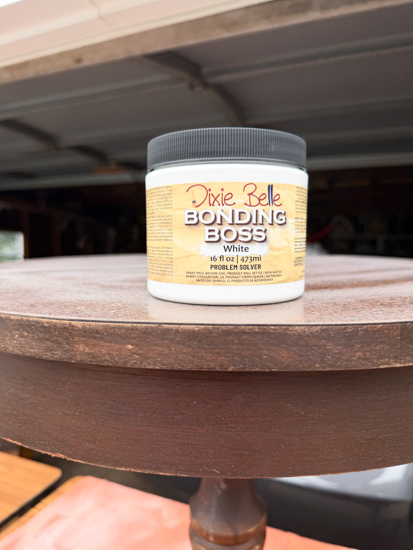
After sanding, I used a damp rag to remove all dust. A clean surface is key for a smooth finish in any furniture makeover. I wasn’t using an all-in-one paint, so it was now time to prime.
Step 4: Apply Paint
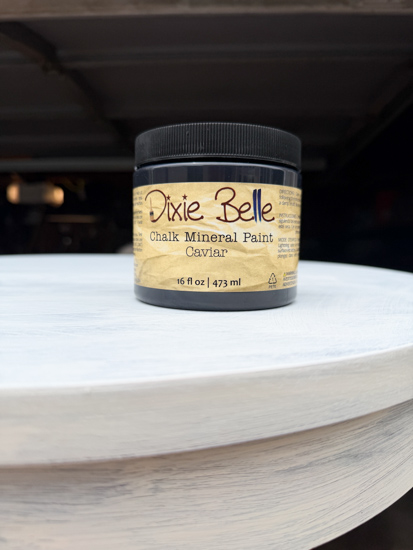
I used black furniture paint for this vintage table makeover. Always make sure to apply thin layers. Multiple coats are best. The goal is light layers rather than heavy coats to avoid drips and texture buildup.
Step 5: Add Additional Coats
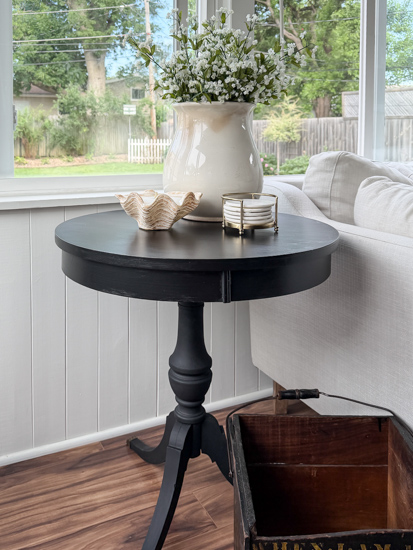
After the first coat dried, I applied a second (and in some areas a third) coat until the table had full, even coverage. The black finish really started to transform the entire look of this table.
Step 6: Optional Topcoat
If your table will get heavy use, adding a clear protective topcoat is a great final step in the makeover to protect the finish and extend its life. Make sure the paint layers are fully dry before this step.
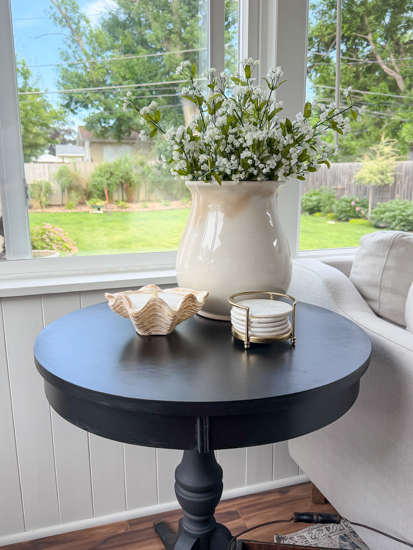
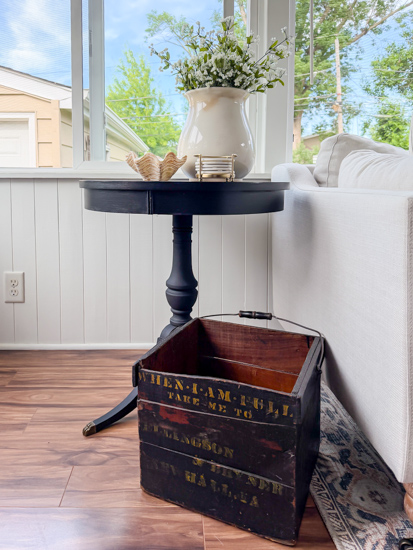
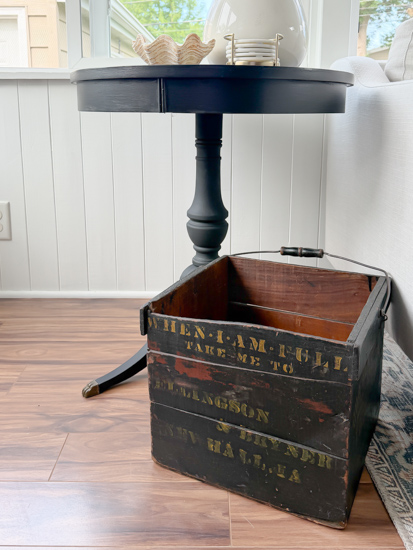
The final result is a completely refreshed table with a bold black finish. This Vintage Table Makeover turned a dated piece into a timeless accent table that can work in almost any space, entryway, living room, bedroom, or even as a plant stand.
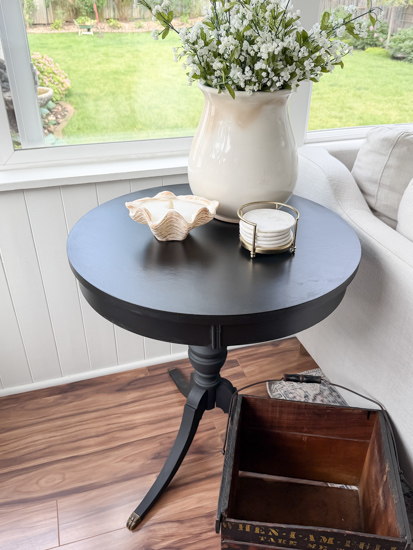
What I love most about this Vintage Table Makeover is how simple it was. No complicated techniques, just cleaning, light sanding, and paint. Sometimes the easiest updates make the biggest impact.
Curious About Flipping Furniture?
After more than twenty years of flipping furniture, I still pick up pieces whenever I can because I love the creative outlet. What started as a way to transform forgotten pieces has grown into something I now help others learn and enjoy, too.
That’s why I created The Furniture Flipping Academy. It is not just a course, but an all-in-one resource you can use at any stage of your journey.
Whether you want to try one project, flip occasionally for extra income, or grow it into something more over time, the Academy meets you where you are. Inside, you’ll find practical tools like worksheets, templates, guides, and real-life examples you can use when you need them. There is no pressure. No overwhelm. No requirement to turn it into a full-time business.
You don’t need experience or a huge following. You just need a starting point and a trusted resource to guide you.
Find all the details (and the new LOW PRICE) for the Furniture Flipping Academy HERE.
PIN THIS POST!
If you liked this vintage table makeover, you will also love these:
French Country Buffet Makeover