

I want to thank Durham’s® Rock Hard® Putty for sponsoring this Textured Furniture Makeover post.
You know I love a good furniture rescue, especially when it comes to taking something vintage and beautiful and giving it a fresh, updated look. This textured furniture makeover was one of those projects that made me fall in love with the process all over again, even with a little mess, some trial and error, and a few deep breaths along the way. 😂
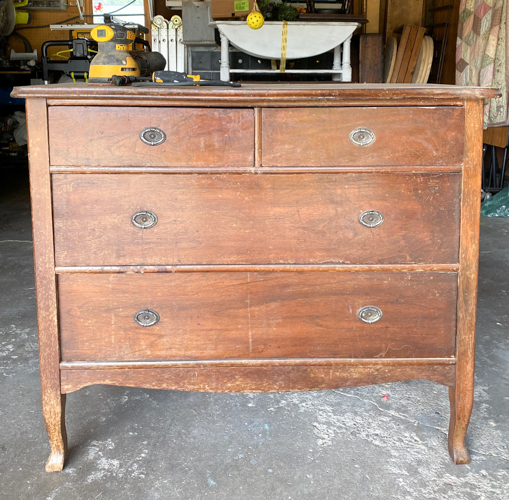
I found this dresser at my local Restore shop. It looked like it had been sitting in a shed for some time, and it came with an attached mirror. I took the mirror off as soon as I got it home. (I think we might use the mirror in the bathroom we added to our current flip house project.)
The Dresser: A Vintage Piece With Great Bones
This dresser is plain and one that is not hard to come by. I usually play it safe with these makeovers, but I am obsessed with a new technique I have been doing that adds texture and a whole new look easily. I used Durham’s® Rock Hard® Putty to create a raised stencil effect that added a lot of personality and modern flair to a classic vintage dresser. If you’ve ever wanted to try something new that makes a piece stand out and isn’t too stressful, this is it.
Let’s get into it!
Why I Chose a Raised Stencil
Raised stenciling is one of those techniques that looks like it took hours — but it’s actually pretty beginner-friendly. It adds instant dimension and interest to otherwise flat drawer fronts or cabinet doors. And the best part? You can make it as subtle or as bold as you want, depending on your design and color choices.
I’ve done raised stencils before with Durham’s® Rock Hard® Putty. It’s easy to work with, dries hard, and paints like a dream. It was perfect for the clean, modern-meets-vintage look I was going for.
{Affiliate links are used in this post. Click on any underlined links to find the products and sources I am referring to. You can read my disclosure HERE.}
Supplies I Used for This Textured Furniture Makeover
-
Vintage dresser (thrifted, of course 😉)
The Tutorial: Step-by-Step Textured Furniture Makeover
Step 1: Prep the Dresser
As always, prep is key. I removed all the hardware, cleaned the dresser thoroughly, and scuff-sanded the surface to help everything adhere well.
Step 2: Position Your Stencil
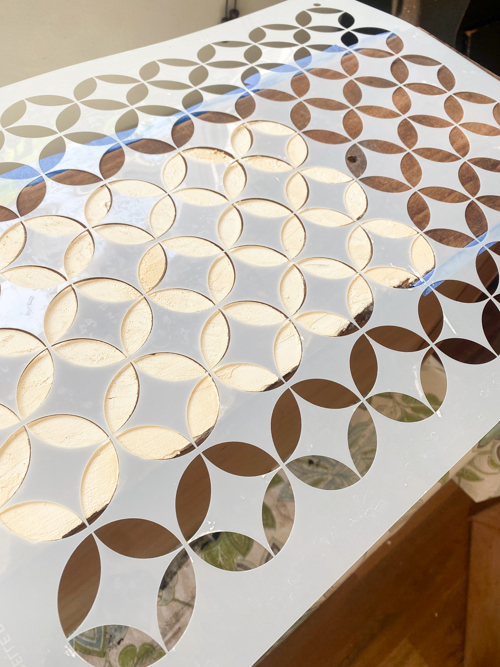
I taped the stencil down securely where I wanted the design. You can center it, repeat it across all drawers, or get creative depending on the look you’re going for.
Step 3: Mix the Water Putty
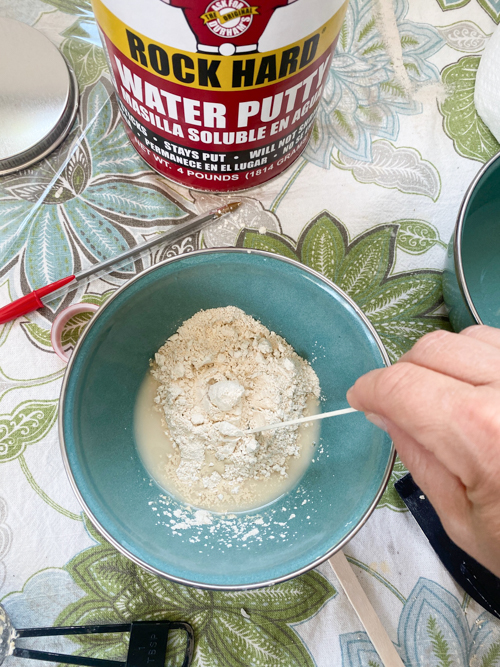
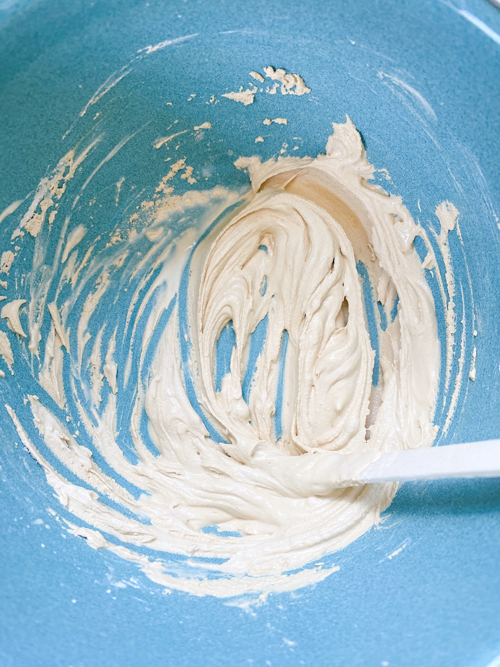
I mixed up a small batch of Durham’s® Rock Hard® Putty according to the instructions. Make sure to put the putty on just where you want it. It dried rock hard, and any excess will need to be sanded away, and the sanding takes some time, so the less you do, the less work you will have to do in sanding.
Step 4: Apply the Putty Over the Stencil
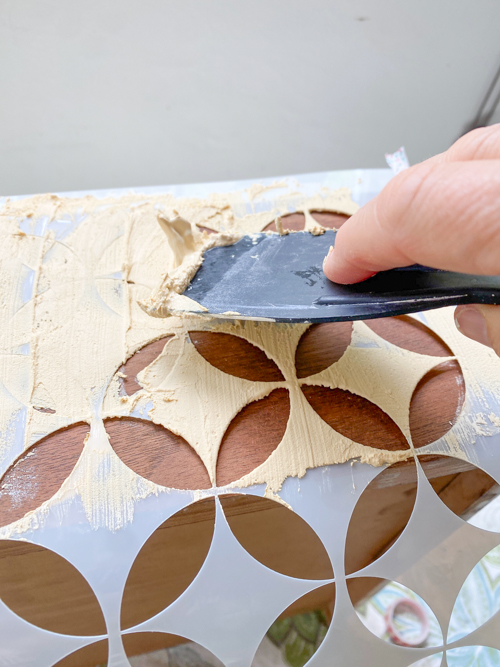
Using a putty knife, I smoothed the mixture over the stencil like frosting a cake (messy but fun!). Once it was evenly spread, I carefully removed the stencil and let the putty dry completely.
Step 5: Sand + Paint
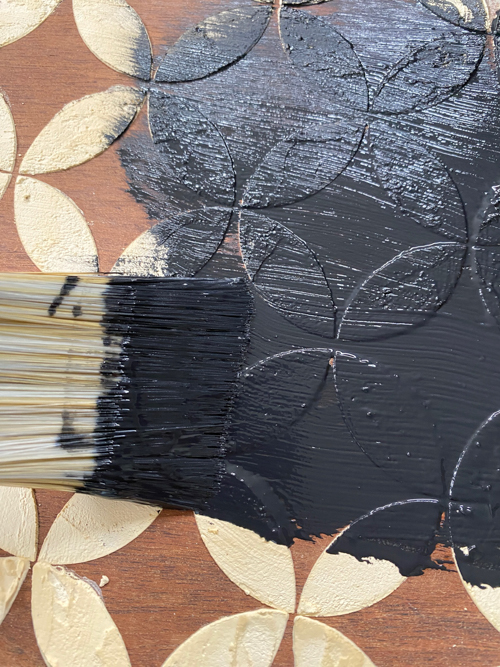
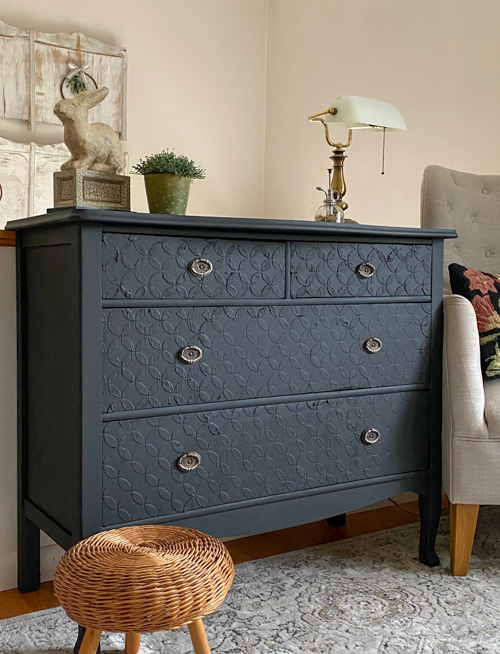
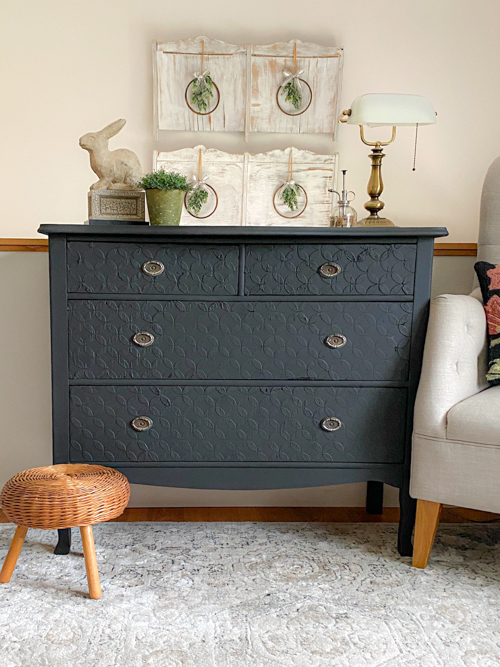
After drying, I lightly sanded any rough edges or high spots. Then I painted the entire piece, including the raised design. I chose black because I thought it would complement the modern stencil design I selected. I added the original hardware that came with the dresser. I thought it fit the makeover perfectly!
Step 6: Seal It Up
If you are not using an all-in-one paint like I did, you will want to add a topcoat once the paint is fully dry.
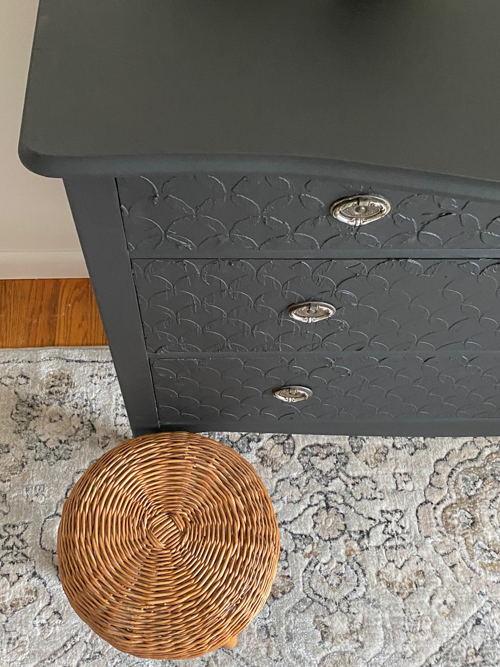
The Final Look: Texture Meets Timeless Style
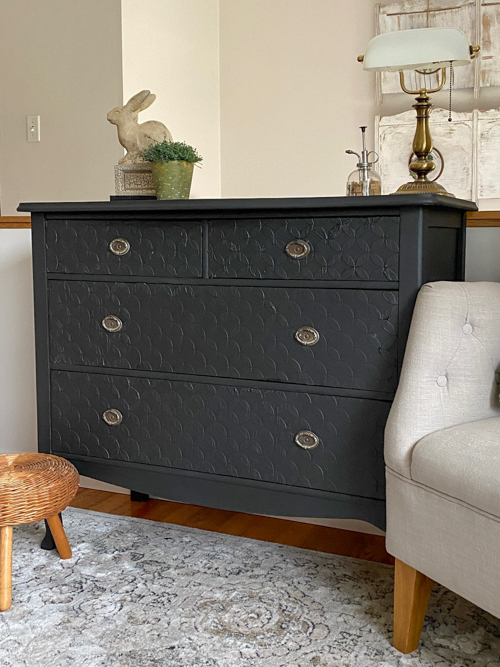
This textured furniture makeover turned out even better than I thought it would. The raised stencil added just the right amount of interest, and the updated color brought everything together beautifully. It’s modern, but still totally respects the vintage charm of the piece.
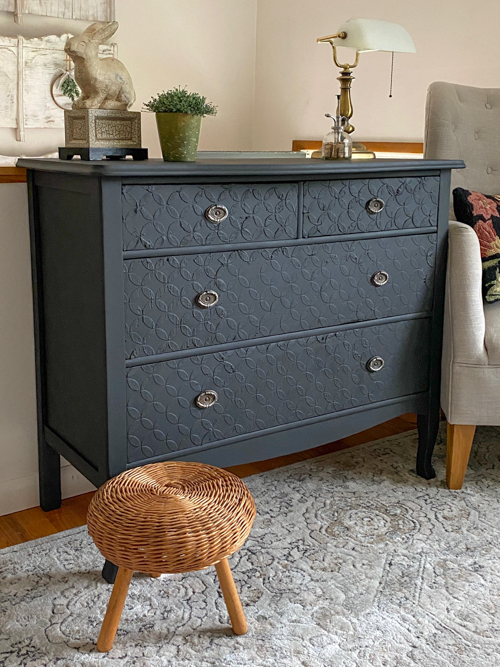
You can totally do this, too. Whether you want to add a bold focal point or just try something new with your next furniture flip, this is such a fun technique to play with.
Watch the Project Come to Life
If you’re more of a visual learner (or just want to see how this all went down in real time), you can check out the full video tutorial right HERE:
If you give this textured furniture makeover a try, I’d love to see it! Tag me on Instagram (@mycreativedays).
Curious About Flipping Furniture?
After more than twenty years of flipping furniture, I still pick up pieces whenever I can because I love the creative outlet. What started as a way to transform forgotten pieces has grown into something I now help others learn and enjoy, too.
That’s why I created The Furniture Flipping Academy. It is not just a course, but an all-in-one resource you can use at any stage of your journey.
Whether you want to try one project, flip occasionally for extra income, or grow it into something more over time, the Academy meets you where you are. Inside, you’ll find practical tools like worksheets, templates, guides, and real-life examples you can use when you need them. There is no pressure. No overwhelm. No requirement to turn it into a full-time business.
You don’t need experience or a huge following. You just need a starting point and a trusted resource to guide you.
Find all the details (and the new LOW PRICE) for the Furniture Flipping Academy HERE.
PIN THIS POST!
If you liked this textured furniture makeover, you will also love these projects:
Raised Stencil Dresser Makeover With Durham’s® Rock Hard® Putty
I love the way it turned out. I love the Moroccan Stencil.
Thank you! It is so fun!