Your child has art that you want to preserve. This post will show you how to turn your child’s art into home decor that you will love.
I am excited to share this project with you today!
I first did this when a friend of mine asked me to help her with a similar project. It turned out so well and I learned a lot through that process that I wanted to try it again with some of Gabrielle’s art. She is so creative and so talented. She is always coming up with drawings and paintings that I wanted to put all over our house.
This method is a different way to showcase her art in a new way for our home.
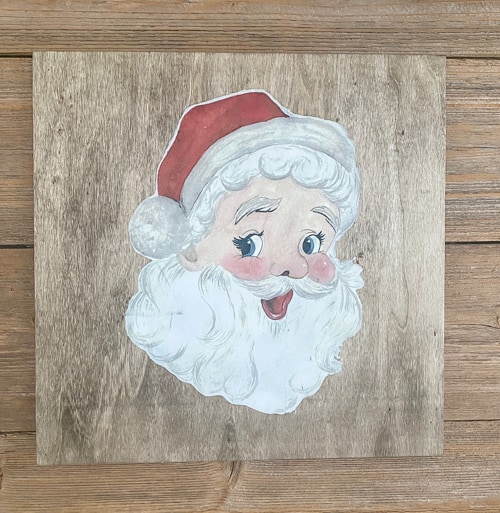
She drawer and colored this Santa because we love the old Santas. Matt and I loved it so much. I knew this was the first one I wanted to try this process on.
{Affiliate links are used in this post. Click on any of the underlined text for more information. You can read my disclosure HERE.}
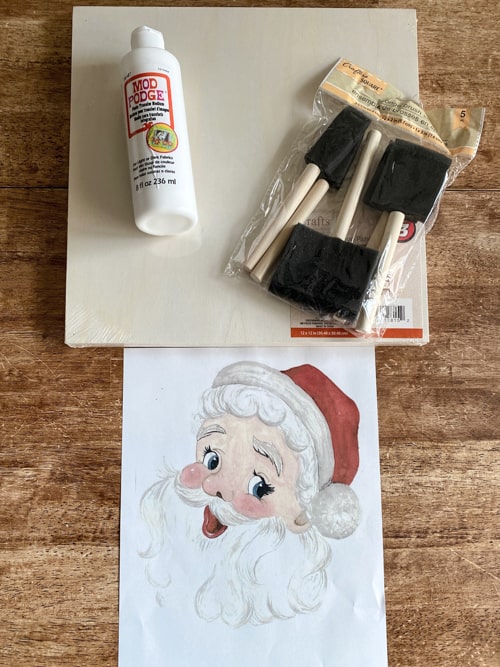
Supplies Needed For This Project:
Photo Transfer Kit (this kit has everything you need to do this project)
Piece of wood (I picked up this piece at Dollar Tree)
Stain or Restor-A-Finish (I have used both on this project and they both worked fine)
Photocopy of the artwork (if there are any words, you will need to make a reverse copy so the words show up the right way in the end)
Rag
Steps For This Project:
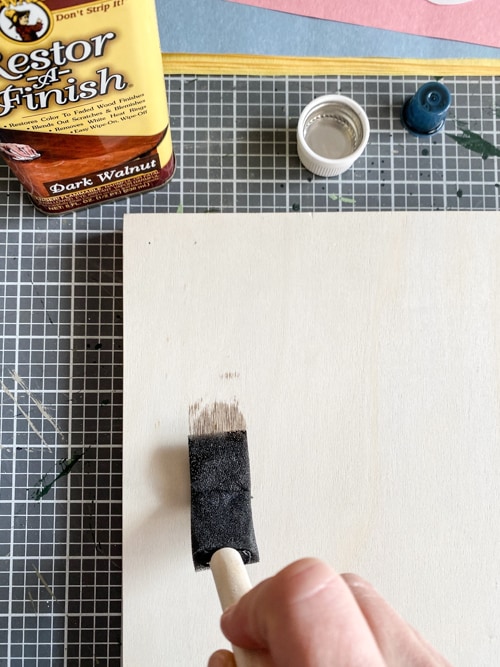
- The first thing you need to do is prep the wood piece. If you are staining it, you want to do that first and give it time to fully dry.
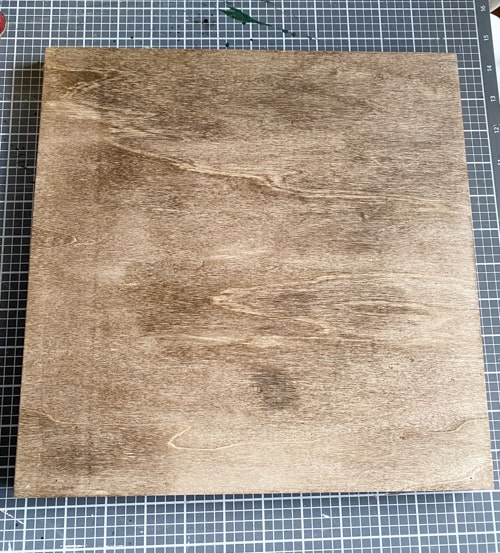
- Once the stain or Restor-A-Finish is dry, you are ready to move on to the next steps.

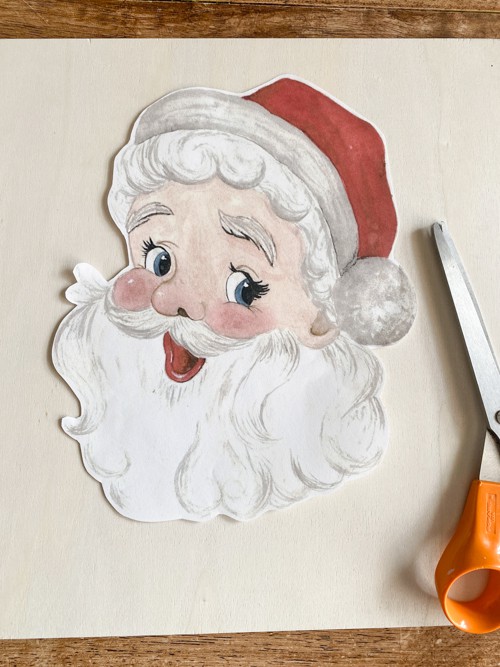
- Photocopy the artwork. I didn’t have to worry about reversing this piece because it didn’t matter which way Santa was. If you have words on the artwork or something needs to go a specific way, you may need to do a reverse (mirror-image) photocopy of the original artwork.
- Next, cut the image out or cut around the artwork so you don’t have a ton of white area around the edges. If the artwork goes all the way to the edge, you can skip this part.
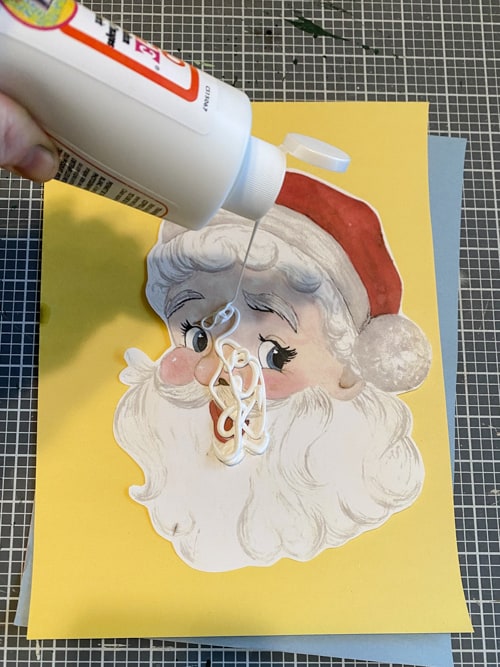
- Next, you are going to apply the photo transfer to the color side of the print.
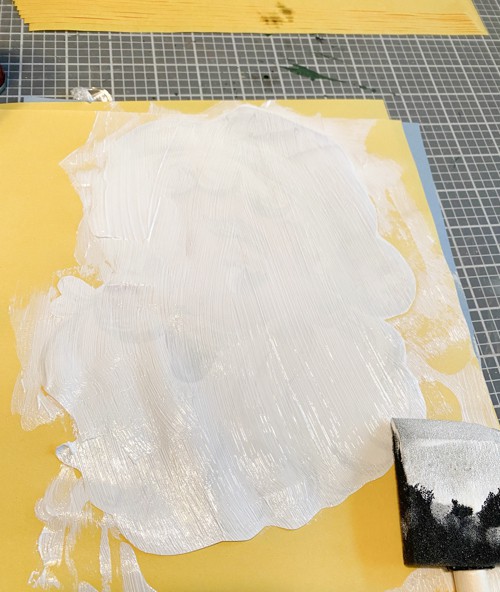
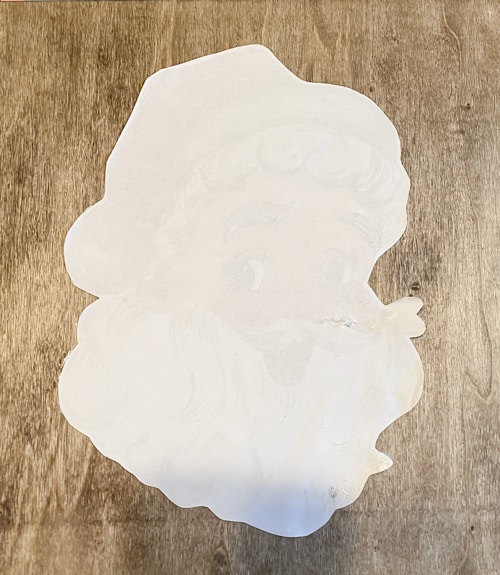
- Spread the photo transfer all over the piece. You want to make sure it has a good, thick layer. You want to put it on thick enough so you can’t really see the artwork underneath.

- The photo below shows you what it should look like after you apply the photo transfer.
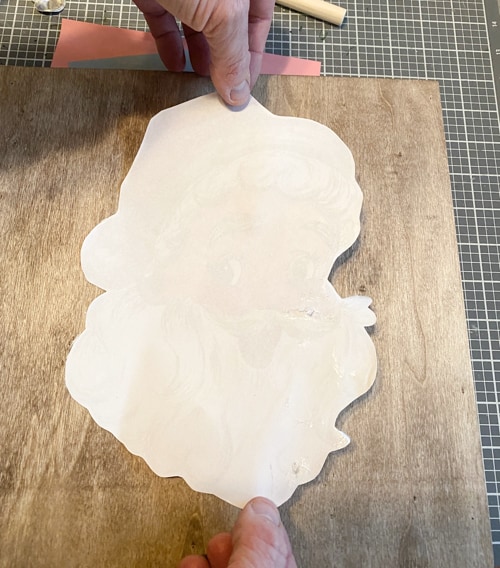
- Next, you are going to flip the covered artwork over and place it where you want it to go on your piece of wood.
- Once you get it on there, use a credit card (or the supplies that come in the kit linked in the supplies above) and go over it all to get out any air bubbles and make sure it is lying flat on the wood.
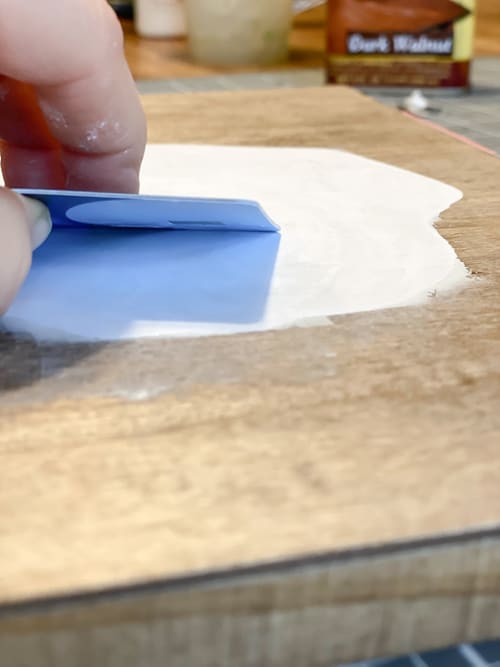
Tip: Get eye level with the table in order to see all the air bubbles.
- I found that if I got down and was at eye level with the table, I could get a better view of where all the air bubbles were.
- Now, you let it sit for 24 hours.
This process is a great way to keep the original art intact and still have the artwork displayed in a fun way!
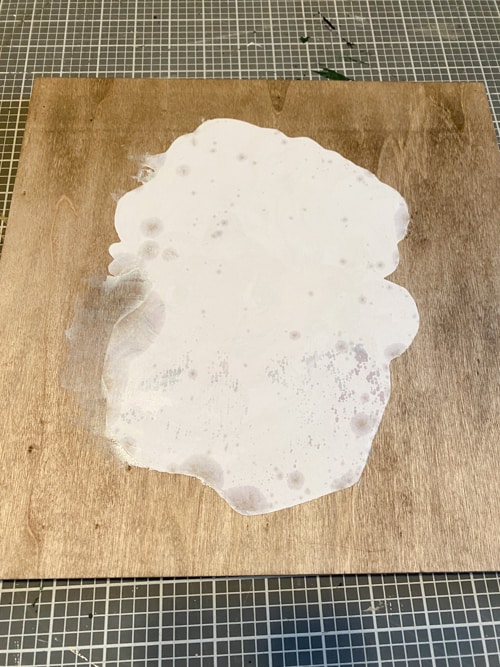
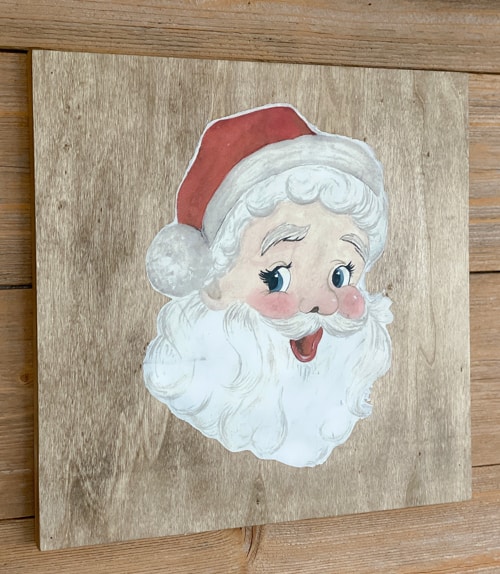
- After 24 hours, this is how mine looked.

- It was upside down as I was working on it. You may see the artwork once you lift the damp towel.
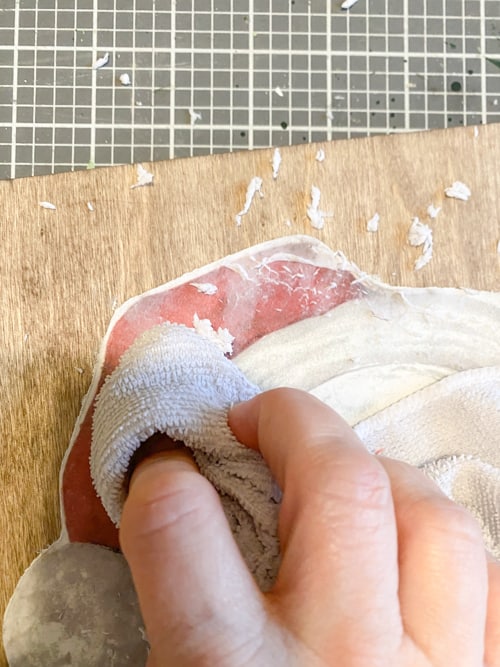
- Next, get a towel damp with water. Then, lay it on the artwork for at least two minutes.
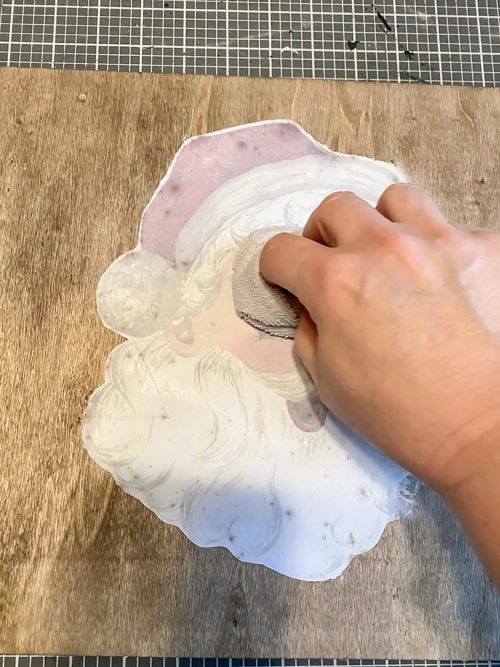
- After the damp towel has sat for two minutes, use it to start rubbing over the artwork. Don’t rub too hard but do apply pressure as you rub. It takes a few seconds, but you will notice it starts to “crumble” away as in the photo shown below.
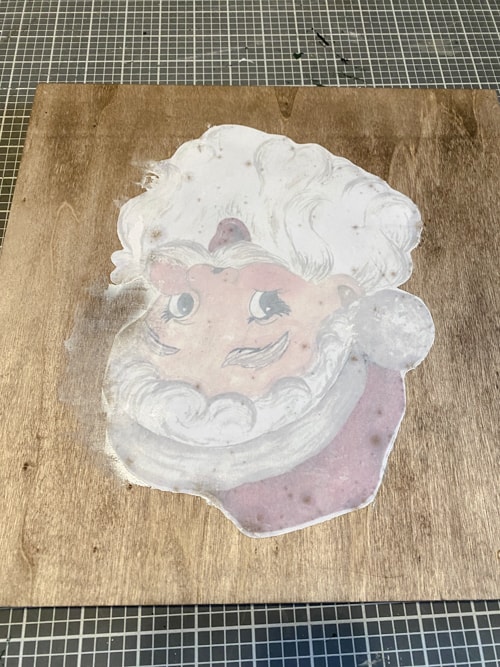
- You will notice that it will stop crumbling and you will be able to see the artwork coming through. Once it stops crumbling and I think I have it all, I let it fully dry.
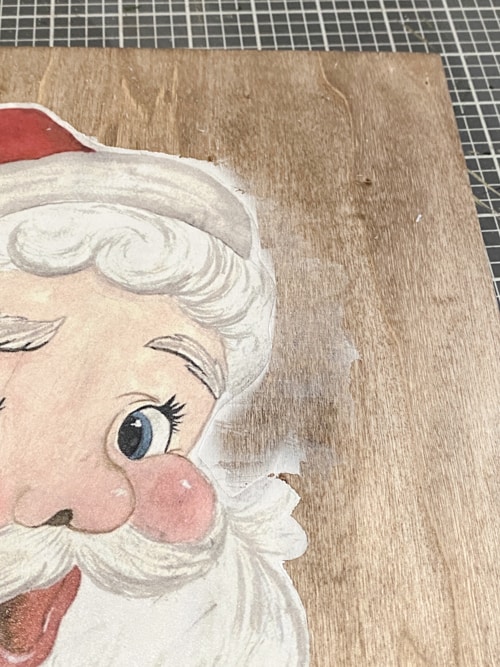
- After it dries, the artwork may look “dull”. That has happened to me every time I have done this, so I just repeat the damp towel step again. That helps get rid of any of the photo transfer that may still be on there. When I did my friend’s piece, I repeated that process four times. You just want to make sure you let it fully dry each time.
- You will see in the photo above, some of the photo transfer came out when I did the credit card part. If you can remove that right away, I suggest doing it then. If not, you will just need to use fine sandpaper to sand it away. Make sure it is fully dry before you sand it.
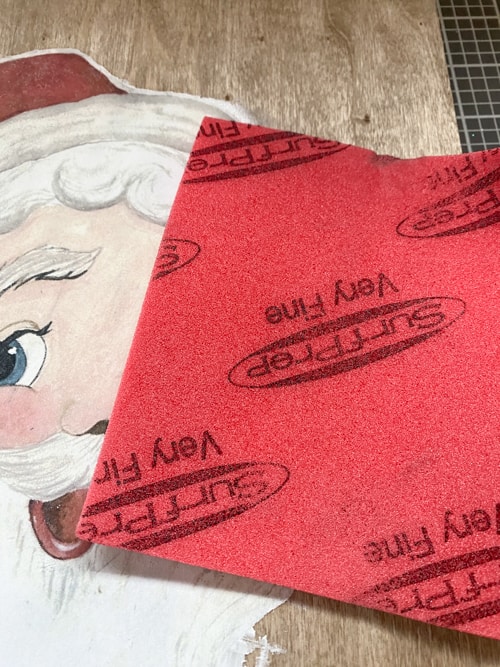
The sanding process helps finish the piece.
- Be careful with the sanding. You don’t want to use anything too harsh. I did rub it over the actual artwork as well. It helped get rid of any residual photo transfer that may be dry on the piece and just smooths it all out. Again, use a light hand. The artwork for my friend was a piece where I could “distress” the edges. I did that with the sandpaper and it looked great. This Santa wasn’t something I wanted to do that on so I had to be extra careful with the sanding and the damp rubbing.
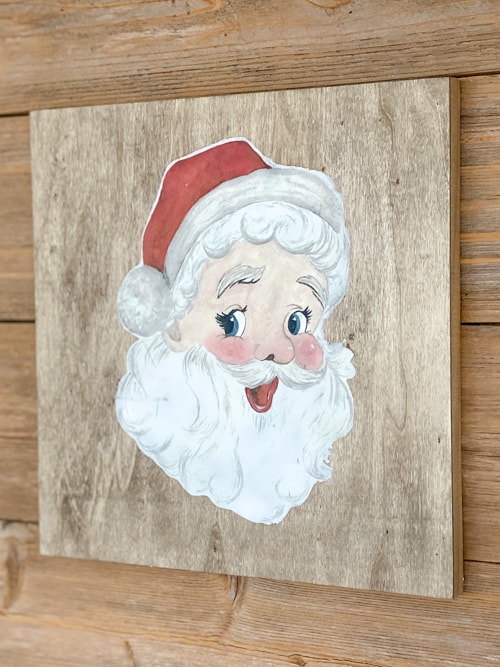
I love how this turned out! I made three copies and got three boards to do more of these. This Santa drawing was so good and I have some family members who want one.
These would make great gifts for grandparents too! You can keep the original artwork and the recipient still gets the original in a new way.
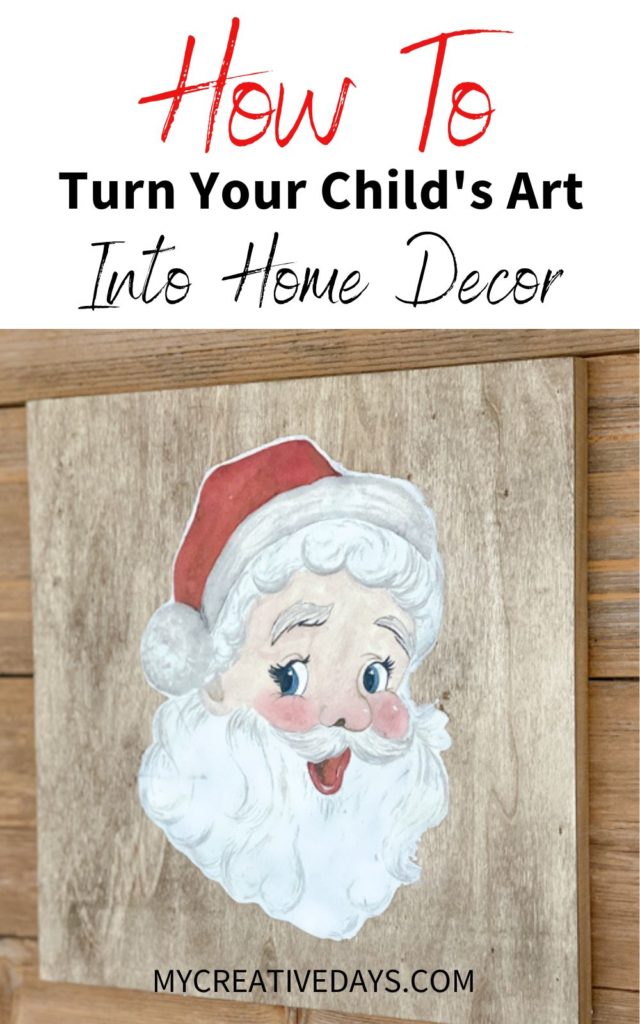
Sometimes, we are inundated with artwork from the kids, but there are always those special masterpieces that you wish to preserve in a new way. This is How To Turn Your Child’s Art Into Home Decor that you will want to display!
Try it! It is easy and you come away with original artwork to put in your home.
I did a full video of this process on my YouTube channel as well. Head HERE to watch it and hit the subscribe button when you are there!
PIN THIS POST!
If you liked “How To Turn Your Child’s Art Into Home Decor”, you will also love these projects:
5 Cheap and Easy DIY Projects For Your Home
DIY Pedestal Tray (With Unique Legs)
DIY Sentimental Wall Hanging/Ornament