Pedestal trays are great to use all around the house. This DIY Pedestal Tray is so easy to make and uses something unexpected for the legs!
I love making functional pieces for the home. You can DIY so much of what you see online and in stores. A pedestal tray is so good for so many things and I found a way to make them in under 30 minutes (not including dry time for paint or stain) and not having to buy expensive legs to make them.
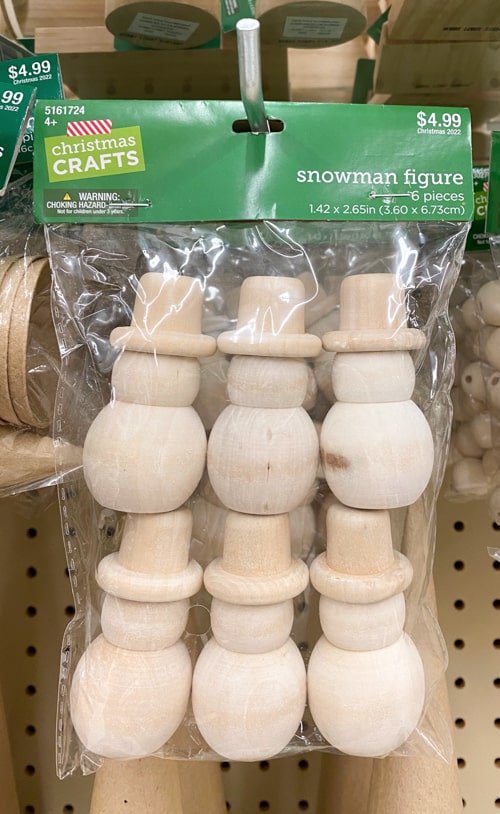
RUN to your local craft store and pick up wood snowmen in the craft section right now. Get them while you can. I linked a source for them in the supply list in this post too.
Craft wood snowmen make the perfect legs for small projects like this! They are inexpensive and no one will ever know they are snowmen!
Let’s get to this easy project!
{Affiliate links are used in this post. You can read my disclosure HERE.}
Supplies Used In This DIY Pedestal Tray
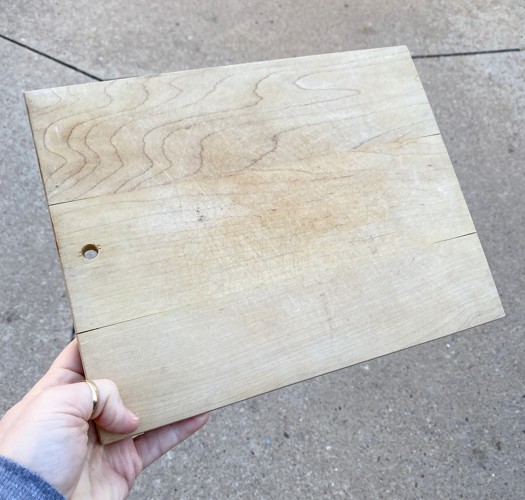
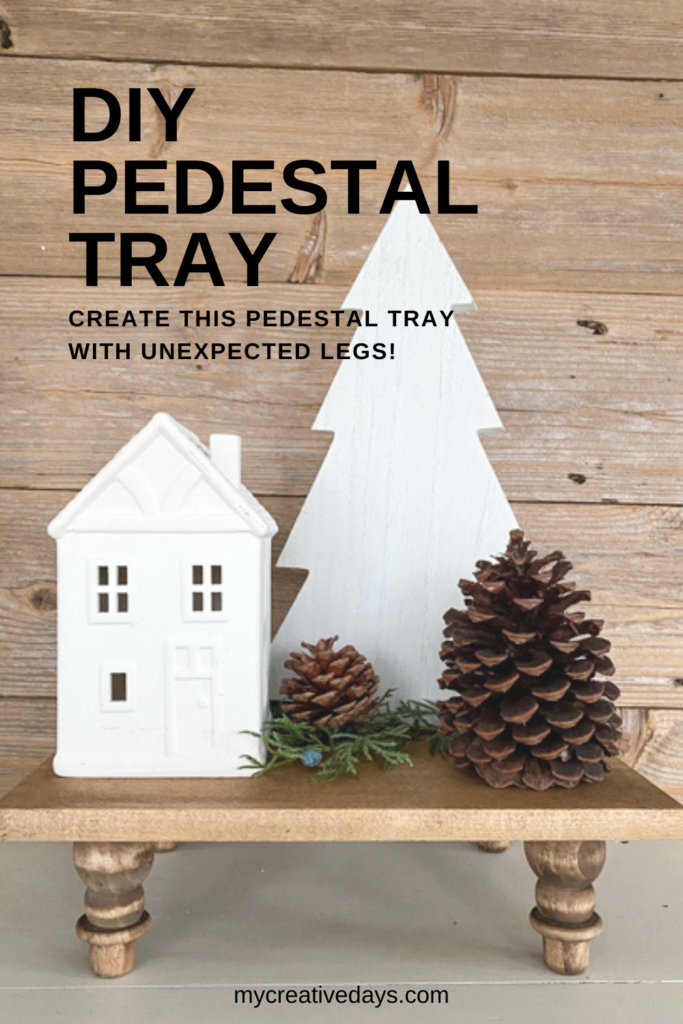
Small Wood Cutting Board (found mine at a thrift store)
Notes about the supplies:
- Use any board you have on hand. This is a great project to use up those scrap wood pieces I am always telling you to save.
- The snowmen will differ in size and shape depending on where you get them.
- You can paint, stain, or leave your pedestal natural wood.
- DO NOT skip the wood glue step. It will hold your snowman legs in place as you nail down from the top.
- You could do this with a round board as well! So many possibilities!
Steps For Creating This Tray Pedestal
- I found a small cutting board at a thrift store that I knew would be perfect for this project. You can use whatever board you have on hand.
- I had to give the cutting board a really good sanding. Even if you use a new board, give it a good sanding before you sand or paint.
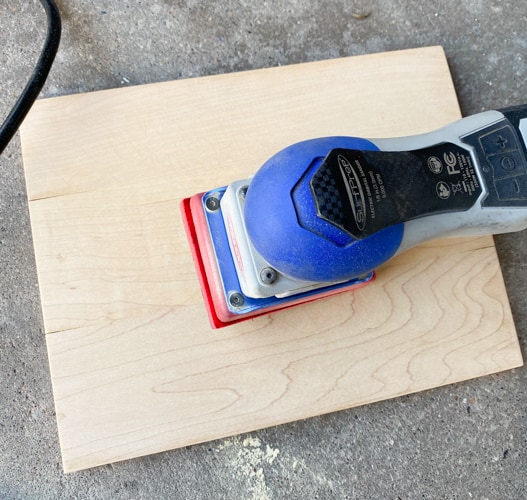
- Once the sanding is done, wipe the board off with a damp cloth to get rid of any sanding dust.
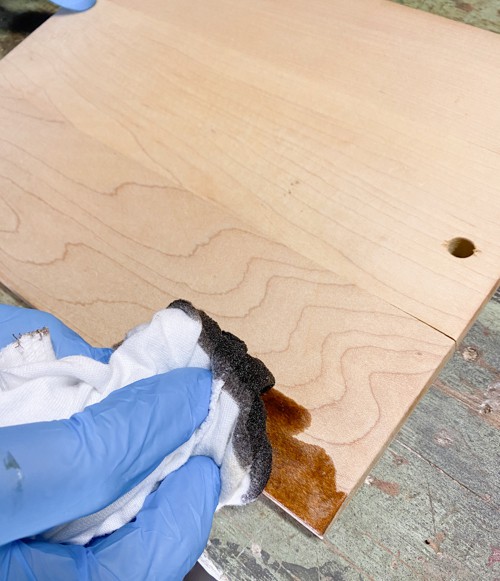
- Now, it is time to paint or stain your board.
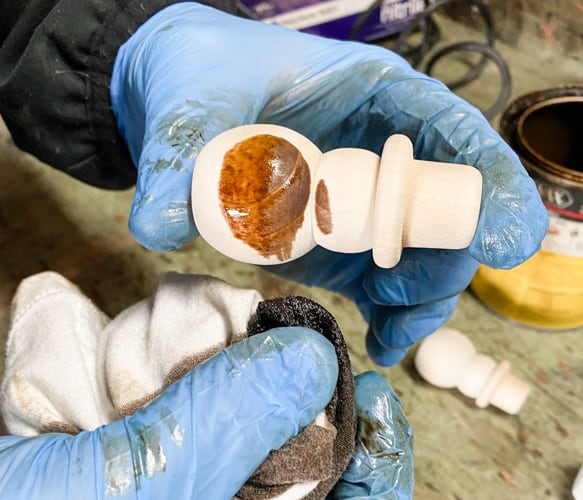
- Stain or paint four of the snowmen as well.
- Once the stain has dried, it is time to put the pedestal tray together.
Sorry for the lighting in the process photos below. It got dark outside so we brought the project into the kitchen to finish it with the overhead light above the peninsula. The color doesn’t look the same in this lighting.

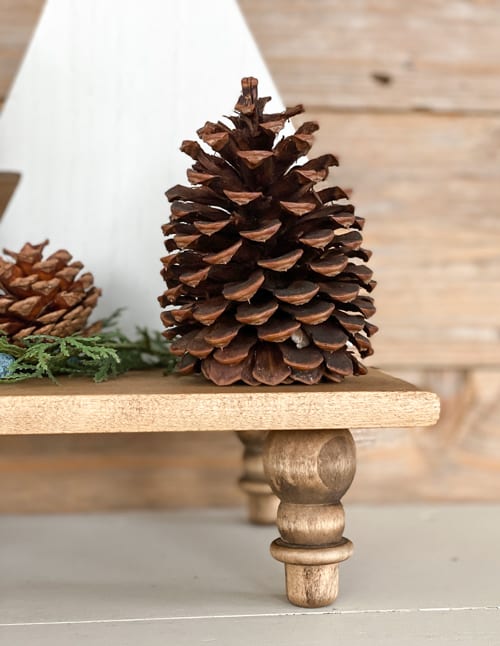
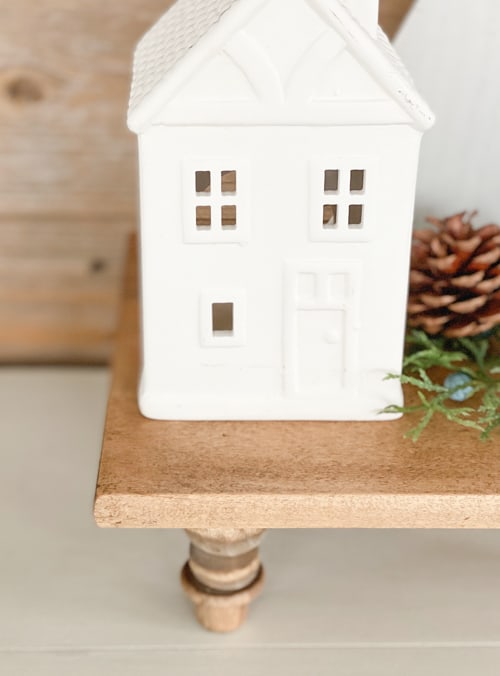
- Measure where you want the legs (wood snowmen) to go.
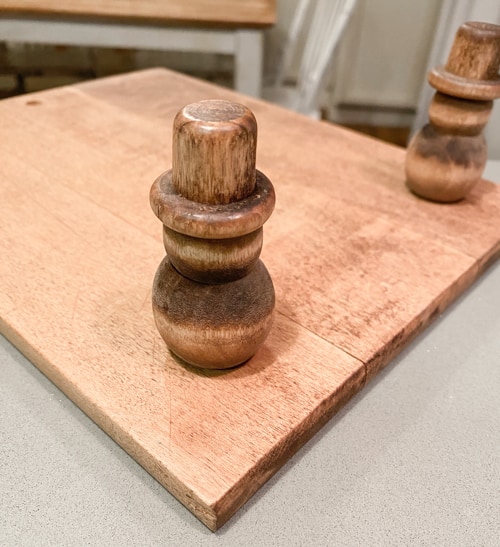
- You can put the snowman any way you like. I liked the base of the snowman against the board and the hat (smaller part) as the “feet”. I liked the way the legs looked that way. You will find wood snowmen in different shapes and sizes so just try it both ways and see which one you like better.
- Once you have the legs where you like them, use a little wood glue to set them in place.
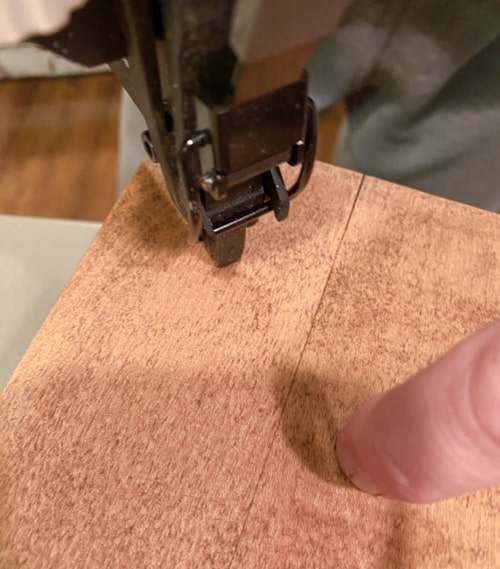
- Let the wood glue dry fully. Then, flip the tray over and use a nail gun to put a small nail from the top down into the leg. Make sure it is a smaller nail. You don’t notice the nail holes but I did go in and add a little more stain where the nail went in just to cover up any raw wood that was exposed after the nail went in.
That is the easiest way to create a DIY Pedestal Tray!
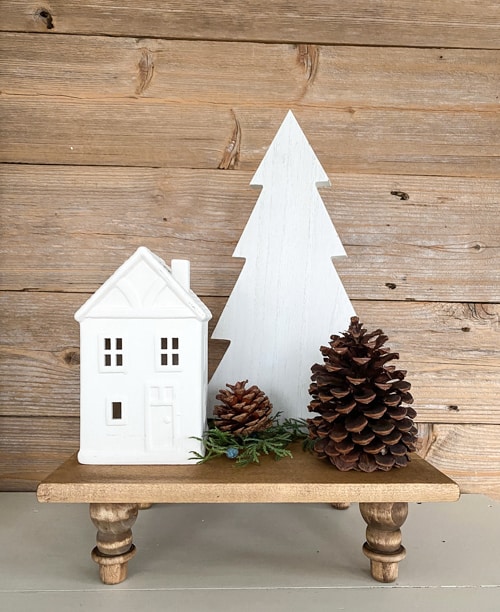
You now have the cutest DIY pedestal tray with unexpected legs!
You can believe I grabbed many bags of these snowmen for future projects. I am always looking for legs for little projects like these but they can be expensive.
The snowmen are inexpensive and look just like a leg!
No one would know any different unless you tell them.
What do you think of this project? Is it something you would try?
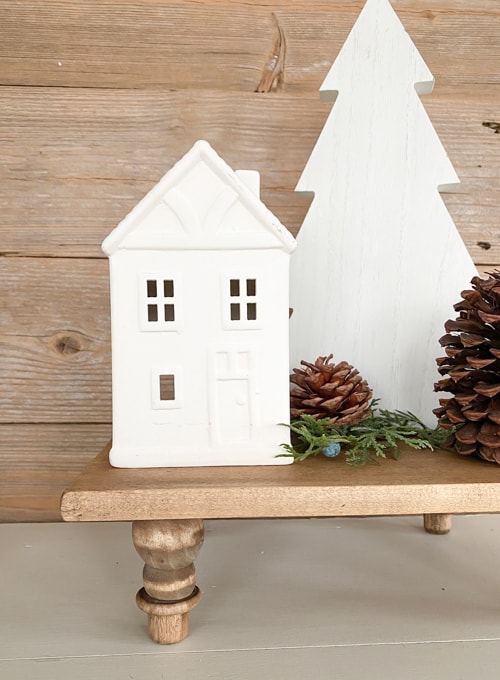
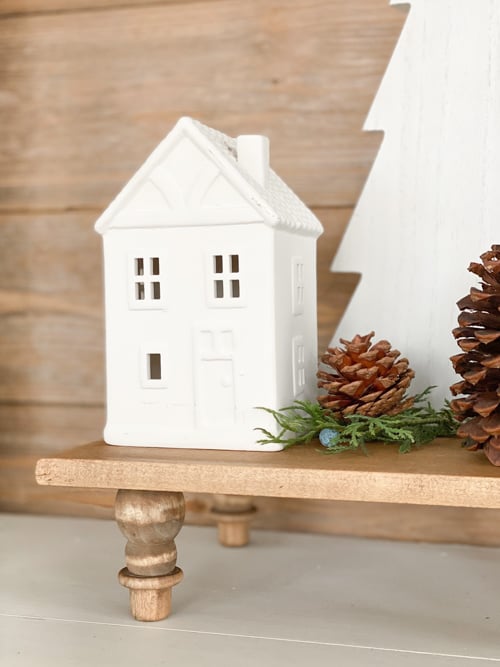
Pedestal trays can be used all over the house for different things.
- Next to the kitchen sink with dish soap and sponges on top.
- Part of a buffet table or grazing table to lift up a dish or dip.
- Part of decor.
- On a dresser as a catch-all for change and keys.
- In the bathroom to hold soaps and lotions.
- On the nightstand to add another level of storage. Put the book you are reading underneath and the clock on top.
- On a desk for the computer monitor.
- There are so many uses for these stands.
I would love to know if you make one of these! Post a photo on Instagram and tag me @mycreativedays so I am sure to see it!
Also, I am posting new project ideas and DIYs on my YouTube channel every week! Make sure to subscribe HERE to see what I am sharing this week!
PIN THIS POST!
If you liked this project, you will also like these easy projects:
DIY Display Shelf Made From Barn Find
How To Make A Faux Mantel Tutorial
Upside down snowmen for feet! Who knew? (Now on the lookout for wooden snowmen!)
Yes! Now you can pick them up after the holidays when they are on clearance!