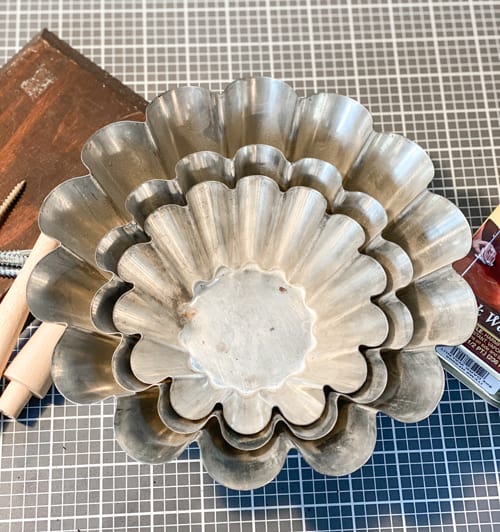
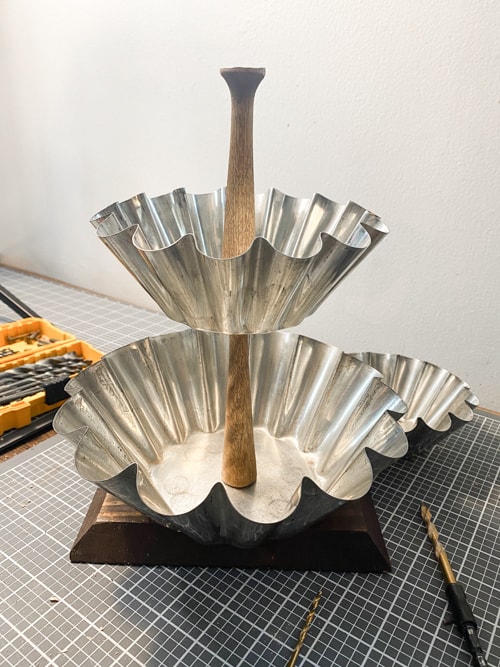
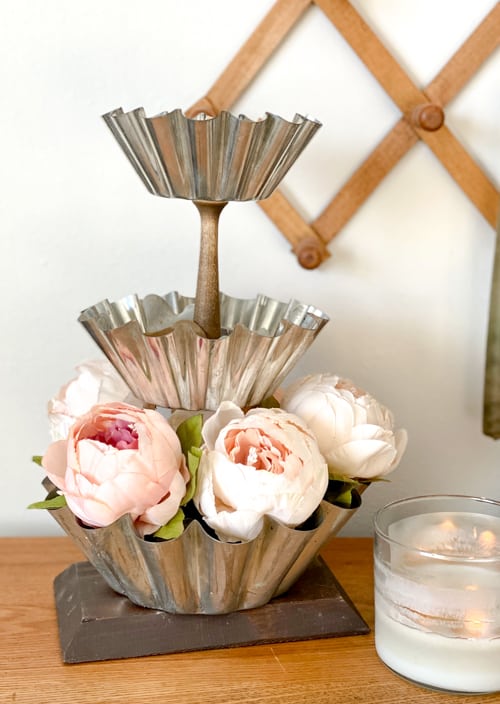
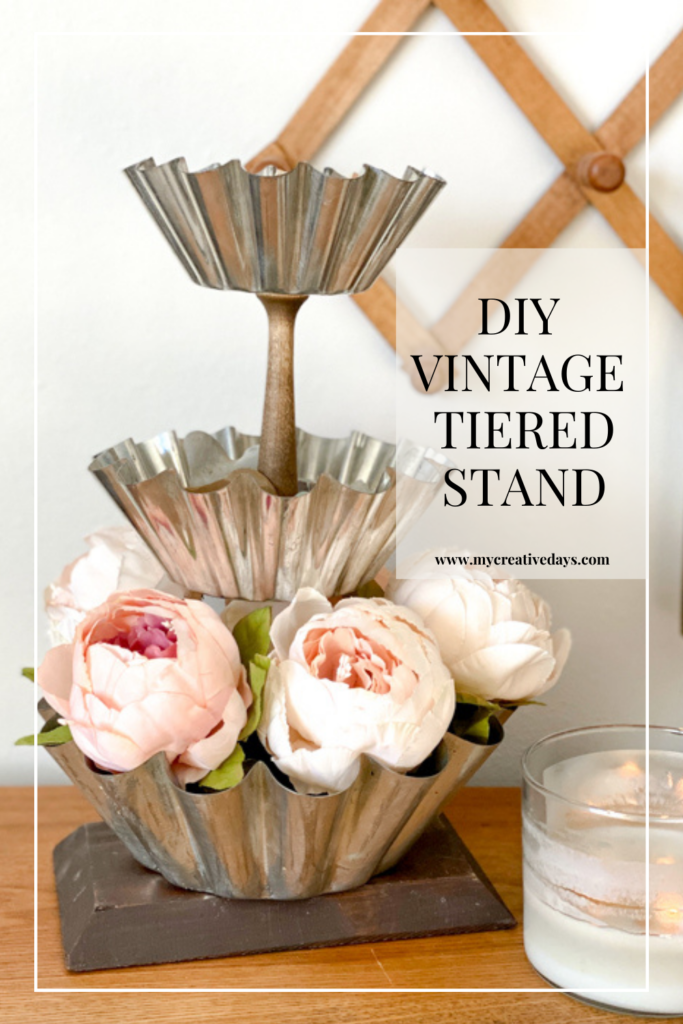
This DIY vintage tiered stand is a great way to repurpose vintage cake molds. I have seen the molds called all different things. The smaller version is called a tart mold. I was so excited to find this set of three at a thrift store. There were three different sizes so they were perfect for this project. The scalloped edges are so fun and the patina on the tin just adds that touch of vintage flair that makes them extra special.
To create a tiered stand, it is easiest to have different-sized items like this set of molds. We have made many tiered stands over the years. You can see the upcycled tiered stand I made from shallow tart pans HERE. I used wood bowls to make the tiered stand HERE. We also made one from scrap wood we had in the garage. You can see that one HERE.
I wouldn’t use the tin molds as they were intended, but as I said above, the scalloped sides and vintage patina were so good that I wanted to create something that I would use in our home.
{Affiliate links are used in this post. Click on any of the underlined links to find the products I am talking about. You can read my disclosure HERE.}
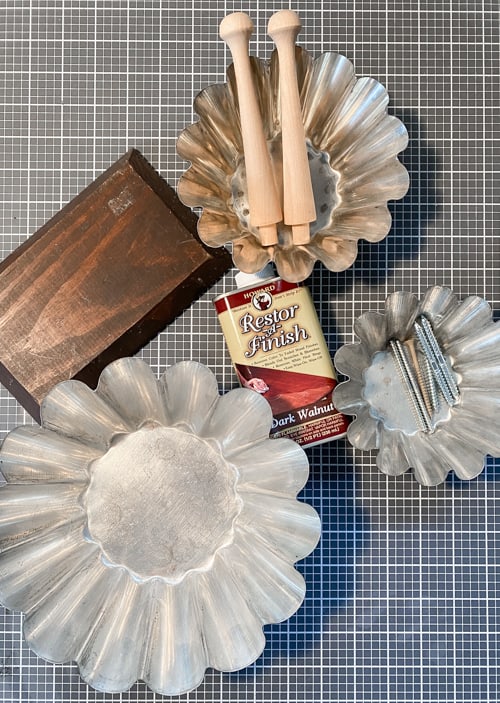
Supplies Used To Create This DIY Vintage Tiered Stand
Wood Piece For Base (I am always picking up scraps and keeping scraps from past projects. Check your garage for this piece.)
3 Vintage Tin Cake Molds
One Washer & Two Screws For Top and Bottom Tier
Pegs (We used 6″ pegs. We had these on hand. You could use dowels or other wood pieces between the molds.)
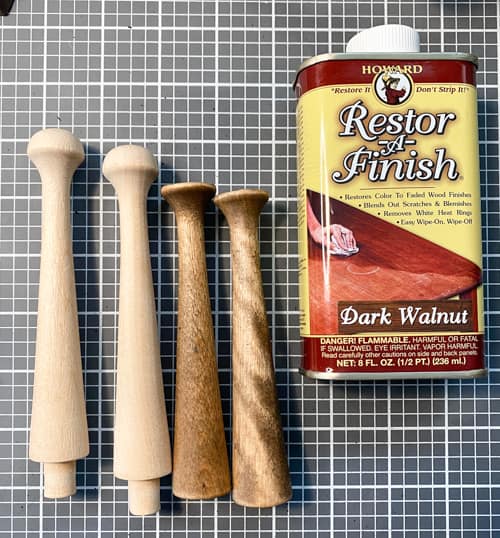
Restor-A-Finish (I used the Dark Walnut color)
Easy Steps To Create The Tiered Stand
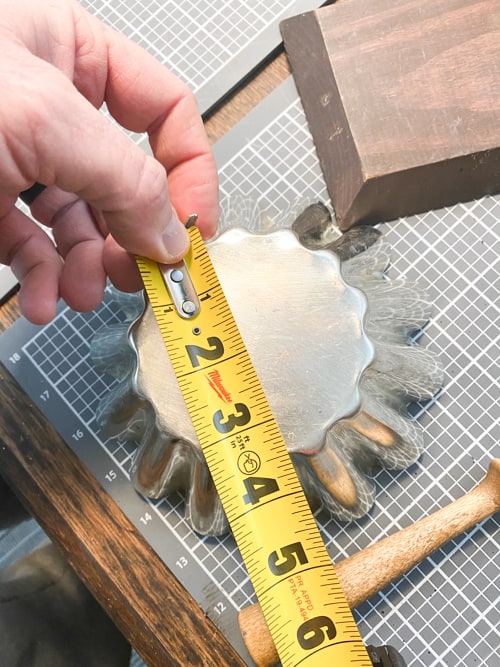
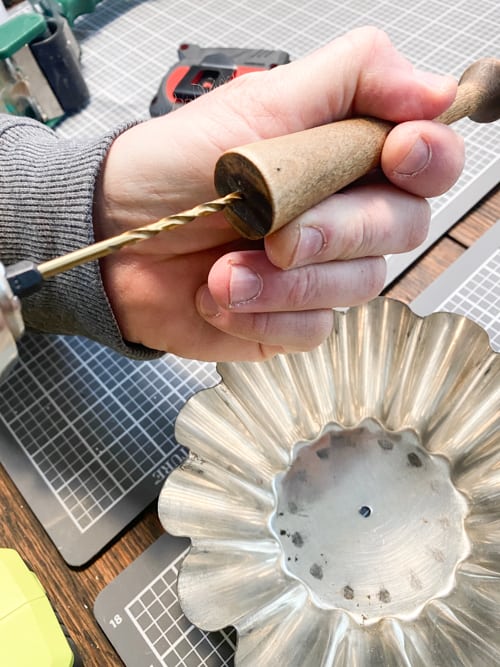
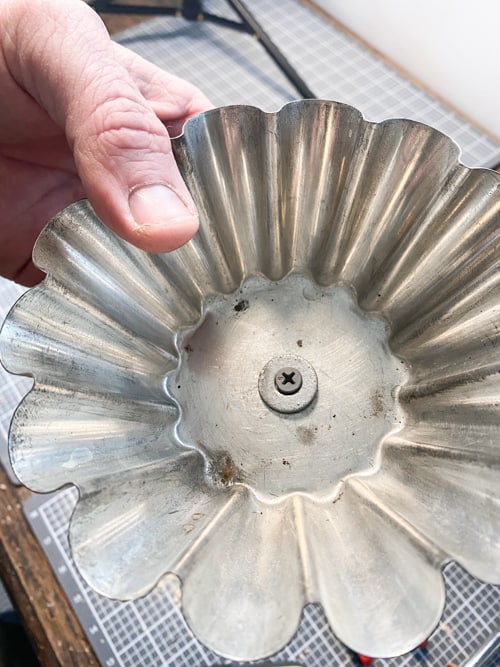
Measure the bottom of each mold to find the center.
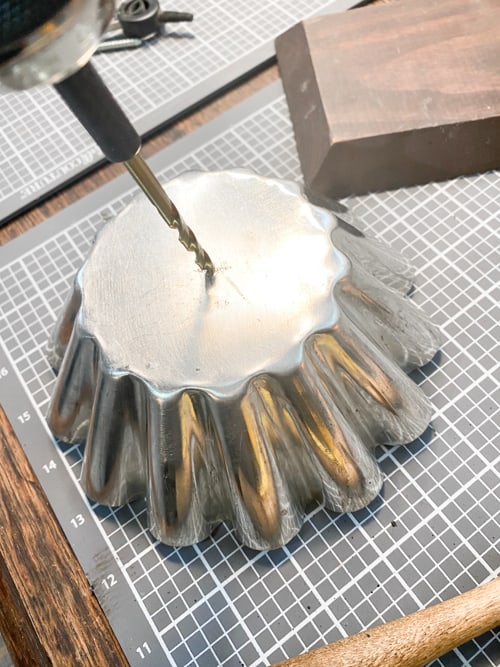
Drill a hole in the center.
Find the center of the wood base. Drill a hole through the center.
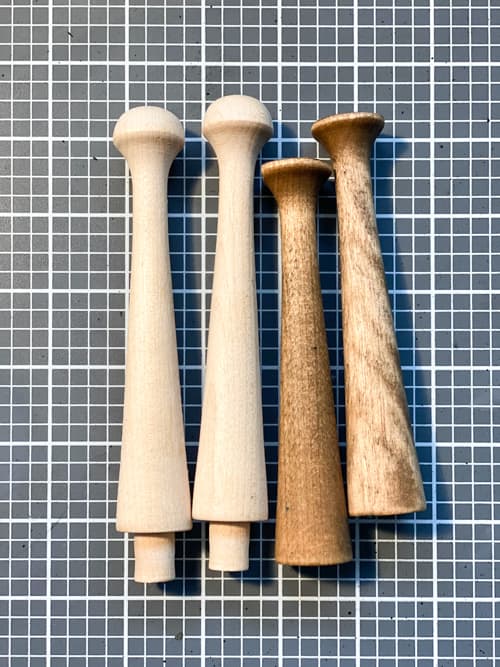
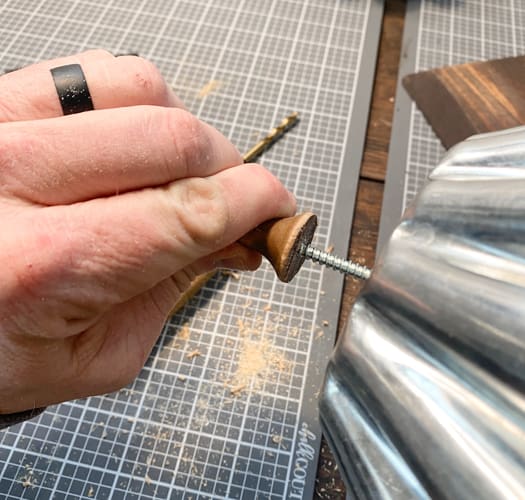
We had wood pegs on hand so we used those in between the mold pans. You could use wood dowels or other wood pieces you have on hand.
As you can see in the photo above, we cut the bottom and tops of the pegs to make them work. I used Restor-A-Finish to darken the pegs.
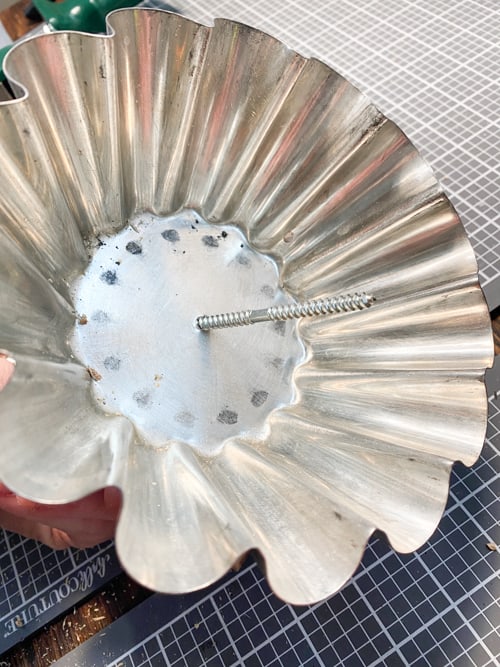
Next, find the center of the wood pegs (or whatever you are using between the tiers). Drill a hole in the center of each peg.
The peg underneath the middle section and above the middle section will need a dowel screw.

***TIP*** To measure the hole you will need to make, line up the dowel screw you are using with your drill bits to get the right size.
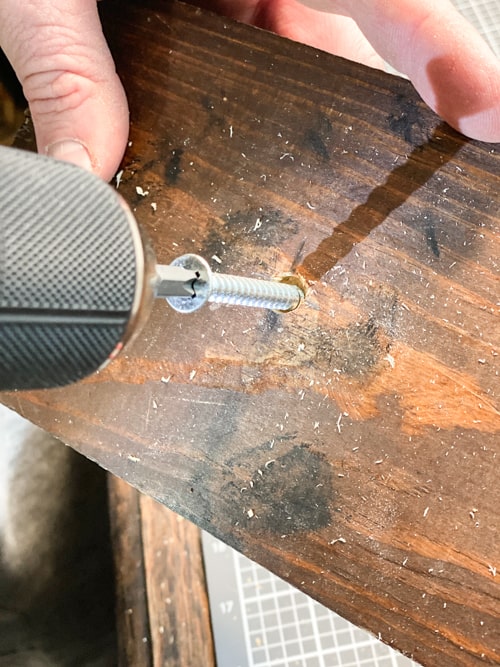
A regular screw is needed to come up through the base to attach the bottom peg and mold to the base.
Once the screw comes up through the base, thread the hole in the bigger mold onto that screw. Then, thread the bottom peg (with the hole already drilled) onto that screw coming through the mold.
Next, you will add a dowel screw inside the top of the bottom peg and then thread the middle-sized mold on next. You will have another dowel screw
Thread the screw into the wood peg and then thread the other pan on the screw. Then, thread the other wood peg into the other side of the screw.
Once you have the two bottom molds in place, it is time to attach the top tier.
You will use another regular screw and a washer to attach to the peg underneath.
You are done!!
It is really a simple, straightforward process. Once you do one, you will start finding all kinds of things you can make into a tiered stand.
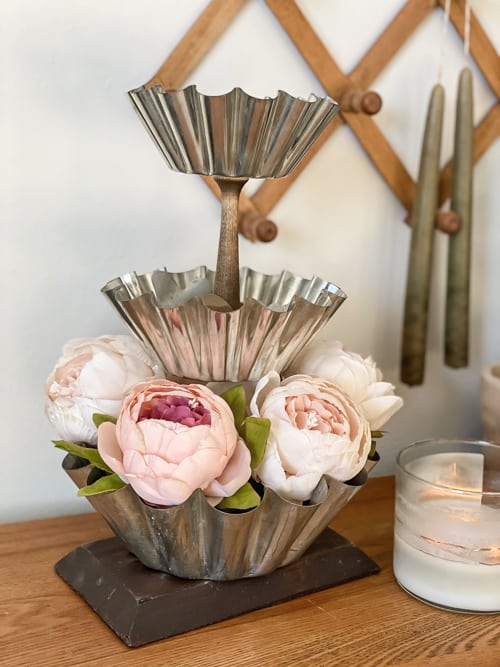
You could paint the wood base if you like. I liked the mix of the wood against the tin molds so I left it as it was.
These tiered stands can be used for so many things. I took some photos of some different options.
You can use them as decor.
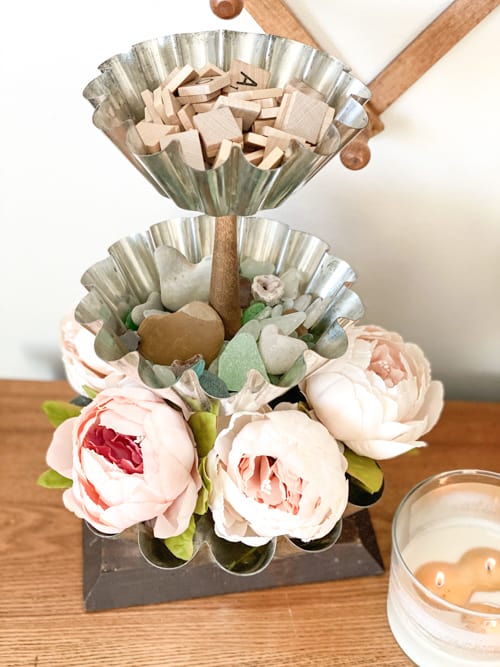
They can hold mementos from vacations.
You can use them to hold Scrabble tiles. (If you follow me on Instagram, you know my obsession with those).
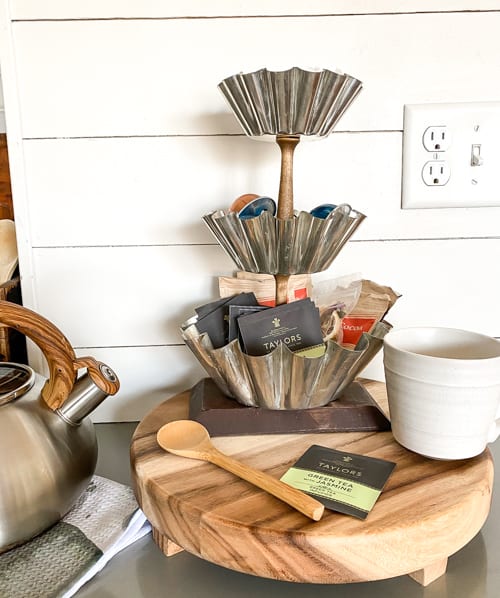
You can use them to hold beverage station supplies. This stand was a great size for holding hot cocoa, tea, and coffee pods.
Here are some other ways to use a tiered stand:
- Fill with craft supplies.
- Fill with candy.
- Use it to hold items when entertaining.
- Put pieces to an activity for the kids and set on the table.
- It can hold trinkets.
- It’s perfect to hold jewelry on a dresser.
- It would be pretty holding travel-size products in a guest bedroom.
- It would be pretty in a bathroom to hold cotton balls, wrapped soaps, bath bombs, etc.
- Fill it with cookies and/or snacks.
- Use it on a desk to hold office supplies like paper clips, pens, etc.
- Fill it with succulents.
- Use it to hold Legos to make it easy for the kids to create.
I could go on and on but you get the point. Tiered trays are great for so many things.
How would you use this piece in your home?
PIN THIS POST!
If you liked this DIY Vintage Tiered Stand, you will also love these projects:
How To Build A Bench From An Old Door
How To Make A Wood Letter Board For Free