How To Prep Walls For Paint. Following these steps will ensure the best outcome for your painted walls with the least amount of time spent doing it.
We are working on our 5th flip house and our duplex at the same time. We have never had multiple house projects going on at the same time, but we are up for the challenge. One thing that both projects need is a lot of paint. A fresh coat of paint can make the biggest difference without costing a ton of money. Matt and I have learned so much throughout the years of painting our homes and the flip projects. I thought it would be helpful to share how to prep walls for paint and the tips and tricks we have learned that save us so much time and money when we are painting walls.
Taking the time to prep the walls before you paint will make the process go a lot faster and the end result will be flawless.
How To Prep Walls For Paint
-
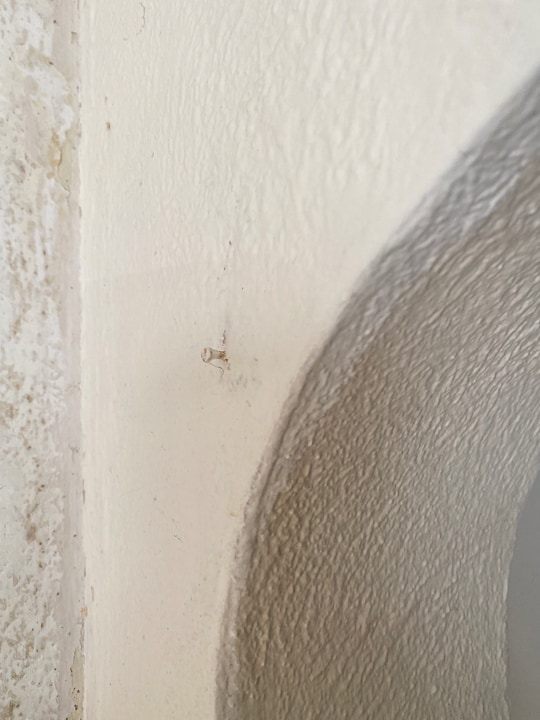
Remove All Nails/Screws
Make sure that all nails and/or screws are removed from the wall. If there are drywall anchors in the wall, you can remove those or hammer them in.
2. Dust The Wall
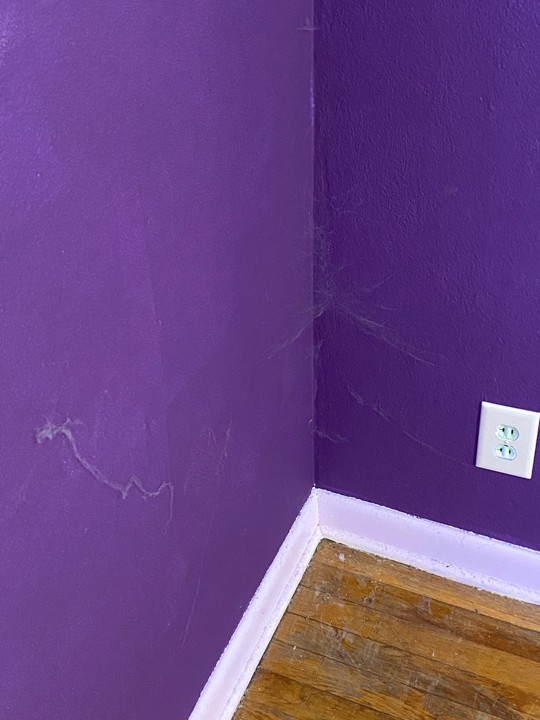
Dust the walls. You don’t want to drag any dust into the paint. It will ruin the entire process.
3. Clean The Walls
After dusting, clean the walls. Sometimes, when you cover up dirt and grime with paint, it will show through in the end. It is best to take the time to clean the walls after you dust them and before you paint.
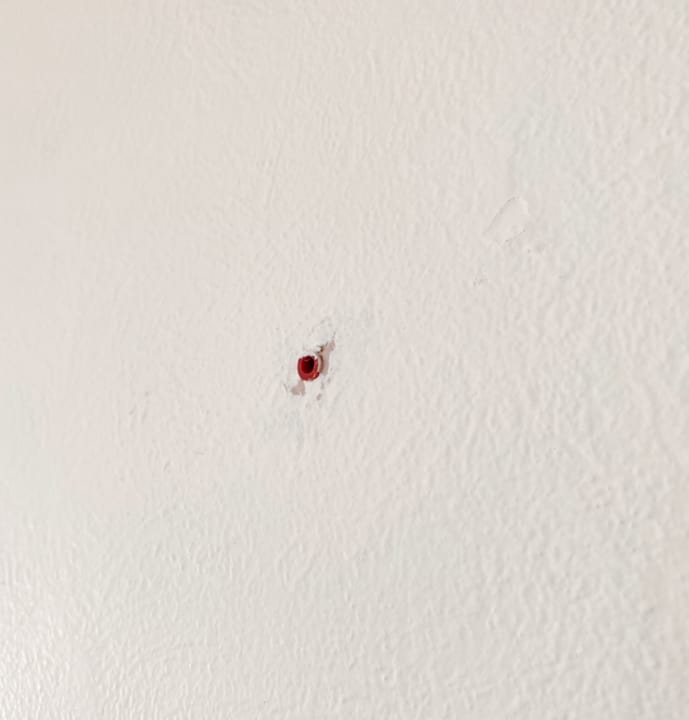
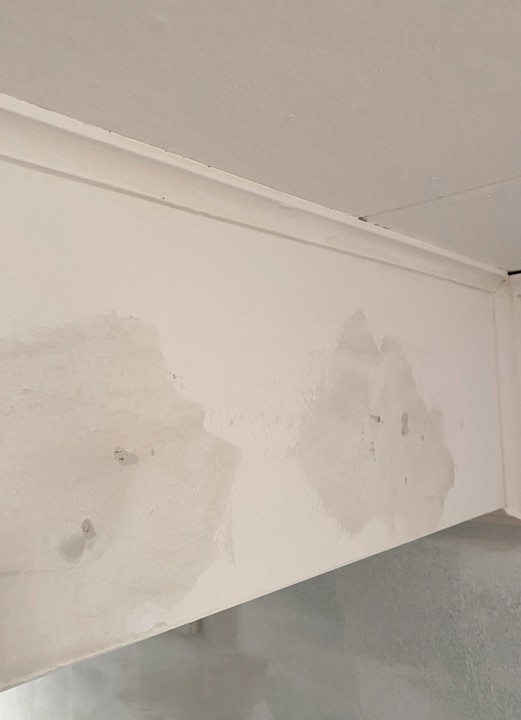
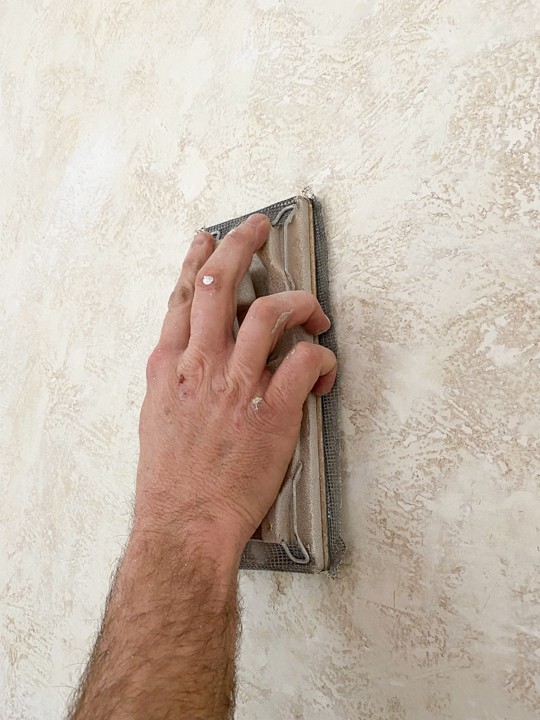
4. Fill Holes
Use drywall mud to patch any holes in the wall. That includes the holes left over from the nails and screws you pulled out. Once the mud dries, sand it so it is flush with the wall.
{Affiliate links are used in this post. You can read my disclosure HERE. Click on the underlined links to learn more about a product listed.}
5. Remove All Light Switch And Outlet Covers
This is important! Remove them so you don’t have to trim around them when you are painting. This step alone will save a lot of time.
6. Caulk
Walk around the entire room and caulk anything that needs it. Are there areas around the trim and windows that you could caulk to get a more “finished” look? It is amazing how good it looks if you caulk these areas before you paint.
7. Invest In The Right Tools:
If I have said it once, I have said it a million times. Invest in the right tools!!! Matt and I learned this the hard way. We wasted so much time and money buying the cheap paint tools to get the job done. It took us twice as long and since the tools weren’t great quality, we ended up spending more money replacing them halfway through the project. I swear by the Zibra Paint brushes. They are our favorite brushes. We like these full-sized rollers to roll the walls and these 4″ rollers and 2″ rollers for smaller areas.
8. Tape:
I don’t use painter’s tape when I paint, but I know a lot of people like to. Matt does use it around ceiling fans when he paints the ceilings and he also uses it religiously when he is caulking (might have to do a different post about that). If you use painter’s tape, make sure you get everything taped BEFORE you open a can of paint! Don’t get any paint out until everything is taped. It is not fun when you are in the middle of rolling or trimming and you have to stop to get something taped. Take the time to get everything taped before any paint comes out.
8. Prime:
Depending on the walls, you may need to prime the walls before you paint them. If you are covering a dark-colored wall with a lighter paint color, you should prime it first. If you have filled in holes and sanded them, you will also need to prime. It is an extra step, but it will look so much better in the end.
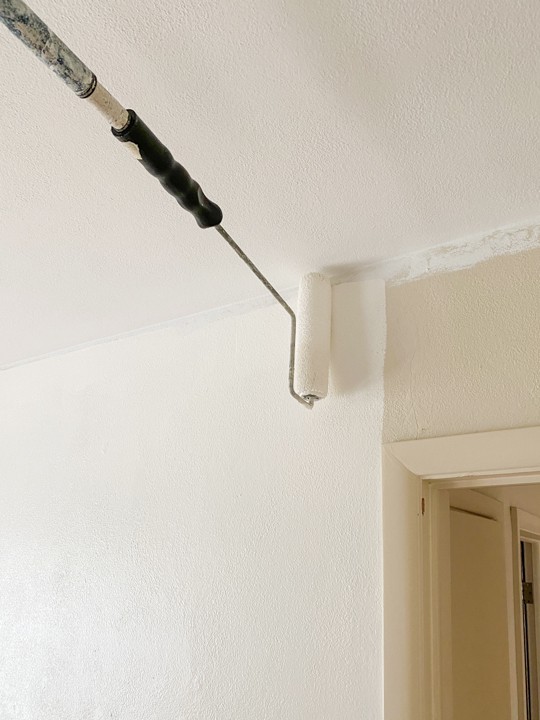
9. Paint Ceilings First:
We have found that painting the ceilings first makes the process run smoother. It is a lot easier to trim the walls than the ceiling. So, that means that when you paint the ceilings first, you can get the ceiling paint on the walls because you haven’t painted the walls yet. Matt will use one of the smaller rollers around the edge of the ceiling so we don’t have any ceiling trim to do. I only have to trim the walls after we roll them if we do it in this order.
10. Roll Walls First, Trim Second:
Again, Matt and I have learned the best system that works for us with all of the painting we have done over the years. The easiest way for us to get the job done is for Matt to roll the walls first and then I will come in when it is dry and trimmed. Matt uses the regular-sized roller on the walls and then will sometimes take a smaller, foam roller and get even closer to the trim areas. This way, the amount of trim work to do is minimal.
I hope these 10 tips on how to prep walls for paint were helpful. When Matt and I moved into our first home and started making it our own, paint was the first thing we did. It is the least expensive way to make a huge impact in any space. If you want to change up a space in your home, but don’t know where to start, paint the walls. BUT, make sure to follow these tips to get the best outcome in the end.
Who’s ready to paint?!
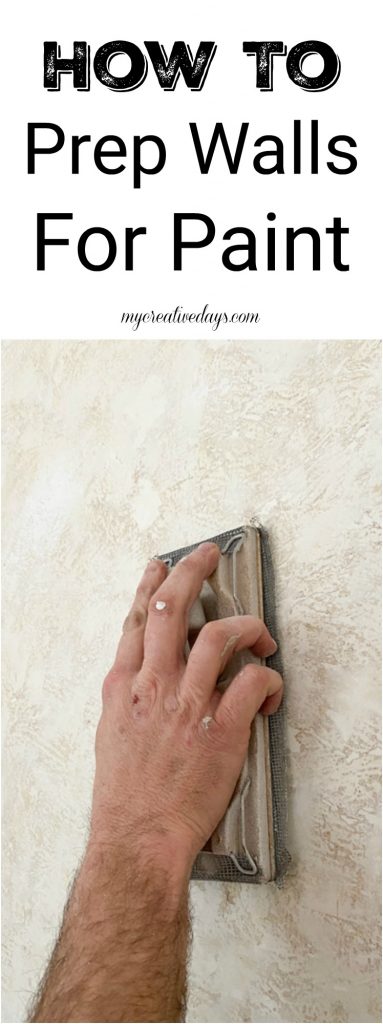
PIN THIS POST!
If you liked this post, you will love these tips:
How To Remove Tack Strips Without Damaging Floors Underneath
Paint A Bathtub Easily & Inexpensively!