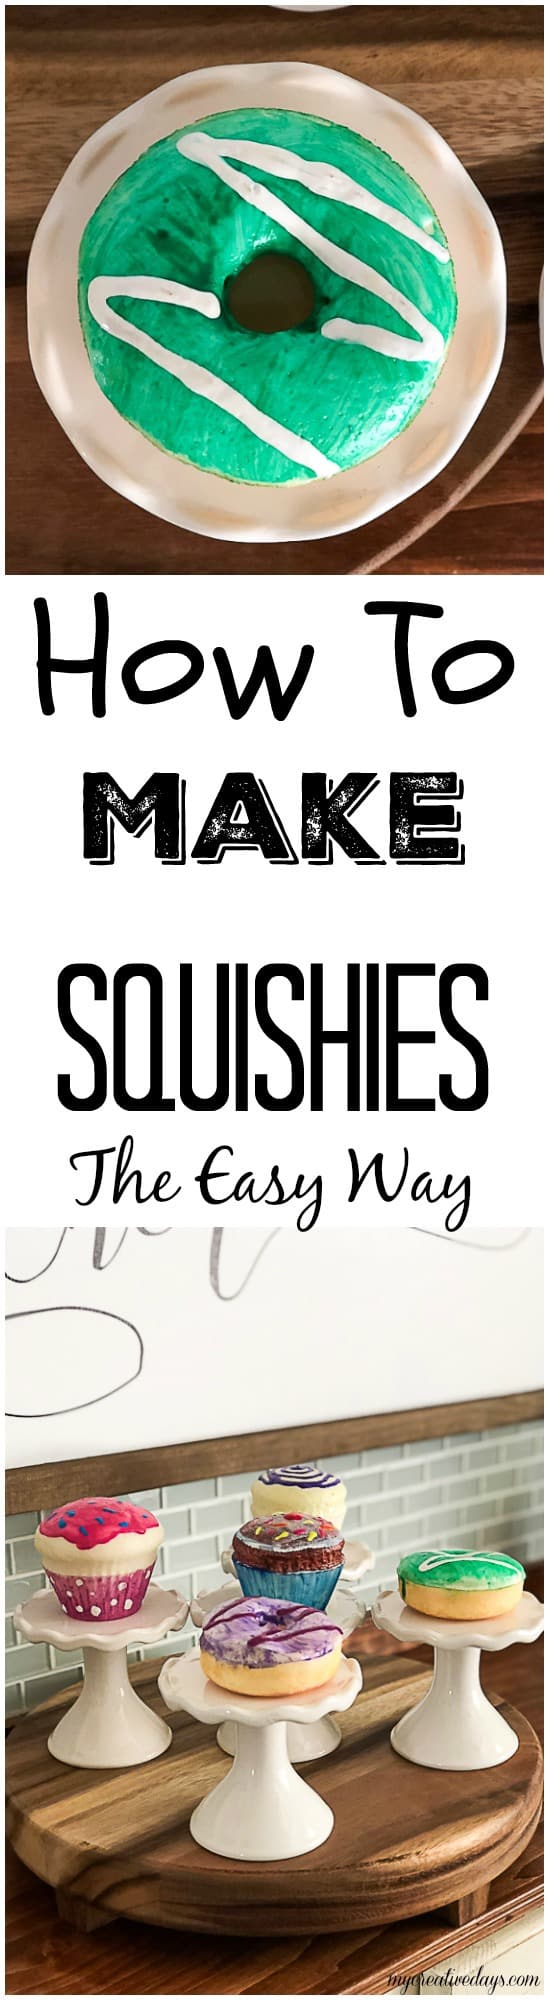
If you have a child or grandchild that has jumped on the squishie bandwagon, you will appreciate this post more than you know. I found out how to make squishies and shared it with Gabrielle and she has not looked back since. She has been making squishies every week ever since. I love how creative of a project it is, but there is also a lot of science going on too. It is a win-win and we are going to show you all about it!
I knew I wanted to share this post, but I didn’t set it all up to have staged photos. I wanted to catch Gabrielle when she was making them and when she said I could take photos of her making them the other day, I just ran with it. The process photos aren’t the prettiest photos, but I jumped at the chance to act as paparazzi as she created away that afternoon.
{Affiliate links are used in this post. You can read my disclosure HERE.}
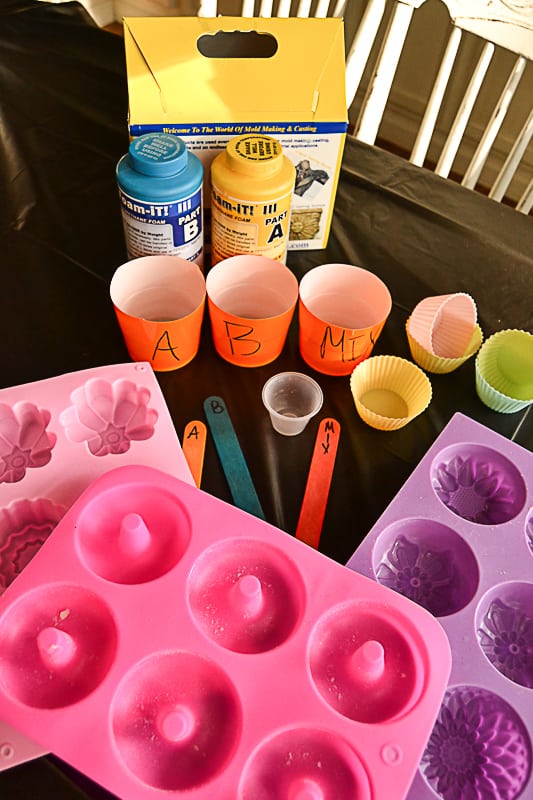
How To Make Squishies – Supply List:
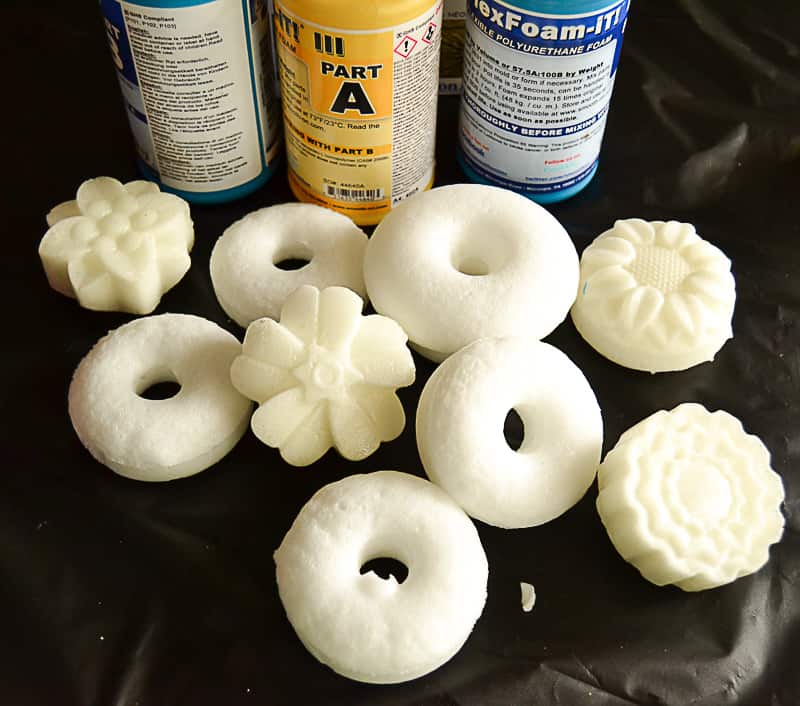
Flex Foam-iT! III Flexible Polyurethane Foam
Something to measure the solutions (Gabrielle uses a measuring cup she got from a science kit)
3 Solo Cups
3 Popsicle Sticks
Marker
Something To Cover Your Work Surface
Gloves (Gabrielle used to wear gloves every time, but doesn’t anymore – she just forgets)

How To Make Squishies – Directions:
To start, cover the work surface. I always pick up plastic table cloths when I find them on clearance so we have a lot of them. The kids always use them for messy projects like this.
To prep the project, Gabrielle likes to cut the Solo cups in half to make them shorter. Then, she uses a permanent marker and writes “A” on one, “B” on one and “mix” on the third one. Then, she writes the same thing on each Popsicle stick. (One Popsicle stick to coordinate with each Solo cup).
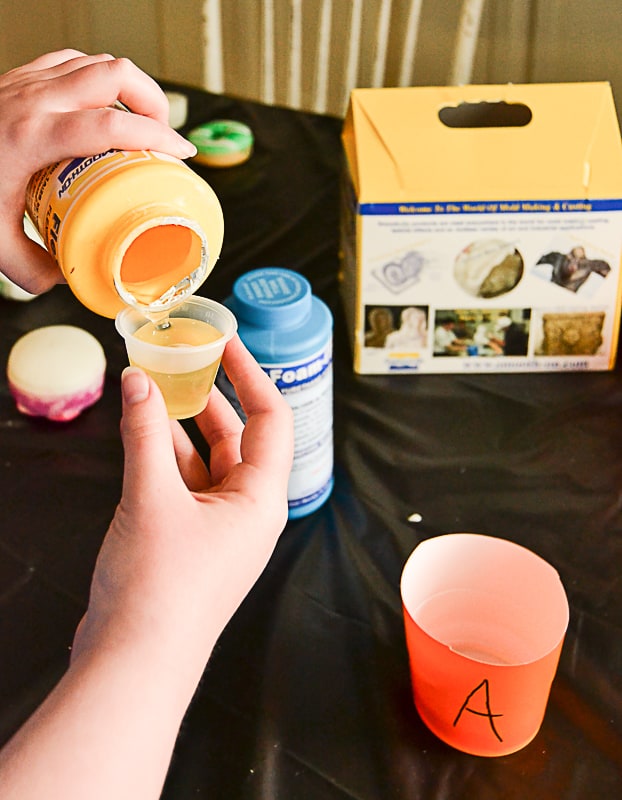
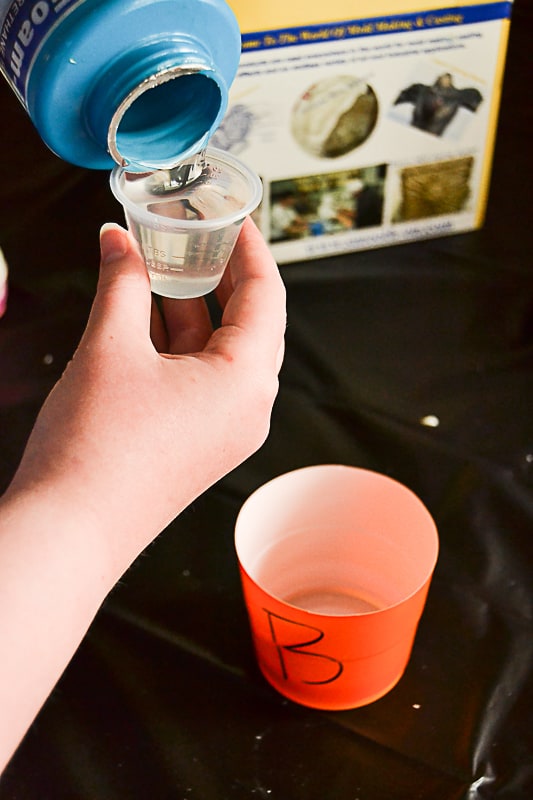
To start the mixing process, first measure out the “A” container from the Flex Foam-iT! III Flexible Polyurethane Foam Kit into whatever you are using to measure. For Gabrielle to make one silicone tray of donut squishies, she measured two tablespoons of part “A”.
Once it is measured, pour it into the Solo cup marked “A”.
Then, rinse out your measuring device and dry it and do the same thing with the “B” bottle from the Flex Foam-iT! III Flexible Polyurethane Foam Kit.
NOTE: Gabrielle has learned from doing this a time or two that if she adds a little more of the “B” to the mixture, the squishies come out more squishy. 🙂
Once you have both “A” and “B” measured and put in their respective Solo cups and the measuring tool has been cleaned out, it is time to mix.
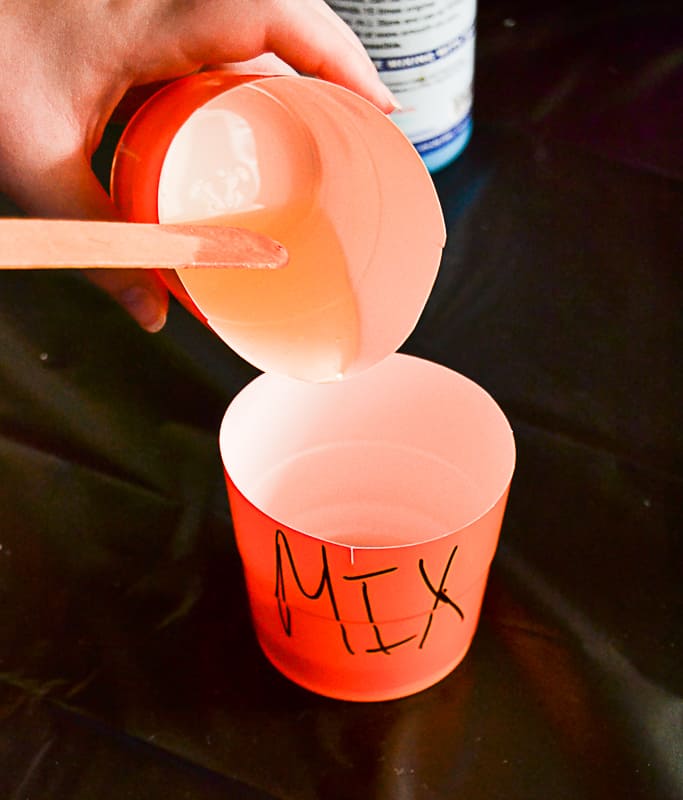
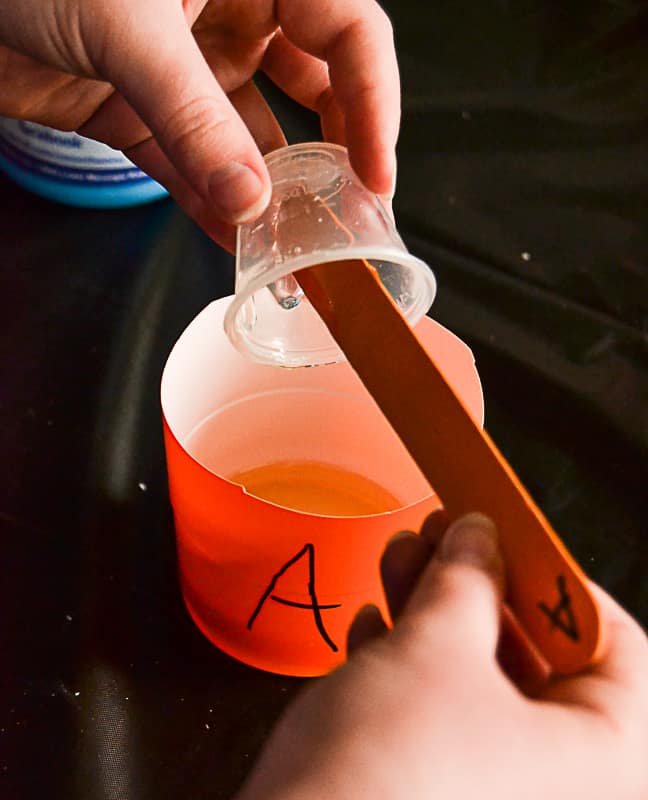
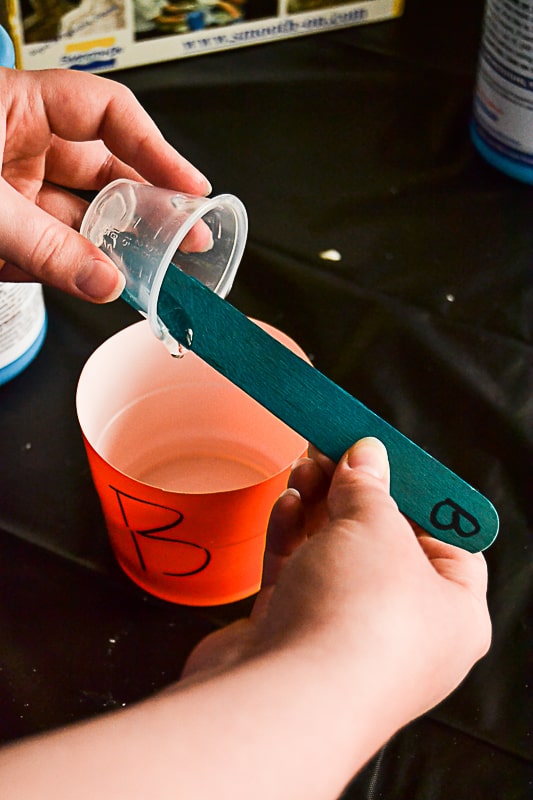
Pour the “A” mixture into the “mix” Solo cup and use the “A” Popsicle stick to scrape out all of the contents. Then, add the “B” solution and do the same thing with the “B” Popsicle stick.
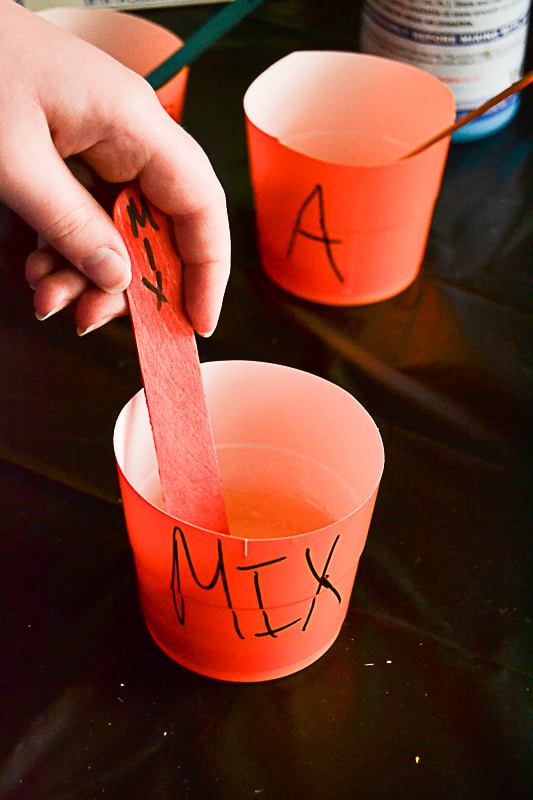
Once both solutions are in the “mix” Solo cup, use the Popsicle stick marked “mix” to stir them together.
Once they are mixed, you need to work fast. Pour the solution into your silicone molds quickly.
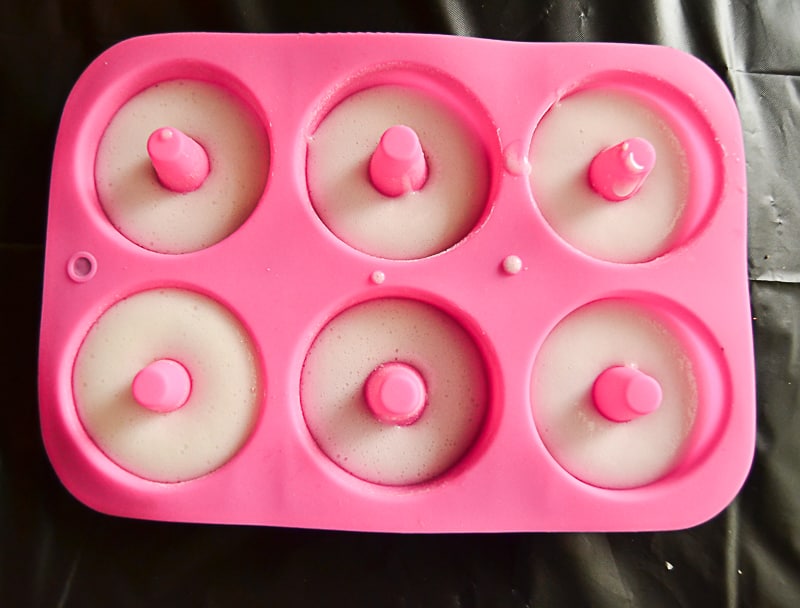
NOTE: You only need a little bit in the molds because they grow in size significantly. For the donuts, Gabrielle just pours the solution on the bottom layer and it will reach the top by the time it is dry.
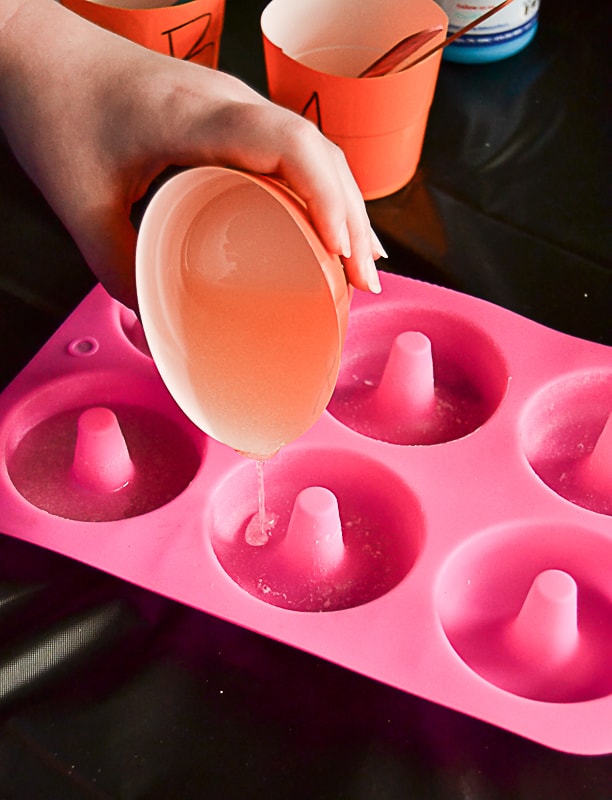
Your kids can play with this. They can discover how high they want their squishies. Gabrielle has done so many experiments and has learned where she likes to pour in each of her molds. I did have her pour a little extra in one of the donuts for this post so you can get an idea or how much more it actually grows in size.
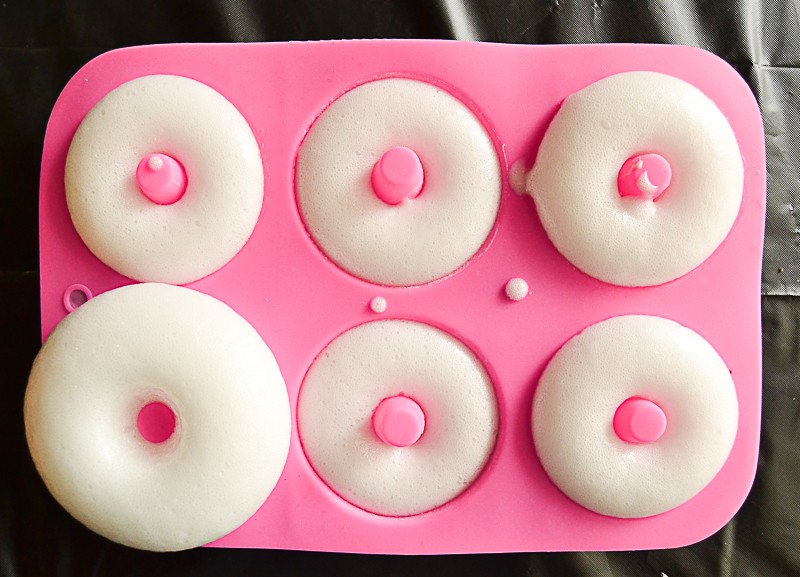
It takes about 30-45 minutes for the squishies to fully set. Once they are set, you peel them out of the silicone molds.
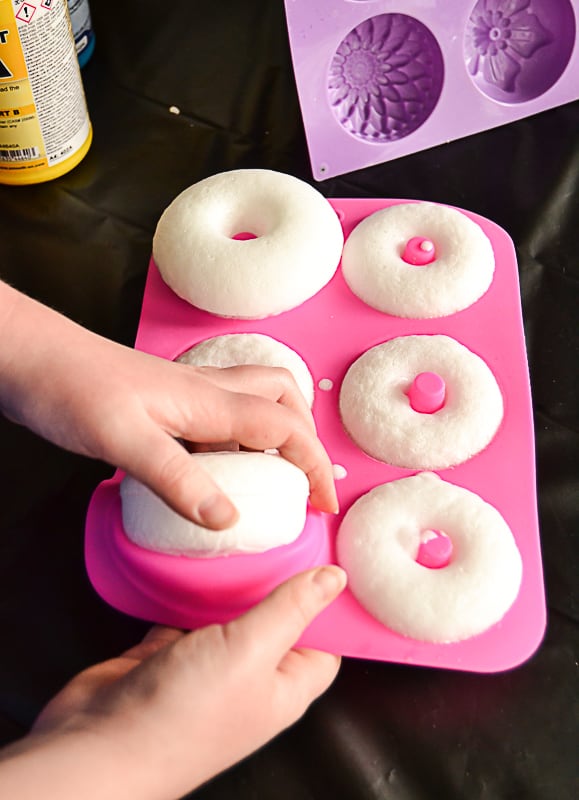
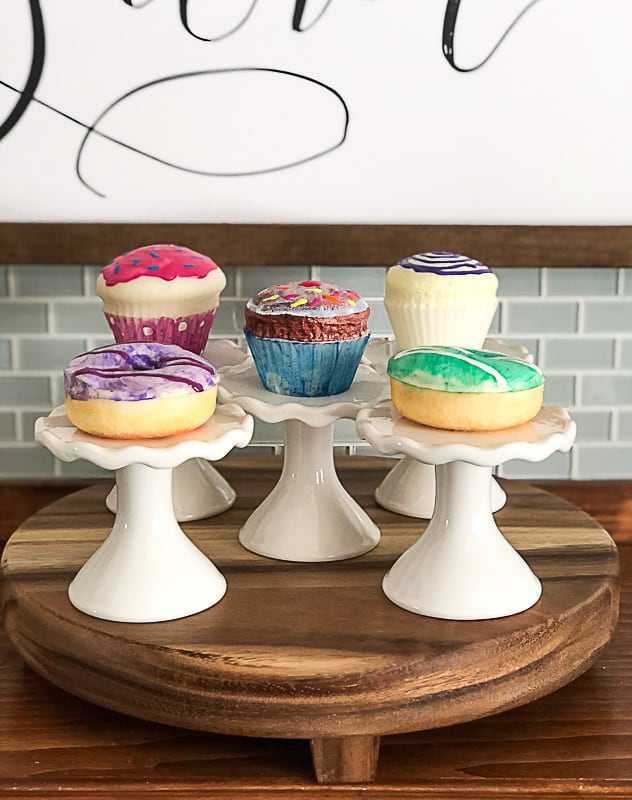
Once you pull them out, they look like this:
Now, they are ready to come alive with paint. Make sure to use fabric paint (we use the paint HERE).
We love this part! Gabrielle has come up with so many beautiful squishies from the way she paints them. It is fun for her to have different silicone molds too so she can come up with all different kinds of squishies.
If you have kids who love to be creative, I highly recommend this project. Not only is it a creative project, but there is also a lot of science behind it as well. It is an experiment every time they make a batch.
I hope you found a new way to entertain your kids with this How To Make Squishies post.
Gabrielle and I went live on Facebook to show how to make these in real time:
This would also make a great gift idea too!!!
PIN THIS POST!
If you liked this post about how to make squishies, you will also like these ideas to keep your kids entertained:
Waste Material Craft Ideas For Kids
10 Ways To Prepare For Going Back To School
My daughter and I want to make squishies, we found the video to be real helpful and inspiring.
Thank you for letting me know! We have had the most fun making them!
Can’t you just measure right into the mix cup both in the mix cup instead of transferring them twice?
We have never done it that way. You could always try it and see how it goes.
How many squishies do you get out of one pack of the foam components?
A LOT! We have been doing this for a couple years and only had to replace them once so far.
I no my g daughter will love doing this she loves swishies where do you find these supplies and are they expensive
Just click the pink links in the post under the supplies list and it will take you to them.
I am not familiar with squishys. Are they kind of like a stress ball? How long do they last after squishing? Probably not for little kids that put things in their mouth?
Probably not for tiny kids. They last forever. Yes, like a stress ball kind of.
It’s like magic! I am in awe! Thank you both for sharing! I can’t wait to try this out with my daughter!! I’m curious how the cupcake liner molds work. Do they rise to be rounded at the top like a cupcake? Thanks again!! I am probably way more excited for this then I should be hahaha
It is so fun and you will learn how much of the liquid to put in the molds. I love the fact that it is a science experiment every time for Gabrielle. She learns to switch up the recipe to make them softer or not fill them as much to make them smaller. It is such a great activity!
Mine came out really sticky, is that normal?
It shouldn’t be too sticky. Sometimes we have to play with the amounts of the products to change results.
The squishes were amazing!!! Honestly i enjoyed them more them my daugter. Hehehehe
They are so much fun! I loved doing it too!
So excited to do this craft at my daughters birthday party! I’m making them ahead & letting them paint them at the party. We’re doing cupcakes, but they all seem to have more of a firm bottom/base than the rest of the “cupcake”…is this normal?? I’ve done two batches & played around with the measurements, but they both have a hard bottom.
We did have that happen a couple of times. Gabrielle was relentless and kept the experiments and ratios going and found what she liked the best. She would get the super soft, kind of soft. It was so fun to watch her experiment and learn how it all worked.
Hi, I want to try this with my summer school kids. We are doing a WATERMELON WEEK and I want to try and make watermelon slices or wedges. Any tips for doing this?
You could find a mold for like wedges and then paint them to look like watermelon slices
Love this, my daughter wamts to do it for her birthday party. Will you share the measurements of both ‘A’ and ‘B’ your daughter likes to use. thank you.
We never had an exact measurement. She just played around with them and it became like a science experiment too. Such a fun activity for kids! I had fun doing them with her too.