If you love budget-friendly holiday projects with big impact, these DIY Wooden Candy Canes are going to be your new favorite Christmas project. I made mine using old wood canes I picked up at yard sales and thrift stores, and with just a little paint and stain, they turned into the cutest rustic candy cane decor. This is an easy project you can pull together in an afternoon, and it’s perfect for decorating your porch, mantel, or entryway.
Why DIY Wooden Candy Canes?
There’s something so charming about taking old, forgotten pieces and turning them into something amazing. These DIY Wooden Candy Canes look high-end, but they cost very little to create. Instead of buying new holiday decor each year, you can make something one-of-a-kind that fits your style perfectly.
{Affiliate links are used in this post. Click on any underlined links to find the products and sources I am referring to. You can read my disclosure HERE.}
Supplies You’ll Need To Make These DIY Wooden Candy Canes
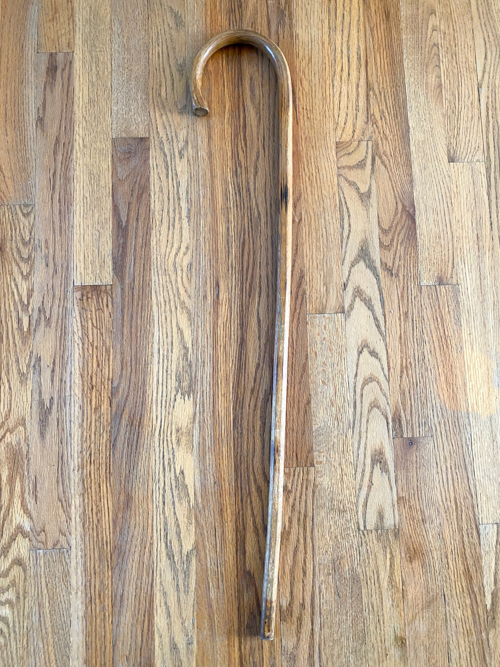
- Old Wooden Canes
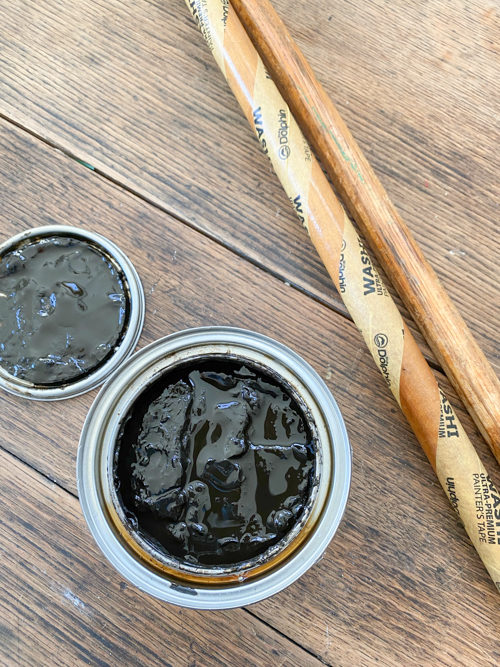
- Paint(this is the color I used)
- Wood Stain
- Painter’s Tape
- Paintbrushes
- Clear Sealer (optional)
Step-by-Step: How to Make DIY Wooden Candy Canes
- Prep the Wooden Canes
Start by giving your canes a good cleaning. You could sand them as well if you think they need it. I wanted to keep the old, worn wood look on mine, so I didn’t sand at all.
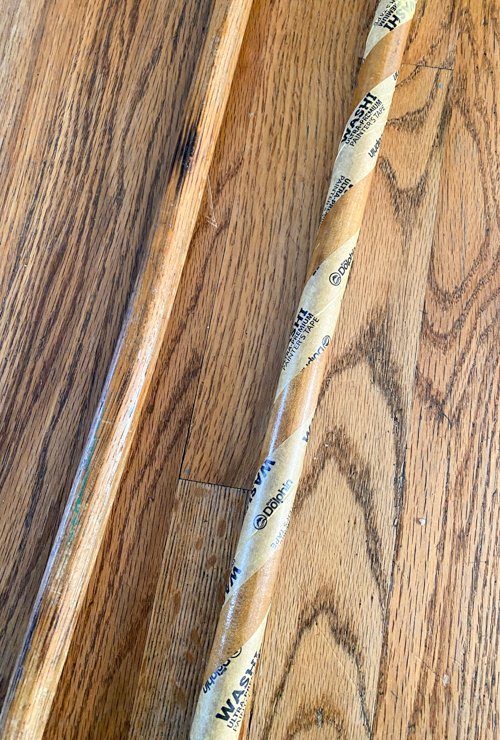
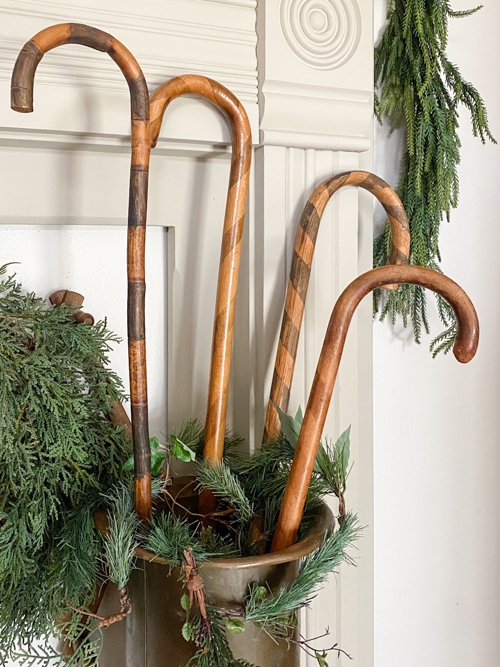
- Tape Off the Candy Cane Stripes
Use painter’s tape to create diagonal stripes. I found that the 1″ tape works best on all sizes of canes. The lines don’t need to be perfect. A little imperfection adds character to this handmade project. Make sure the tape is firmly pressed down to avoid paint/stain bleed.
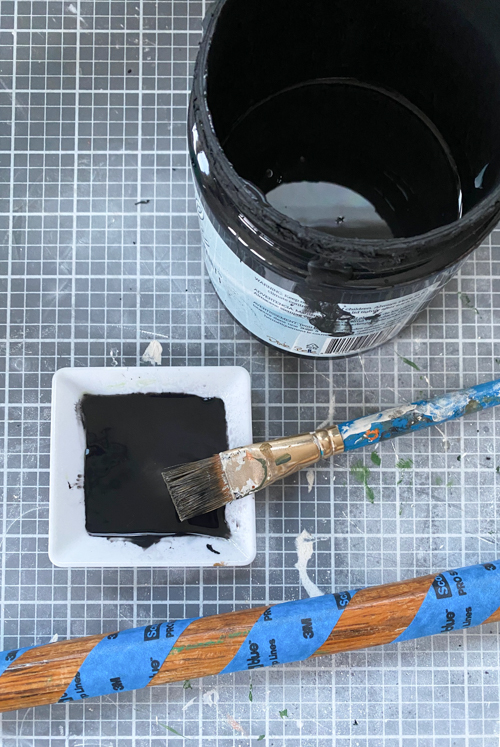
- Paint/Stain the Stripes
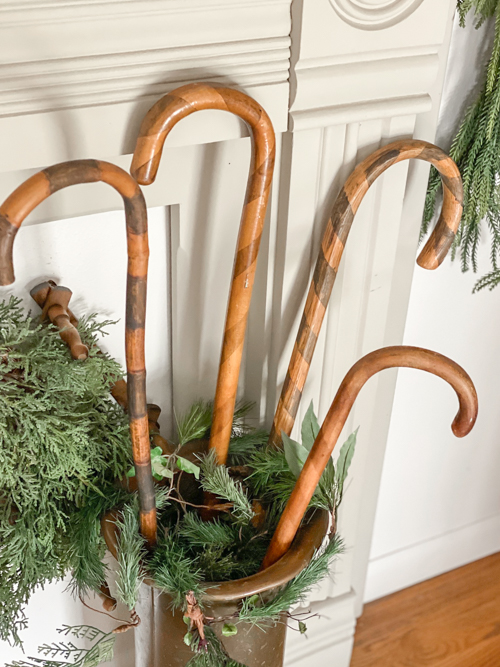
I watered down some black paint to make it more of a stain consistency for some of my canes. You could use full paint as well if you wanted a saturated color. I just wanted faint colors on mine, so I used darker stains on some of them and the watered-down black paint on others. I used a paintbrush to apply the paint and an old rag to apply the stain. You can customize the look depending on the style you’re going for. Let the paint dry fully, then carefully remove the tape.
- Seal Your Project
If you want, finish with a clear sealer if your wooden candy canes will be outside or handled frequently. This protects the paint and stain and gives the project a long-lasting finish.
Style Ideas for Your DIY Wooden Candy Canes
There are so many ways to decorate with these! Here are a few favorites:
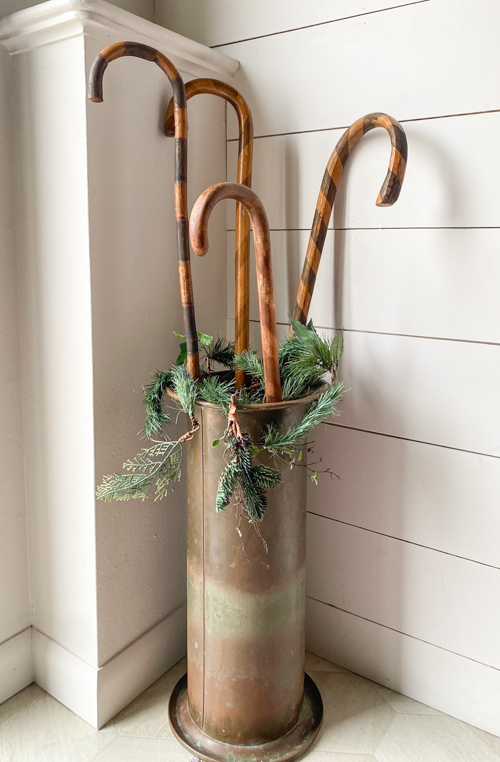
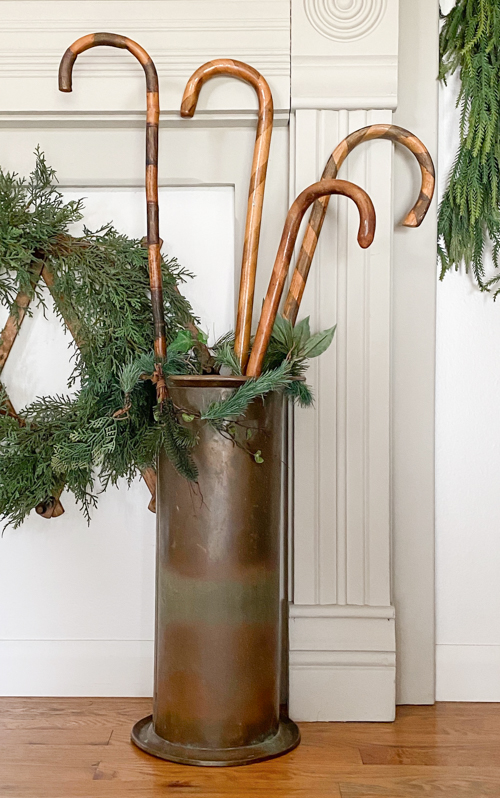
- Lean them in a crock or tall basket by your front door.
- Display them on your porch with garland and twinkle lights.
- Add them to a Christmas mantel for height and texture.
- Use them in an entryway display with greenery and ribbon.
- Bundle them with jute or ribbon for the cutest accent.
Why This Is the Perfect Upcycled Christmas Craft
Not only is this an inexpensive project, but it’s also a great way to give new life to old wooden canes that would otherwise be overlooked. The mix of stain, paint, and texture creates something that looks like boutique decor, even though it’s made from thrifted pieces.
Projects like these just go to show that simple DIYs can transform your home for the holidays without spending a lot or buying new decor every season.
If you’re looking for a fun, simple, and budget-friendly holiday project, these DIY Wooden Candy Canes are the perfect choice. They’re easy enough for beginners, customizable to any style, and turn out beautiful every single time. Grab some old wooden canes the next time you’re thrifting and give this project a try!
PIN THIS POST!

If you liked this project, you will also love these:
DIY Thrifted Advent Calendar: Repurpose a Thrift Find into a Holiday Countdown
DIY Pipe Cleaner Wreaths for Ornaments & Gift Tags: Easy Step-by-Step