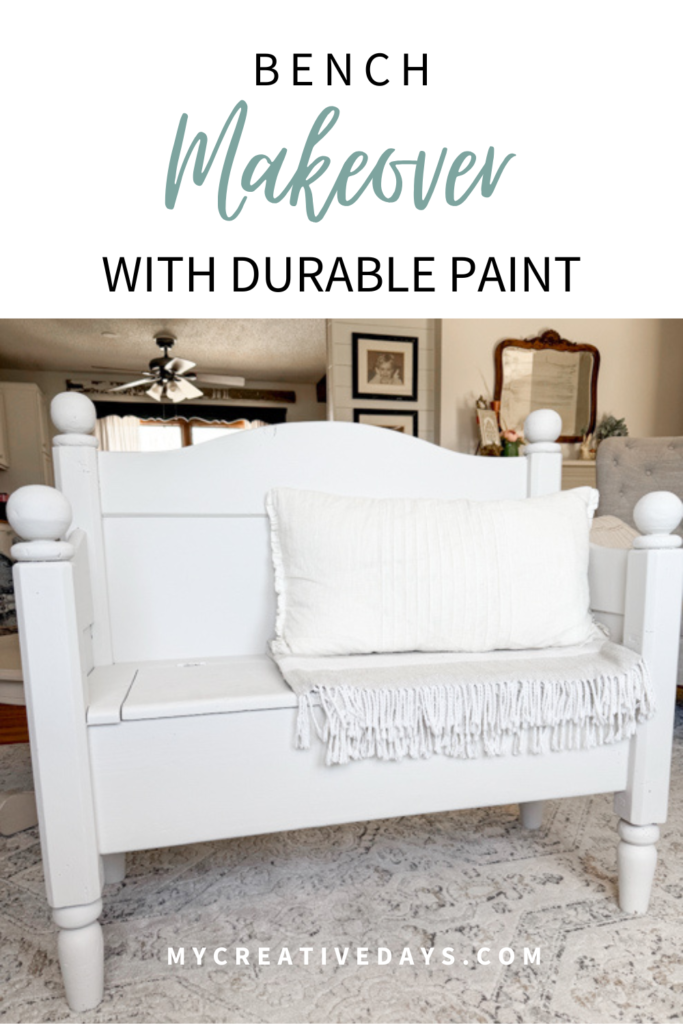
This bench makeover with durable paint shows how to fix a worn painted bench that didn’t hold up. See how I repainted it for a long-lasting finish.
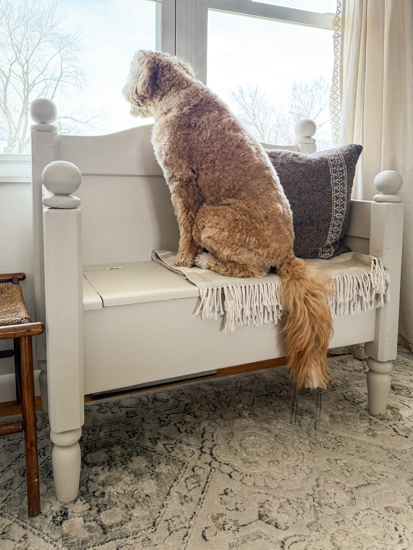
This bench has been in our house for years. I found it at a yard sale and actually walked away from it. Then, I got home and thought more about it and called my dad to see if he could go back to the sale and ask them if they would take less. He did, and they did, and I got the bench. After I got it, I gave it a painted and distressed finish, and it worked for a long time. But once we got a dog who thinks this bench is his personal lookout spot to watch the neighborhood every single day, things changed.
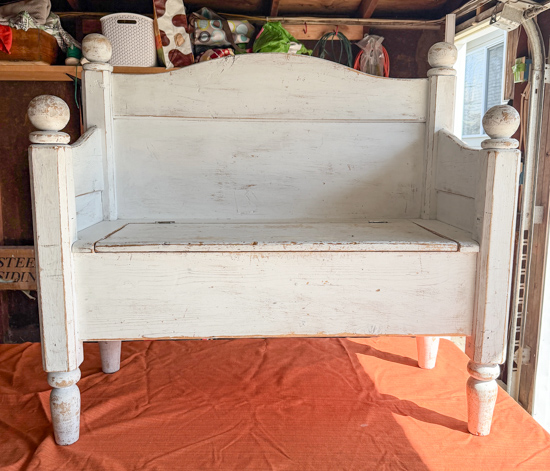
What used to look like soft, intentional distress started to just look worn and, honestly, rough. The paint wasn’t holding up AT ALL, and it was time for a real fix, not just another quick refresh.
{Affiliate links are used in this post. Click on any of the underlined links to find the products I am talking about. You can read my disclosure HERE.}

Why I Redid This Bench
I didn’t want to keep repainting this piece over and over again. I needed something that would actually hold up to daily use (and let’s be honest, daily dog traffic).
So, this time, I reached for my ride-or-die all-in-one paint. This is the paint I always come back to when I want something to look good and last, and this bench was the perfect test for it.
The Makeover Process
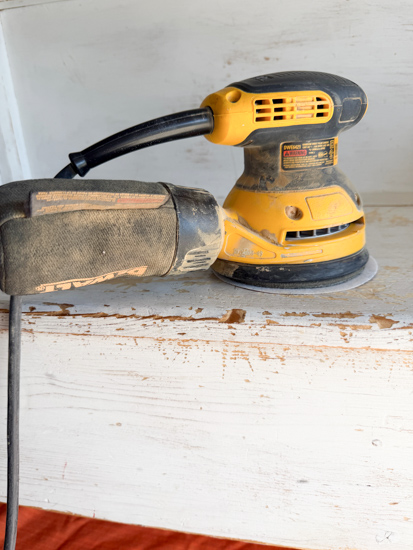
I kept this makeover simple, which is one of the reasons I love this paint so much. No complicated prep, no extra steps, just a solid, full coverage paint that goes on beautifully.
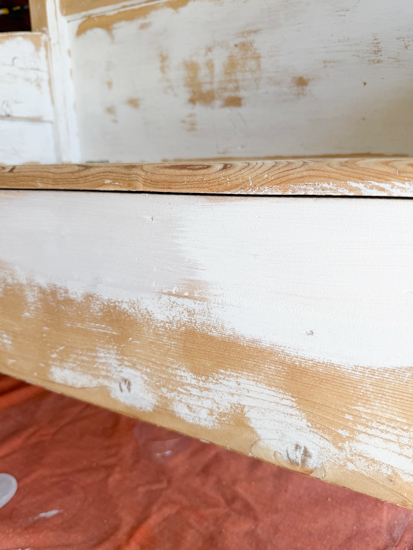
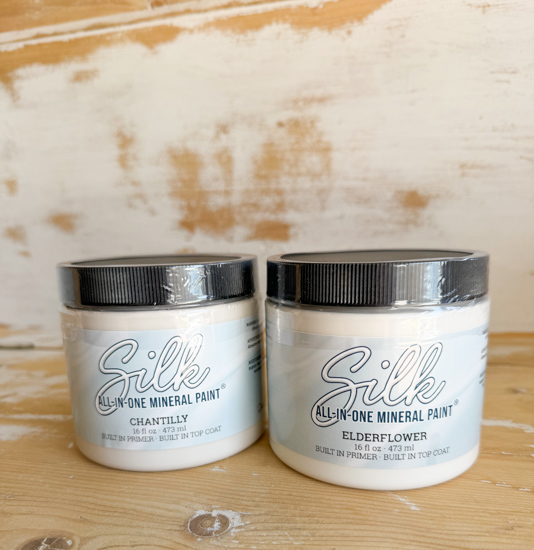
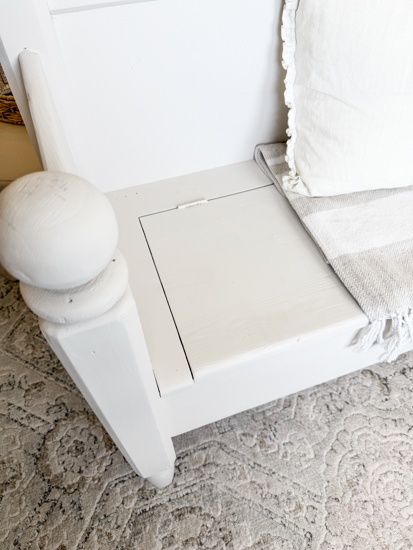
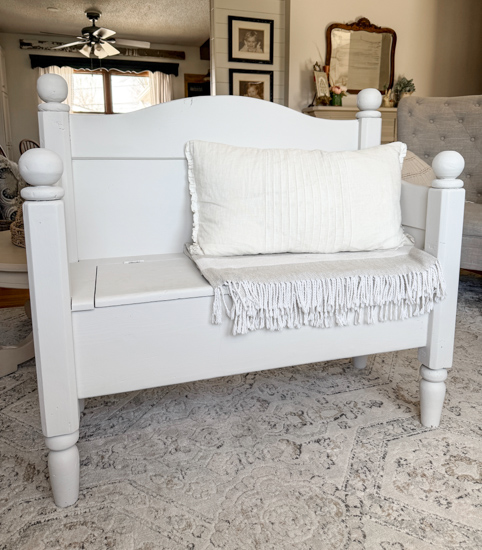
I sanded the entire bench to remove as much of the old paint as I could, then wiped it down with a damp towel to get rid of all the sanding dust. Then, I gave the entire bench a fresh, clean coat of this all-in-one paint in the color Chantilly. I was choosing between two colors, and this is what I went with. It was the first time I have used this color. No distressing this time, I just wanted a smooth, durable finish that looks intentional and finished.
Why This Paint Made All the Difference
The biggest difference with this bench makeover with durable paint is how it’s going to hold up moving forward.
With a dog jumping up here every day, I needed something that wasn’t going to chip, wear down, or start looking rough after a few weeks. This paint gives that strong, durable finish. It has the primer, paint, and topcoat in one can, so you don’t have to buy extra products or do extra steps! It’s all there for you in one can! I have used it on cabinets in our dining area, on the wall in our daughter’s art nook, and on a ton of furniture makeovers. I love this paint and recommend it to beginners and anyone who has been doing these kinds of projects for years, as I have. You can find the paint and all the colors HERE.
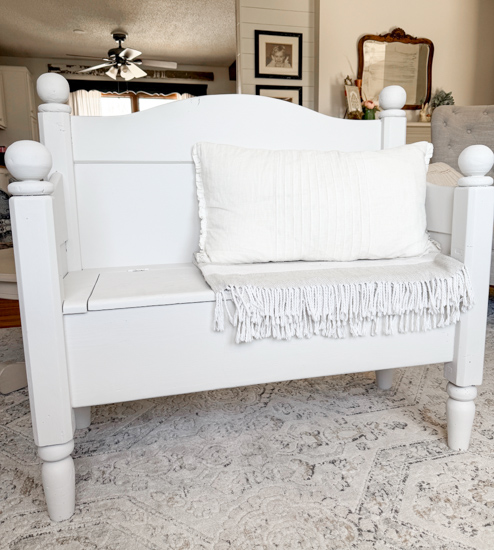
I love how this bench turned out, but more than that, I love knowing I don’t have to keep redoing it. If you’ve ever painted a piece and felt like it just didn’t hold up the way you hoped, this is your sign to switch things up and go with paint that is more durable. It makes all the difference
Curious About Flipping Furniture?
After more than twenty years of flipping furniture, I still pick up pieces whenever I can because I love the creative outlet. What started as a way to transform forgotten pieces has grown into something I now help others learn and enjoy, too.
That’s why I created The Furniture Flipping Academy. It is not just a course, but an all-in-one resource you can use at any stage of your journey.
Whether you want to try one project, flip occasionally for extra income, or grow it into something more over time, the Academy meets you where you are. Inside, you’ll find practical tools like worksheets, templates, guides, and real-life examples you can use when you need them. There is no pressure. No overwhelm. No requirement to turn it into a full-time business.
You don’t need experience or a huge following. You just need a starting point and a trusted resource to guide you.
Find all the details (and the new LOW PRICE) for the Furniture Flipping Academy HERE.
If you loved this makeover, I’m sharing more projects and behind-the-scenes videos over on my YouTube channel. You can check it out HERE.
PIN THIS POST!