Are you a beginner DIYer or furniture flipper who wants to learn how to use stain on your projects, but unsure where to begin? Staining wood can seem daunting, especially for beginners, but with the right guidance, you can achieve great results that showcase the unique grain and character of the wood. In this beginner’s guide to staining wood, I will share essential tips and techniques to help you master the art of staining to transform your wood projects.
Beginner’s Guide to Staining Wood Like a Pro
1. Choose the Right Stain:
Selecting the appropriate stain is the first step towards achieving the desired finish. Stains come in various types – oil-based, water-based, gel, and more. Consider factors such as the wood type, the intensity of color you want, and the project’s purpose. For beginners, water-based stains are often easier to work with due to their quicker drying time and lower odor. Always wear a protective mask when DIYing. I have found the best masks for DIYers and share them in my post HERE.
2. Prepare the Wood:
Proper wood preparation is key to a flawless finish. Sand the wood surface using progressively finer grit sandpaper to create a smooth and even canvas. (To learn more about how to sand, you can head to my post HERE.) This ensures that the stain is absorbed uniformly and reduces the risk of blotching. Don’t forget to remove any dust or debris after sanding and before applying stain.
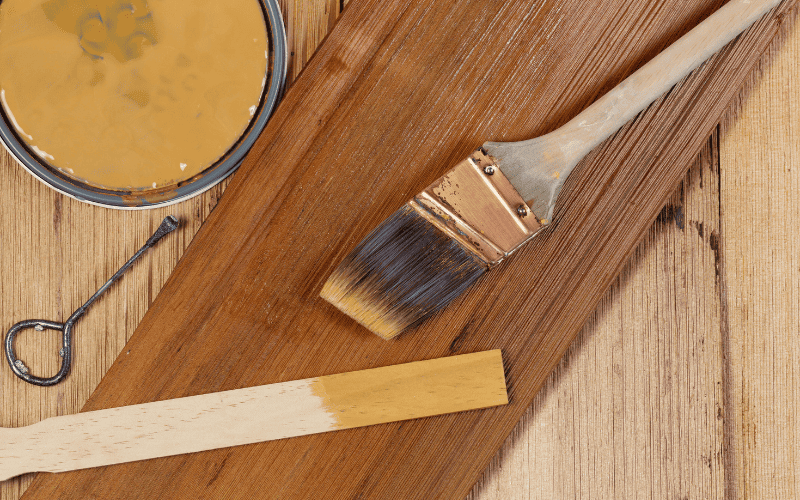
3. ALWAYS Test on Scrap Wood:
Before applying the stain to your project, it’s wise to test it on a piece of scrap wood of the same type. This allows you to gauge how the stain interacts with the wood and helps you adjust factors like the application time and number of coats.
4. Apply a Pre-Stain Conditioner:
For woods that tend to absorb stain unevenly, like pine or cherry, applying a pre-stain conditioner can make a significant difference. This product helps seal the wood’s pores, creating a more uniform stain absorption and preventing blotches. You can find a conditioner HERE.
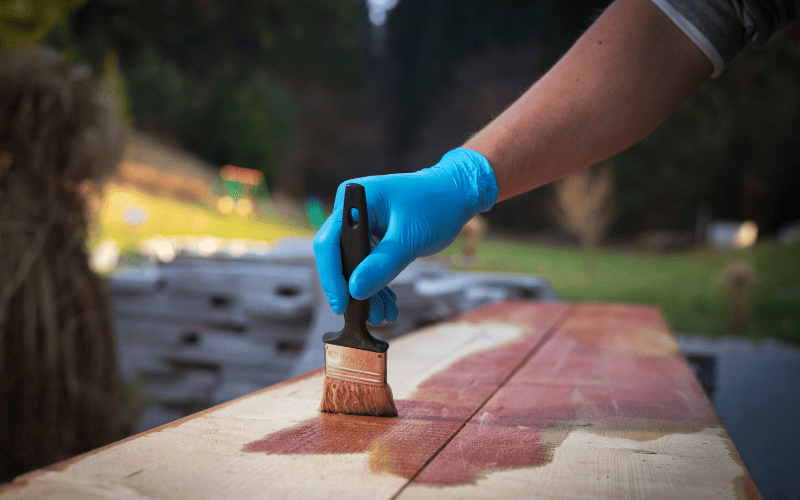
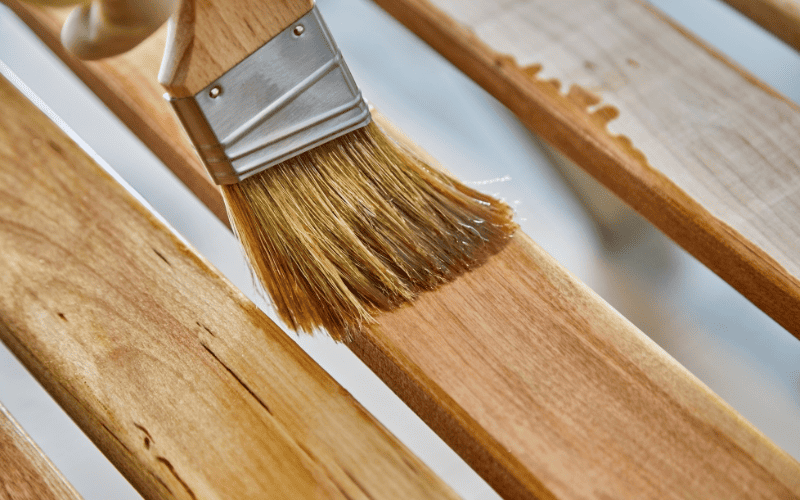
5. Apply Evenly:
When applying the stain, use a clean cloth, brush, or sponge applicator. Work in the direction of the wood grain, applying an even coat. Avoid leaving excess stain on the surface, as this can lead to uneven coloring and extended drying times. My favorite applicator for stain is this $2.50 pad. It applies the stain easily and evenly.
6. Wipe Off Excess:
After allowing the stain to penetrate for a few minutes (check the manufacturer’s recommendations), gently wipe off the excess stain with a clean cloth. This step prevents the stain from becoming too dark or forming an uneven finish.
7. Layer for Depth:
If you desire a deeper color, apply additional coats of stain. Remember that each layer will intensify the color, so apply thin coats and let them dry between applications. This technique provides a richer, more lustrous appearance.
8. Seal the Deal:
To protect the stained wood and enhance its longevity, apply a clear protective finish, such as polyurethane or varnish. Choose between matte, satin, or glossy finishes depending on your project’s aesthetic. Apply thin coats, sanding lightly between coats for a smooth result.
9. Practice Patience:
Staining requires patience and attention to detail. Rushing through the process can lead to unsatisfactory results. Allow sufficient drying time between coats and before applying a protective finish. This patience will pay off in the form of a stunning final product.
10. Embrace Imperfections:
Wood staining is an art, and even seasoned woodworkers encounter imperfections. Don’t be discouraged by minor flaws; they often add character and uniqueness to your piece. Over time, your skills will improve, leading to more consistent results.
Staining wood allows you to enhance the beauty of your woodworking projects. By following these tips and practicing consistently, you’ll gain the confidence to create breathtaking pieces that showcase the natural allure of wood. Remember, the journey from newbie to pro is all about learning and enjoying the process!
{Affiliate links are used in this post so you can easily find the products I used. You can read my disclosure here.}
I am sharing new DIY videos on my YouTube channel each week. You can find tons of tutorials and inspiration on my channel that will teach you all kinds of things like staining, painting, and so much more. You can find my channel HERE. Make sure to hit the SUBSCRIBE button when you are there so you don’t miss out on any of the fun!
PIN THIS POST!
If you found this post helpful, you will also enjoy these:
How to Successfully Tackle Your First DIY Project