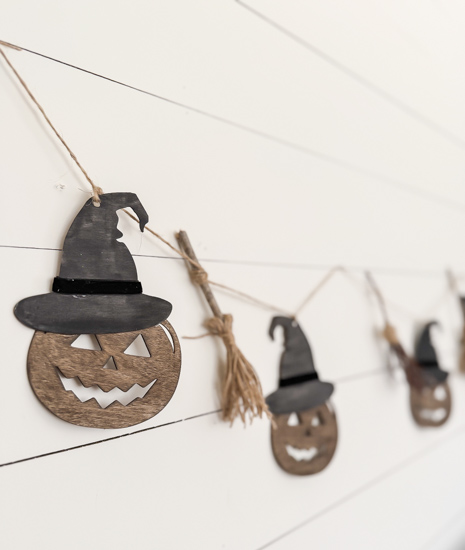
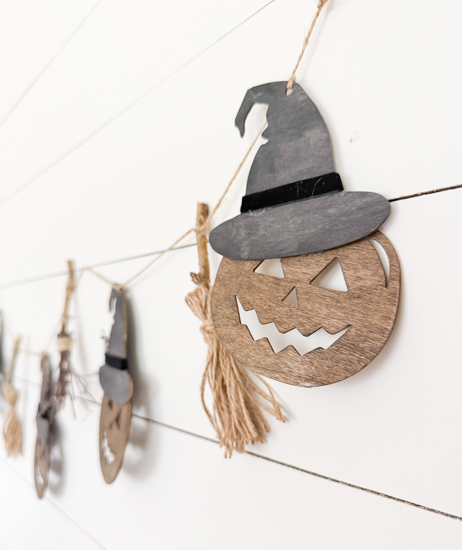
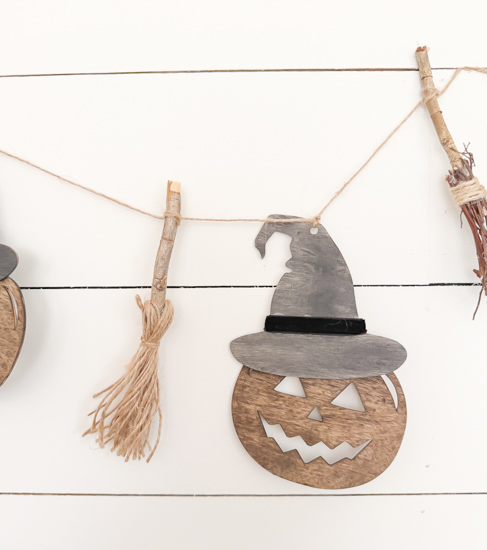
This DIY Rustic Halloween Garland started with a few inexpensive wood cutouts from Dollar Tree and turned into the cutest rustic Halloween decoration. I used jack-o’-lantern and witch hat cutouts, stain, watered-down black paint, black velvet ribbon, twine, and a few sticks to make tiny witch brooms.
The finished garland has a rustic, vintage-inspired Halloween look that I love, and it was so simple to make.
Want to see exactly how I made it? Watch the short video below to see the entire DIY Rustic Halloween Garland come together.
{Affiliate links are used in this post. Click on any of the underlined links to find the products I am talking about. You can read my disclosure HERE.}
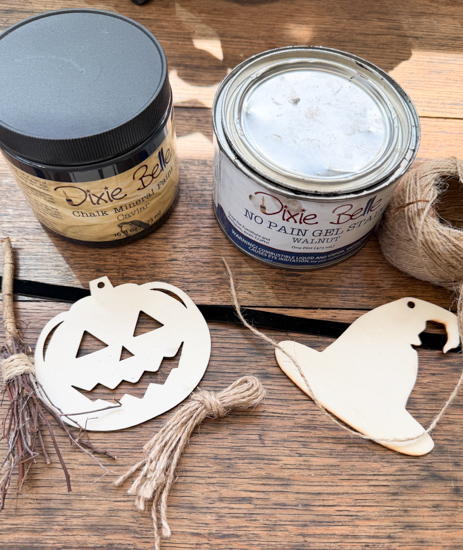
DIY Rustic Halloween Garland Supplies
- Wood jack-o’-lantern cutouts
- Wood witch hat cutouts
- Stain (I used Walnut color)
- Black paint
- Water
- Paintbrush
- Thin black velvet ribbon
- Twine
- Small sticks
- Hot glue gun
- Hot glue sticks
- Scissors
The great thing about this project is that you don’t need a lot of supplies. Most of these are inexpensive craft supplies, and a few of them may already be things you have at home.
How to Make a DIY Rustic Halloween Garland
Stain the Jack-o’-Lanterns
Instead of painting them the traditional bright orange, I used wood stain. I wanted the natural wood grain to show through and give the jack-o’-lanterns a more rustic and vintage look.
The stain completely changes the look of the inexpensive wood cutouts. If you prefer a more traditional Halloween color palette, you could certainly paint your jack-o’-lanterns orange. But if you like rustic Halloween decor, I definitely recommend trying stain.
Paint the Witch Hats
Next, I worked on the wood witch hats.
Rather than painting them with straight black paint, I watered the black paint down before brushing it onto the wood.
This created a softer, more weathered look and allowed some of the wood underneath to show through.
I wasn’t trying to make the hats perfectly black or perfectly painted. I wanted them to have a little bit of an aged look to work with the stained jack-o’-lanterns.
Add Black Velvet Ribbon
Once the witch hats were dry, I added a small detail that made a big difference.
I used thin black velvet ribbon and hot glued it onto each white witch hat right above the brim.
The velvet adds some texture and makes the hats look a little more special.
I love using unexpected materials in simple DIY projects, and the velvet ribbon was perfect for this DIY Rustic Halloween Garland.
Attach the Witch Hats to the Jack-o’-Lanterns
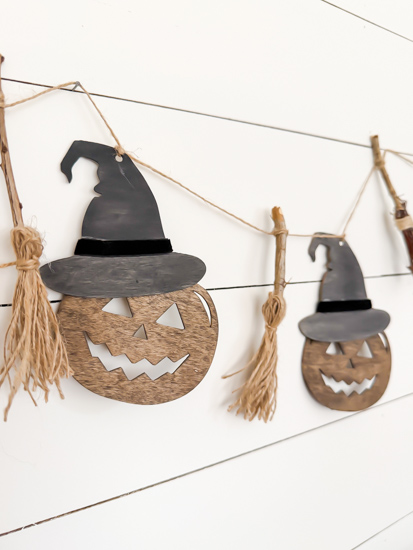
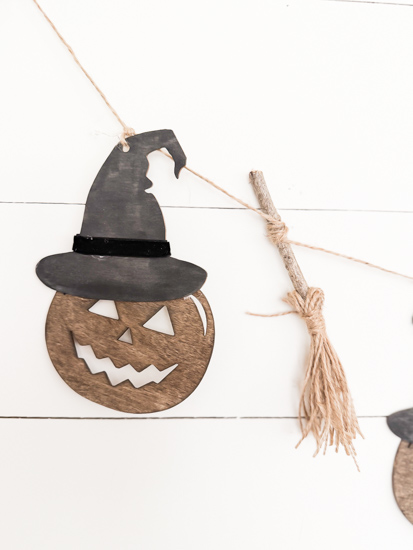
Next, I hot glued the witch hats directly onto the stained jack-o’-lantern faces.
The stained wood underneath the black witch hat gives the pieces a fun vintage Halloween feel without making them look overly bright or traditional.
Make Mini Witch Brooms
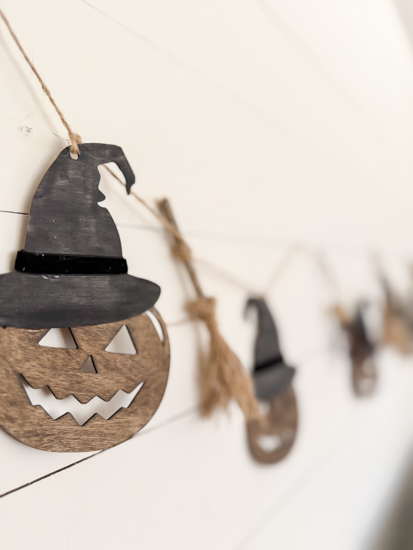
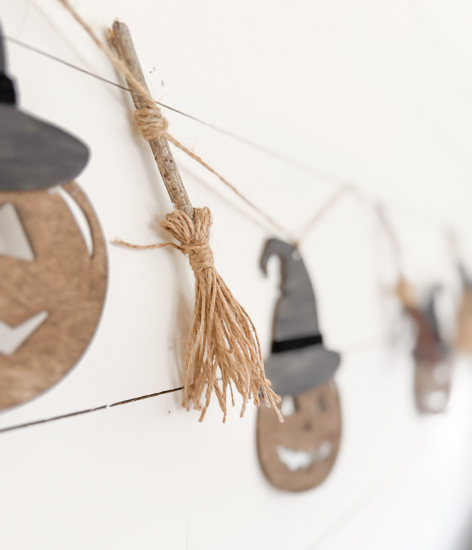
I knew I wanted something to go between the jack-o’-lanterns on the garland, so I made tiny witch brooms. For the broom handles, I used small sticks.
Then I gathered smaller sticks to create the broom bristles and used twine to tie everything together. I also made some of the broom bristles out of twine.
The brooms add another natural element to the DIY Rustic Halloween Garland, which helps give it that rustic look.
Don’t worry about making the brooms perfectly uniform. I actually like that they are a little imperfect. It makes them look handmade and adds to the charm.
Assemble the Garland
Once all the pieces were finished, I cut the length of twine to use as the base of the garland.
I tied and used hot glue to add the witch hat jack-o’-lanterns and brooms along the twine.
You can make your garland as long or as short as you want. Just adjust the number of jack-o’-lanterns and witch brooms you use.
And that’s it!
A few inexpensive wood cutouts turned into a DIY Rustic Halloween Garland that looks completely different from the original pieces.
What Makes This DIY Halloween Garland Rustic?
For me, it’s all about the materials and the finish.
Instead of using bright orange paint and shiny embellishments, I used:
- Natural wood
- Wood stain
- Aged-looking black paint
- Black velvet
- Natural twine
- Real sticks
These materials give the garland texture and keep the Halloween decorations from feeling too bright or overly themed.
This is why I love using simple, inexpensive supplies in my DIY projects. A small change in the finish can completely change how something looks.
This DIY Rustic Halloween Garland is proof that you don’t need expensive seasonal decorations to create something special for your home.
The wood cutouts were the starting point, but the stain, watered-down black paint, velvet ribbon, twine, and handmade witch brooms completely changed their look.
If you love rustic Halloween decor, vintage-inspired Halloween decorations, or finding inexpensive ways to decorate for the seasons, this is a fun project to try.
Watch the DIY Rustic Halloween Garland Tutorial
I didn’t take step-by-step photos for this project, so I put together a short video showing you how I made the garland from start to finish.
[WATCH THE DIY RUSTIC HALLOWEEN GARLAND VIDEO HERE]
In the video, you’ll see how I transformed inexpensive Dollar Tree wood cutouts, added witch hat details, made mini witch brooms, and assembled everything into a finished Halloween garland.
If you are a visual learner like I am, the video will make these steps really easy to follow!
PIN THIS POST!
If you liked this easy Halloween project, you will also love these:
DIY Dollar Store Halloween Decoration: Pumpkin Holder Wall Hanging