
Looking for an easy DIY Ghost Halloween Decor project that looks adorable and only takes dollar store supplies that you may already have on hand? This simple Halloween craft uses inexpensive supplies and comes together in just a few minutes. Whether you’re decorating a mantel, shelf, entry table, or creating a spooky centerpiece, this budget-friendly ghost decor is the perfect addition to your Halloween home.
If you love decorating for Halloween, this is one of those projects you’ll want to do again and again. It is inexpensive, beginner-friendly, and easy to customize.
Why You’ll Love This DIY Ghost Halloween Decor
One of my favorite things about decorating for every season is finding creative ways to make high-end-looking decor on a budget. This DIY Ghost Halloween Decor checks all the boxes.
- Made with inexpensive supplies.
- Takes less than 15 minutes to make.
- Perfect for beginners.
- Easy to customize with different fabrics, ribbon, or what the ghost is holding.
- Great for shelves, tiered trays, mantels, tabletops, classrooms, parties, etc.
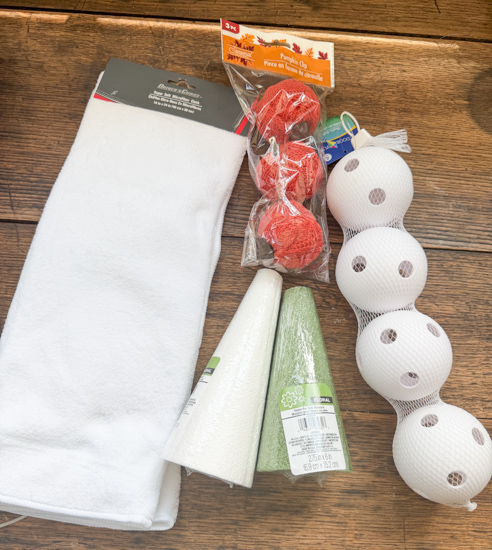
Supplies You’ll Need
- White fabric
- Foam ball or wiffleball
- Hot Glue
- Cardboard or foam cone shape
- Black paper
- Mini pumpkins, ribbon, anything you want to decorate your ghost with
How to Make DIY Ghost Halloween Decor
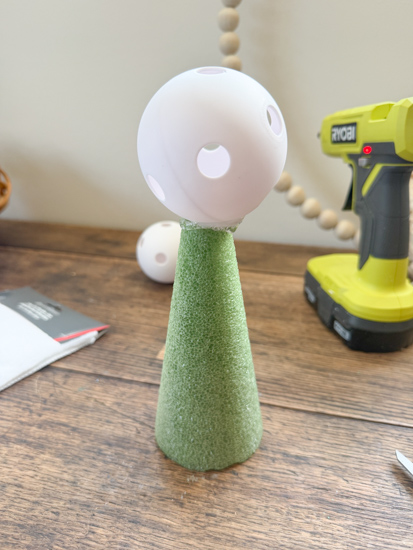
Step 1: Glue Ball To Cone
Glue your wiffleball or Styrofoam ball to the top of your cone piece.
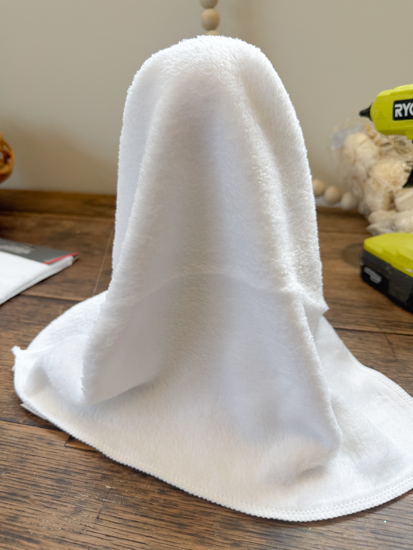
Step 2: Add the Fabric
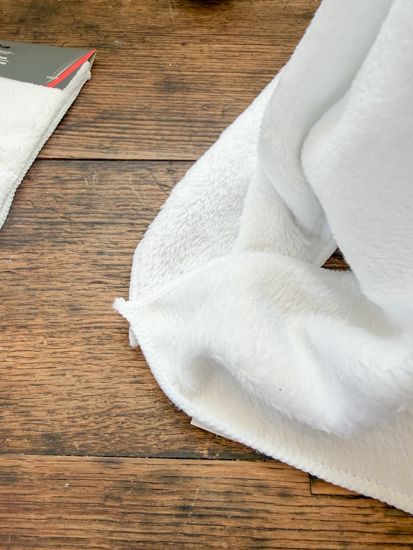
Drape the white fabric over the glued ball and cone so it naturally falls around the cone like a ghost. Arrange the folds until you’re happy with the look. I added some hot glue to the ends of my cloth so the sides were continuous where the fabric met.
Step 3: Add the Pumpkin and Eyes
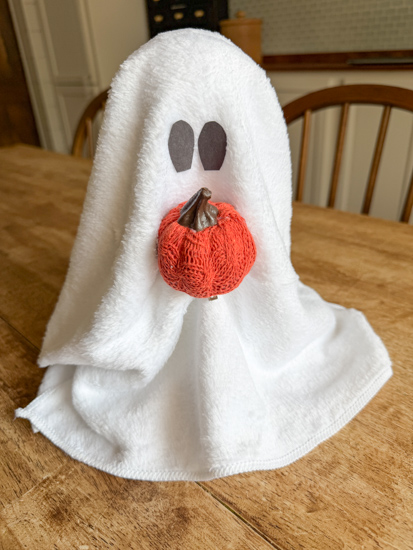
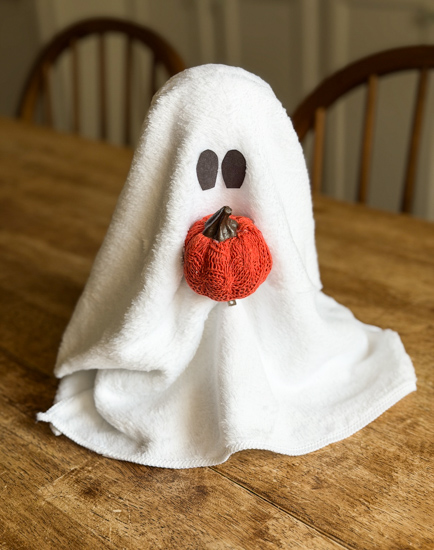
Hot glue the pumpkin to the folds in the fabric up front as if the ghost is holding the pumpkin. Cut out eyes from the black paper and hot glue them to the fabric where the eyes would be.
Step 4: Finish Styling
Add ribbon around the neck or to the top of the head if you’d like, or leave it simple.
Decorating Ideas
One of the best things about this DIY Ghost Halloween Decor is how versatile it is.
Try displaying it:
- On your fireplace mantel.
- Inside a Halloween vignette.
- On open shelving.
- As part of a tiered tray.
- On your front entry table.
- Mixed with vintage Halloween decorations.
Making several ghosts in different heights creates an even bigger statement.
Ways to Customize Your DIY Ghost Halloween Decor
Once you make one, you’ll probably want to create more.
Here are a few ideas:
- Use tea-stained cheesecloth for an aged vintage look.
- Add tiny LED fairy lights underneath.
- Make mini versions using spice jars.
- Use black ribbon around the neck for a classic Halloween style.
- Pair them with vintage plastic jack-o’-lantern buckets for nostalgic Halloween decorating.
Small changes make each ghost unique while keeping the project inexpensive.
This DIY Ghost Halloween Decor proves that a few dollar store supplies can become charming seasonal decorations you’ll enjoy displaying year after year.
If you make this project, I’d love to see how you style it in your home. Share a photo on Instagram and tag me @mycreativedays.
Whether your decorating style is vintage Halloween, farmhouse, cozy cottage, or classic black and white, these little ghosts fit right in.
If you would like to see a video of how easy this comes together, check out my YouTube video HERE. Make sure to SUBSCRIBE when you are there! I am launching new videos every week and I don’t want you to miss any of them!
PIN THIS POST!
1 Comment