

Learn how to decoupage fabric with napkins using an easy iron-on method, no glue needed! Create custom placemats, ribbon, and more with this DIY.
If you love an easy project with a big payoff, this one is going to be right up your alley. Today, I’m going to show you how to decoupage fabric with napkins using a super simple iron-on method. There is no mess, no complicated steps, and honestly, it is fun.
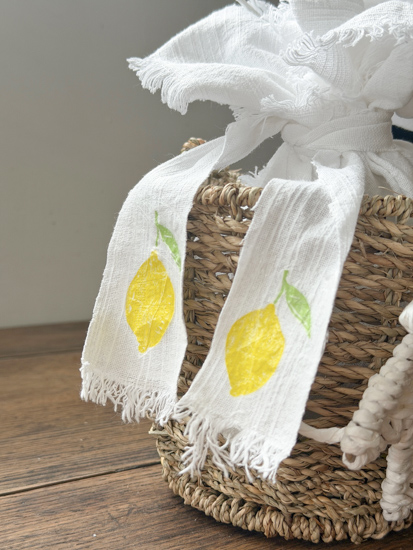
I love projects like this because you can take something as simple as a paper napkin and turn it into something completely custom. Think placemats, fabric napkins, ribbon for gifts, or even little details for a party or get-together.
There are so many napkin designs out there, which means the possibilities are endless. I’ll walk you through everything step-by-step below, and you can also watch my full video to see it all come together in real time.
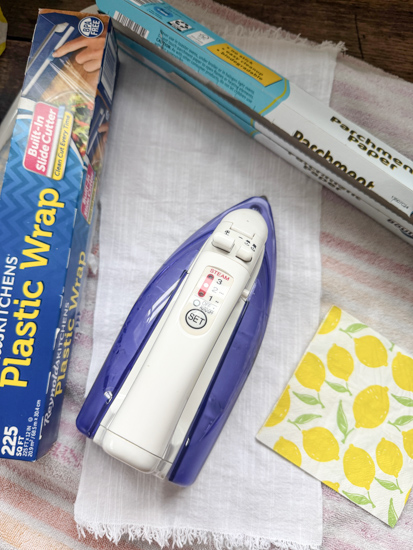
{Affiliate links are used in this post. Click on any of the underlined links to find the products I am talking about. You can read my disclosure HERE.}
Supplies Needed To Decoupage Fabric with Napkins
Scissors
Step-by-Step Tutorial
First, separate the layers of the paper napkin. You want just the very top layer with the design on it. Sometimes it looks like there are only two layers, but there’s often a third, so gently pull them apart until you’re left with the printed layer.
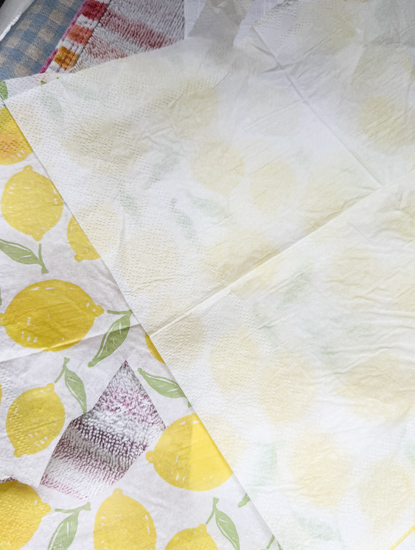
Next, cut out the design you want to use. Try to get as close to the design as possible, because any extra background around it will show once it’s transferred onto the fabric.
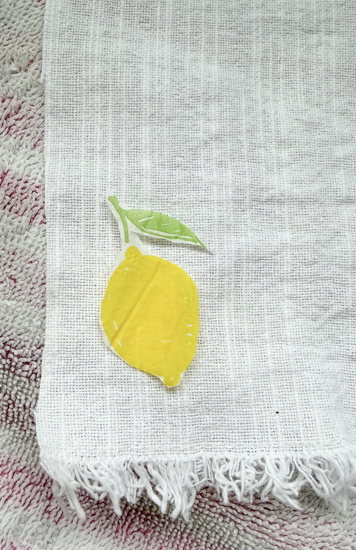
Lay your cut-out design onto the fabric exactly where you want it.
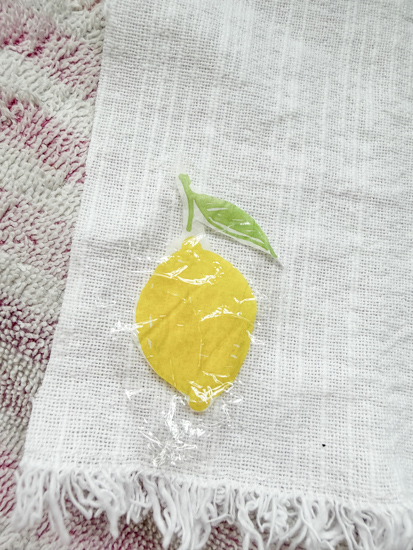
Then, take a piece of plastic wrap and double it up so it fully covers your design. Place it directly over the napkin.
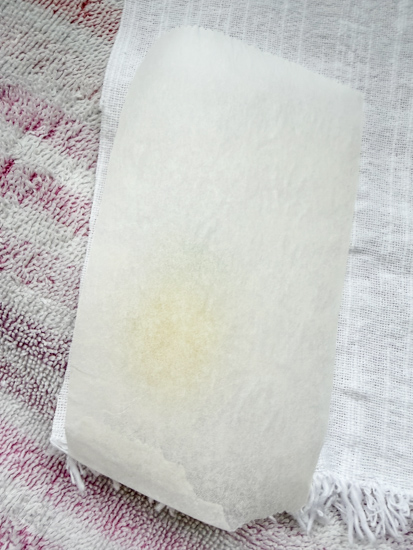
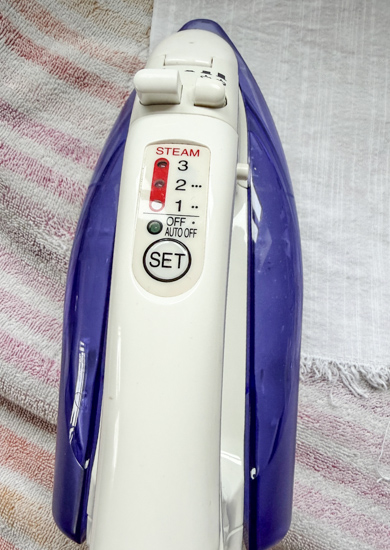
Next, place a piece of parchment paper over the plastic wrap. Using a hot iron (no steam), press over the area to transfer the design onto the fabric. This usually takes a minute or two. If it’s not ready, gently lift a corner to check, then lay it back down and keep ironing.
Once it’s fully transferred, remove the parchment paper, and that’s it! Your design is now set onto the fabric.
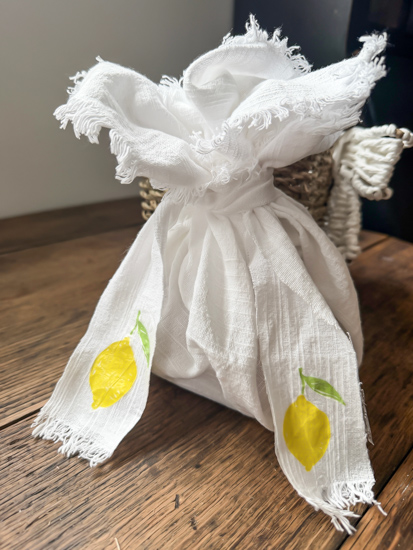
See? So simple, and so many ways you can use this! This is one of those projects that you can keep coming back to because it works for so much: gifts, holidays, dinner parties, or just adding a little personal touch around your home.
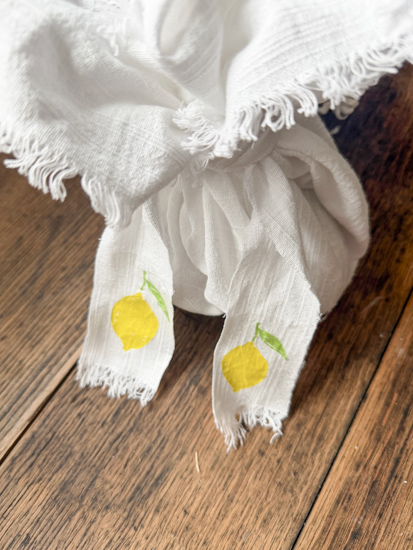
I love that you don’t need anything fancy, and you can completely customize your look just by switching up the napkin design.
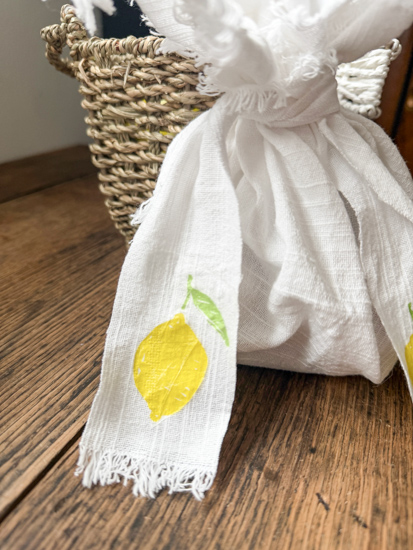
Definitely check out the video if you want to see the process from start to finish, and let me know what you end up making.
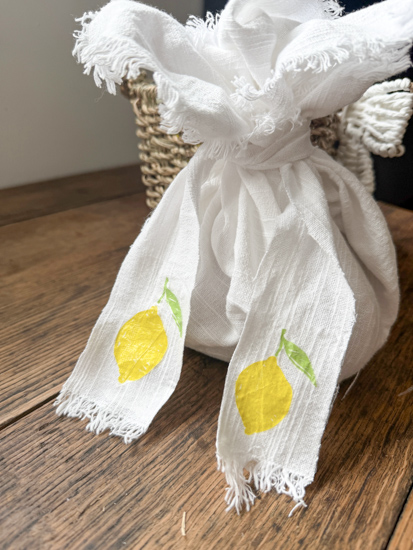
I always love seeing how you all take an idea and make it your own!
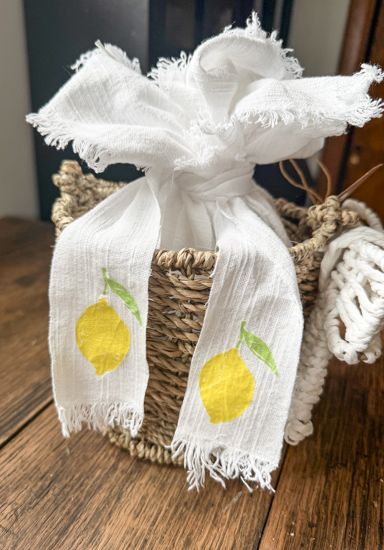
PIN THIS POST!
If you liked this easy project, you will also love these:
DIY Paper Bows – Easy Paper Craft
How to Make Homemade Sidewalk Chalk with Just 3 Ingredients