This step-by-step DIY wood bells tutorial will show you how to take a found piece and turn it into beautiful decor for the Christmas season.
Welcome to our ultimate step-by-step DIY tutorial on crafting enchanting wood bells for your Christmas decor! Dive into the world of creative woodworking as we guide you through each stage of the process, from selecting the finest wood to adding those perfect finishing touches. In this comprehensive blog post, we’ll unravel the secrets behind creating stunning, customized wooden bells that will elevate your holiday decor to a whole new level.
Join us as we explore the art of woodworking, offering easy-to-follow instructions, expert tips, and insider tricks to help you master the craft. Whether you’re a beginner or an experienced DIY enthusiast, our detailed tutorial will empower you to create intricate wood bells that capture the essence of the festive season. Discover the joy of crafting as we unveil the techniques of shaping, painting, and embellishing, transforming simple pieces of wood into exquisite Christmas ornaments.
Get ready to embark on a creative journey filled with inspiration and innovation. With our guidance, you’ll not only craft beautiful wood bells but also infuse your home with the warmth of handmade holiday charm. Let’s roll up our sleeves and start crafting these timeless treasures together. Let the festive woodworking adventure begin!”
DIY Wood Bells For Christmas Decor
{Affiliate links are used in this post. Click on any of the underlined links to find the products I am talking about. You can read my disclosure HERE.}
Supplies Used To Make The Wood Bells:
Screw To Hold Bead on Wood Piece
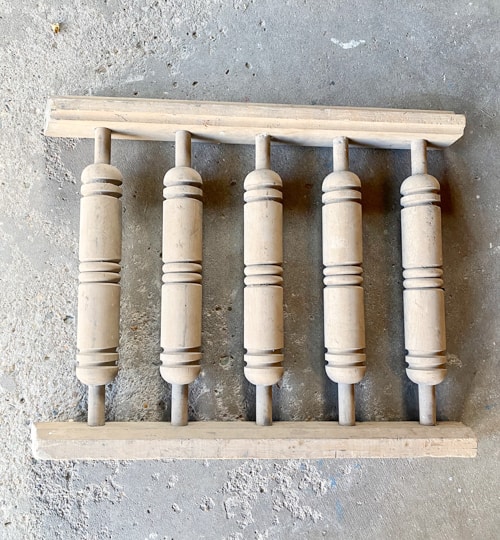
Wood Railing Piece (check your local home improvement stores or Habitat for Humanity Stores)
Paintbrush
Table Saw (To Cut Railing Piece Apart)
Steps To Create The Bells:

- The first thing we did was cut the railing piece in half.
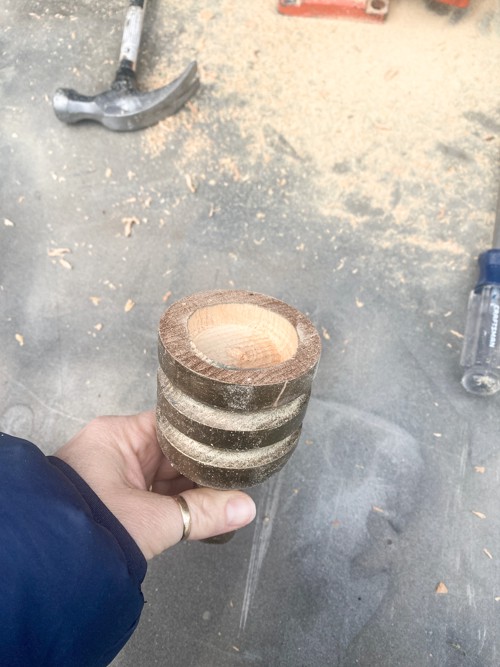
- Then, we removed each “bell”.
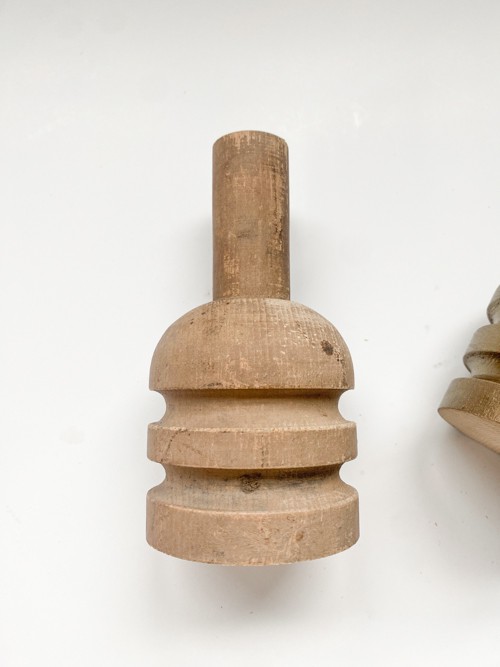
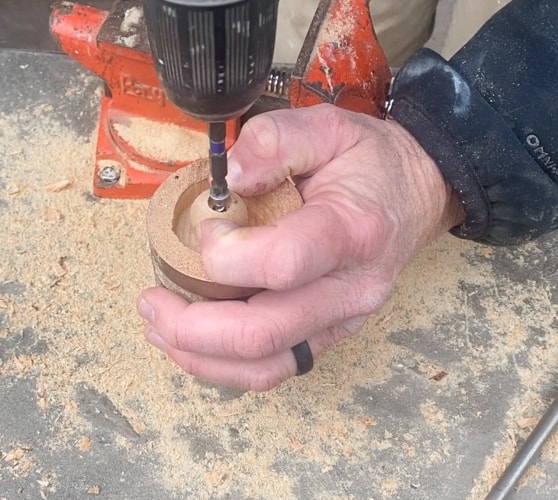
- Then, we drilled a hole through the “handle” of each bell so I could add twine to them for hanging.
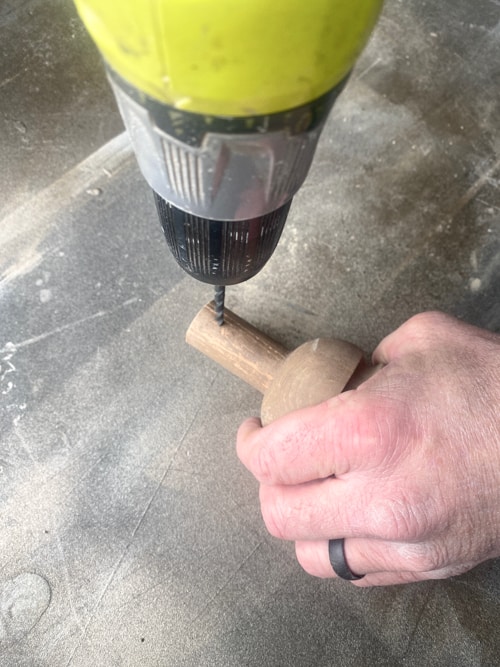
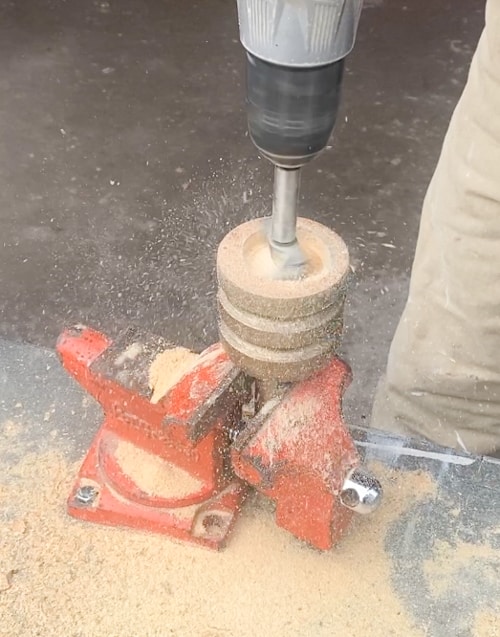
- Next, we used the 1 5/8″ bit to make a “hole” inside the bell.
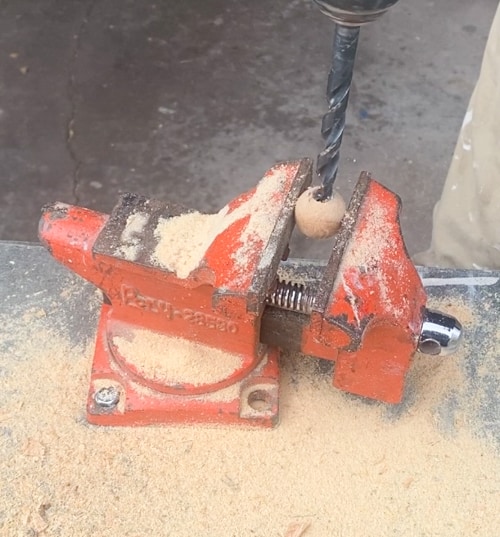
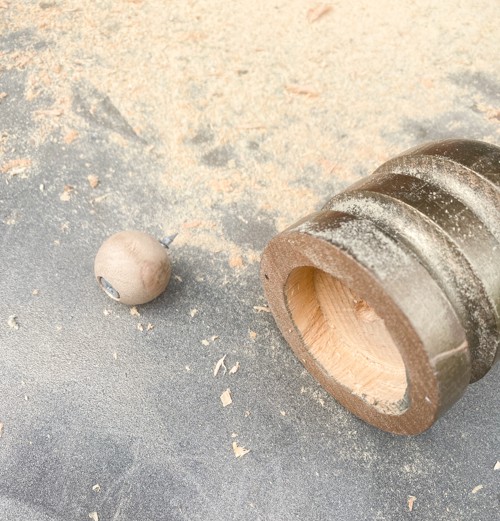
- Then, we made the holes in the wood beads bigger so the screw would be set “inside” the wood bead.
- Then, we screwed the wood bead into the “hole” of the bell.
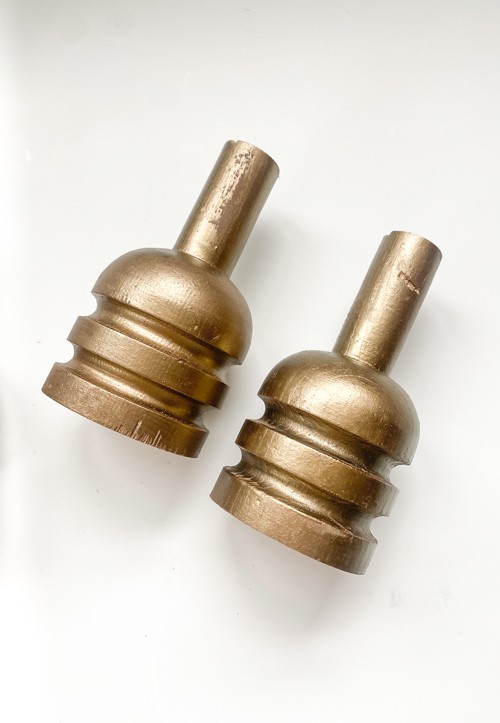
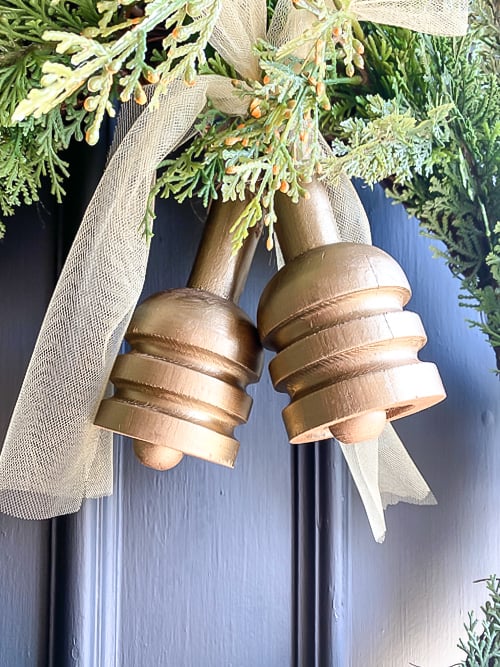
- Last, I used my favorite brass-colored paint and painted the balls (wood bead and all).
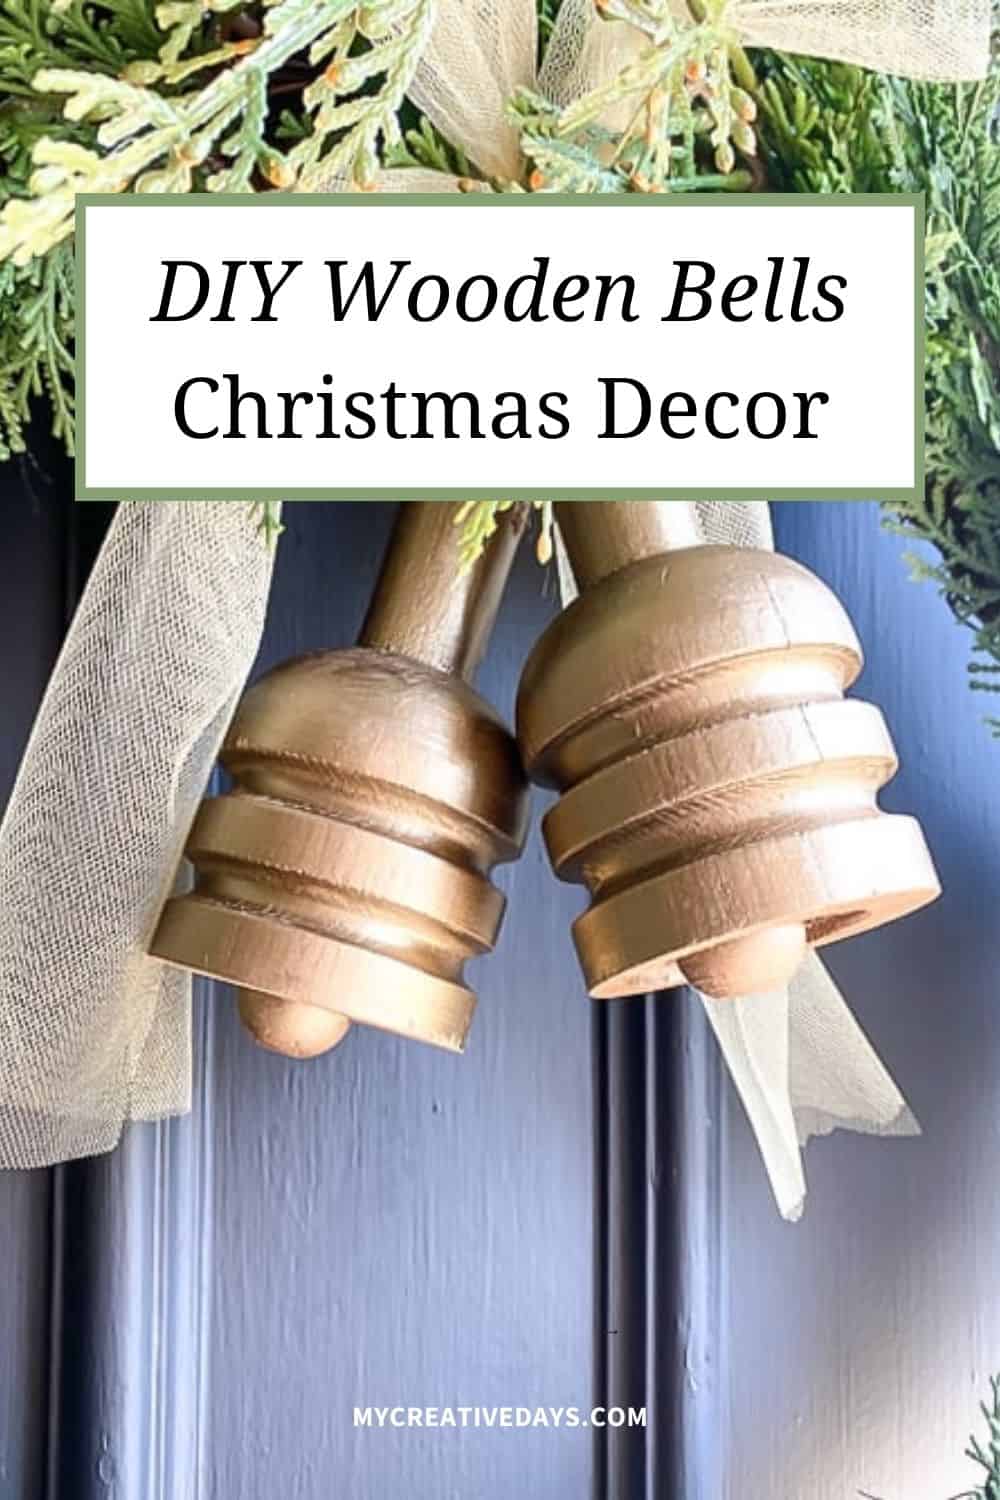
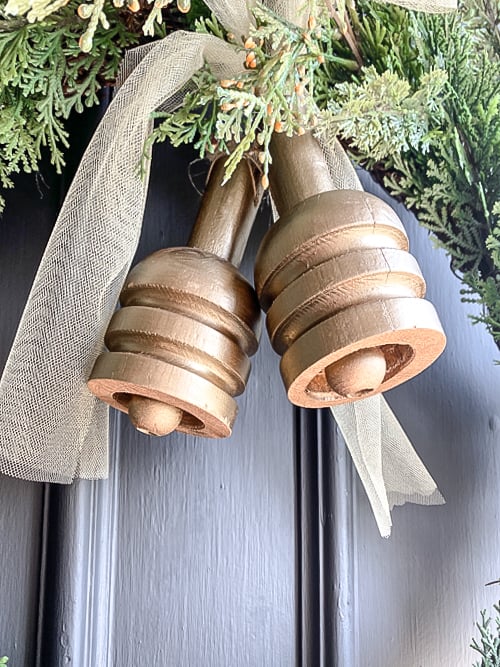
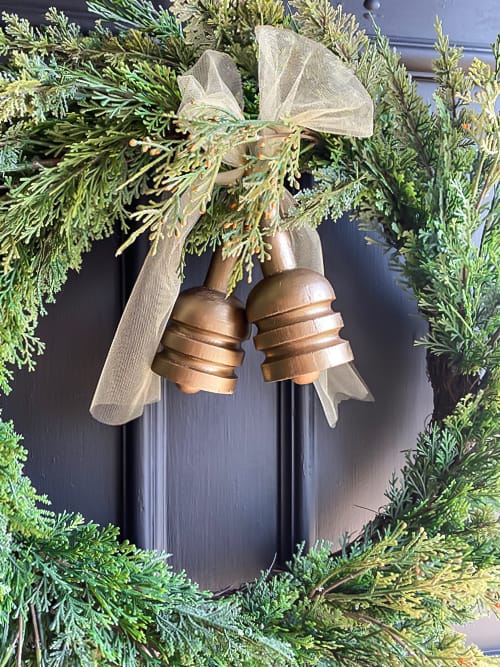
I displayed two of the bells in a wreath. I used twine to tie them together at the handle. Then, I used gold tulle to create a bow and put them inside the wreath.
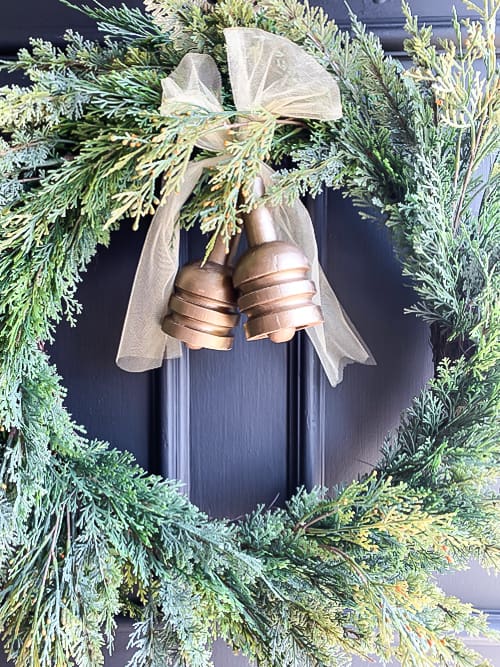
Wood Bells Add Adding A Touch Of Rustic Elegance To The Front Door!
They look just like bells!
This is another great example of why I pick up random wood pieces like this railing. You can always come up with great ways to repurpose them. I still have many pieces left over from the railing that I have plans for.
What do you think of this project? Does it make you rethink about pieces you may have lying around in your garage?
Remember, the joy of DIY projects extends beyond the final product. It’s about the memories you create, the skills you develop, and the pride that comes with crafting something unique. As you hang your DIY wood bells and see them adding a touch of rustic elegance to your holiday ambiance, relish in the satisfaction of a job well done.
I hope this step-by-step tutorial has inspired you to explore the world of DIY and sparked your creativity. Whether you’re a novice or a seasoned DIY enthusiast, keep experimenting, keep learning, and keep creating. After all, the most beautiful decorations are the ones infused with love and creativity.
To see this project being done in real-time, I created a video of walking through the steps. You can watch it on my YouTube channel HERE:
I am sharing new videos every week on my YouTube channel! Make sure to SUBSCRIBE when you are there (it is FREE) and click the bell so you are notified when new videos are launched!
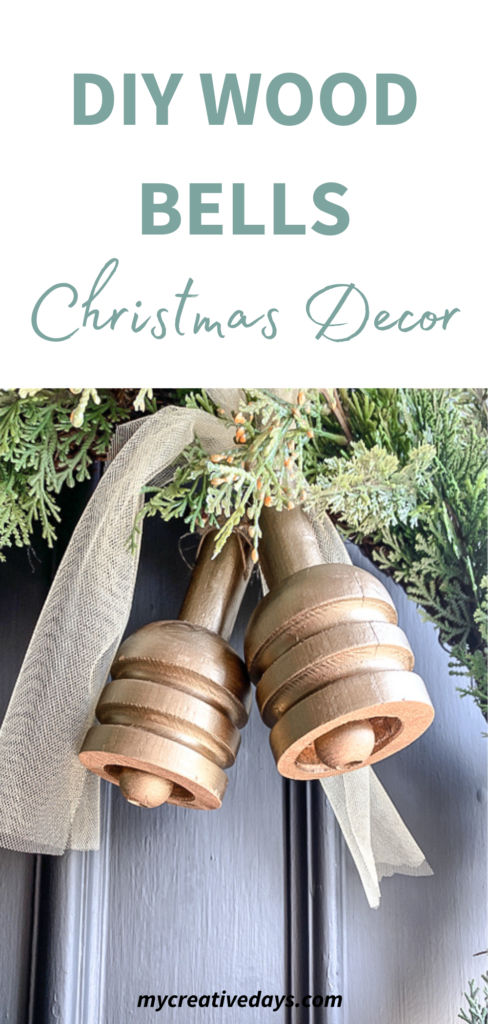
PIN THIS POST!
If you liked this DIY wood bells project, you will love these projects:
DIY Upcycled Christmas Tree Lantern
DIY Velvet Christmas Ornaments