Do you love the look of velvet ornaments but find they are pricey? Try these easy DIY Velvet Christmas Ornaments that give you the look for less!
I love velvet ornaments but they aren’t cheap. When I was looking for ways to create them on my own, I didn’t love the options that were out there. You had to buy certain “kits” to use to get the same look but I knew I could find an easier way that was more available to people and me.
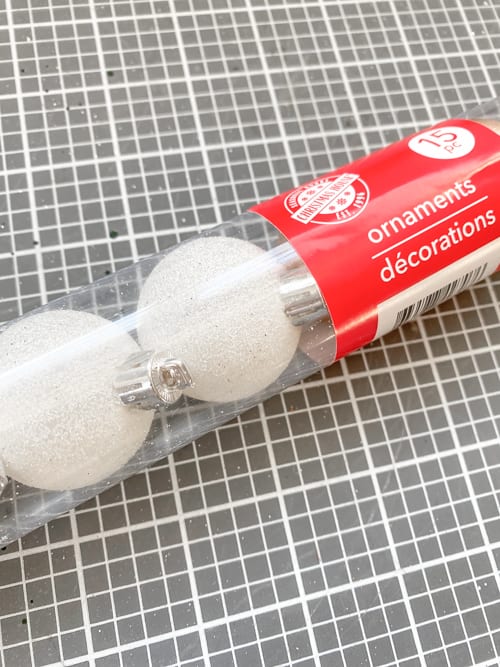
That is when I went into the Dollar Tree for some other ideas and as I picked up a 15-pack of ornaments for a different ornament project, the idea struck me! There were glittered/textured ornaments inside the pack that I knew would give the look of velvet once painted.
I tried Styrofoam balls but they were never fully covered with paint. It didn’t give the look of velvet.
{Affiliate links are used in this post. Click on any of the underlined links to find the products I am talking about. You can read my disclosure HERE.}
Supplies Used To Create These DIY Velvet Christmas Ornaments
Glittered Ornaments (I found mine at the Dollar Tree)
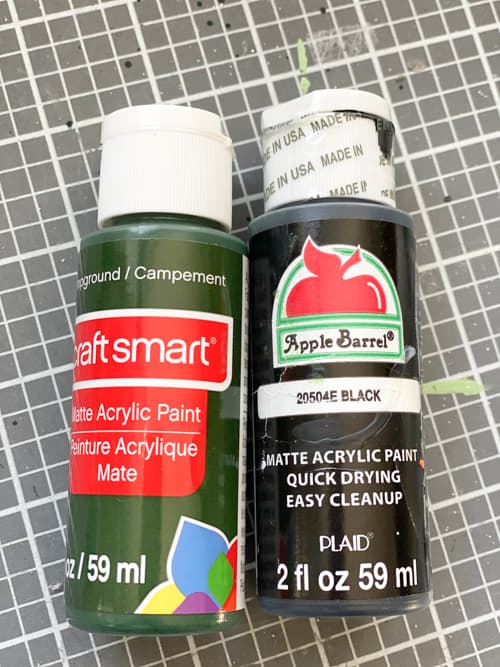
Paint (see supplies notes for tips on paint)
Paintbrush to paint with
Paintbrushes or skewers to hold the ornaments while you paint
Rub ‘N Buff (optional)
Ribbon/Ornament Hanger (optional)
Supply Tips/Notes:
- I found that matte paint works best to give the look of velvet.
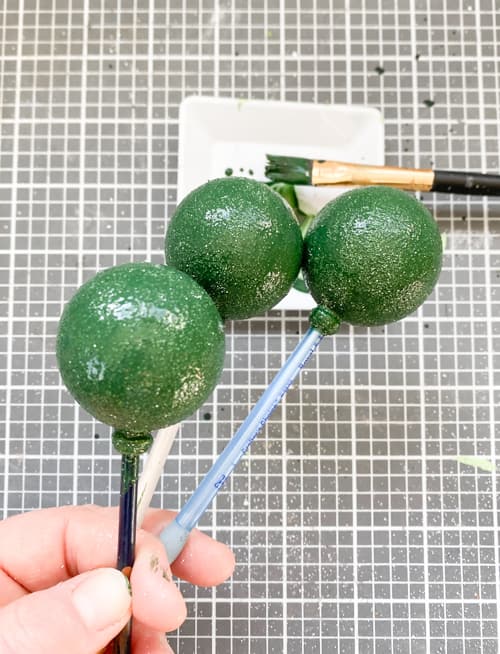
- I also found that the darker, richer colors work best to get the look of velvet (dark greens, black, plum, dark maroon, etc.).
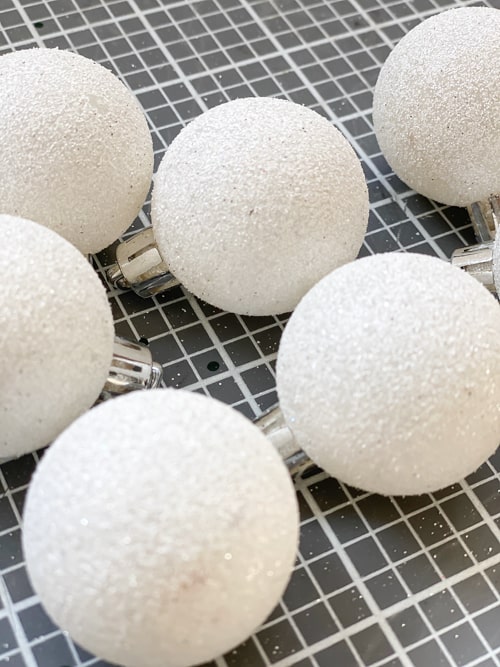
- The glittered ornaments work best. I tried Styrofoam balls and they didn’t cover well enough to give the look of velvet.
- The glittered ornaments I used were part of a 15-pack at Dollar Tree. I linked them above in the supply list. The packs I got had other ornaments inside the package but I needed those for a different project so it worked out for me. You could also find the glittered ornaments at a thrift store.
- I wasn’t a fan of the color of the tops of the ornaments I got. So, I used Rub ‘N Buff in the color “Antique Gold” on the tops of my ornaments. You don’t have to do this step but it is a great option if you want to change the color. The Antique Gold made the tops look a little more aged and old.
- I liked using the craft paintbrushes to hold the ornaments on because they are thicker than a skewer and didn’t move as I painted them. A skewer will work if that is what you have, but the ornament may move around as you paint it.
Steps To Creating These Ornaments:
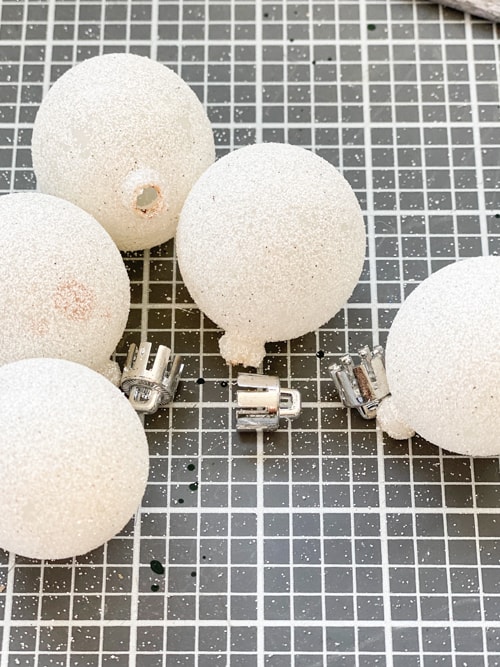
- Remove the tops of the ornaments.
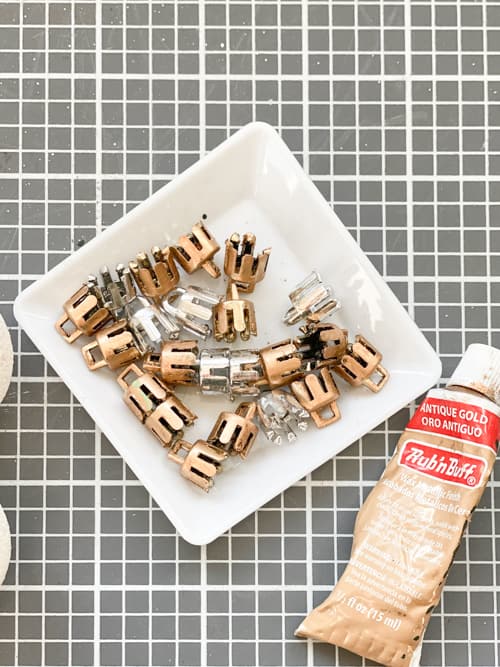
- Apply Rub ‘N Buff to the tops if you are changing the color. Let them sit aside to dry.

- Put the opening at the ornament on the end of a paintbrush or skewer so they are easier to hold as you paint.
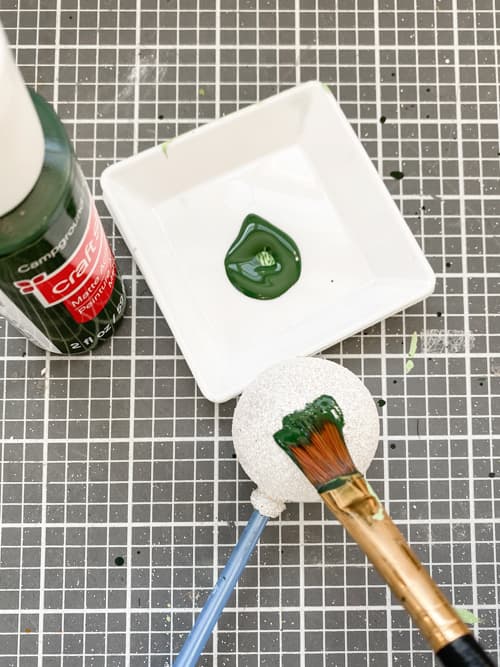
- Apply the paint. You want to apply the paint in thicker layers. It will take a few coats to cover.
- Once you have a coat of paint on, sit the paintbrush that has the ornament on it in something while it dries. I use crocks or floral frogs for this. You want something that won’t fall over as you get more finished ornaments in it.
- Wait for the paint to fully dry before applying additional coats.
- Once the ornament is fully covered in paint and it is dry, place the top back on it.
- Then, you can add some ribbon or an ornament hook and either hang your ornament or decorate with them in other ways.
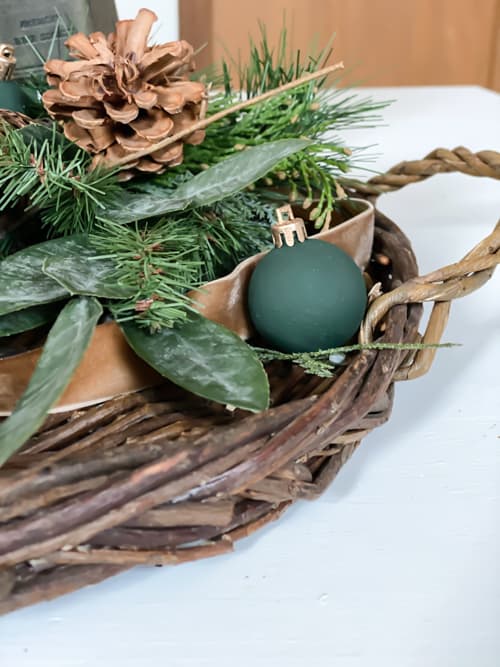
The texture of these ornaments really does give you the look of velvet ornaments without having to buy products you may not use again or buying the real thing.

You can see in some of my photos that some of them could have used another layer of paint. I didn’t notice it until I took the photos.

So, my advice is to add an extra coat of paint even if you don’t think you need one.
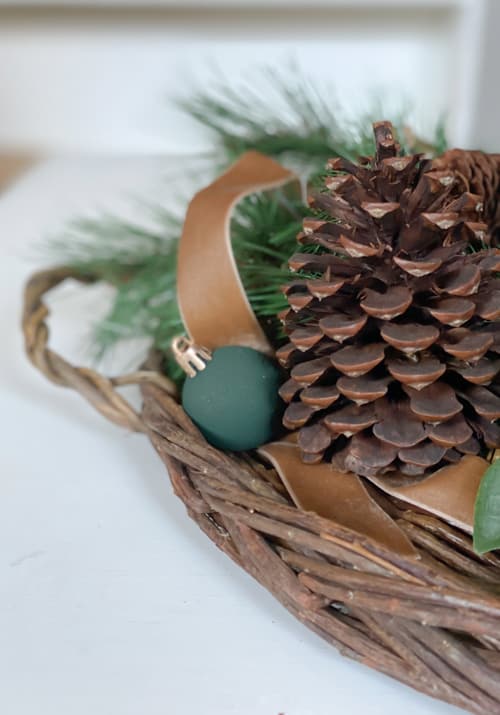
My favorite color is green so I chose a dark green color but these would be beautiful in other dark, rich colors as well.
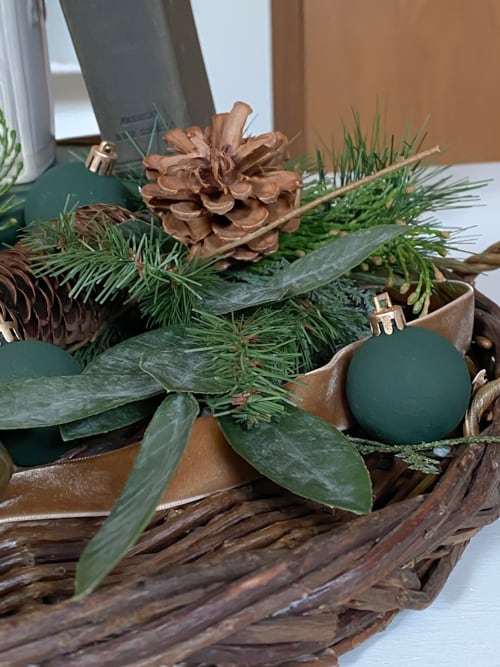
It is hard to see in these photos, but in person, these really do have the look of velvet. I love that it cost me less than $1 to make a handful of these. And, I didn’t have to buy products that I will never use again and it was the easiest project ever!
I hope these DIY velvet Christmas ornaments inspire you to create something for the holidays this year!
If you make these, I would love to see how they turn out! Post a photo on Instagram and tag me @mycreativedays.
PIN THIS POST!
If you liked this easy DIY, you will love these projects:
DIY Vintage Wool Christmas Pillow
DIY Christmas Sweater Ornaments
To listen to my latest podcast episode, head HERE.
I am so excited for Christmas! These ideas are so beautiful! I will totally be using this post as inspo. We are having our kitchen cabinets painted this month so I think we will have to wait for that project to be finished before we get our Christmas decorations out but this is making me so excited to get our tree up!
You will love your kitchen cabinet painted! It is a lot of work but so nice you will have that done!