I love it when spring starts rolling around. I love it for many reasons. The plants start popping up, the grass turns green, and the spring projects can start. I love spring projects. This DIY linen closet makeover started on a whim this spring. The bathroom was not on our list this spring but I have been thinking about a bathroom makeover for a long time. We have only made minor changes to the bathroom over the years. I started thinking about the easy changes we could make to the linen closet without spending a lot and we now have new flooring ordered, a vanity is on its way, and some other ideas are in the works.
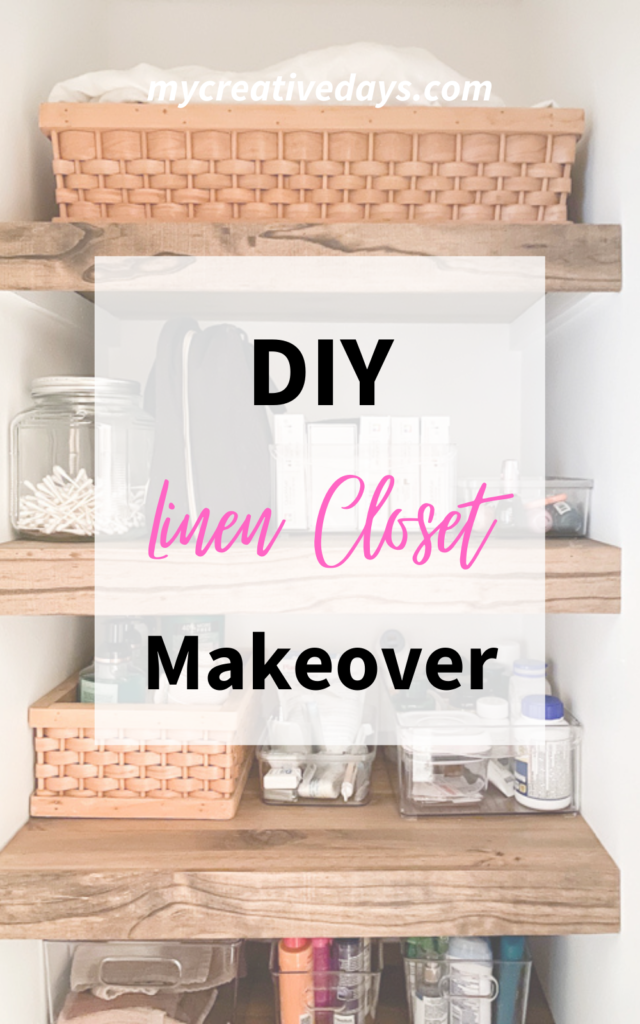
This DIY linen closet makeover was an easy and inexpensive project. It made the linen closet look better and it now functions so much better as well.
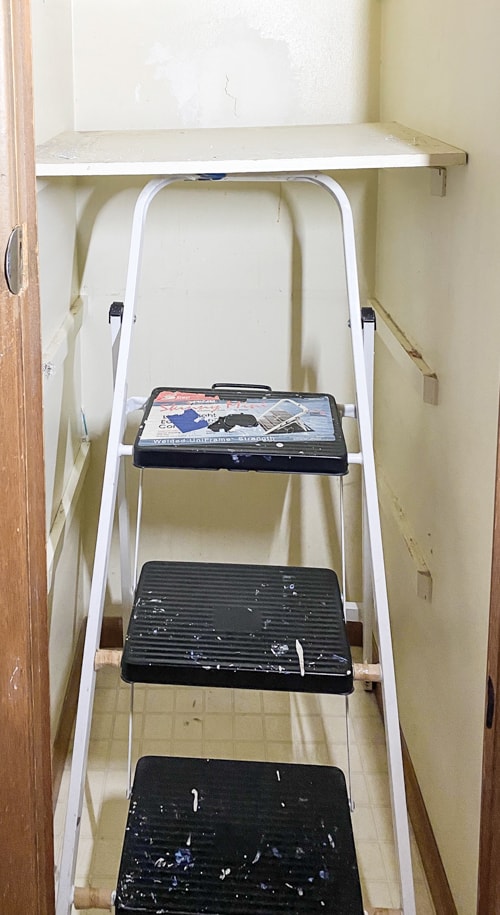
This is the only “before” photo I have of the linen closet. This was after we took out most of the old shelves and started patching a hole in the back of the closet. Again, we did this on a whim and just started working before taking photos.
{Affiliate links are used in this post. Click on any of the underlined links to find the products I am talking about. You can read my disclosure HERE.}
Supplies Used In This DIY Linen Closet Makeover
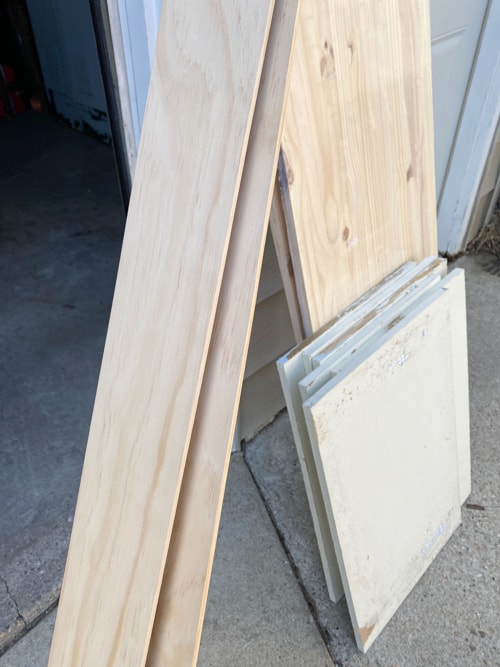
3 – 6′ x 24″ Boards For Shelves (Matt cut these boards in half to get two shelves from each board)
2 – 8′ x 3″ Pine Trim Board For Front Of Shelves (Matt cut these down to 2.5″ because it looked better)
White Paint For Inside Closet
Steps For Creating The New Shelves In The Linen Closet
The first thing we did was remove the old shelves and patch a hole that Matt accidentally made when he was cutting drywall in the kitchen for an electrical outlet. Oops. He was still learning and we never patched it. It was time to tackle it. Once the hole was patched, dried, and sanded, it was time for paint.
Truth: We have never painted the inside of the linen closet since moving in. We had so many other things to do. The linen closet was last on the list and it just never got done. We are the only ones in the linen closet so it wasn’t top on my list to tackle. After seeing it painted with a fresh coat of white paint, I am wondering why we didn’t tackle it sooner. Then, seeing the new shelves and how easy they were to do… why did we wait so long to do this?
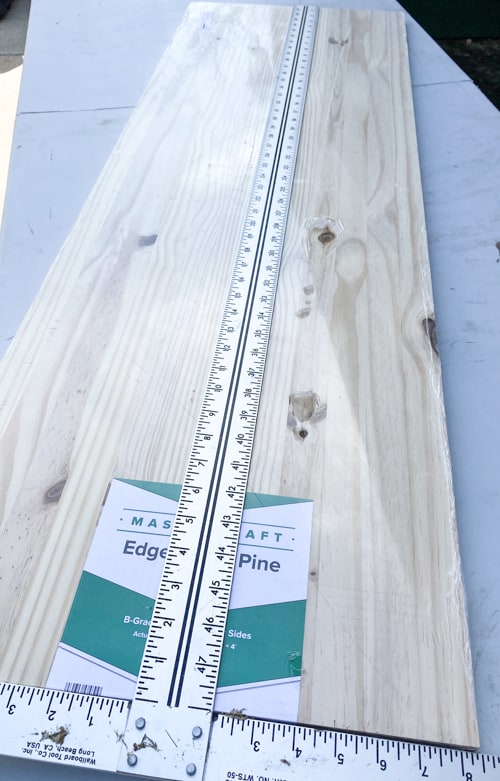
After the paint dried, it was time to make the new shelves. Matt cut the 6′ boards in half. This gave us two shelves from one board. This will look different for every linen closet. We lucked out that the size of ours made it so one board cut in half was the perfect fit for two shelves.
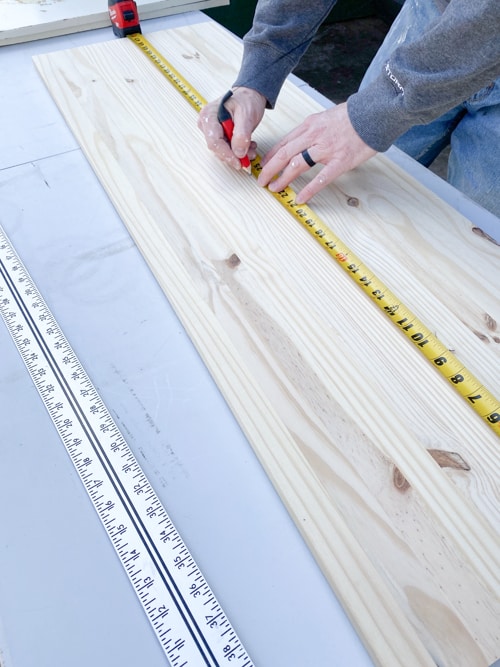
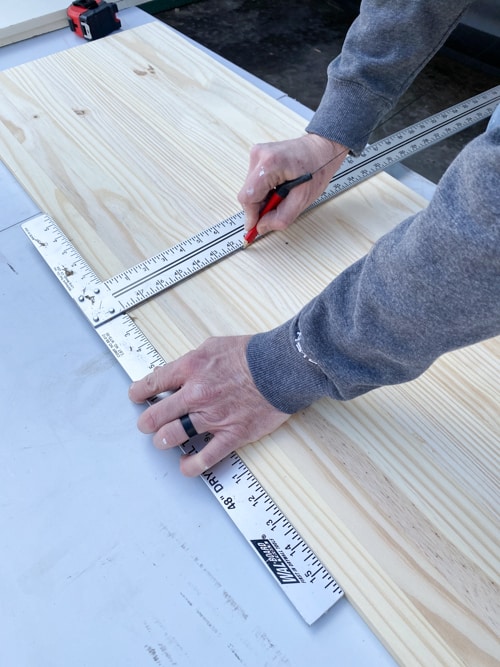
Once the boards were measured to be cut in half, Matt used a drywall square to make the straight line.
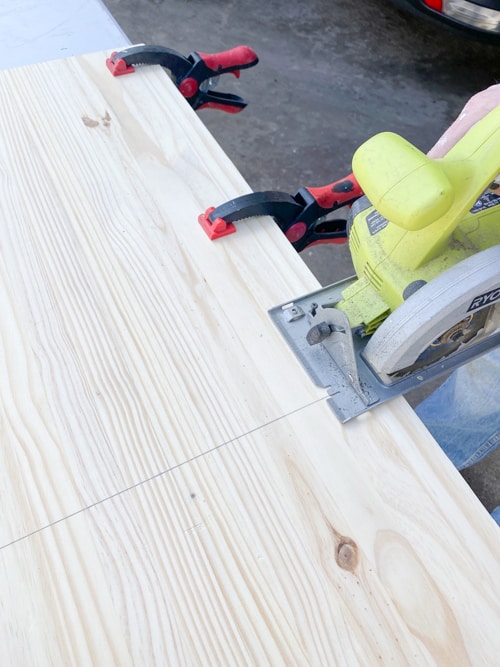
Now, it was time to cut. He used a circular saw to do that. He set the board at the end of the table and used clamps to hold it in place as he cut.
Once all the boards were cut in half, we sanded them all down.
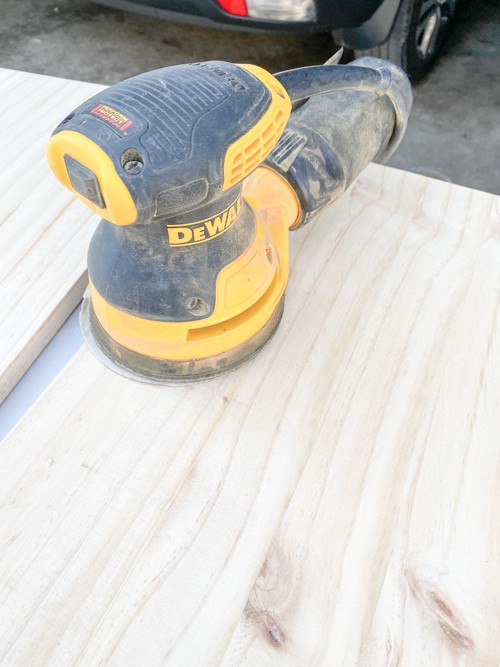
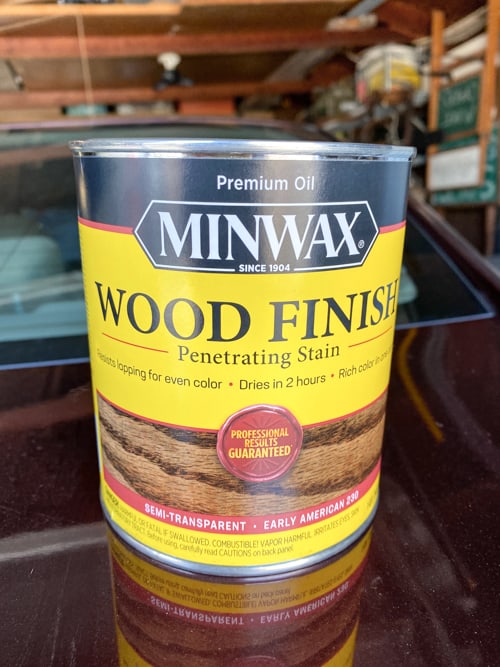
After they were sanded, we cleaned them off with a damp rag to get rid of any sanding dust. Then, we stained them on both sides. The color we used is in the supply list.
While the stain was drying, we stained both sides of the two pieces of trim we bought for the front of the shelves.
When everything was dry, we placed the new, stained shelves on the brackets that were originally in the linen closet holding the old particle board shelves. Then, Matt measured the front of the shelves and cut the trim boards to fit. He used his brad nailer to nail the trim on each shelf.
The trim on the front made the shelves look a lot thicker than they were and they also hid the side rails that held the shelves. It was a win-win.
I can’t believe the difference some white paint, new shelves, and some trim have made! This was the easiest project and really made the linen closet look so much better.
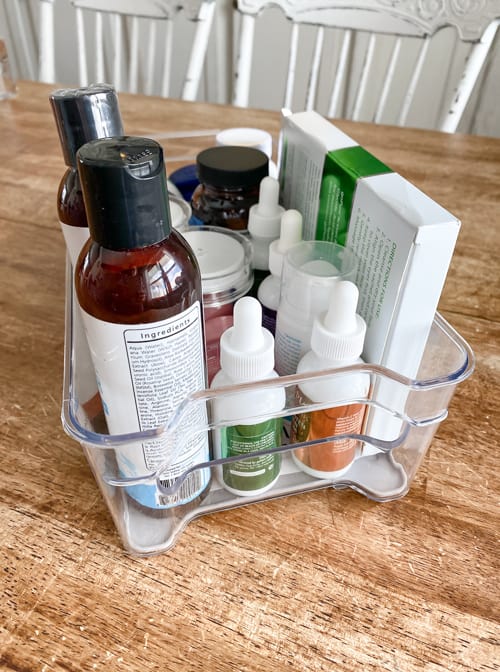
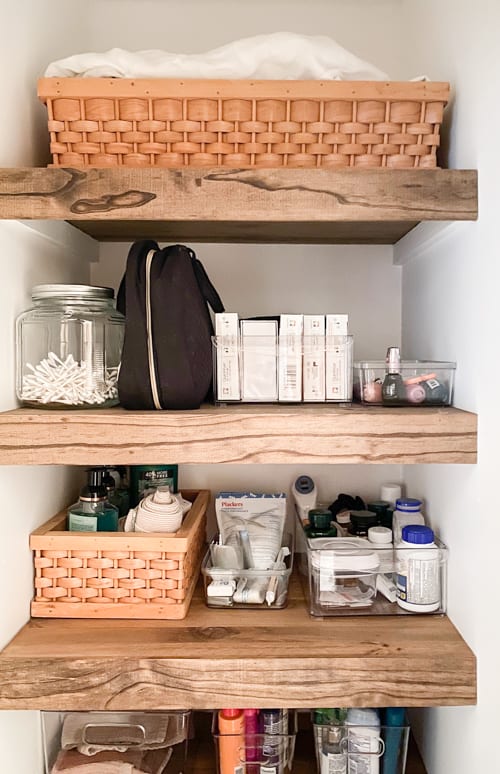
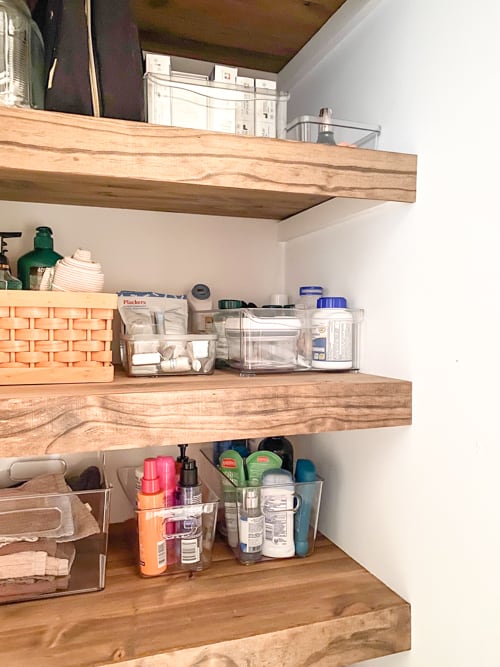
Keep Your Linen Closet Organized With Clear Containers!
Once we had that all done, I got to organize it again. I knew things had to function in the linen closet a little bit better if I wanted the family to keep it up. I found what worked!
Clear refrigerator containers!
The refrigerator containers were cheaper than clear “organization bins” so I went with those. I was able to purge the items we weren’t using and designate bins for different things. I have always used baskets inside the linen closet, but I am finding that the family is keeping things more organized with the clear bins. They put things back because they can see where they go after they use them. I am so happy about this.
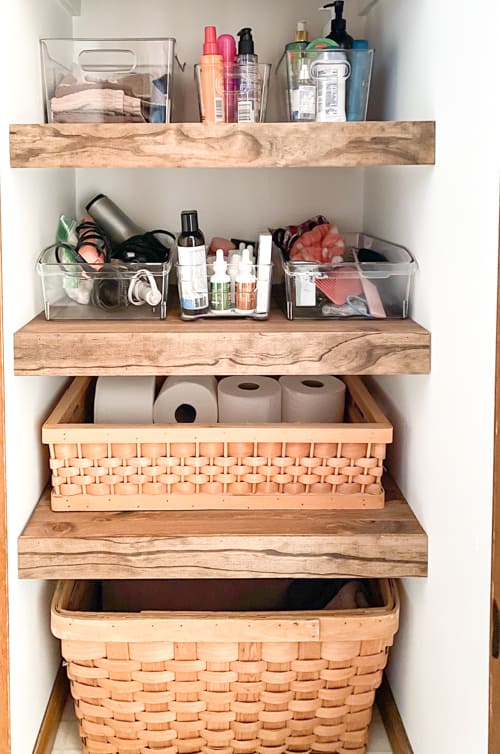
This is the first time that there is empty space around the containers and things aren’t jam-packed in there. There is a lot of room behind each of the plastic bins as well. You don’t have to fill spaces just because you have the space. Empty spaces are a good thing.
I am so glad we did the linen closet. Now, I am even more excited to get the rest of the bathroom done and put together.
Stay tuned for the other changes!
Does your linen closet function well for your family? If not, try the clear containers! They have been a game-changer for sure.
PIN THIS POST!
If you liked this DIY Linen Closet Makeover, you will also love these other bathroom ideas:
How To Paint A Bathtub Easily & Inexpensively!
Budget-Friendly Bathroom Makeover