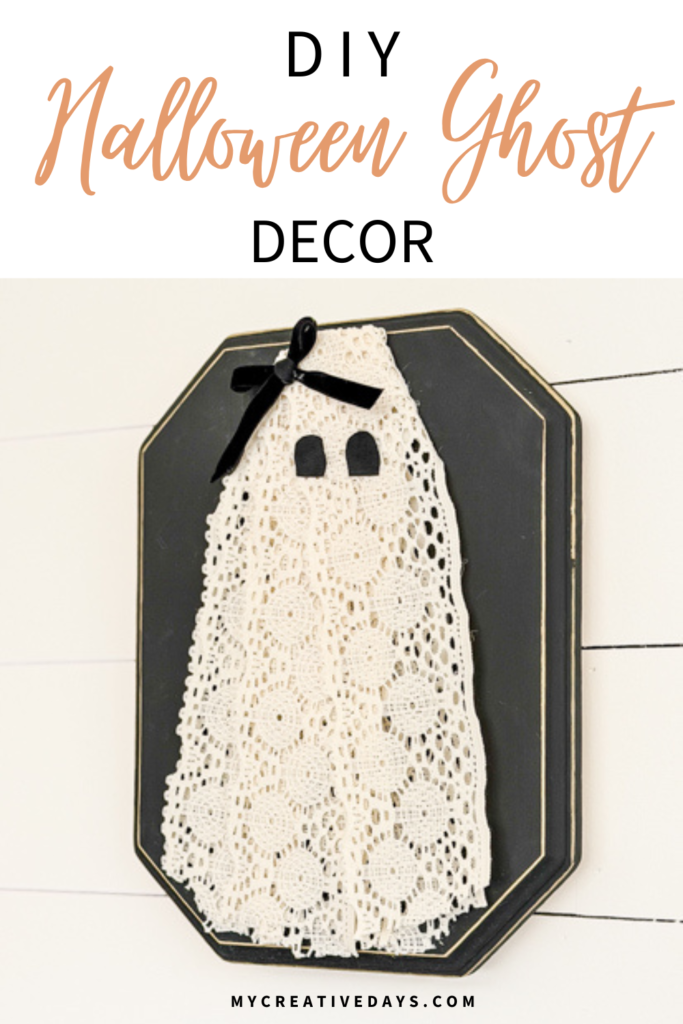

I love a Halloween DIY that doesn’t take a lot of time, doesn’t require a ton of supplies, and can be made a little differently depending on what you have. That is exactly what this DIY Halloween ghost decor project is.
I started with a wood plaque and some lace trim I had. I painted the plaque black, shaped the lace into a ghost, and used hot glue to hold everything in place. Then I added simple black eyes.
That’s really all you need to make the basic ghost.
But once I had the first DIY Halloween Ghost Decor made, I started thinking about all of the ways you could change these up. You could add a bow, flowers, dried stems, different faces, or even make several ghosts together on one larger piece of wood.
And you don’t have to use the exact supplies I used. If you have a scrap piece of wood, a thrifted frame, leftover lace or fabric, or even paper for the eyes, you can make your own version without spending much money at all.
{Affiliate links are used in this post. Click on any of the underlined links to find the products I am talking about. You can read my disclosure HERE.}
Supplies for This DIY Halloween Ghost Decor
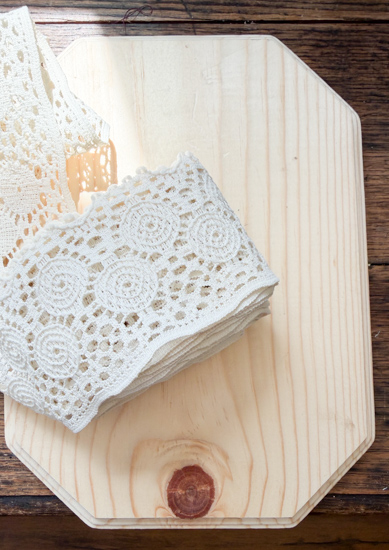
- Wood plaque
- Black paint
- Lace trim
- Hot glue gun
- Black paper for the eyes
- Gold marker (optional)
How to Make DIY Halloween Ghost Decor
Paint the Wood Plaque
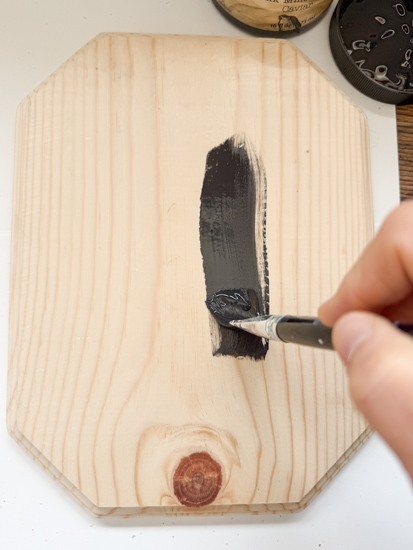
I started by painting my wood plaque black.
You could use any color you want here. I wanted the black background because I knew the lighter lace would stand out against it, but you could make this any color that fits your style. You could even leave the wood natural if you like that look.
Let the paint dry before moving on to the lace.
Create the Ghost Shape with Lace
I didn’t use a pattern or template for my ghost. I laid the lace trim onto the wood plaque and started arranging it into the shape of a ghost.
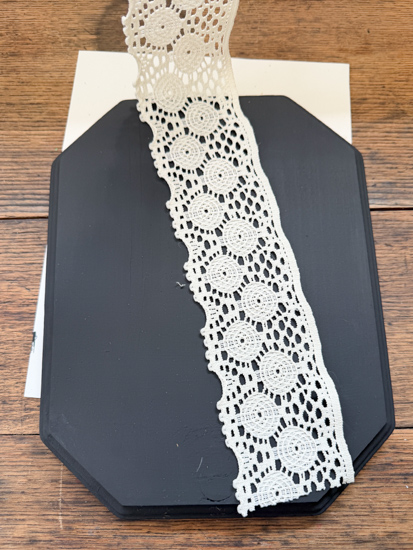
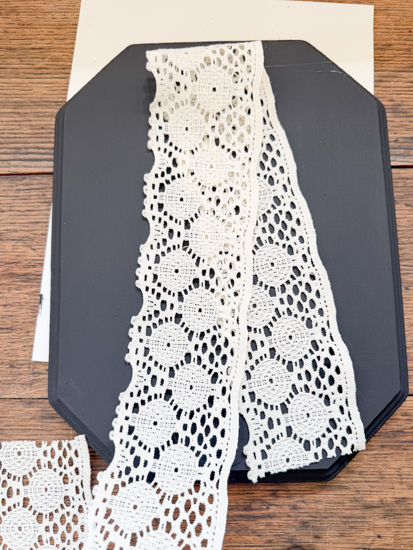
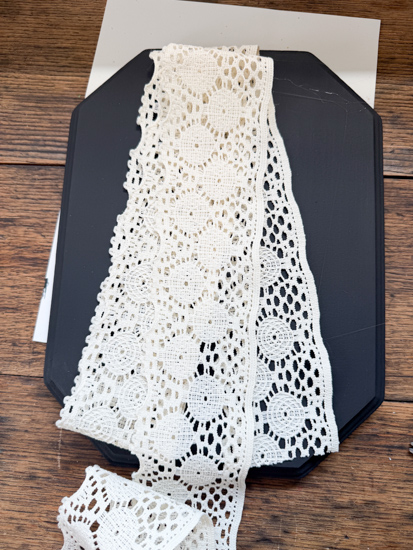
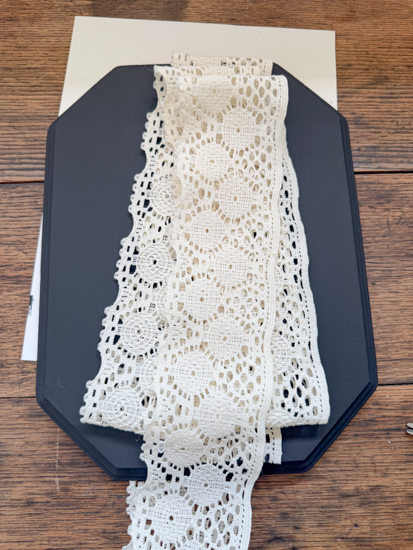
Then, I played with the shape until I liked the way it looked. There really isn’t a wrong way to do it.
Once I had the lace where I wanted it, I folded sections of it over and used hot glue to hold it in place.
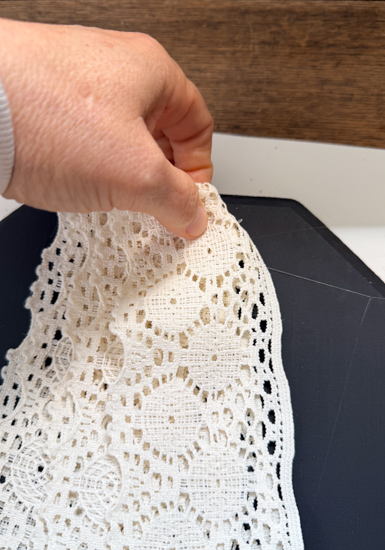
The folding gives the lace more dimension and helps it look like an actual little ghost instead of just a flat piece of lace on the plaque.
I worked my way around the ghost, adding hot glue wherever I needed it to hold the lace in the shape I wanted.
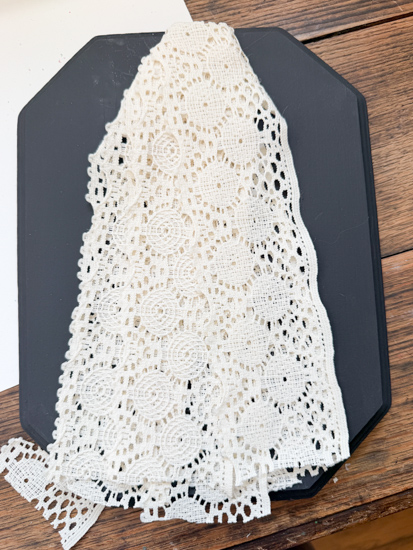
Be careful when you’re working with the hot glue because it can come through the holes in the lace.
Add the Eyes
For the eyes, I simply cut two oval shapes out of black paper.
I hot glued them onto the lace, and that was it!
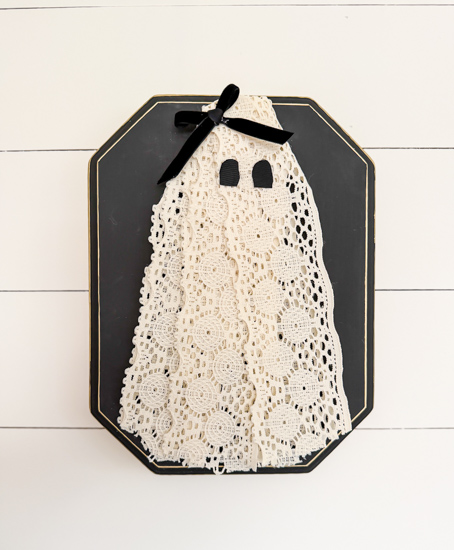
You could use black paper, craft foam, felt, fabric, or anything else you have that will give you two black eyes.
I like keeping this part simple because the lace is already adding so much texture to the ghost.
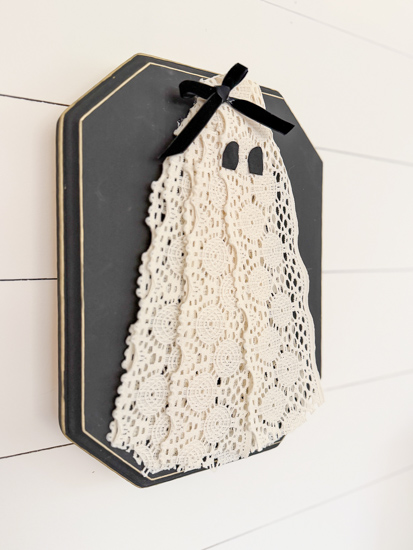
I did use my favorite gold marker for projects like this to add a little detail around the black plaque.
How You Could Decorate Your Ghost
Once you have the basic lace ghost made, you can have a lot of fun with it. This is where I think these would be really cute if you were making several of them. You could make each ghost a little different.
Add a Bow
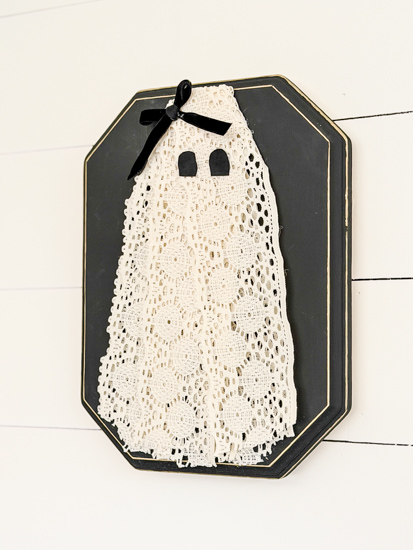
You could add a little bow to the top of the ghost’s head to make a girl ghost.
Or put a bow around the neck for a different look.
This would be an easy way to use up small pieces of ribbon you already have.
Add Flowers or Dried Stems
You could also add a few small faux flowers or dried stems where the ghost’s “hand” would be.
I think this would be especially pretty if you were going for more of a vintage or whimsical Halloween look.
Make a Whole Ghost Family
Instead of making one large ghost, you could make several smaller ghosts on a larger piece of wood. You could have a whole little ghost family with different sizes and personalities.
Give one a bow. Give another flowers. Make their eyes different sizes.
You could even make one look spooky, and another one look cute.
The possibilities are really endless.
What Can You Use Instead?
If you don’t have the exact supplies I used, don’t go buy everything just to do this project. This is one of those DIYs where I would look around your house and your scrap and craft stash first.
Here are some ideas:
Instead of a wood plaque: Use a scrap piece of wood, an old sign, a thrifted frame, or another flat piece of wood you already have.
Instead of buying lace trim: Look through your ribbon and fabric stash. An old lace curtain, lace tablecloth, lace clothing, or leftover trim could work. You could even try another lightweight fabric if that’s what you have.
Instead of black paper: Use craft foam, felt, fabric, or leftover scrapbook paper.
Instead of buying embellishments: Look through your ribbon, buttons, faux flowers, dried flowers, jewelry, or other craft supplies for things you can use to decorate your ghost.
This is exactly the kind of project where using what you have can make it even more fun.
If you like to see projects like this in real time, make sure to SUBSCRIBE to my YouTube channel HERE! It is FREE! I am sharing new videos every week, and I don’t want you to miss any of them!
This DIY Halloween Ghost Decor would be cute mixed into a Halloween gallery wall, sitting on a shelf, or displayed with other vintage and thrifted Halloween finds.
And because you can make the ghost any size and decorate it however you want, you can really make it work for whatever space you have.
I can’t wait to see what you do with yours!
PIN THIS POST!