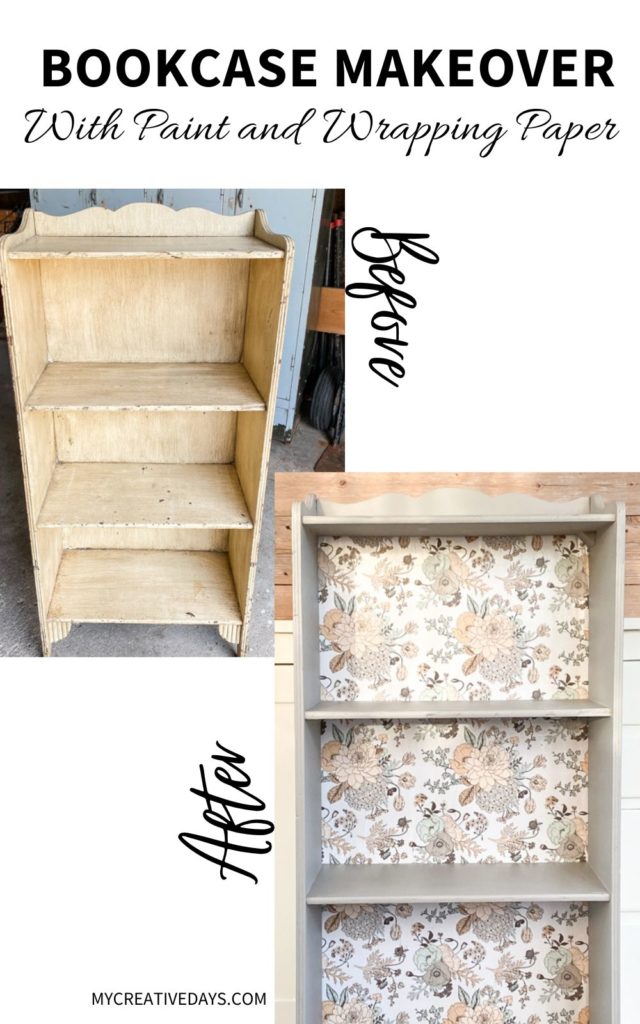
This vintage bookcase makeover used stripper, paint, and wrapping paper to update it and make it beautiful and functional for years to come.
The story behind the bookcase:
I was driving around to some local garage sales and saw a sign on a large piece of cardboard for a sale. It was down a long winding driveway so I got excited. What is it about a long, winding driveway that makes me think it is going to be a great sale? I don’t know. It just does.
The house was really nice so I was even more excited.
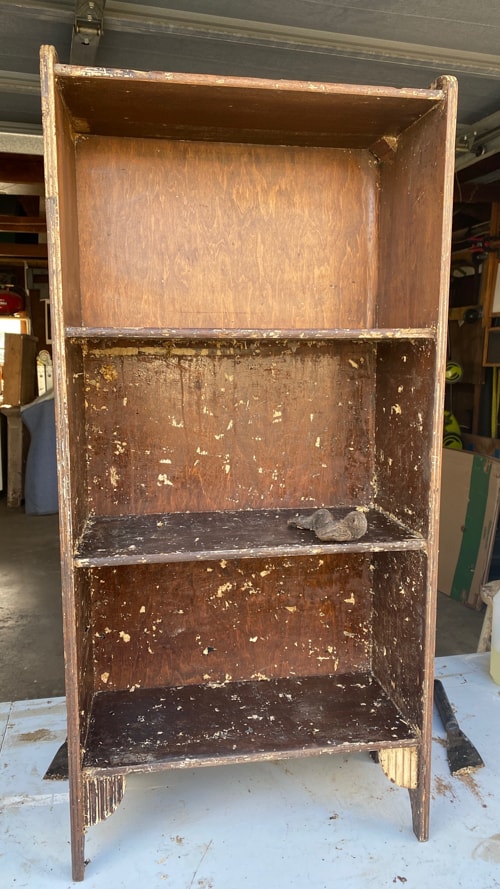
I walked throughout the entire sale and didn’t find anything until I was ready to leave and then, saw this bookcase.
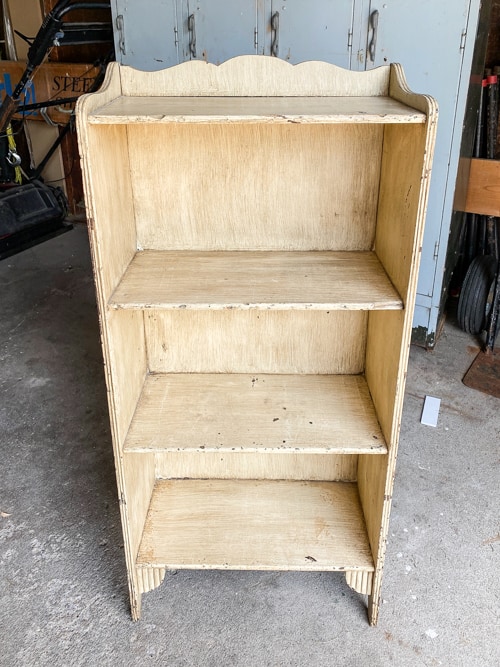
Gabrielle needed some better storage for her books. This bookcase was old, it was a small size, and it would give her better storage for her books. It checked off all the boxes.

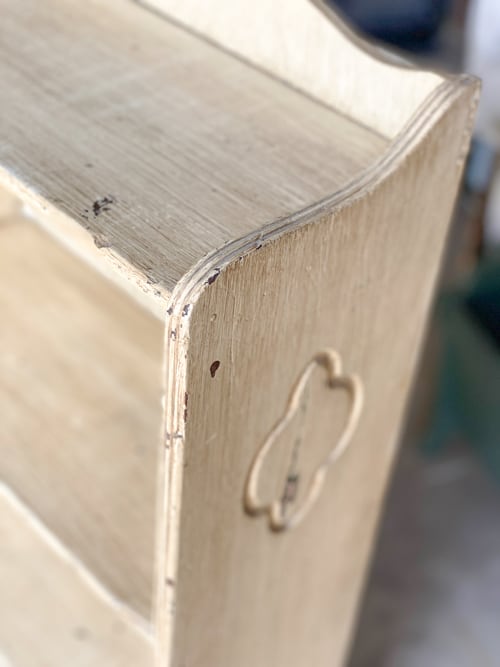
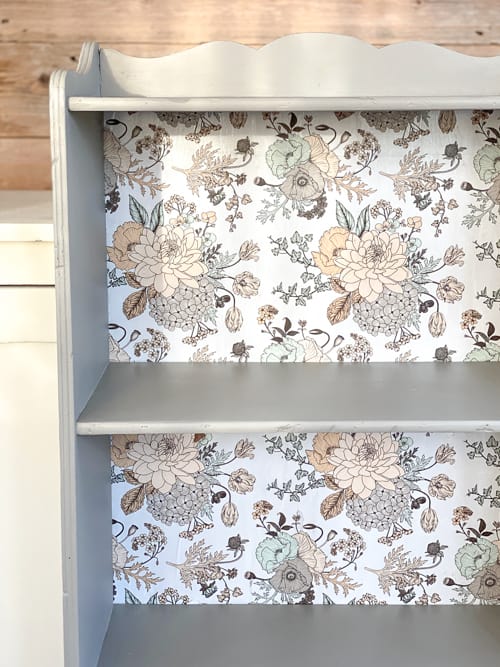
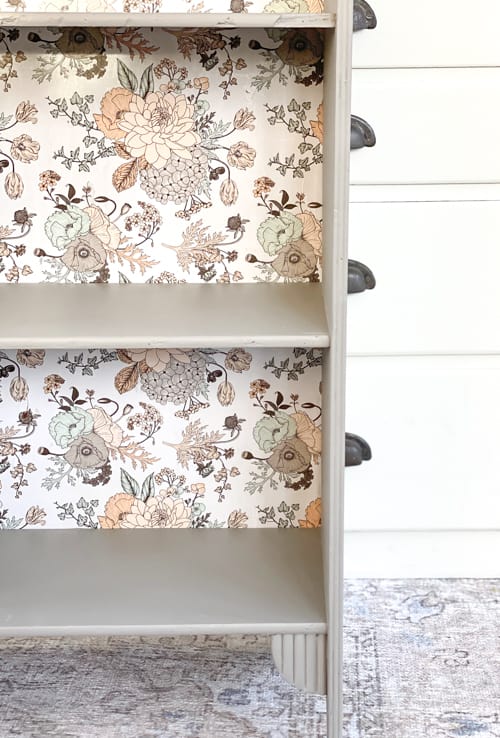
I also loved that it had stumble details in different areas.
I love the stories behind the things I find! It makes every piece in our home a true conversation piece!
When I went to pay for it, the man at the sale said that it was older than him and was in his college dorm room.
The college was the same one Matt and I went to.
The bookcase was meant to come home with me.
{Affiliate links are used in this post. Click on any of the underlined links to find the products I am talking about. You can read my disclosure HERE.}
Supplies Used In This Bookcase Makeover
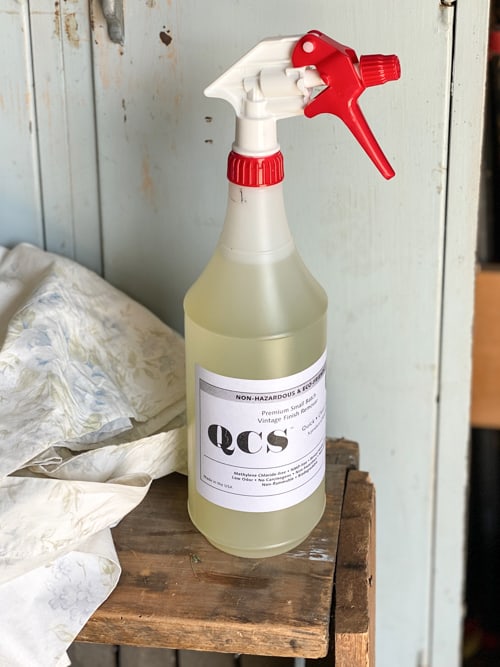
Stripper (See my video of how this works HERE)
Putty Knife (to remove the paint)
Wrapping Paper
White Glue (mixed with water)
Steps For This Bookcase Makeover
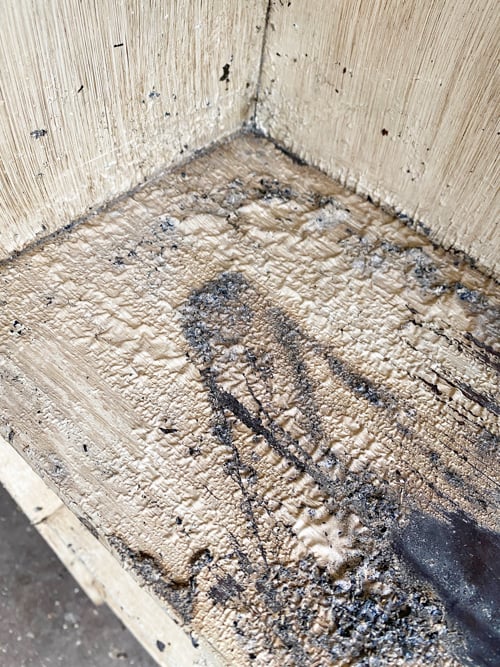
- The first thing I did in this bookcase makeover was to use a new-to-me stripper solution from Stripwell. The bookcase had paint and some kind of brown stain on top of that. It wasn’t a good piece to paint over and I really wanted to use this new stripper. You can see from the photo above, that it worked really well. You can see the full video of me using this stripper on this piece on my YouTube channel HERE.
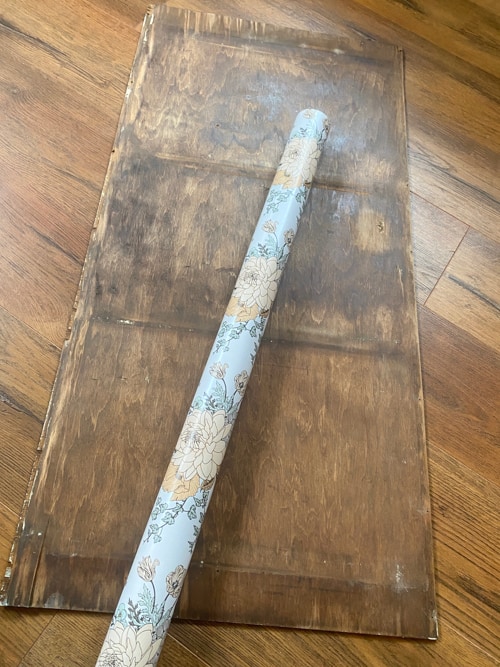
- After I had the entire bookcase stripped, I sanded it down with 220 grit sandpaper. Since this was going to go in Gabrielle’s room, I knew she would want it painted. I removed the back panel and got an idea.
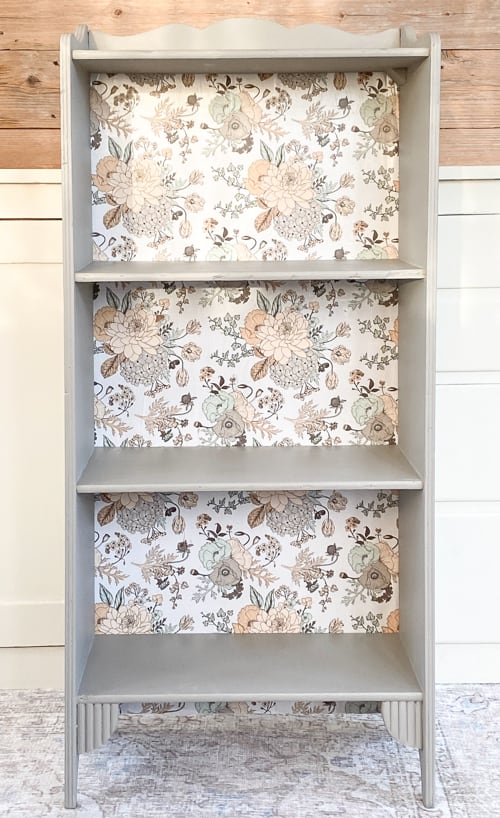
- I had recently found the prettiest wrapping paper at a thrift store. It was a brand new roll and it was strong paper. She loved it when I brought it home. I thought it would make a beautiful backdrop to this bookcase. When I told Gabrielle what I was thinking, she was one board.
- I painted the entire bookcase in a couple of coats of this color and added a topcoat when it was dry.
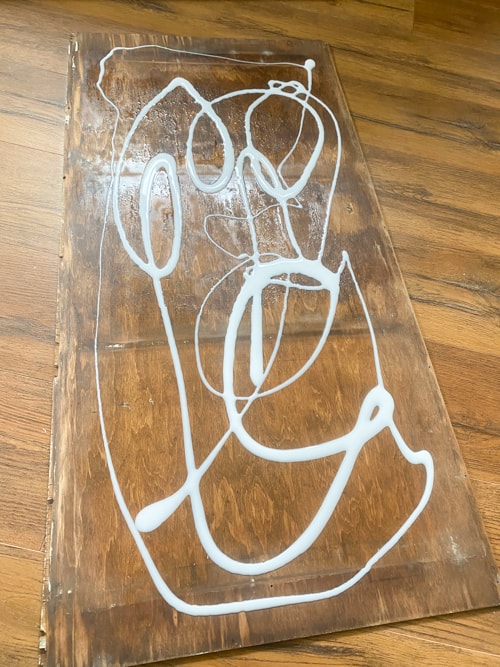
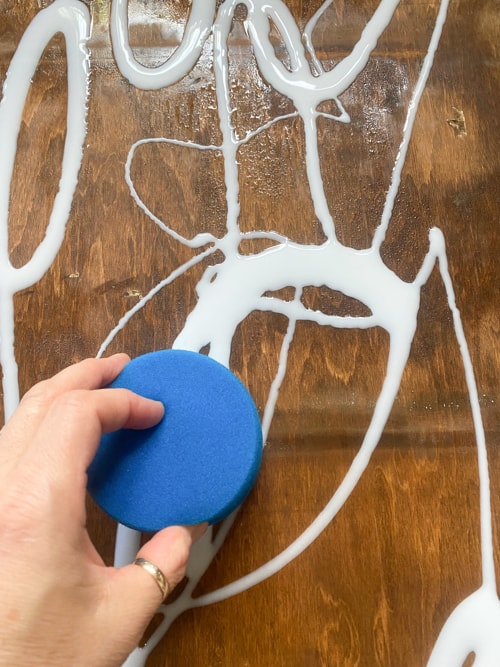
- In between coats of paint, I applied white glue and water to the back panel I removed with my favorite blue sponge. (You can see that process on my IG reels HERE).
- While I let that sit for a couple of minutes, I took the measurements from the back panel and cut out that size from the wrapping paper.
- Then, I applied the wrapping paper to the back panel over the glue. I used an old credit card to smooth out the paper carefully.
- Since the wrapping paper was so thick and it was only going on the back of the bookcase, I didn’t add a topcoat to the paper.
- Once it was dry, I nailed the panel back onto the bookcase and it was done!
PRO TIP: Adding a topcoat is always a good idea for furniture pieces that will get a lot of use. Gabrielle will be sliding books in and out of this thing a lot so I wanted to put a good coat of topcoat on the entire thing to protect the finish.
I didn’t really get great “staged” photos in the end because Gabrielle took it to her room so fast and put all her books on it. That made me happy. I was fine with the quick shots I was able to get in the back porch and let her be excited about this piece for her room.
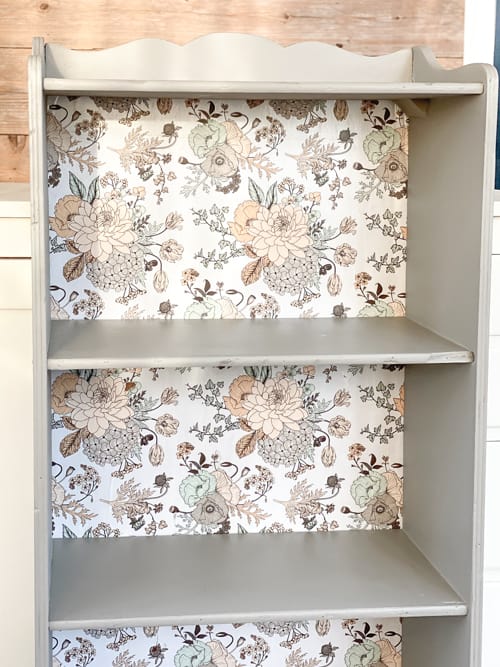
The wrapping paper really made this little bookcase special.
And once again, the new paint color highlighted the subtle details this bookcase had.
What do you think of the makeover?
Have you ever used wrapping paper on a piece of furniture?
Do You Want To Make Money Flipping Furniture?
After twenty years of doing this, I am still picking up pieces when I can find them because I love the creative outlet, but I am now coaching other furniture flippers on how to make more money in their business. If you are someone who is looking to start and/or grow a furniture flipping business, I would love to help you. There are ways to make money in your business beyond painting a piece of furniture. Once I learned that, my business flourished. Don’t waste your time trying to figure it out on your own.
To help other flippers, I created The Furniture Flipping Academy! The academy includes everything you need to start, grow, and/or scale a furniture flipping business. It includes courses, resources, templates, social media planner and guide, a private community, and so much more. It will ensure that you are doing the steps that will lead to success and not wasting your time on things that won’t.
You can find all the information about the Furniture Flipping Academy HERE.
Let’s get your business started and/or moving in the right direction. The Furniture Flipping Academy is for any flipper, from beginner to experienced. If your business is stagnant, there is a reason for that. Let me help you grow it into a flipping career that is profitable and fits the lifestyle you want to live.
PIN THIS POST!
If you liked this makeover, you will also love these transformations:
3 Drawer Dresser Makeover With Paint & Hardware
Hi! Did the wrapping paper ever rip?
It did not. You want to use a good quality paper. A real thin paper will rip.
it’s so awesome!! what is the paint color?
It is a beautiful color! Click on the “paint” link under the supply list and it will take you right to it. I link every supply I use in every post so it is easy for you to find! Have a great day!