

If you’re looking for a DIY Dollar Store Halloween Decoration that’s budget-friendly but looks like something you’d find in an expensive home decor store, you’re going to love today’s project.
You guys know me…if I see something I love in a store or online, my first thought is almost always, “I bet I could make that.”
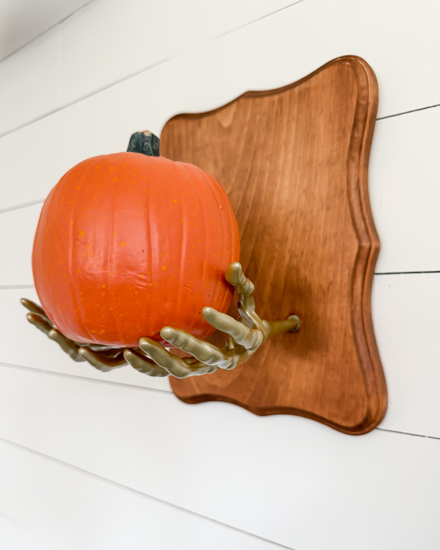
That’s exactly what happened with this project.
I was browsing online when I spotted something that immediately caught my eye. I loved the idea, but I wasn’t about to spend that much money on something I knew I could recreate.
So, off to Dollar Tree I went.
I originally planned to recreate exactly what I saw, but when I got there, the individual skeleton hands they had in their Halloween section looked more like little dinosaur paws than skeleton hands. 😂 They weren’t giving me the look I wanted.
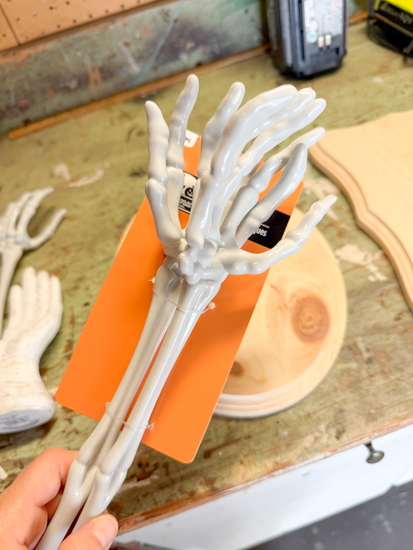
Then I spotted the skeleton arms.
The minute I saw them, the wheels started turning.
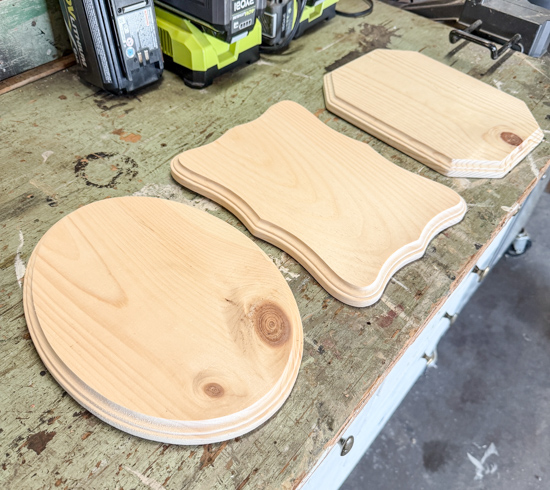
I grabbed a couple, picked up a few wood plaques, and headed home to see if the idea in my head would work. Thankfully, it came together even better than I imagined!
One of my favorite things about DIYing is that sometimes the best projects come from changing the plan halfway through.
Supplies You’ll Need for this DIY Dollar Store Halloween Decoration
- Wood plaque
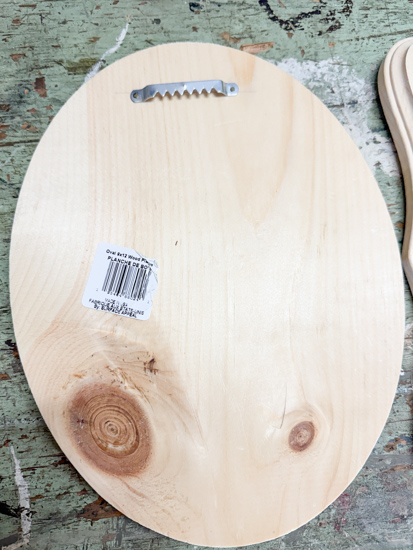
- Wall hanger to add to wood plaque
- Drill
- Skeleton arms
- Spray paint, paint, and/or stain (optional)
- Adhesive
How to Make This DIY Dollar Store Halloween Decoration
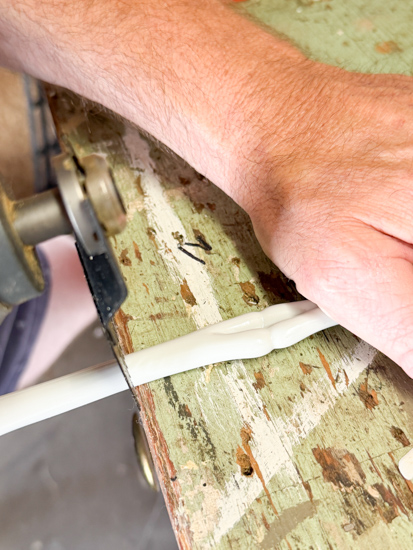
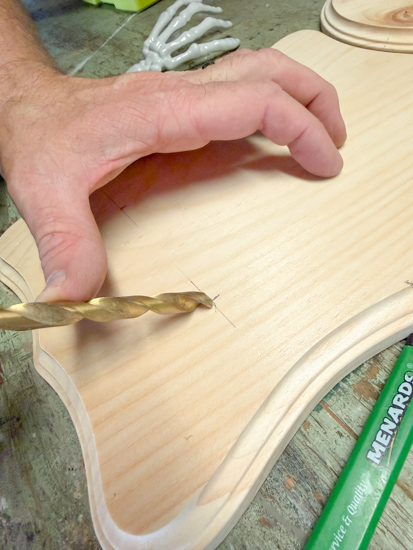
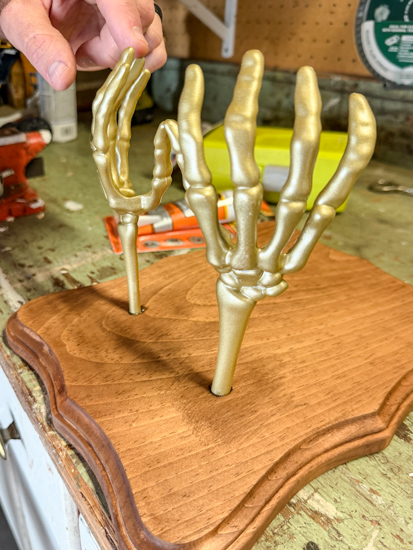
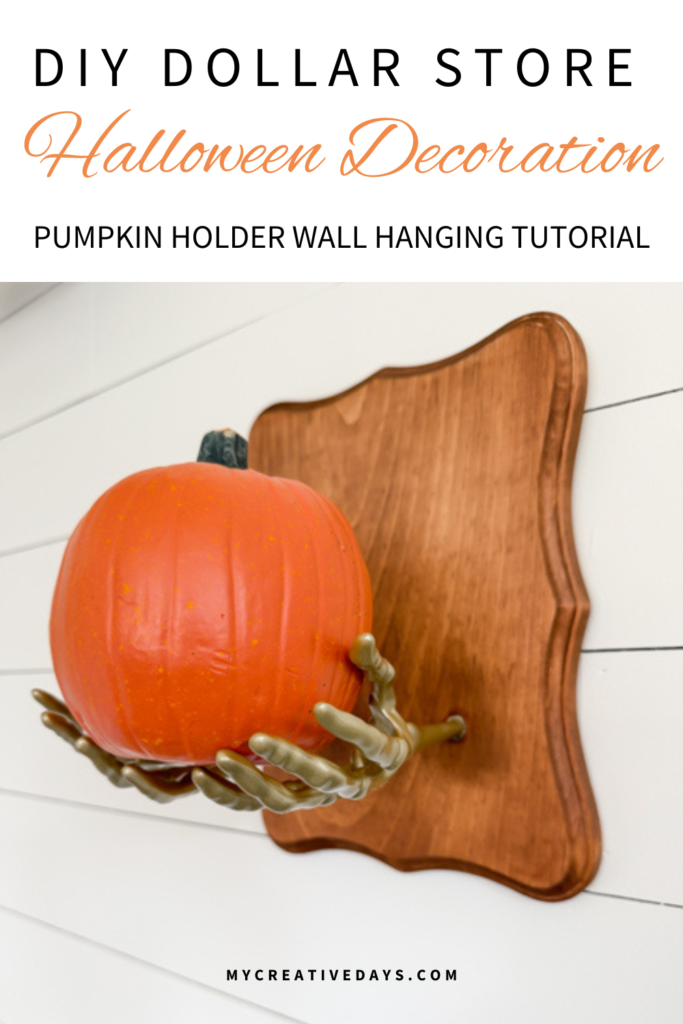
The first thing we needed to do was shorten the skeleton arms so they would fit the size of the wood plaque. After trimming them down, we drilled two holes into the wood where each arm would slide through.
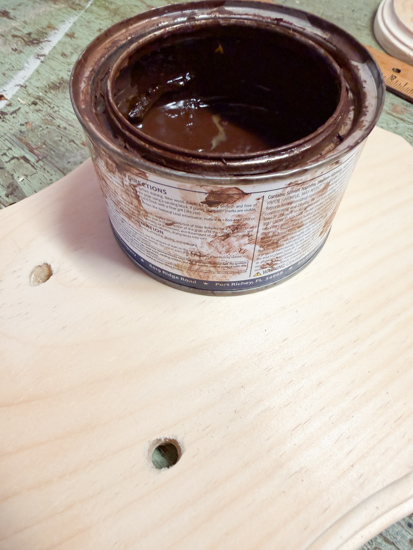
I stained the wood because I wanted it to have a little warmth and look less “crafty.” Of course, if you already have scrap wood lying around, use that! This project would look great on reclaimed wood too.
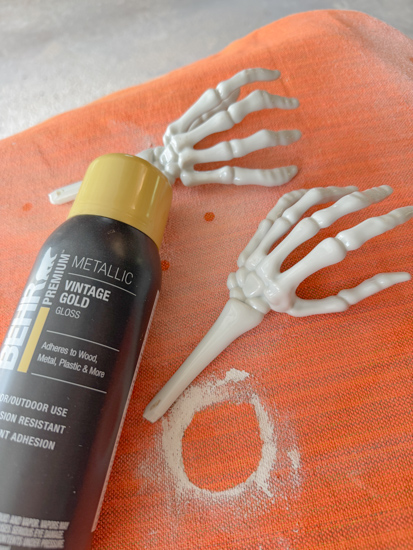
I gave the skeleton arms a few coats of gold spray paint because I had it on hand. You could do this any color or leave them as they are.
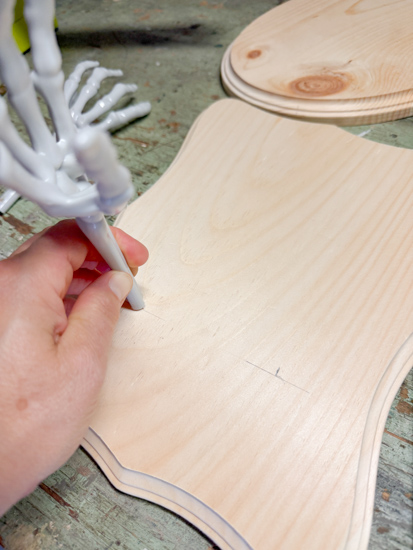
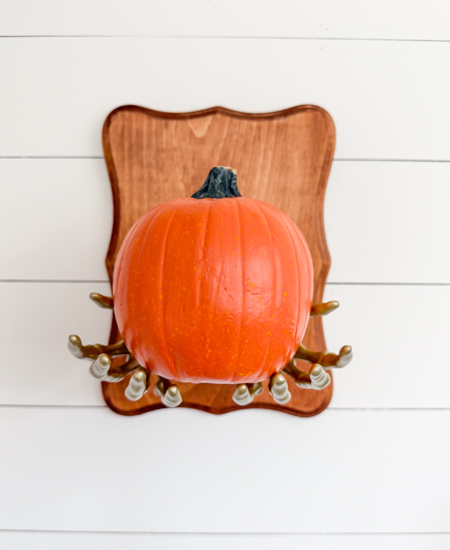
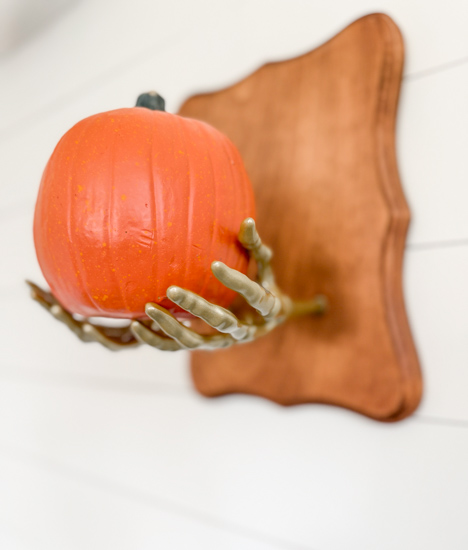
Once everything was dry, we added adhesive into the drilled holes and inserted the skeleton arms in place so they looked like they were reaching out to hold the pumpkin.
I added hanging hardware to the back, popped a faux pumpkin into the hands, and that was it!
Then…I Made Another One!
You know I rarely stop at just one version.
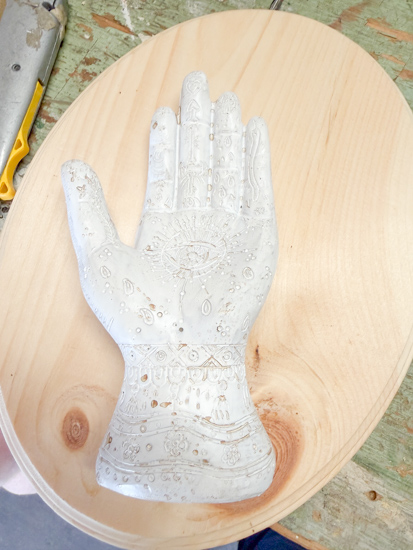
While I was at Dollar Tree, I also picked up one of the decorative hands they had in the Halloween aisle.
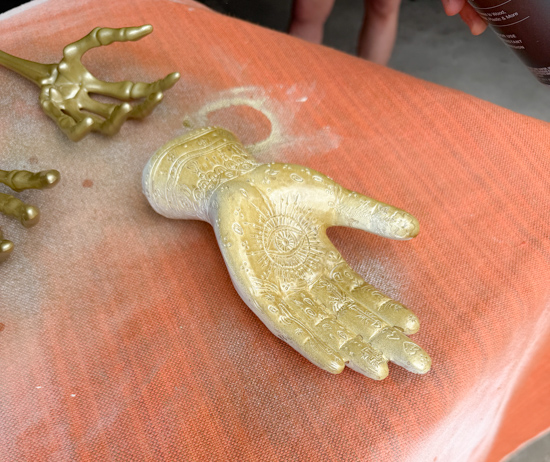
It’s not a skeleton hand, which is exactly why I liked it. It reminded me of another decorative piece I had seen on a hand end website.
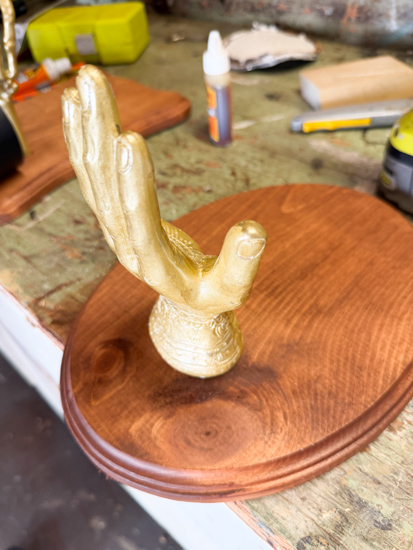
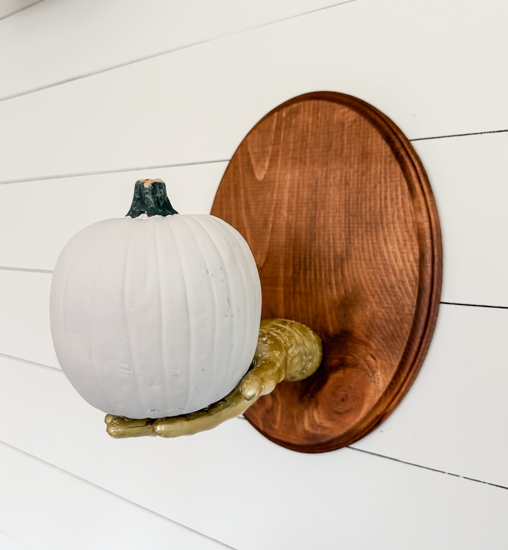
This version was even simpler. I stained an oval wood plaque, spray-painted the hand the same gold color, and screwed it right onto the wood.
This version could stay out all year.
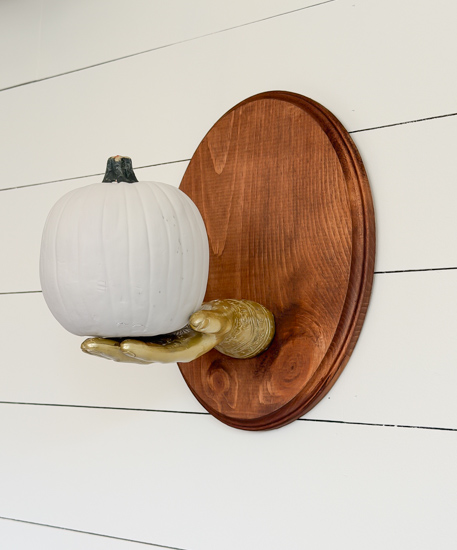
During Halloween, it holds a pumpkin perfectly. After that, swap in a flameless candle, a small seasonal accent, or whatever fits your decor.
I love projects that can do double duty.
A Few Ideas Before You Make Yours
One of the best parts about this project is that you don’t have to make it exactly like mine.
- Use whatever wood pieces you already have.
- Make sure you position the hands (on either project) so that they can hold something. The single hand has to be up a little bit so the item placed on it doesn’t slide off. The skeleton hands need to be positioned so that it looks like they are holding something when placed in them.
- Change up the stain color.
- Paint the hands any color you like.
- Use driftwood or reclaimed wood.
- Make a larger version.
- Hold a pumpkin for fall or a flameless candle the rest of the year.
That’s one of the reasons I love DIY projects so much. They’re meant to inspire you, not to be copied exactly.
I can’t wait to see how you put your own spin on this one because I know there are going to be so many fun variations!
If you want to see how I did this project in real time, head over to my video tutorial HERE. I am sharing new videos on my YouTube channel every week! I would love for you to SUBSCRIBE to my channel when you are there (it is free to subscribe), so you don’t miss any of those videos!
PIN THIS POST!
1 Comment