

If you’ve been around here for any length of time, you know I can’t pass up a good furniture makeover. I especially love finding pieces that might not look like much at first glance and figuring out a way to give them a whole new purpose. That was exactly the case with these DIY bedside tables.
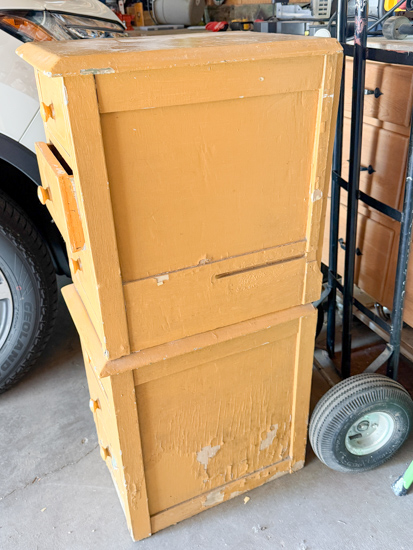
When I first found these cabinets at a yard sale, they were nailed together and being used as one tall piece. Everyone walked right past them, but I immediately saw the potential hiding underneath all the old paint.
With a little work, these cabinets were transformed into two custom bedside tables that are perfect for a bedroom. Today, I’m sharing exactly how I did it so you can tackle a similar project of your own.
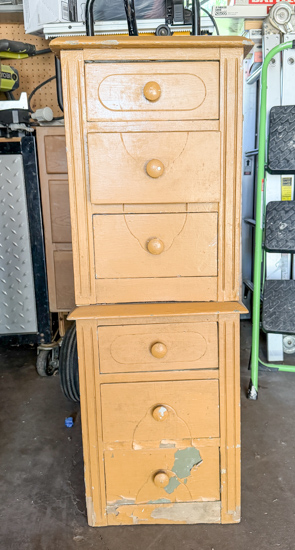
DIY Bedside Tables Before and After
One of my favorite things about furniture makeovers is seeing the transformation from start to finish.
These cabinets had great bones, but years of paint and being attached together made them look dated and worn out. Once I separated them, stripped away the old finish, and gave them a fresh update, they looked like completely different pieces.
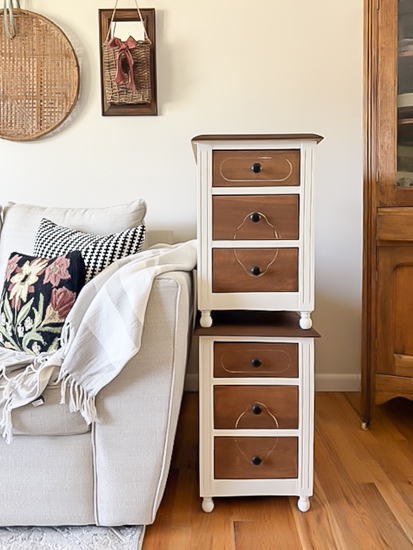
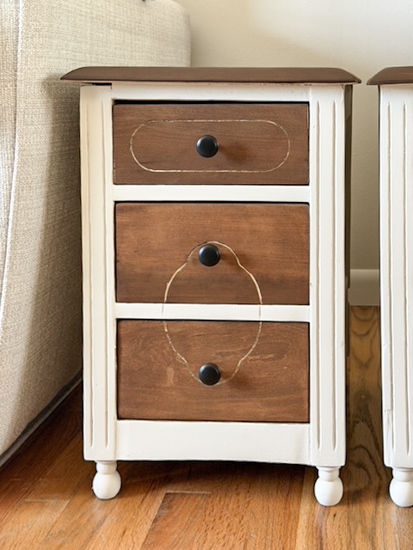
What started as one stacked cabinet unit became two beautiful bedside tables with fresh paint, stained tops, new hardware, and furniture feet.
{Affiliate links are used in this post. Click on any of the underlined links to find the products I am talking about. You can read my disclosure HERE.}
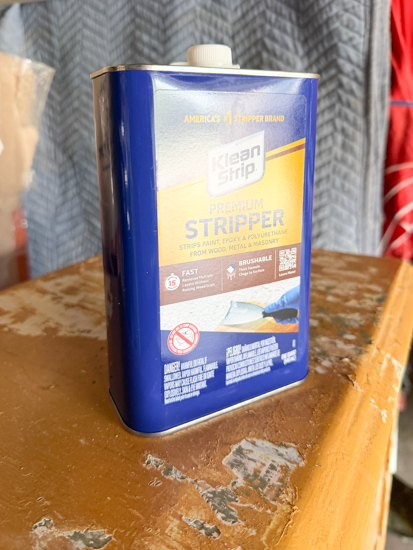
Supplies Used In This Makeover
Orbital sander + Sanding Discs
Wood Snowman (this is what I use as legs/feet for projects like this!!)
Screws (to attach the feet)
Drill
New hardware (if needed)
Wood filler (if your cabinets need it)
Tutorial For These DIY Bedside Tables
Step 1: Separate the Cabinets
The first thing I needed to do was separate the cabinets. Since they had been nailed together, I carefully removed the drawers to get to the nails and got them apart without damaging the wood.
Once they were separated, I instantly knew they were going to make the perfect pair of bedside tables.
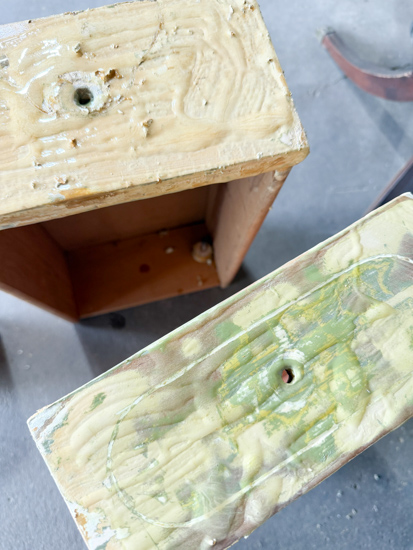
Step 2: Strip Away the Old Paint
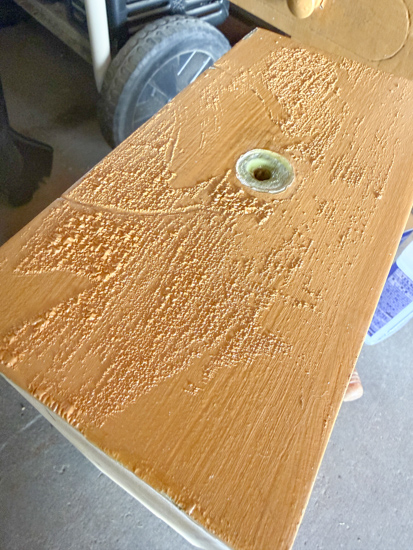
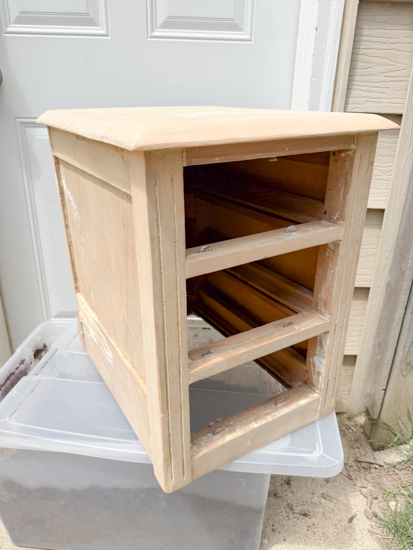
The next step was removing all of the old paint. I applied paint stripper according to the manufacturer’s directions and used a scraper to remove the layers of old finish. This step can be messy, but it is worth taking the time to get down to a clean surface.
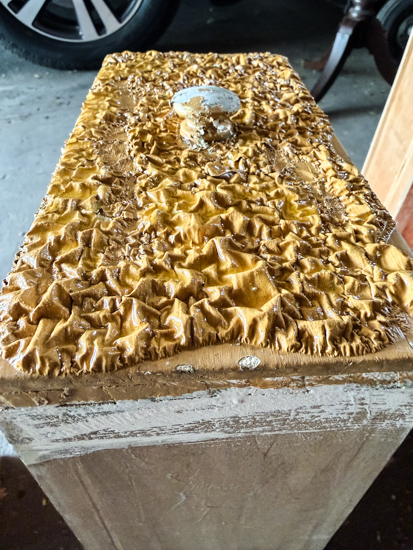
After stripping the paint, I allowed everything to dry completely before moving on.
Step 3: Sand and Prep the Cabinets
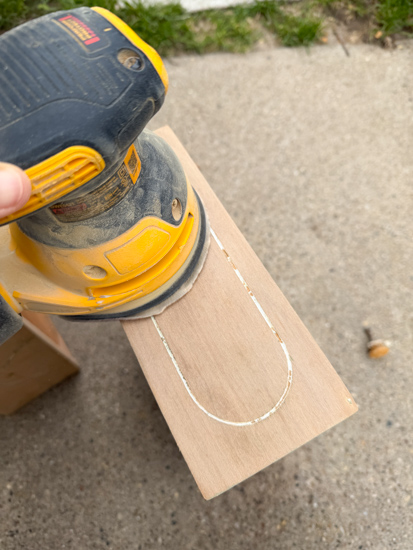
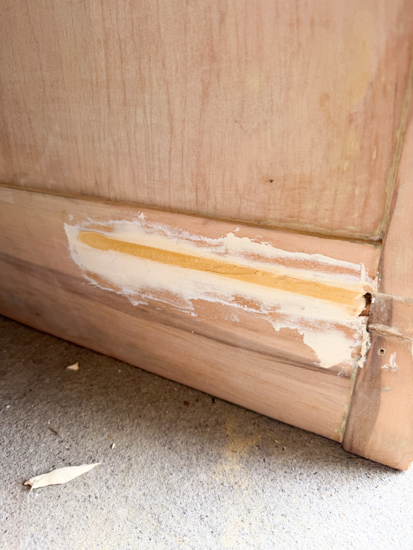
After the old finish was removed, I needed to fill a couple of areas with Rock Hard water putty. When that was fully dry, I sanded the entire surface. I wiped everything down with a damp cloth to remove any remaining dust before starting the finishing process.
Step 4: Paint and Stain
This is where the transformation really started to happen. I decided to use both paint and stain on these bedside tables to highlight some of the beautiful details while giving them a fresh, updated look. The painted portions brightened the pieces, while the stained areas added warmth and character.
This combination is one of my favorite ways to update thrifted furniture because it creates a custom look that feels timeless.
Step 5: Add New Hardware
Nothing updates a furniture piece faster than new hardware. The original hardware had definitely seen better days, so I replaced it with new hardware that better fit the style I wanted for the finished bedside tables.
It’s a small change that makes a huge difference.
Step 6: Add Furniture Feet
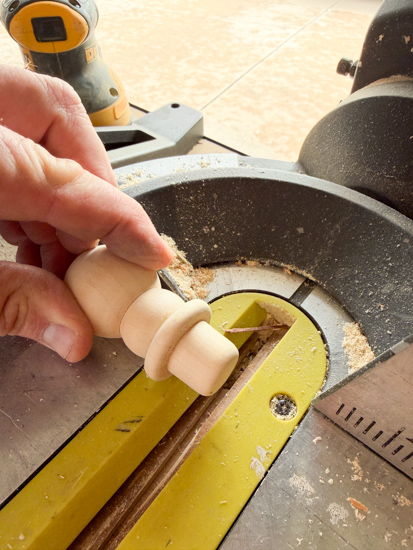
The final step was adding furniture feet. These are pretty small cabinets, so I wanted to add height without sacrificing the look. My favorite hack for pieces like this is using wood snowmen! IT WORKS PERFECTLY FOR PROJECTS LIKE THIS!
I did want to cut them down a bit, so Matt used a miter saw to cut off the hat part.
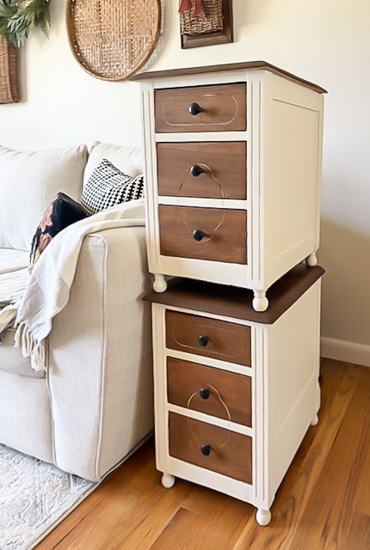
This simple addition completely changed the look of these cabinets. Raising them off the ground gave them a more finished furniture look and helped transform them from cabinets into true bedside tables.
It’s amazing what a small detail like a wooden snowman can do for a piece.
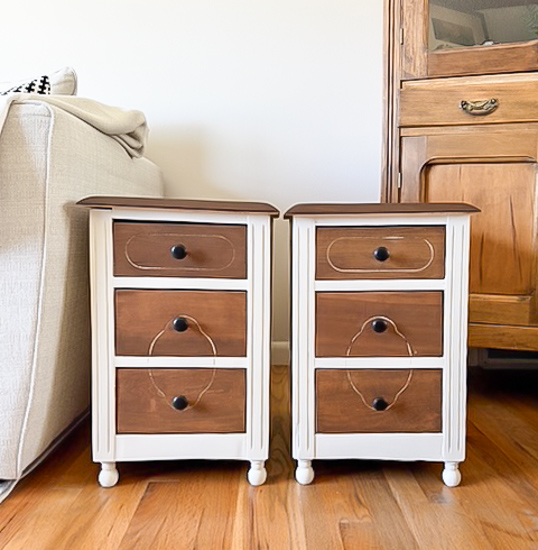
I couldn’t be happier with how these turned out.
What started as two old cabinets nailed together became a matching set of custom bedside tables.
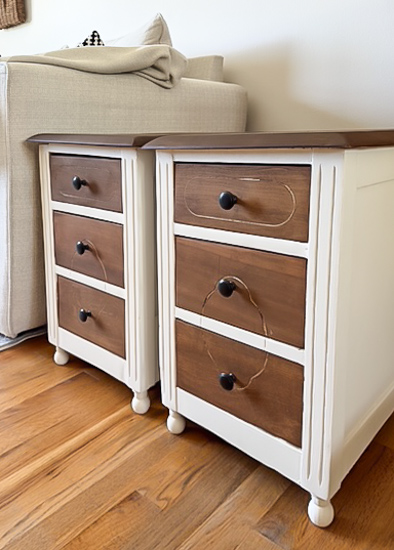
Projects like this are a great reminder that you don’t always need to buy new furniture. Sometimes the best pieces are hiding in thrift stores, antique shops, flea markets, and yard sales just waiting for a second chance.
Curious About Flipping Furniture?
After more than twenty years of flipping furniture, I still pick up pieces whenever I can because I love the creative outlet. What started as a way to transform forgotten pieces has grown into something I now help others learn and enjoy, too.
That’s why I created The Furniture Flipping Academy. It is not just a course, but an all-in-one resource you can use at any stage of your journey.
Whether you want to try one project, flip occasionally for extra income, or grow it into something more over time, the Academy meets you where you are. Inside, you’ll find practical tools like worksheets, templates, guides, and real-life examples you can use when you need them. There is no pressure. No overwhelm—no requirement to turn it into a full-time business.
You don’t need experience or a huge following. You need a starting point and a trusted resource to guide you.
If you loved this makeover, I’m sharing more projects and behind-the-scenes videos over on my YouTube channel. You can check it out HERE.
PIN THIS POST!
If you liked this makeover, you will also love these painted and stained transformations:
Easy DIY Desk Makeover With Paint & Stain