

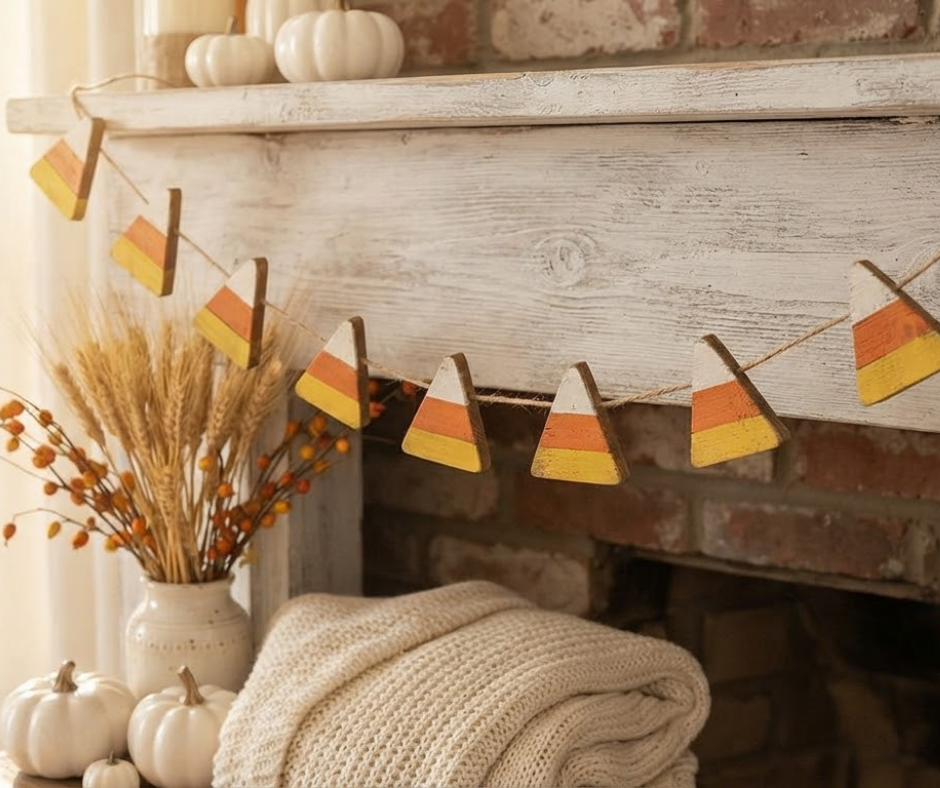
A DIY Candy Corn Garland is an easy fall decoration you can make with scrap wood, paint, and twine. I’ve made this project several different ways over the years, and it is one of those simple DIYs that you can easily change to fit your decorating style.
I originally made this fall garland with small wooden triangles, paint, and twine. Since then, I’ve experimented with different paint colors, different ways to hang the candy corn, and even thicker pieces of wood.
So don’t feel like you must make yours exactly like mine. I’ll show you the original tutorial below, along with some of the different ways I’ve made this DIY Candy Corn Garland over the years.
{Affiliate links are used in this post. You can read my disclosure HERE.}
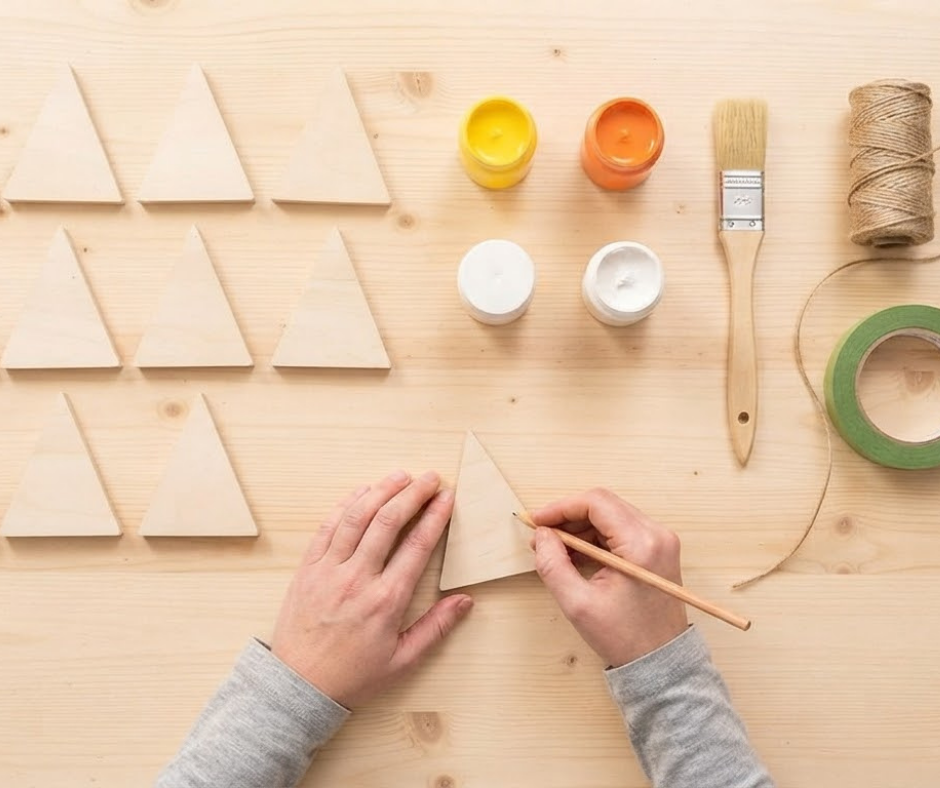
Supplies Used To Make the DIY Candy Corn Garland:
Paint Brush
You can change the supplies depending on the version you want to make. I love using scrap wood for this project because the pieces don’t need to be perfect.
How to Make a DIY Candy Corn Garland
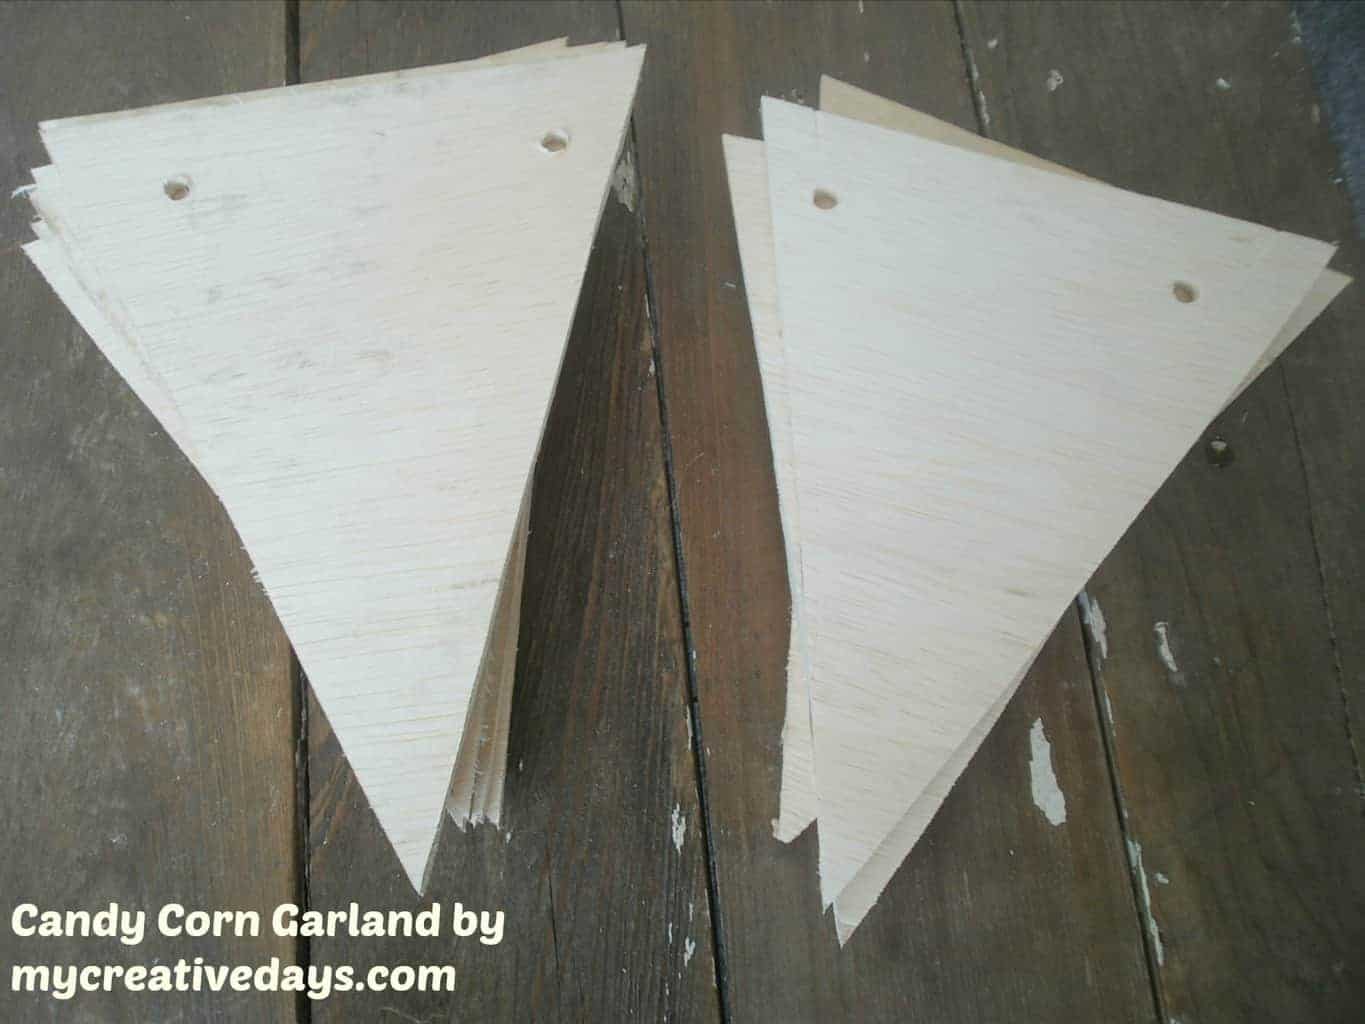
1. Cut the Wood Into Triangles
Start by cutting your scrap wood into small triangle shapes.
You can make the candy corn pieces whatever size works for your space. They don’t all have to be the same size either.
Sand any rough edges before painting.
2. Mark the Candy Corn Sections
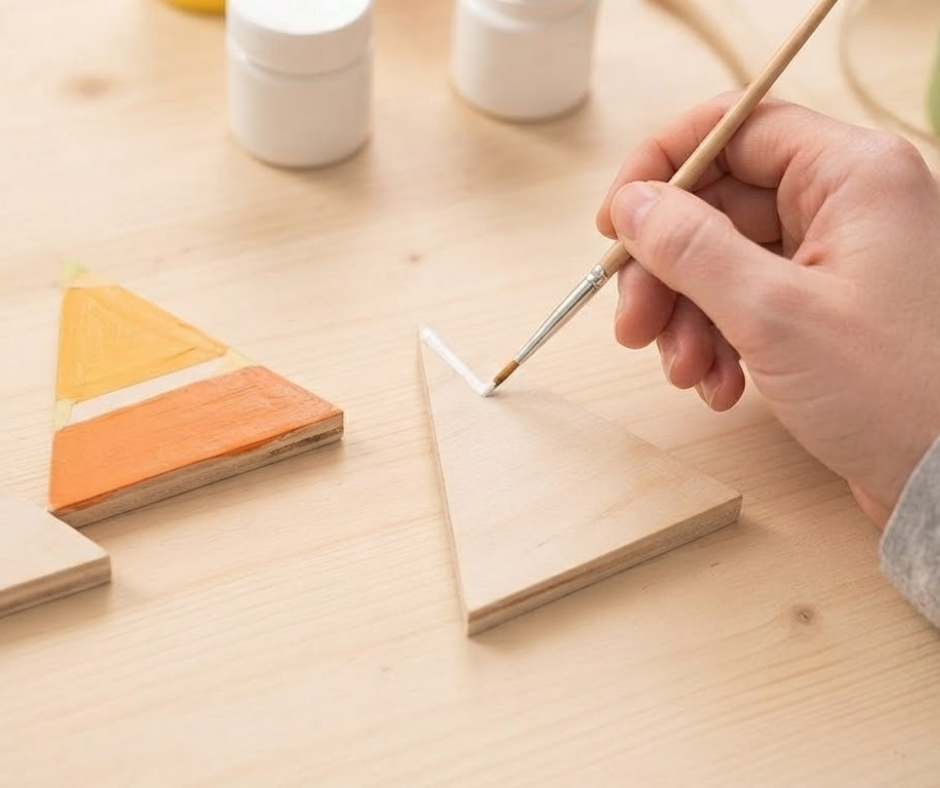
Use a pencil and ruler to lightly mark three sections on each wooden triangle.
Traditional candy corn has a yellow section, an orange section, and a white section.
I didn’t spend a lot of time making my sections perfectly measured. Real candy corn isn’t perfectly identical, so I didn’t think my wooden candy corn needed to be either!
And honestly, who has the time for that?
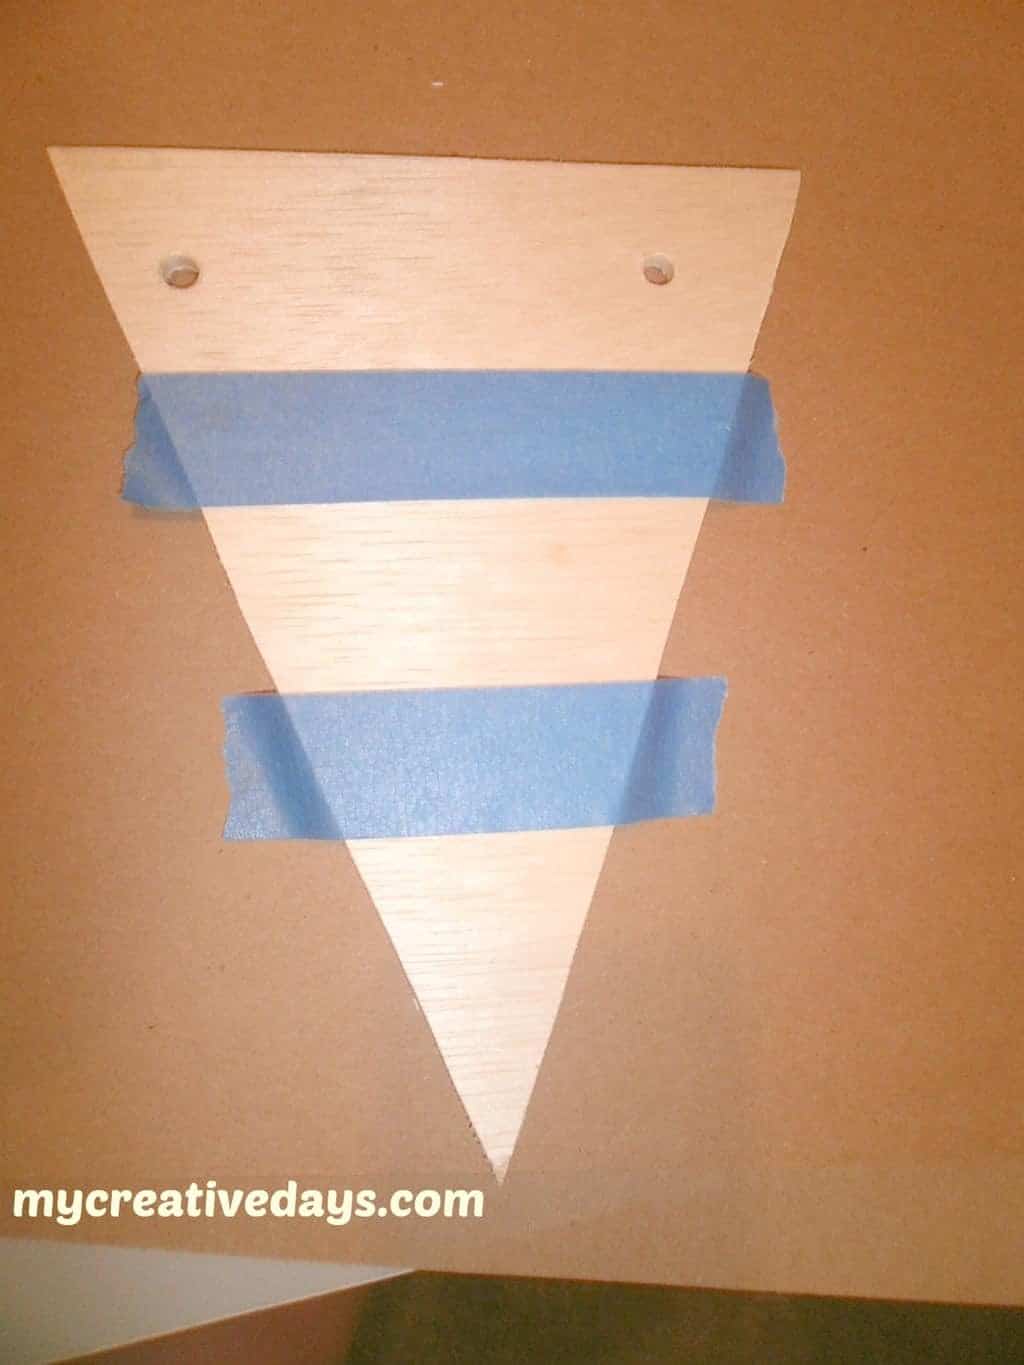
3. Tape Off the Sections
Use painter’s tape to separate the areas you are going to paint.
You can tape several pieces at once to make the painting process go faster.
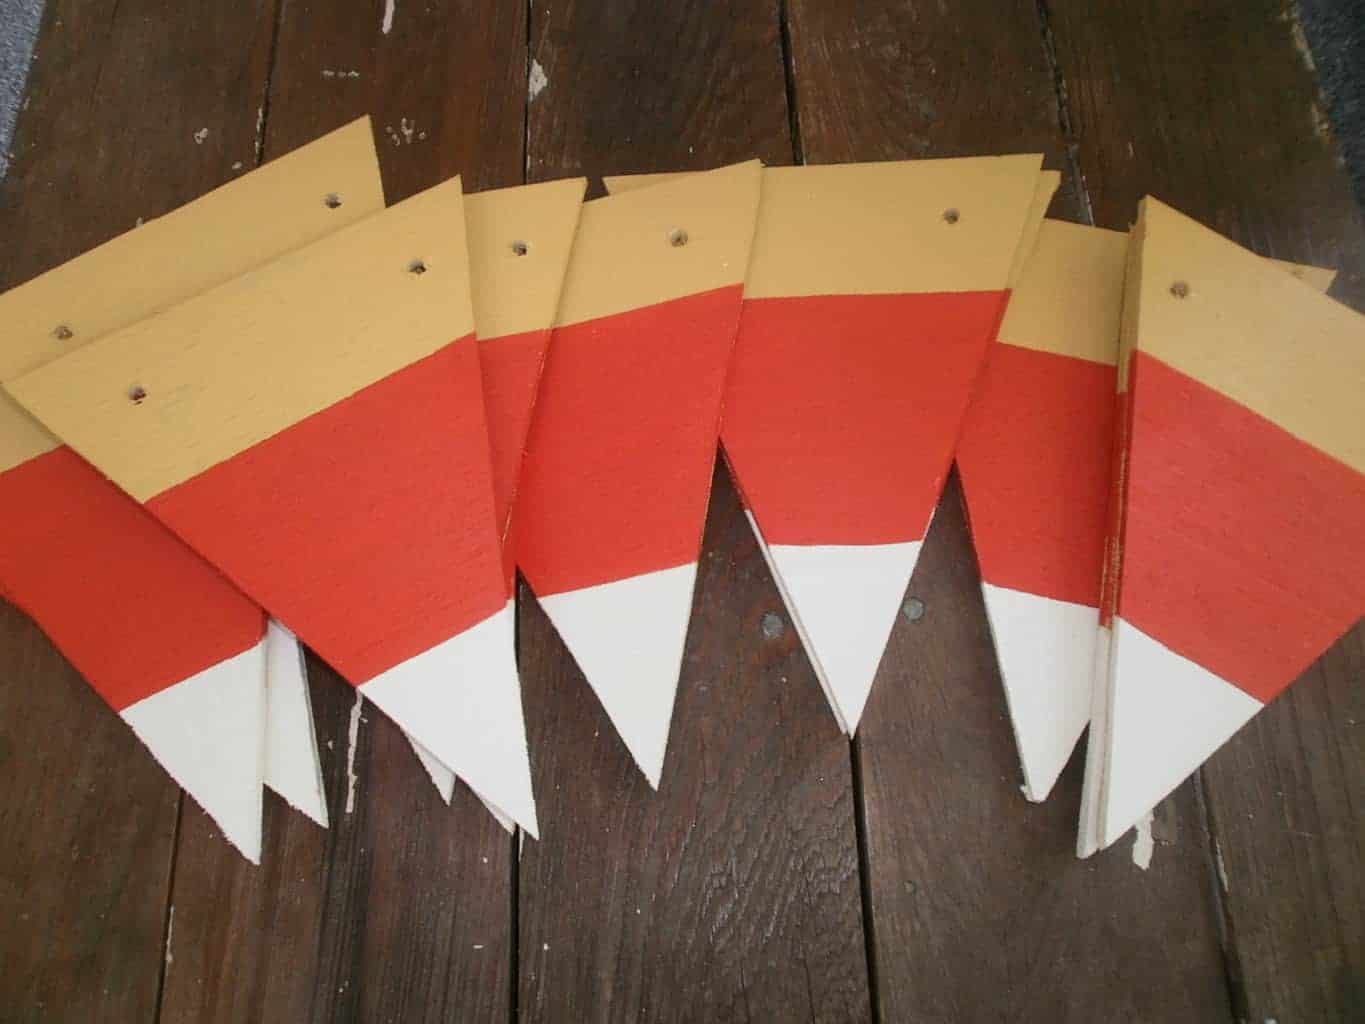
4. Paint the Candy Corn
Paint each section yellow, orange, and white to create the candy corn look.
Let each section dry before moving on to the next color.
I also painted the backs of my pieces yellow.
You don’t have to stick with traditional candy corn colors, though. I’ve made other versions over the years using different colors and techniques to give the pieces a more aged and vintage look.
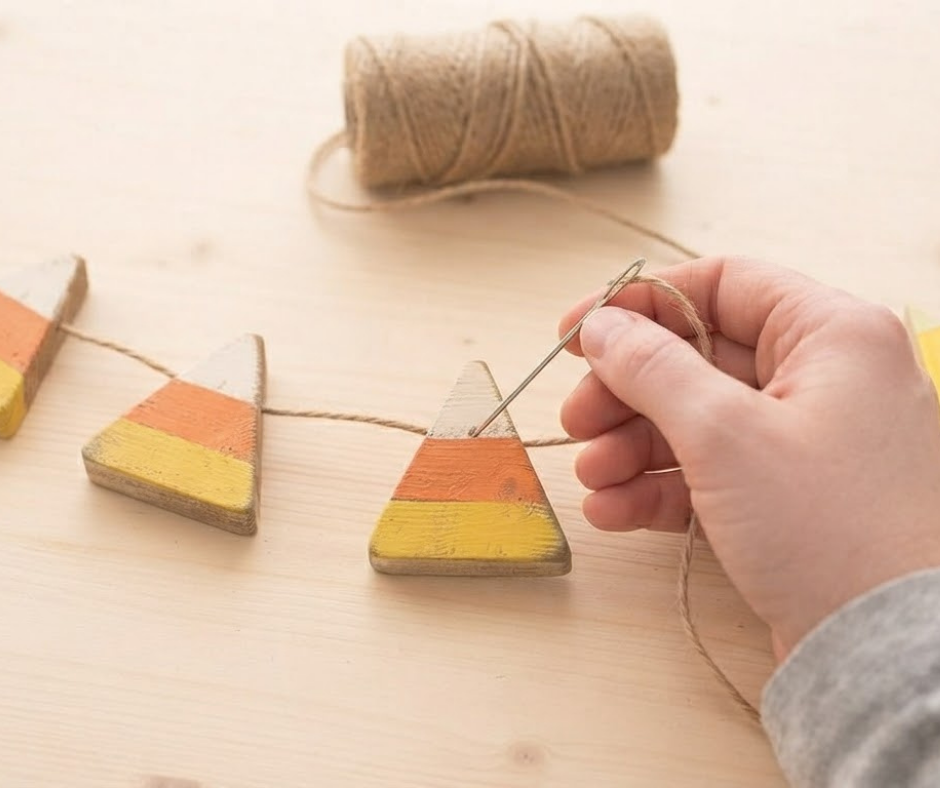
5. Drill Holes for the Twine
Once the paint is dry, drill small holes in the wooden candy corn pieces so you can string them together.
For this original version, I drilled the holes near the top of the pieces.
But this is one of the things I’ve changed over the years.
Different Ways I’ve Made My DIY Candy Corn Garland
I’ve made this project many times, and one of my favorite things about this DIY Candy Corn Garland is how easy it is to change.
Hang the Candy Corn From the Top or Bottom
I’ve hung the candy corn pieces from both the top and the bottom.
Changing where you drill the holes changes the way the pieces hang, so you can get a completely different look without changing the basic project.
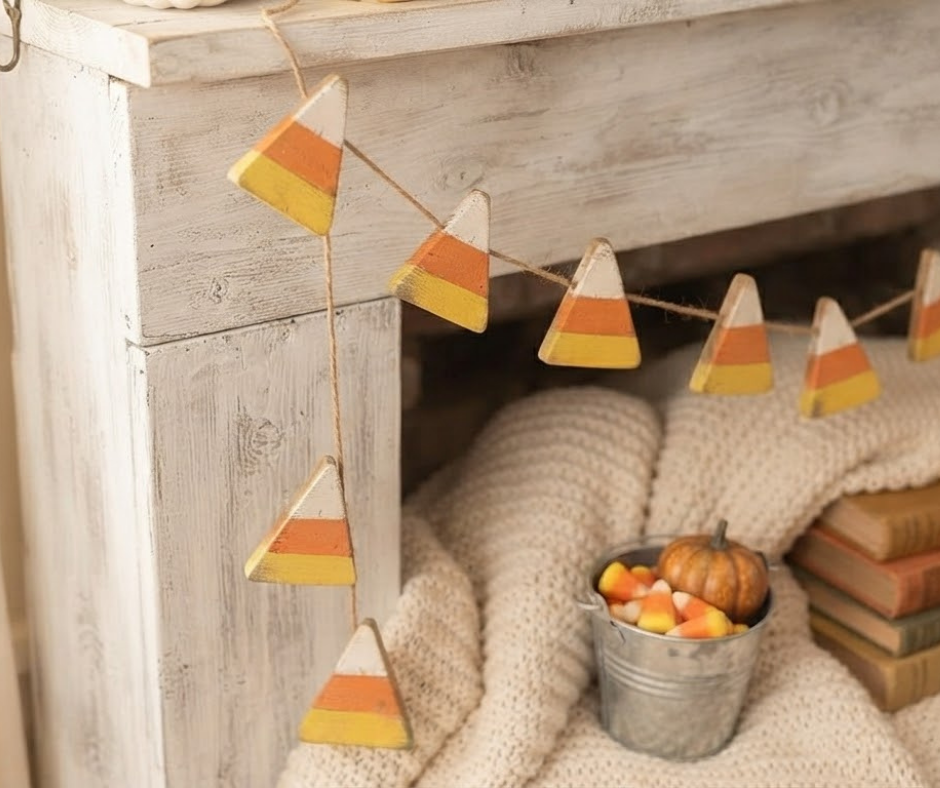
Drill Through the Sides
I’ve also used thicker pieces of wood and drilled the holes through the sides of the candy corn pieces.
This creates another completely different way to string and display the garland.
Use Aged or Vintage Paint Colors
You can also change the look of your candy corn with paint.
Instead of bright white, orange, and yellow, try softer, muted colors. You can also use an aging or distressing technique to give the wooden pieces a more vintage look.
There are so many ways to make this project your own. Use whatever scrap wood and leftover paint you have, and don’t be afraid to change the design.
You’ll see some of the different versions I’ve made in the photos throughout this post and in the video below.
How to String the Candy Corn Garland
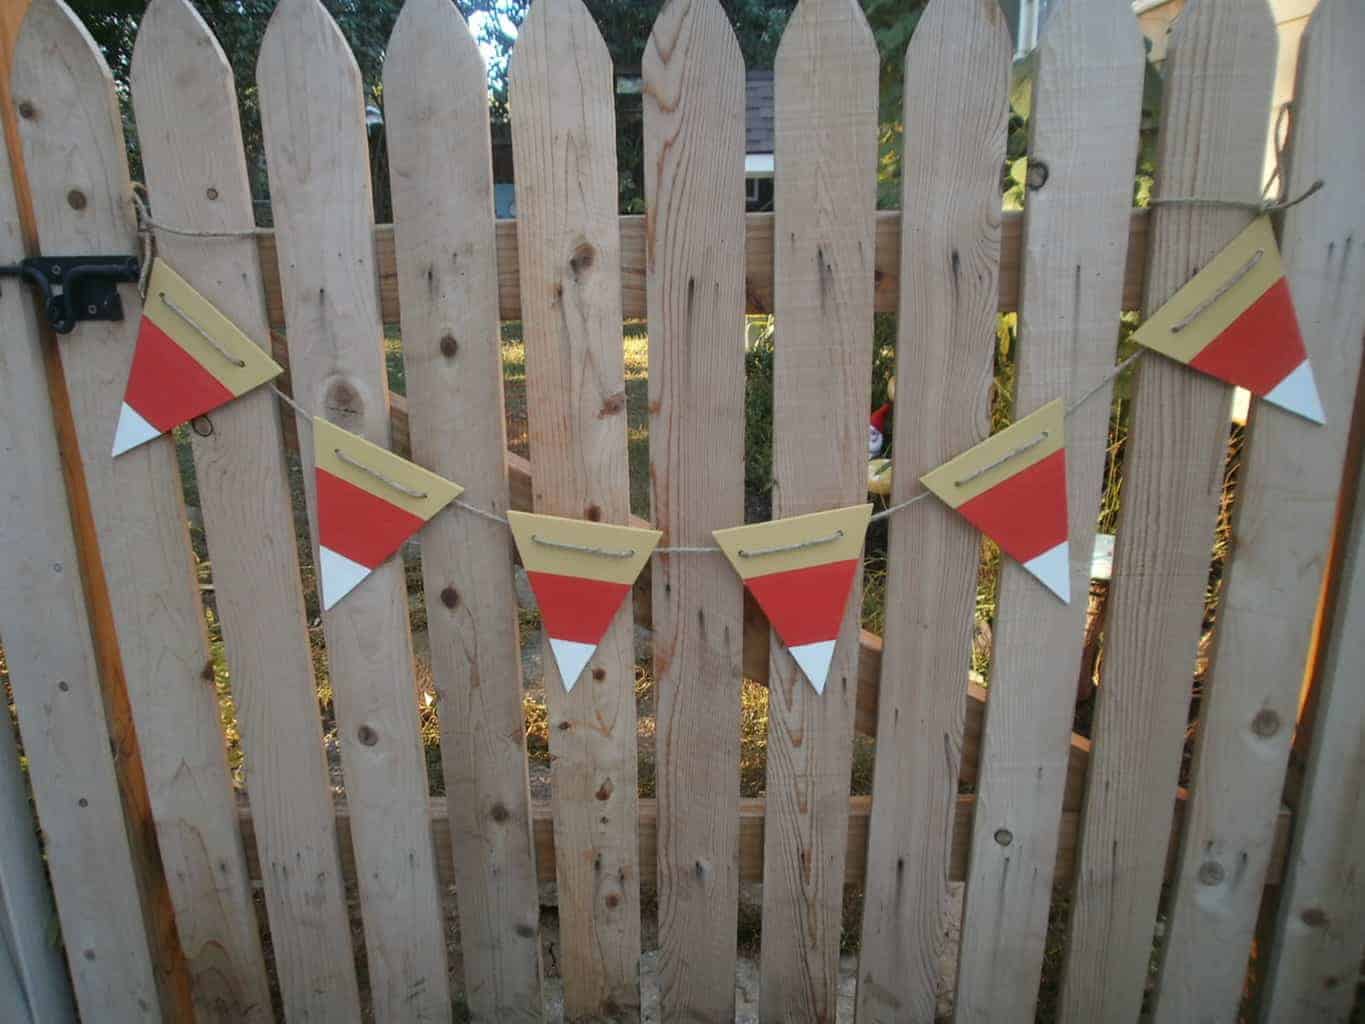
Cut a piece of twine to the length you want your garland to be.
Thread the twine through the holes in each candy corn piece. You can space the pieces evenly or leave a little more room between them.
I made enough pieces for a couple of garlands with six candy corns on each one.
Once they’re all strung, your DIY Candy Corn Garland is ready to hang!
Where to Hang Your Candy Corn Garland
This easy fall garland works in so many places around the house.
Try hanging it:
- Across a mantel
- On a hutch or cabinet
- Along a shelf
- On an entryway table
- Across a console
- In the kitchen
- On a covered porch
- As part of a Halloween display
You can also layer it with pumpkins, gourds, fall leaves and other seasonal decorations.
I love DIY decorations like this because they add a little seasonal personality without requiring you to completely change your decor every time the season changes.
Watch the DIY Candy Corn Garland Video
I’ve made this project more than once over the years, and the video below shows another version of this DIY Candy Corn Garland.
You’ll be able to see how I make the pieces and get a better idea of how they look once they’re strung together.
If you like DIY projects, thrifted finds, furniture makeovers and decorating on a budget, make sure to SUBSCRIBE to my YouTube channel.
PIN THIS POST!
If you enjoyed this DIY Candy Corn Garland, make sure to check out these other fall ideas:
DIY Fall Decor: Paper Leaf Wreath
Fall Tablescape With Orange, Green and Metallics
Fall Decorating: Witch Hat Wreath
These are super cute! I agree—i never find a perfect candy corn in the bag! 🙂 Found you through Whimsy Wednesday and I would LOVE to have you swing by and share this and whatever else you want at my link party going on! Would love to have you! http://www.madetobeamomma.com/2013/09/homemade-by-you-66.html
Thank you for your comment and I linked up! Thanks for the invite to your party!
These are so cute! I love the way they turned out! I saw you on Fridays Five Features! If you like to link up come over to Craft Frenzy Friday at http://www.craftdictator.com!
Thank you for your comment! I tried to link up a few times, but it would not work for me. I would go to your site and it would freeze on me each time????
these are adorable!!!! stopping by from the twelveoeight link up !
Thank you for your comment! I am glad you stopped by!
Your garland is adorable. I have to get my hubs to cut these out for me. I have some thin plywood so this would be perfect for it. Can get it going tomorrow. I want a cute garland to hang on front porch railing besides the usual fall leaves, etc. Sure glad you posted this. Happy week.
I am so glad you liked them! I thought they turned out great and they are something different for fall decorating!
Love this! I think candy corn themed decorations are so cute for the fall, and your garland would be perfect decorating a porch railing or mantle. Thanks for the inspiration!
Your most welcome and thank you for stopping by and leaving a comment!
This turned out so cute! It’s perfect for fall. Would you mind to link this up to my Frugal Crafty Home Blog Hop? We love seeing easy crafts like this! The party goes live every Sunday evening at 8pm central time. I’d love to see you there!
Thank you so much for your comment! I will try my hardest to remember to link up this Sunday. Thanks for the invite!
Adorable!!! What fun your garland is. 🙂 We love candy corn, too. Thanks for sharing your idea and how-to.
<3
Kim
Thank you!
So Cute!! Love it!
Thank you!
They look so good on your gate! I think I would protect them with acrylic and use them outdoors. Great project!
Thank you for your comment! I did spray them with a clear coat of Polyurethane after the paint dried to help protect them.
Good morning! Stopping by to tell you I featured your Garland from the Whimsy Wednesday Link Party! You can find the feature here –> http://bit.ly/1ay7ceN
Thank you so much!!!!!
These are so cute. I can think of a ton of uses…they would be great as part of a wreath (maybe with 3-4 of them) or hung across a mirror or mantle indoors…the possibilities are endless! I’m visiting from the Thrifty Thursday link party.
Christy @ Creating a Beautiful Life
Great ideas! Thank you so much for visiting and come back soon!
So cute! Thanks for stopping by DIY Vintage Chic’s Friday’s Five Features and Fun Festivities. Don’t forget to stop back by this Friday!
Thank you!
Congratulations…this post is being featured on Create It Thursday #20 this week! Thanks so much for sharing such a great idea last week!
You are always so creative!! Thanks for linking up to Tickled Pink Times Two!!
Make it a pink day 🙂
Thanks so much! Your comment made my morning pinkeriffic!
So cute and quick! I don’t have any scrap wood that would work for this, but I know the craft stores sell balsa wood triangles like these. Pinned this for later! 🙂 This will look adorable above my TV.
This is simply darling! Pinned. Thanks for sharing at Merry Monday & we hope you will join us again. Michelle OurCraftyMom
Thanks Michelle!