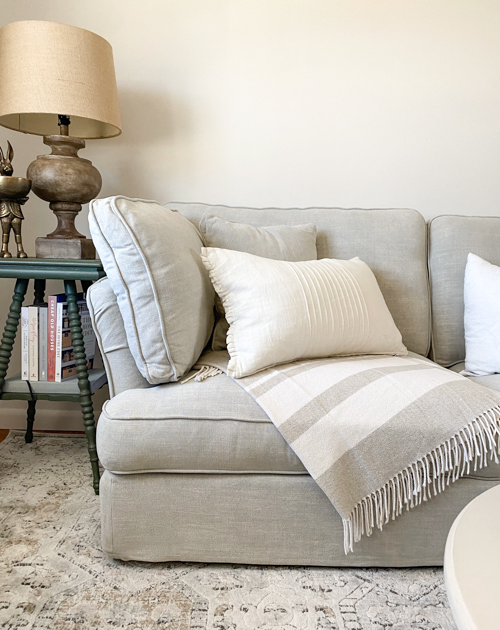
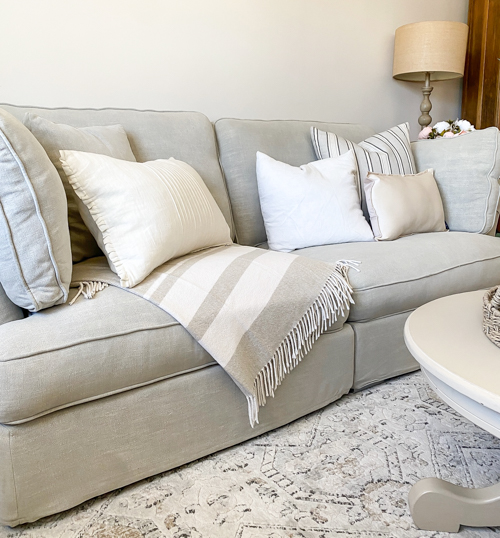
If you are anything like me, you love to change your decor in your spaces from time to time. Things like throw pillows, small decor pieces, and throw blankets are easy to replace, but if you do it often, it can get expensive. I am always looking for ways to save on decorating and making our home exactly what we need and want, and today, I am going to share an inexpensive way to make no sew DIY throw pillows! This process is easy and doesn’t require major sewing skills.
{Affiliate links are used in this post.}
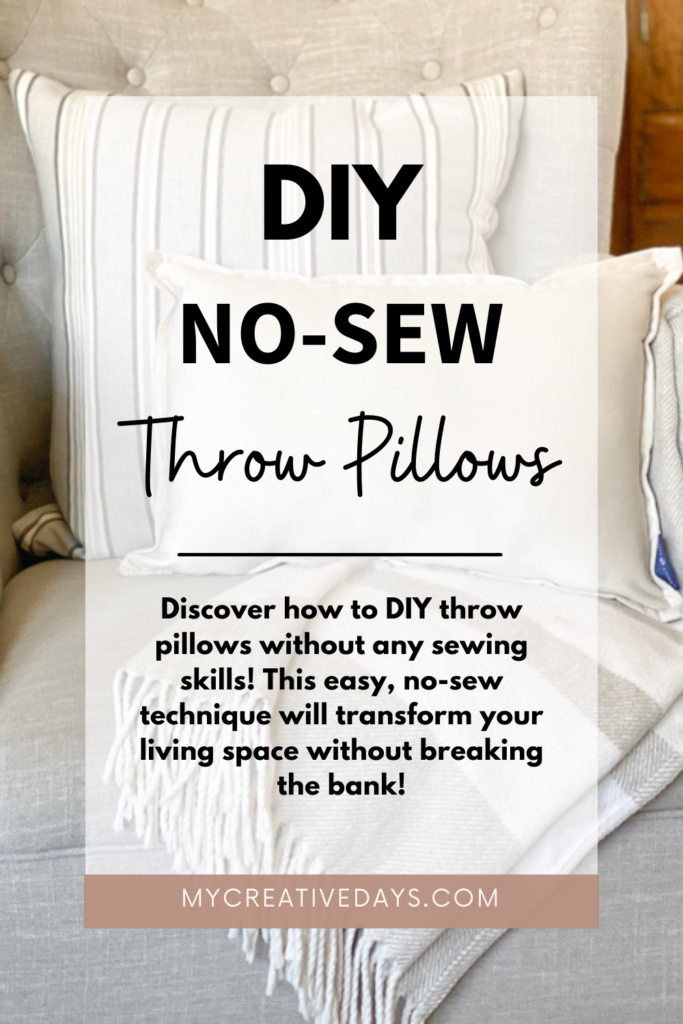
No Sew DIY Throw Pillows
{Affiliate links are used in this post. Click on any underlined links to find the products and sources I am referring to. You can read my disclosure HERE.}
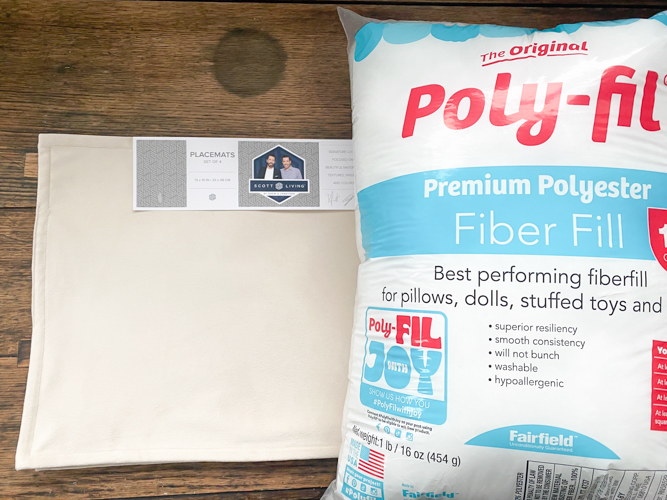
Materials Needed For No Sew DIY Throw Pillows:
Needle and Thread (or Iron-On Adhesive)
Steps To Create This No Sew DIY Throw Pillow:
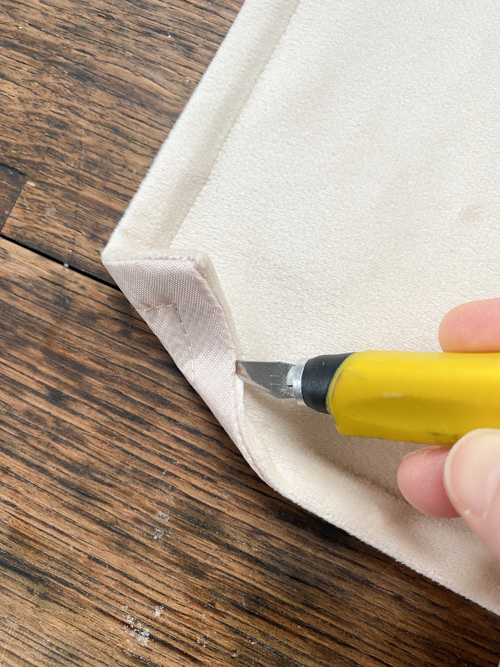
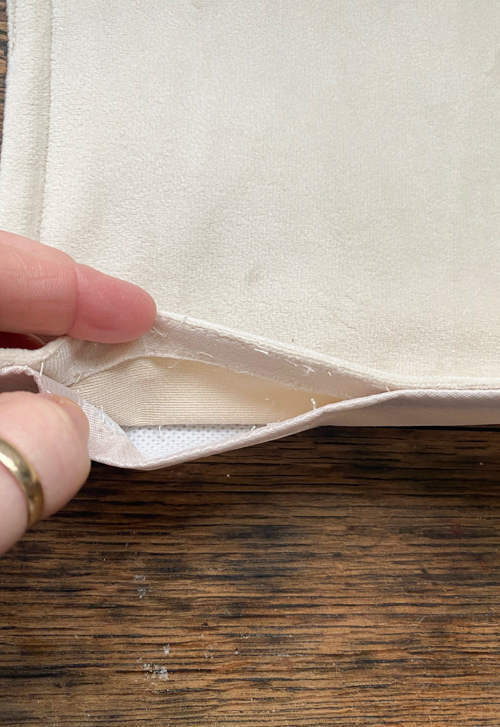
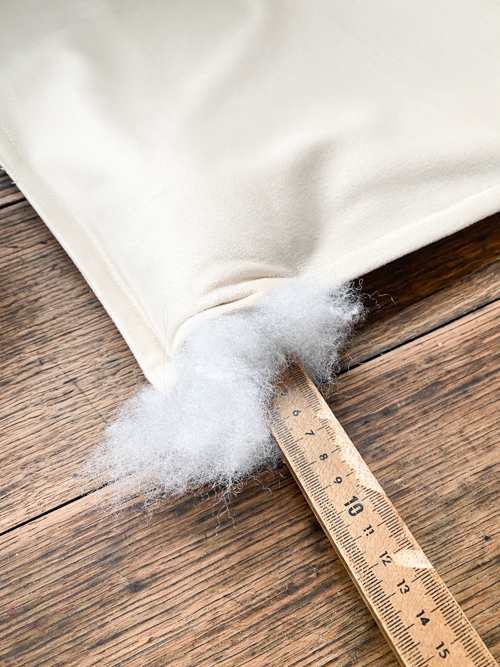
- First, use your X-Acto knife or seam ripper and cut the seam of the placemat. I always make mine at the bottom. I only cut about 2-3″. You just need enough room to get the Poly-Fil in and be able to use something long (I use a yardstick) to get the fill in all the corners.
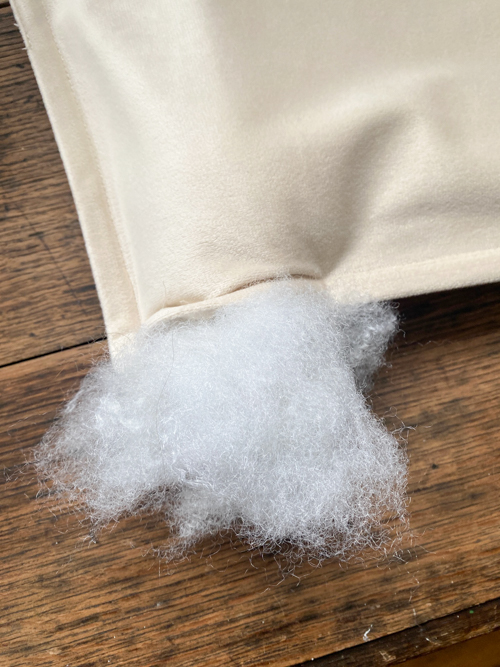
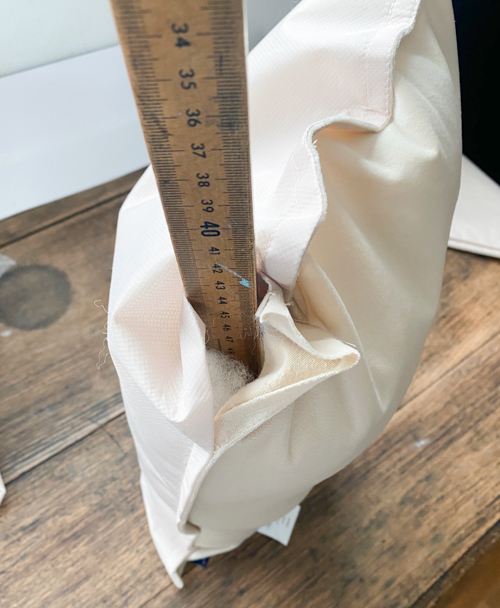
- Next, you will start stuffing your pillow. My placemats measured 19″x13″. I used a full, 1 lb. bag of Poly-Fil to fill each of the placemats. I use my hands to start stuffing, and then I use a yardstick to push the Poly-Fil into each corner and to make sure the pillow is stuffed to your liking.
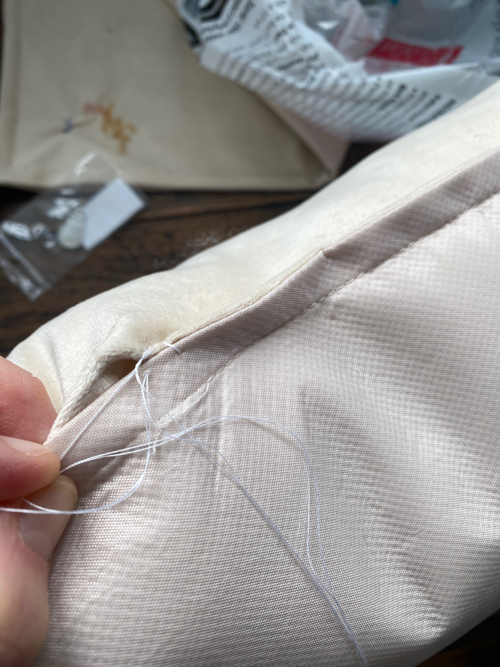
- Once the pillow is stuffed to your liking, it is time to close the area you cut in the beginning. I don’t know how to sew well at all, and I can stitch the opening back together. I have also used Iron-On Adhesive, which works well for this.
- That’s it! You can now enjoy your DIY throw pillow.
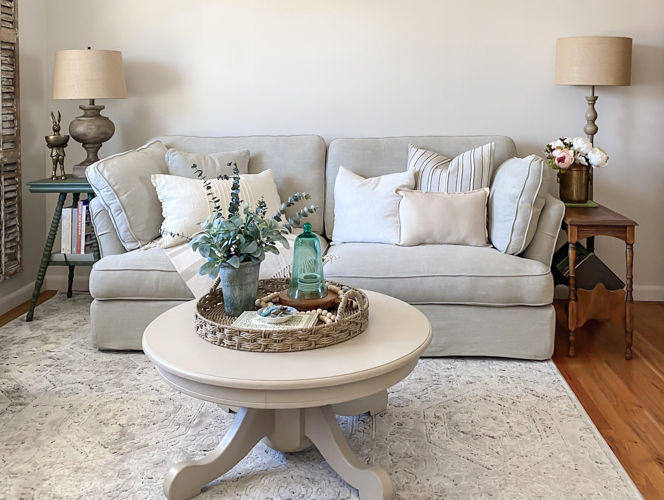
And just like that, you’ve made your own throw pillow — without breaking the bank or needing a degree in sewing! 🎉 I love projects like this because they’re affordable, customizable, and honestly, kind of addicting. Once you make one, you’ll be eyeing every placemat you come across like, “Could this be my next pillow?” (Trust me, it happens.)

This is also a great DIY if you love switching things up seasonally or want a quick way to refresh a space without committing to a full makeover. Plus, with so many cute placemats out there — at thrift stores, dollar spots, or on clearance — the possibilities are endless. You can go bold and colorful, neutral and cozy, or totally themed for the holidays.
If you have kids or pets and don’t want to spend a lot on decor that might get roughed up, this is a no-guilt solution that still looks great. And if you do know how to sew, you can definitely make this project even faster with a machine — but no worries if you don’t. That’s what makes this DIY so fun and approachable for everyone.

So next time you’re out thrifting, cruising the clearance aisle, or shopping your own linen drawer, keep your eyes peeled for pretty placemats. Your next throw pillow might be hiding in plain sight.
Let me know if you try this! I’d love to see how your DIY pillows turn out. Happy decorating!
PIN THIS POST!
If you liked this easy project, you will also love these projects:
How To Transform A Closet Into An Art Nook
DIY Top For Dresser {made from yardsticks}
How To Paint Wash To Get A Raw Wood Look