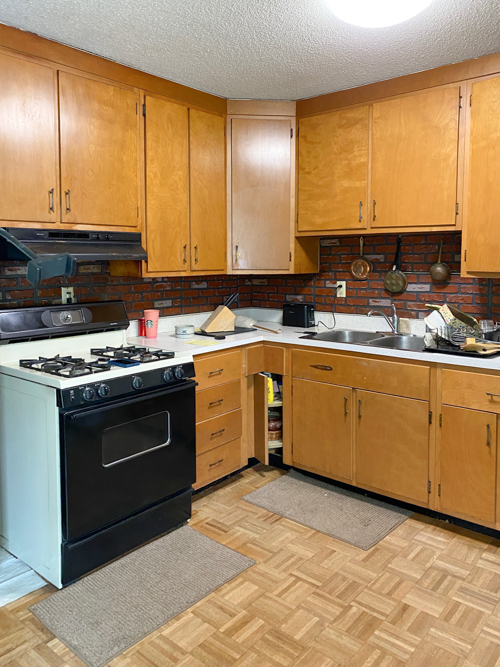
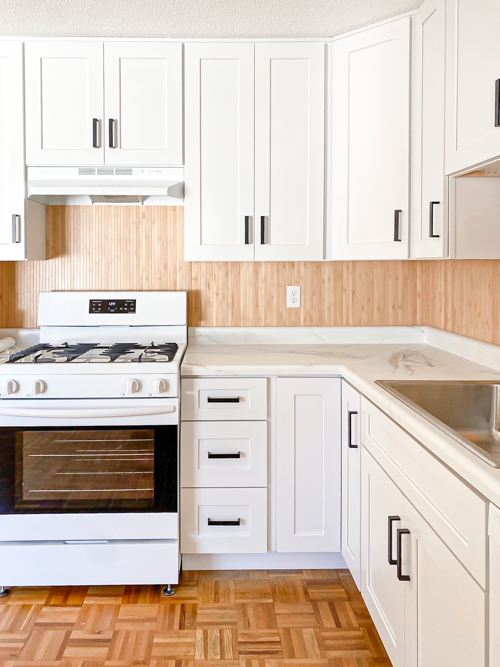
If you’re looking for a creative, budget-friendly way to refresh your kitchen, this DIY Pole Wrap Kitchen Backsplash tutorial is just what you need. After removing the old 1960s plastic tile, the walls in the flip house kitchen were left with uneven texture that we didn’t want to cover with traditional tile. We wanted a solution that was simple, cost-effective, and would give the kitchen a fresh, modern look. The DIY Pole Wrap Kitchen Backsplash delivered exactly that.
Why We Chose a DIY Pole Wrap Kitchen Backsplash
When renovating a kitchen, backsplash options can be overwhelming. Tile can be expensive, labor-intensive, and not always necessary for achieving a stunning result. In this flip house, we needed a solution that would cover the texture left over from the old plastic tile but wouldn’t break the budget. The DIY Pole Wrap Kitchen Backsplash was perfect. I have wanted to use this stuff in a project for a long time, and when I mentioned it to Matt, he said, “Let’s try it”! It’s quick to install, affordable, and gives a sleek, polished finish that completely transformed the flip house kitchen.
{Affiliate links are used in this post. Click on any of the underlined links to find the products I am talking about. You can read my disclosure HERE.}
What We Used
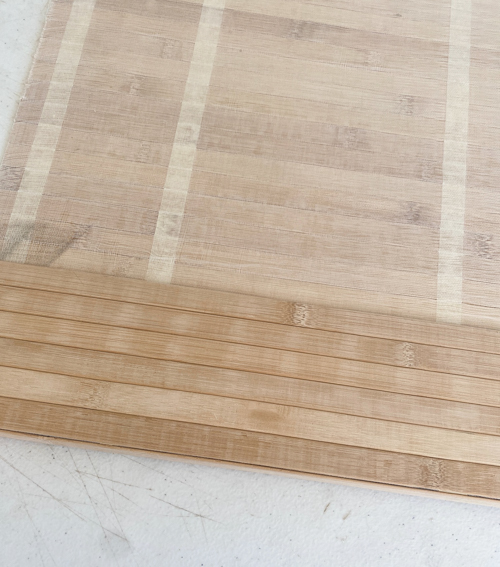
- Pole Wrap
-
Finishing nailer (Optional, for extra security. We used it at the top of the install.)
-
Polyurethane (we applied 4 coats for durability and shine)
-
Sandpaper (for smoothing edges and seams)
- Utility Knife
-
Measuring tape and level
Step-by-Step Installation
- Prepare the Wall
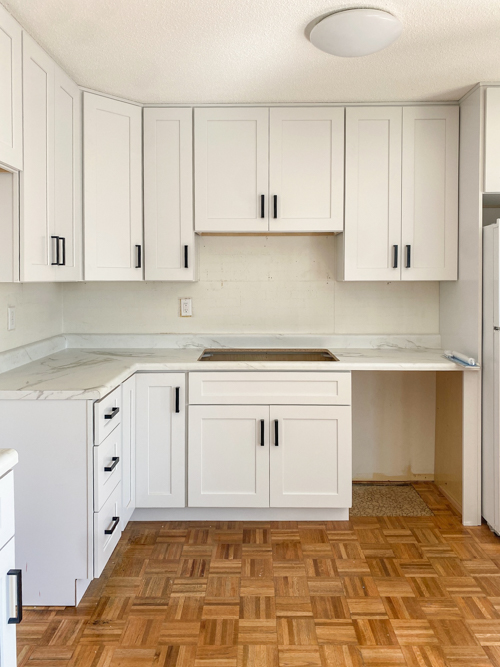
We were getting a whole new kitchen in this flip, so we had to wait for the cabinets and the countertops to be installed before we could start the backsplash. Keep that in mind if you are getting new cabinets and countertops. Start by removing any old tile or adhesive. Clean the wall thoroughly and lightly sand to remove bumps or residue. This ensures your DIY Pole Wrap Kitchen Backsplash will adhere properly. - Measure and Cut Pole Wraps
Measure the height and width of your backsplash area. Cut your pole wraps to size using a utility knife. - Sand and Smooth
Sand the cut sections smooth. You want them to be super smooth before applying poly. - Apply Polyurethane
To protect the surface and give it a polished finish, we applied 4 coats of polyurethane. Allow each coat to dry completely before applying the next. This not only adds durability but also makes cleanup in your kitchen easy. I applied the first three coats before the wrap was secured to the wall and then did the final coat when it was up on the wall and had dried for a day. - Adhere the Pole Wraps
Apply adhesive to the wall in the area you have cut. Press firmly onto the wall. Use finishing nails if necessary for extra hold. Make sure each piece is level before the glue dries.
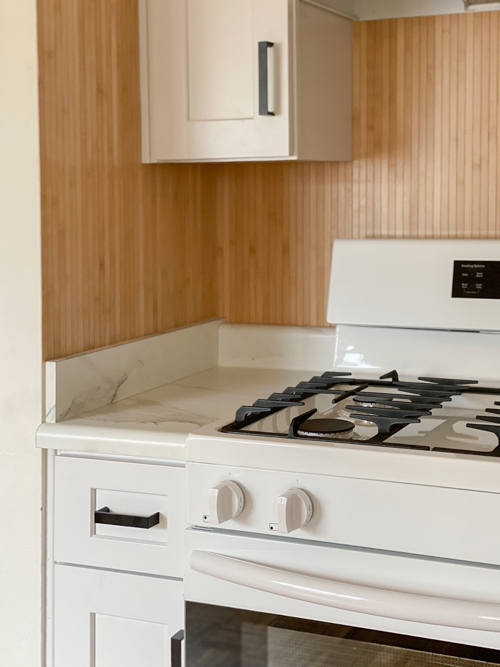
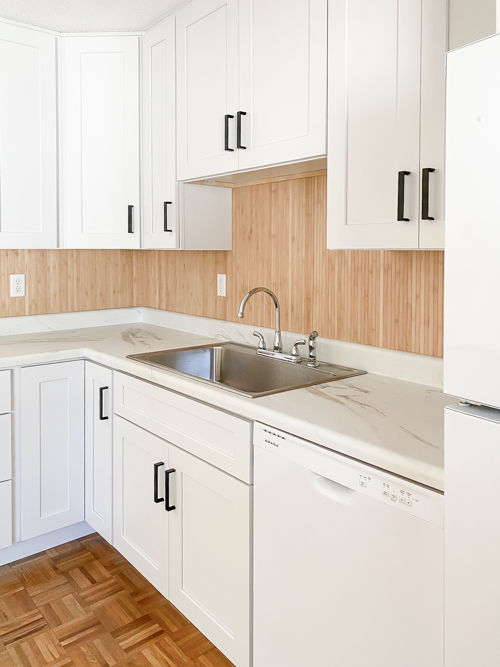
Our DIY Pole Wrap Kitchen Backsplash completely transformed the space. The old texture from the 1960s plastic tile is gone, replaced by a sleek, modern, and budget-friendly finish. The four coats of poly give the backsplash a subtle shine, making clean-up easier if something gets on it. We will be renting this house to an amazing couple so we wanted to make sure whatever we chose would be easy to clean and something a little unexpected.
Tips for Success
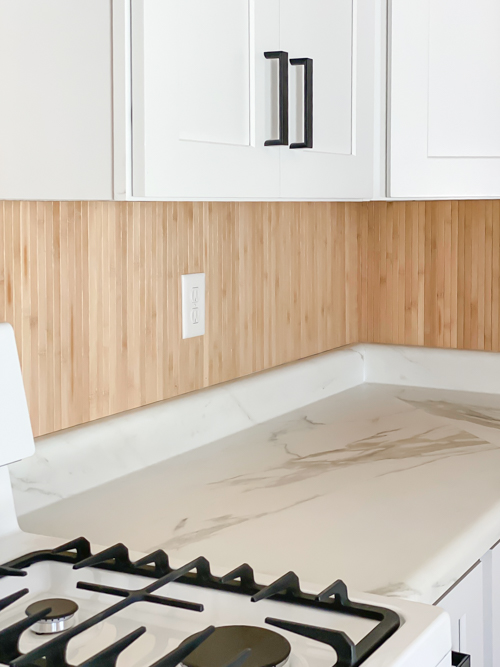
- Take your time measuring and leveling each pole wrap. Precision matters especially when you are fitting around outlets and switches!
- Don’t skip the polyurethane coats; they make a huge difference in durability.
- You could paint the pole wrap. Choose a color or finish that complements your cabinets for the best visual impact.
This DIY Pole Wrap Kitchen Backsplash is proof that you don’t need to spend a fortune or install tile to create a fresh, stylish kitchen. It’s an easy, affordable, and high-impact solution that any DIYer can tackle.

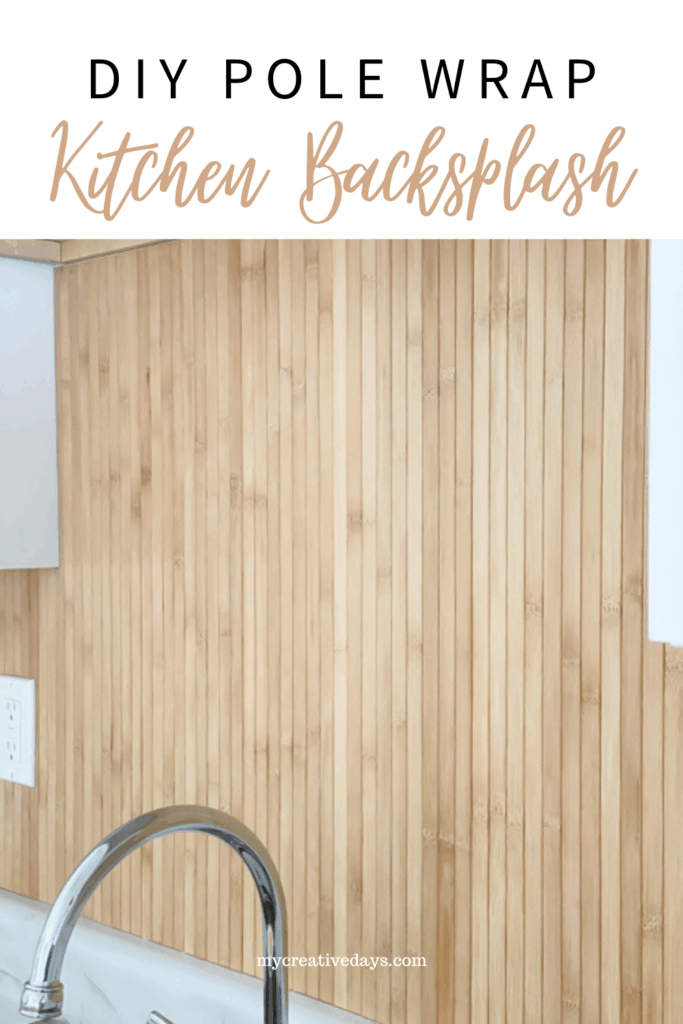
PIN THIS POST!
If you liked this DIY Pole Wrap Kitchen Backsplash, you will also love these budget-friendly ideas:
Affordable Kitchen Cabinets and Countertops: Our Flip House Makeover with CKF