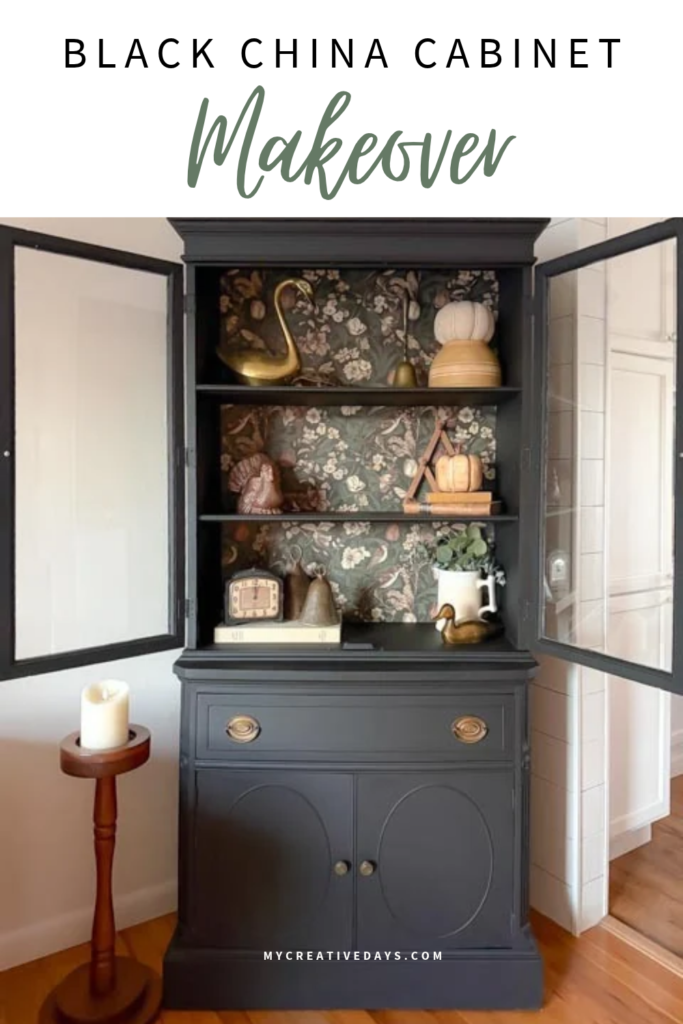

This black china cabinet makeover transformed an outdated wooden cabinet with glass front doors, a drawer, and lower storage cabinets into a completely different piece of furniture. A fresh coat of black paint and some amazing paper gave this traditional cabinet a new look, and I’m sharing the process, the products I used, and how you can transform a similar piece.
I was especially excited to work on this china cabinet because I had found an amazing self-stick paper that I wanted to use on the back of the cabinet, behind the glass doors. I knew it would add something extra to the finished piece and make the inside just as interesting as the outside.
I love it when I find a product that sparks an idea for a furniture makeover. Instead of simply painting this cabinet black, I planned to give it a whole new look with the paper, too. I couldn’t wait to see how the two would look together!
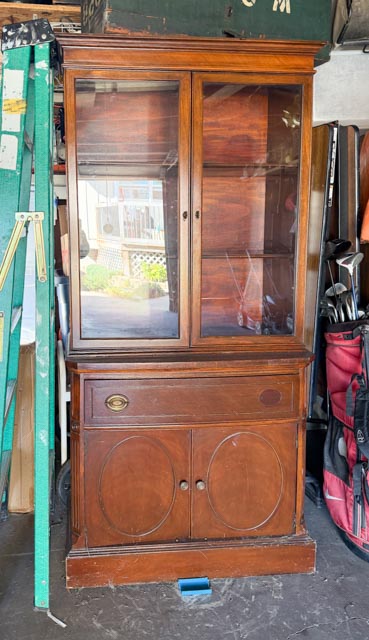
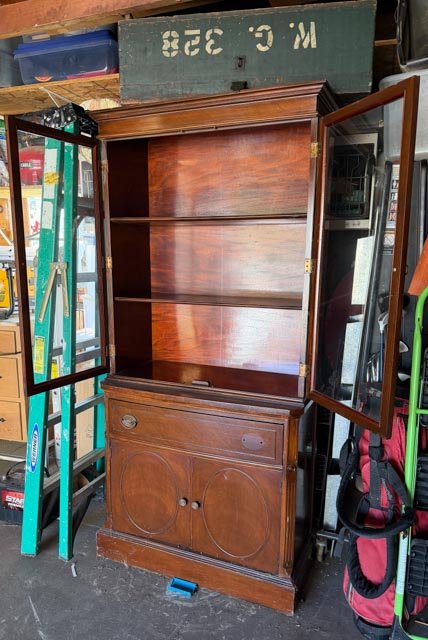
This china cabinet had a traditional wood finish, glass doors on the top, a drawer in the middle, and two cabinet doors on the bottom. It had plenty of storage and display space, but I knew a different finish could completely change its appearance.
I love finding furniture with good bones that can be given a new look instead of being passed over because of an outdated finish. Cabinets like this have so much potential, especially when they offer both open display space behind glass doors and hidden storage below.
{Affiliate links are used in this post. Click on any of the underlined links to find the products I am talking about. You can read my disclosure HERE.}
Supplies Used In This Black China Cabinet Makeover
Roller
How to Paint a China Cabinet Black and Add Self-Stick Paper
Step 1: Prepare the China Cabinet
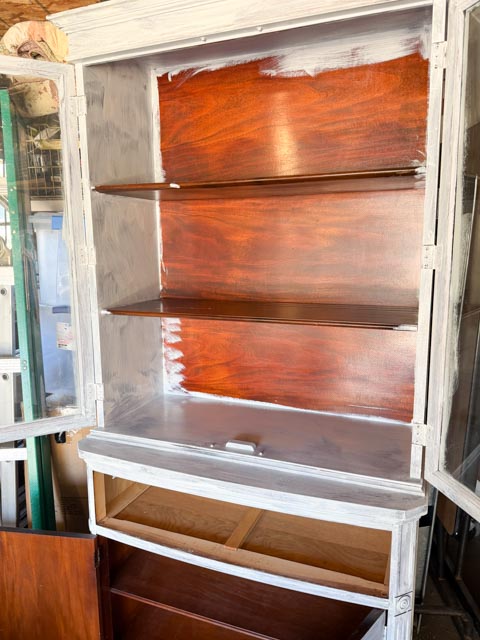
Before starting the makeover, prepare the cabinet for the changes you’re making. Clean the surfaces thoroughly and remove any hardware or doors as needed. Keep the screws and hardware together so everything is easy to put back together later.
Step 2: Remove the Back of the China Cabinet
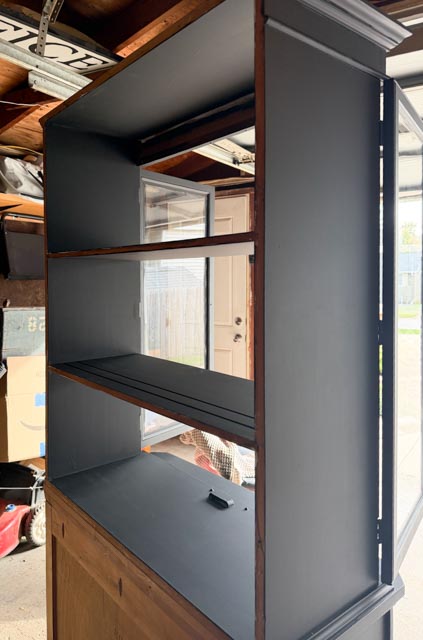
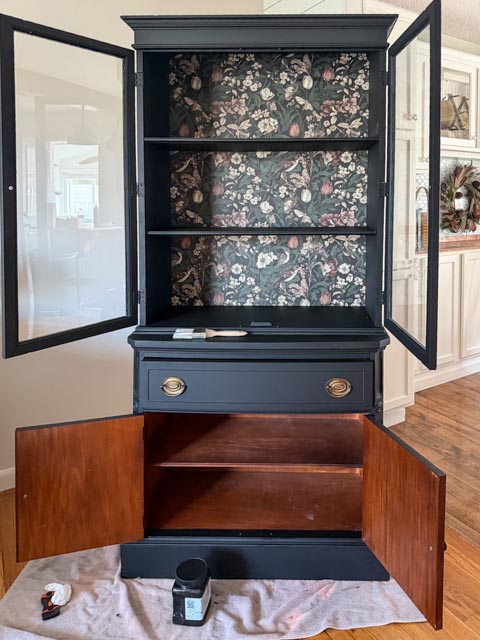
I wanted to add self-stick paper to the back of the cabinet behind the glass doors, so we removed the back panel first. This made it much easier to work on the surface without trying to apply the paper while it was still attached to the cabinet.
Step 3: Apply the Self-Stick Paper
Once we removed the back panel, we laid it flat on a table, so we had a stable surface to work on. We applied the self-stick paper directly to the panel, carefully smoothing it as we went to help keep the surface looking neat. You can do this step before or after you paint the rest of the cabinet.
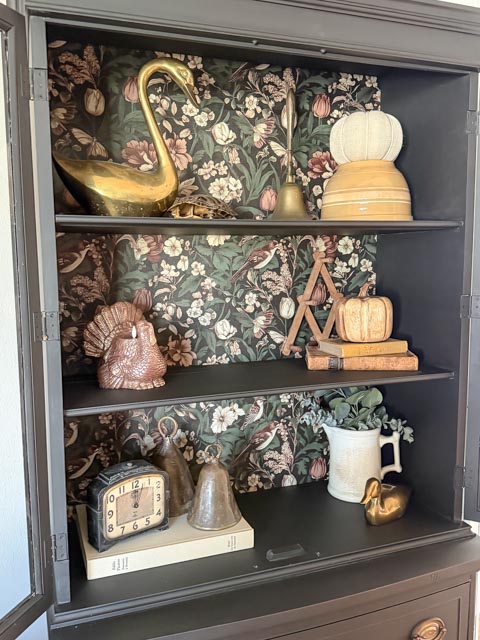
I was so excited to see this part come together because the paper was the detail I’d been looking forward to using on this piece. It was going to add something special behind the glass doors and make the inside of the cabinet stand out.
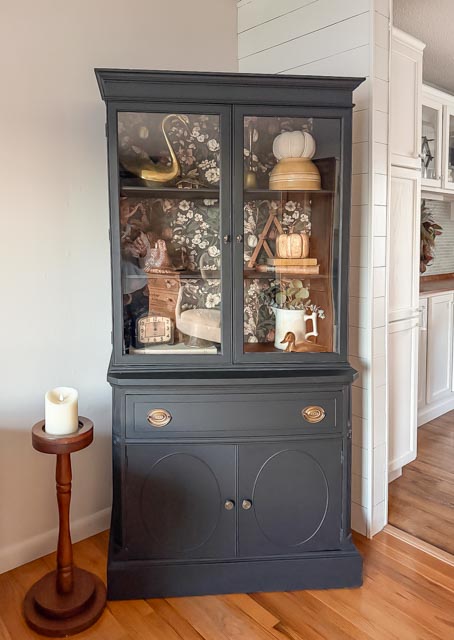
Step 4: Paint the China Cabinet Black
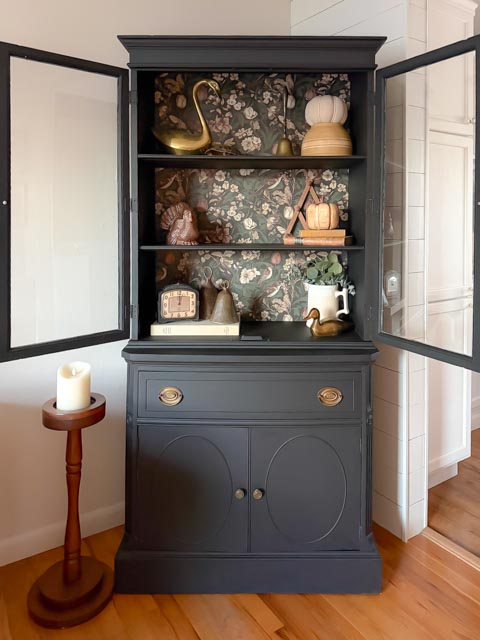
First, scuff-sand the cabinet. Then, I added Bonding Boss because this particular cabinet has a really shiny finish in some areas. I just wanted to give it some extra “prep”. I chose my favorite all-in-one black paint to update the traditional wood finish and help the cabinet’s details stand out. This paint has the primer, paint, and topcoat in one can. It saves me so much time and money on my projects. It comes in many colors.
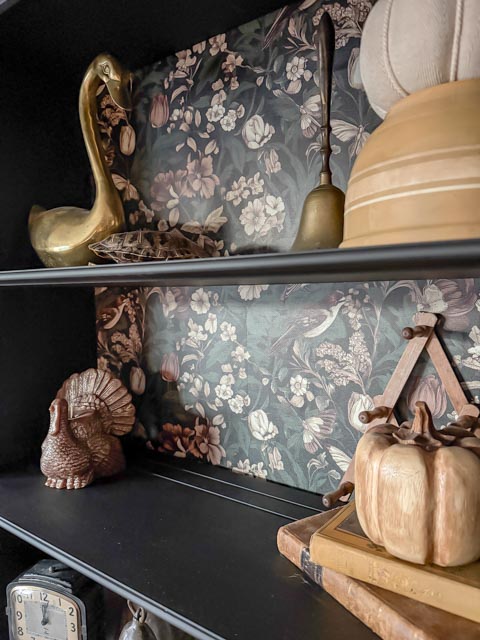
Follow the recommended drying times between coats and apply additional coats as needed for the coverage you want.
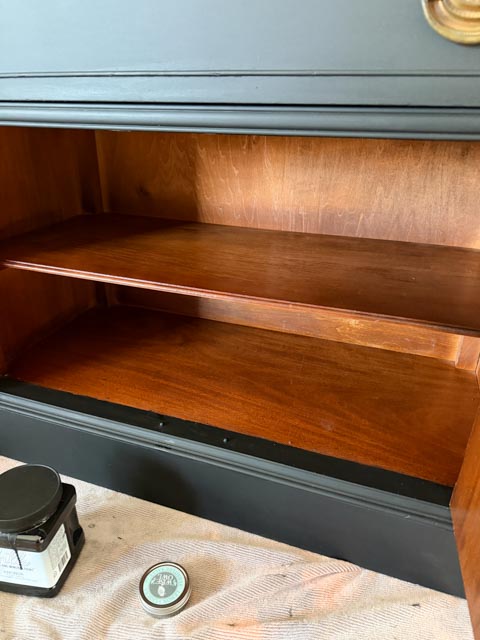
The final thing I did was apply my favorite furniture salve to the wood and shelf in the closed cabinet at the bottom. It renewed the wood beautifully.
Step 5: Reassemble the China Cabinet
After the paint dried, we reattached the back panel, reinstalled the hardware, and then stepped back and enjoyed the transformation!
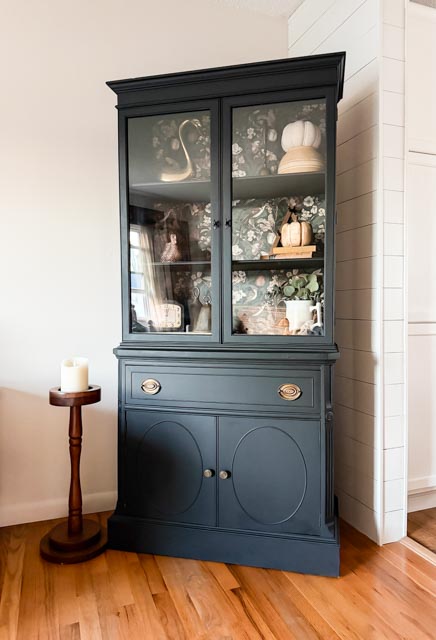
This black china cabinet makeover is a reminder to look beyond the original finish when you’re shopping for furniture. An older cabinet might have the storage, shape, and details you’re looking for, even if its current appearance isn’t your style.
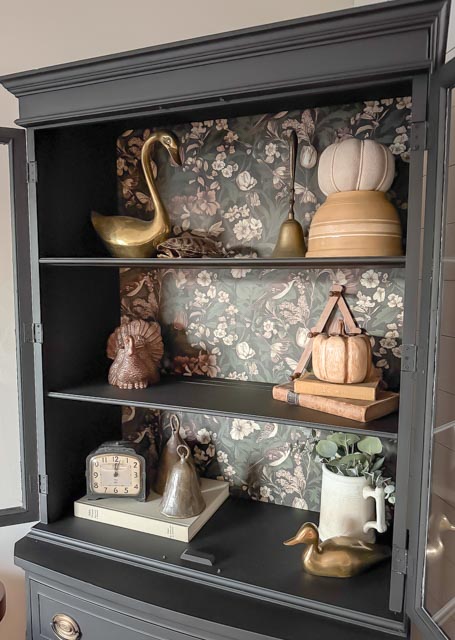
With the right preparation and products, painting can give a traditional china cabinet a fresh look while keeping the useful features that made it worth having in the first place.
Curious About Flipping Furniture?
After more than twenty years of flipping furniture, I still pick up pieces whenever I can because I love the creative outlet. What started as a way to transform forgotten pieces has grown into something I now help others learn and enjoy, too.
Whether you want to try one project, flip occasionally for extra income, or grow it into something more over time, the Academy meets you where you are. Inside, you’ll find practical tools like worksheets, templates, guides, and real-life examples you can use when you need them. There is no pressure. No overwhelm. No requirement to turn it into a full-time business.
You don’t need experience or a huge following. You just need a starting point and a trusted resource to guide you.
Find all the details (and the new LOW PRICE) for the Furniture Flipping Academy HERE.
PIN THIS POST!