

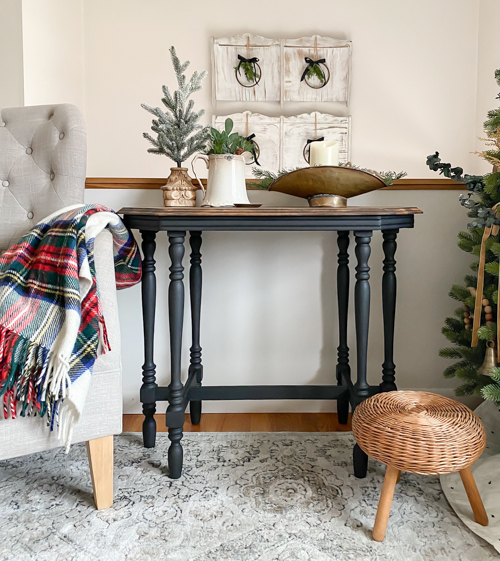
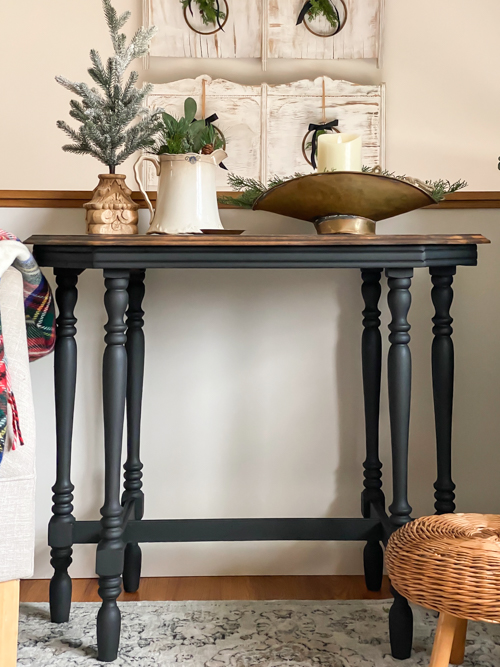
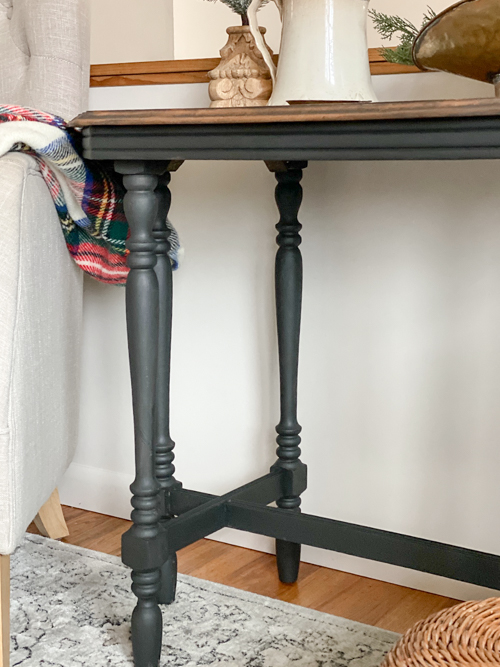
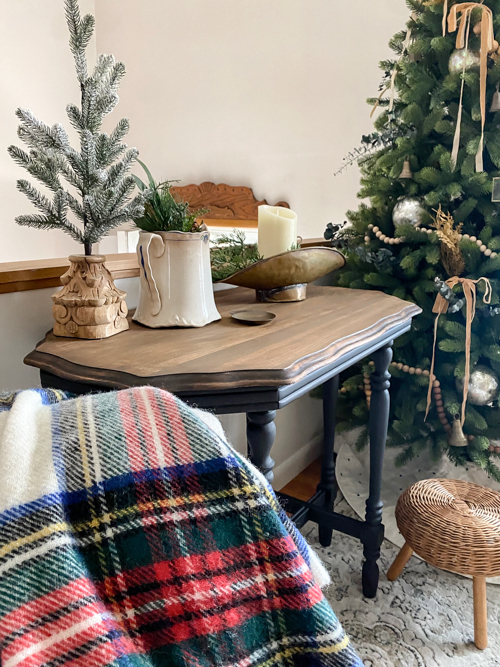
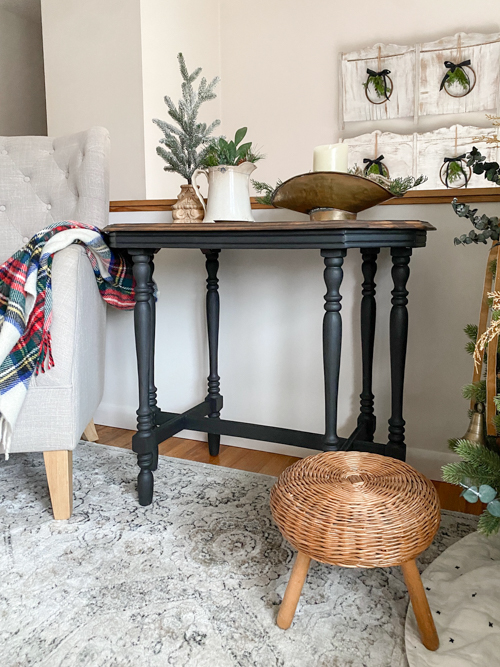
This Antique Side Table Makeover will show you how to transform an old, dated piece into a beautiful, stylish accent table. Whether you’re a beginner or an experienced DIYer, this project is simple, fun, and incredibly satisfying.
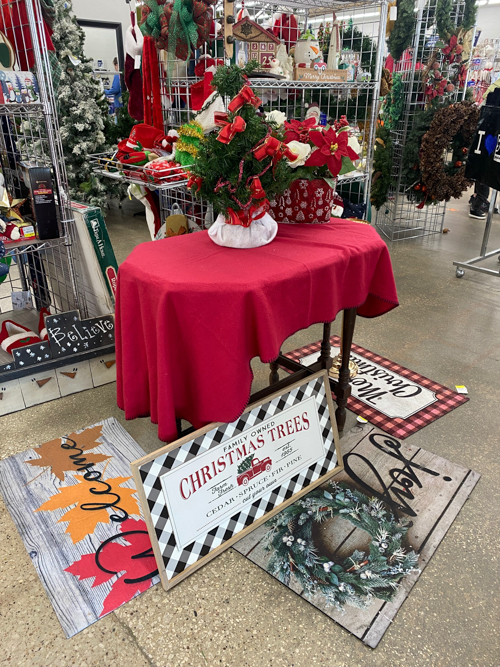
I have to tell you the story of how I found this table. I was in my local thrift store and saw the wood legs under a red tablecloth set up for a Christmas display. Always check everything when thrifting. The good treasures are hidden all around you!
{Affiliate links are used in this post. Click on any of the underlined links to find the products I am talking about. You can read my disclosure HERE.}
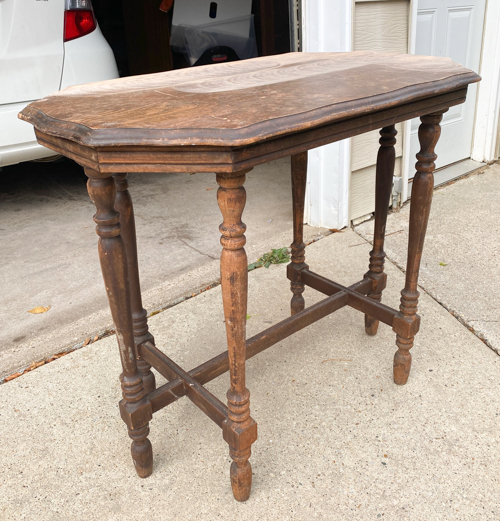
Supplies You’ll Need for This Antique Side Table Makeover DIY
- Antique side table (any size or style)
- Sander and Sanding Discs
- All-In-One Paint (I used Anchor)
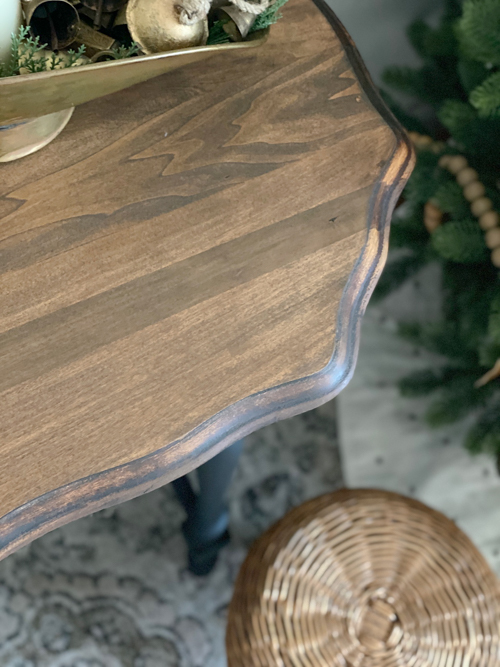
- Stain (I used Walnut)
- Topcoat
- Paintbrush
- Stain Applicator
Step-by-Step Tutorial: Antique Side Table Makeover
- Prep Your Table
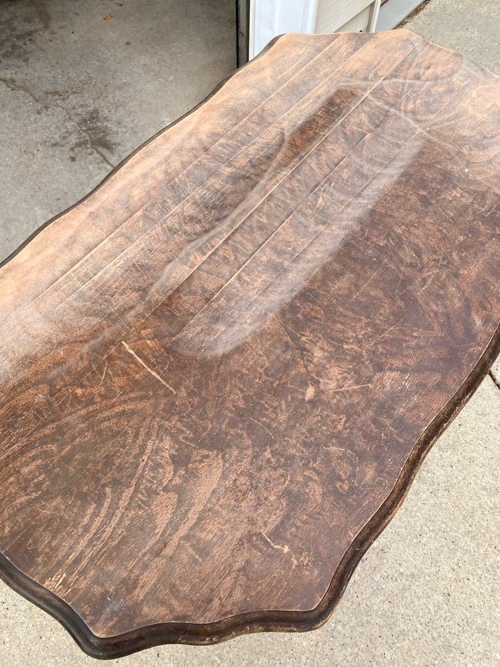
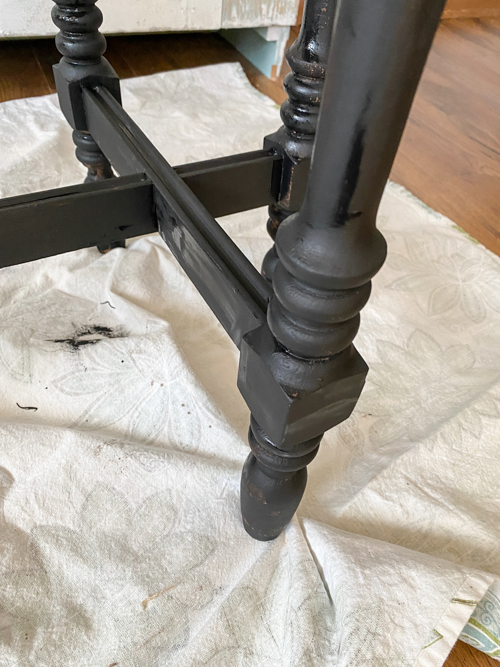
I started by cleaning this table really well. Then, I scuff-sanded the entire table. The top came pretty clean, so I decided I would stain that and paint the legs.
- Clean Again
I cleaned the piece again with a damp cloth after sanding because of all the sanding dust that was left over.
- Paint Your Table
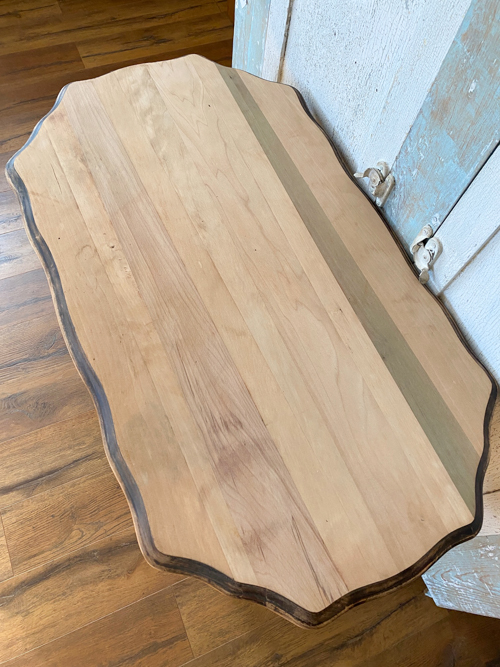
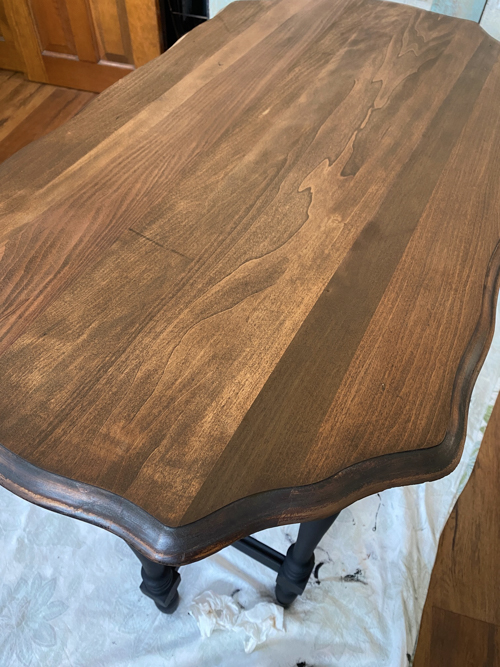
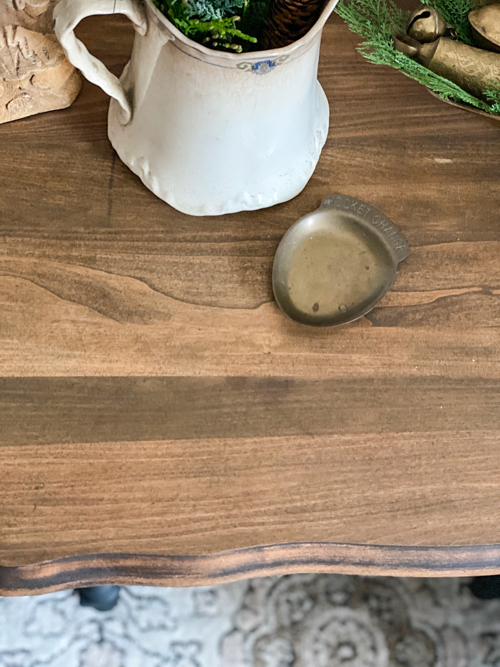
Since I used an all-in-one paint, there was no need to apply a separate primer; it’s already built right in! Once the table was completely dry from the second cleaning, it was ready for paint. I started by painting the legs, then finished the project by applying stain to the tabletop.
- Topcoat
Again, since I used the all-in-one paint, I didn’t need to do a topcoat step on the painted areas. This paint has the topcoat built right in as well.
- Seal the Top
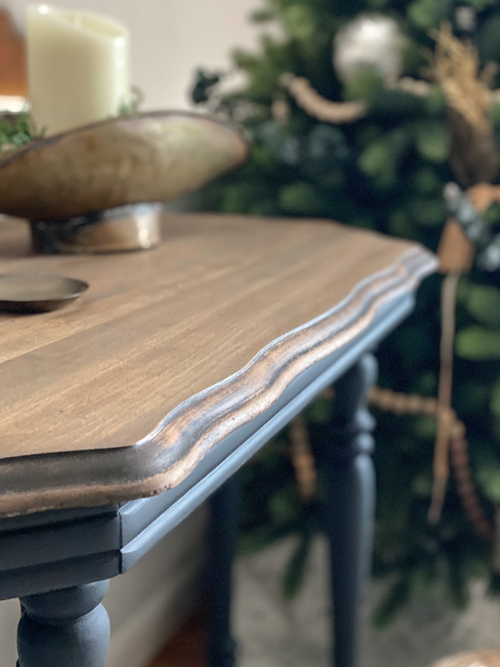
Since this is a table that will get a lot of use on the top, I did go over the stain with a matte topcoat.
Tips for a Successful Antique Side Table Makeover
- Always let paint and finish dry completely between steps.
- Use light, even strokes with your paintbrush to avoid streaks.
- Don’t rush the sealing process. A proper finish protects your hard work.
Why You’ll Love This Antique Side Table Makeover
This project is not only budget-friendly but also allows you to personalize your furniture to match your home’s style. With just a few supplies and some creativity, your old side table can become a standout accent piece. This is also a great tutorial if you are flipping pieces to sell!
Curious About Flipping Furniture?
After more than twenty years of flipping furniture, I still pick up pieces whenever I can because I love the creative outlet. What started as a way to transform forgotten pieces has grown into something I now help others learn and enjoy, too.
That’s why I created The Furniture Flipping Academy. It is not just a course, but an all-in-one resource you can use at any stage of your journey.
Whether you want to try one project, flip occasionally for extra income, or grow it into something more over time, the Academy meets you where you are. Inside, you’ll find practical tools like worksheets, templates, guides, and real-life examples you can use when you need them. There is no pressure. No overwhelm. No requirement to turn it into a full-time business.
You don’t need experience or a huge following. You just need a starting point and a trusted resource to guide you.
Find all the details (and the new LOW PRICE) for the Furniture Flipping Academy HERE.
PIN THIS POST!
please could you tell what colors of the dixie belle paint and stain you used? Ihave 2 end tables that I would love to look like your table.
I used the Caviar paint and the Walnut stain.
I used Anchor, not Caviar on this one.