I am telling you, when I find a new way to do a project, I get obsessed and can’t wait to see if I can duplicate it on another project after I did the black paint antique technique on a thrifted mirror. You can see that project HERE, I started searching for my new piece to try it on. I found it!
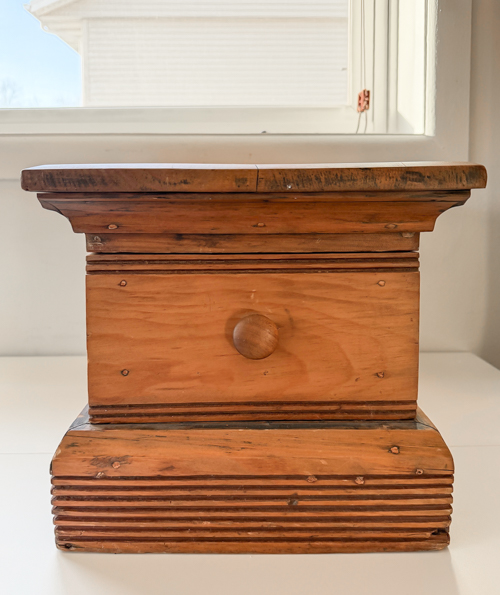
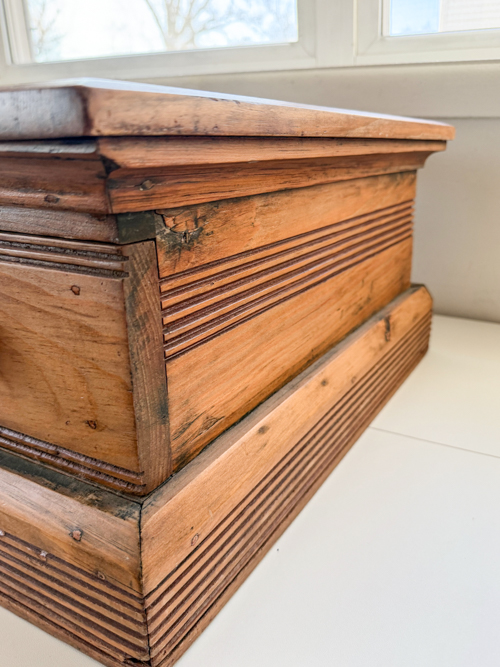
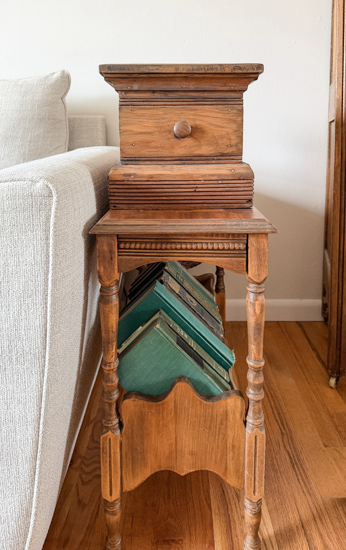
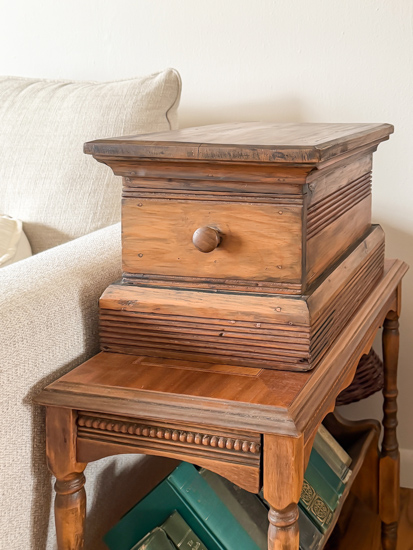
I was inside my local thrift store right before they were going to close, and I found this box at the bottom of a shelf near the furniture. It is old, handmade, and comes with storage. I love a vintage piece that is also functional.
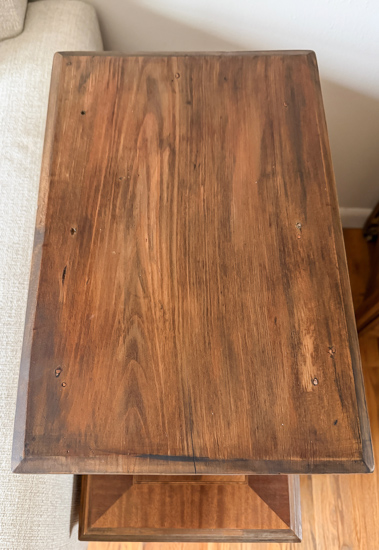
My favorite thing about the Black Paint Antique Technique is that it completely tones down those overly orange wood finishes. If I love the piece but hate the color, I know I can fix that.
Let’s get to this project.
{Affiliate links are used in this post. Click on any of the underlined links to find the products I am talking about. You can read my disclosure HERE.}
Supplies Used For This Technique
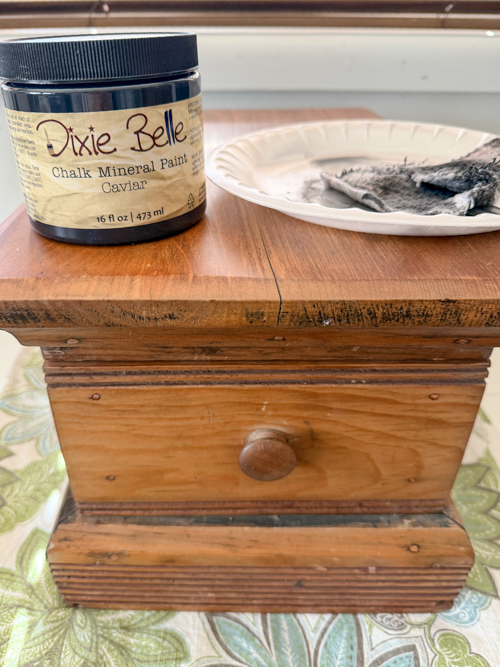
- Black Paint
- Water
- A plate or something to mix water and paint on
- Old rag
- Applicator 1
- Applicator 2
- Topcoat
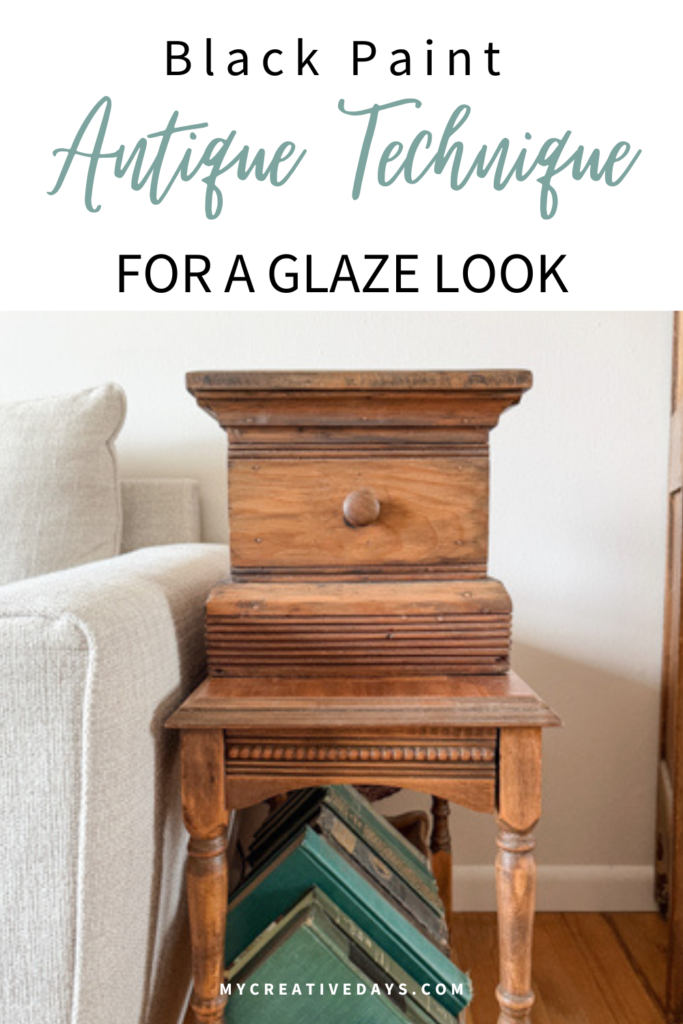
Black Paint Antique Technique for a Glaze Look
This isn’t a long, step-by-step tutorial, as it is a flexible method you adjust with each project. That’s honestly what I love most about it.
When I first tried the black paint antique technique on a frame, I had to water the paint down quite a bit. The wood was taking the color quickly, and I needed it to be subtle. On the wood box in this project, though, I realized I needed more paint and less water to get the depth I wanted. Same technique, different balance. That’s the beauty of it. You tweak it depending on the wood and the look you’re going for.
If you try this, always start in an inconspicuous spot first. See how the wood reacts. Some woods grab the pigment fast, especially orange-toned finishes, and others need a little more layering.
Another reason I love this method? It’s forgiving. If the paint hasn’t fully dried, you can usually wipe it back with a clean rag if you’ve applied too much. If it’s starting to set a bit, just dampen an old rag with water and gently rub it down. You’re not locked in right away, which makes it much less intimidating.

Here’s exactly how I apply it. I use a continuous spray bottle filled with water and a simple Styrofoam plate. I spray water onto the plate first. Then I dip an old rag lightly into the black paint (I usually just use what’s on the lid because you truly don’t need much). From there, I dab that paint into the water on the plate and work it into the rag before rubbing it onto the wood.
I prefer using a rag because it gives me more control and keeps the finish soft and blended. But you could absolutely use my favorite applicator pads HERE or HERE if that’s what you’re comfortable with.
It really is trial and error. You can build the color slowly in layers, deepen certain areas, or wipe it back until it’s just right. Once you’ve achieved the look you love, let it dry completely and then apply a topcoat to protect the finish. When I do this project, it is a subtle change. I just want to lessen the orange color and add more depth and dimension to the wood. This box was a perfect project to do this on.
You can watch me do this entire process on this box in my YouTube video HERE.
PIN THIS POST!
If you liked this project, you will also love these:
How To Create Aged Copper Patina On Wood & Metal
DIY Projects That Look Expensive But Aren’t
Textured Furniture Makeover: Vintage Dresser Gets a Modern Twist